ELEVATORS
ELEVATOR #1
FIRST ELEVATOR
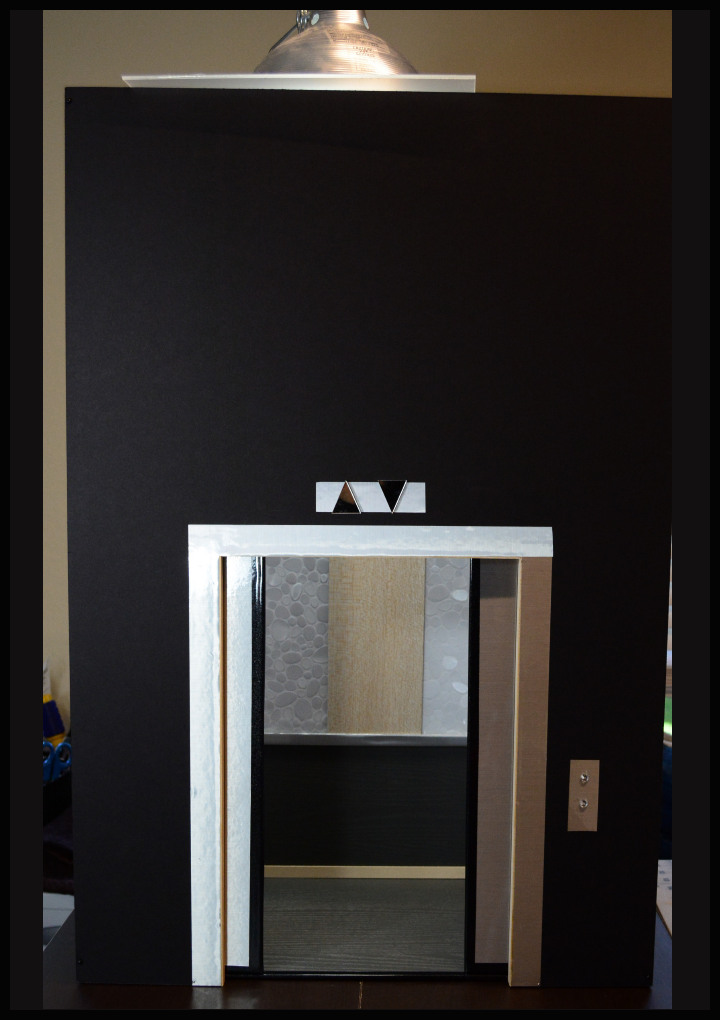
In the early stages of my building dioramas I built my first elevator.
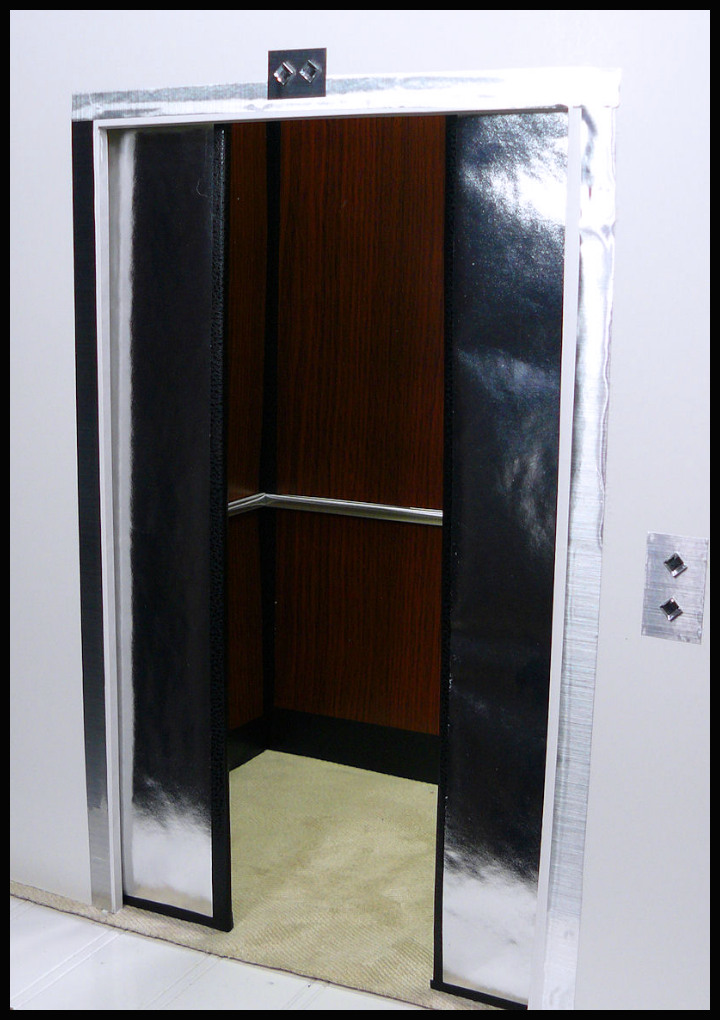
What I did wrong: I didn’t have enough silver stainless steel contact paper at the time so I wrapped the doors with a shiny silver wrapping paper instead. Looking at my old photos the doors look unrealistic and silly to me now.
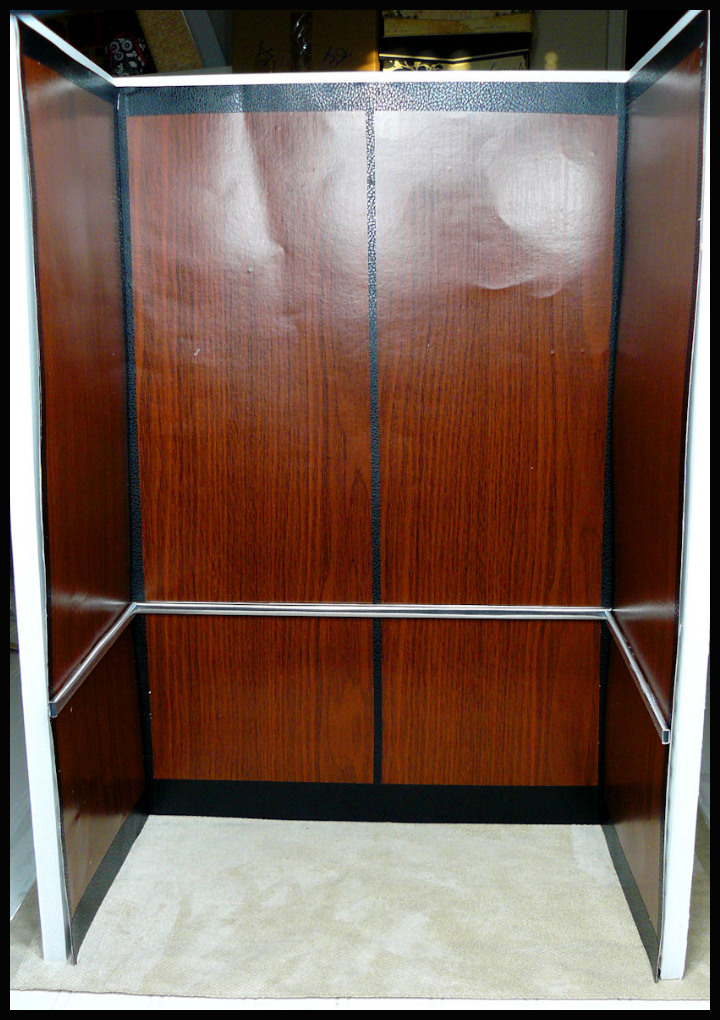
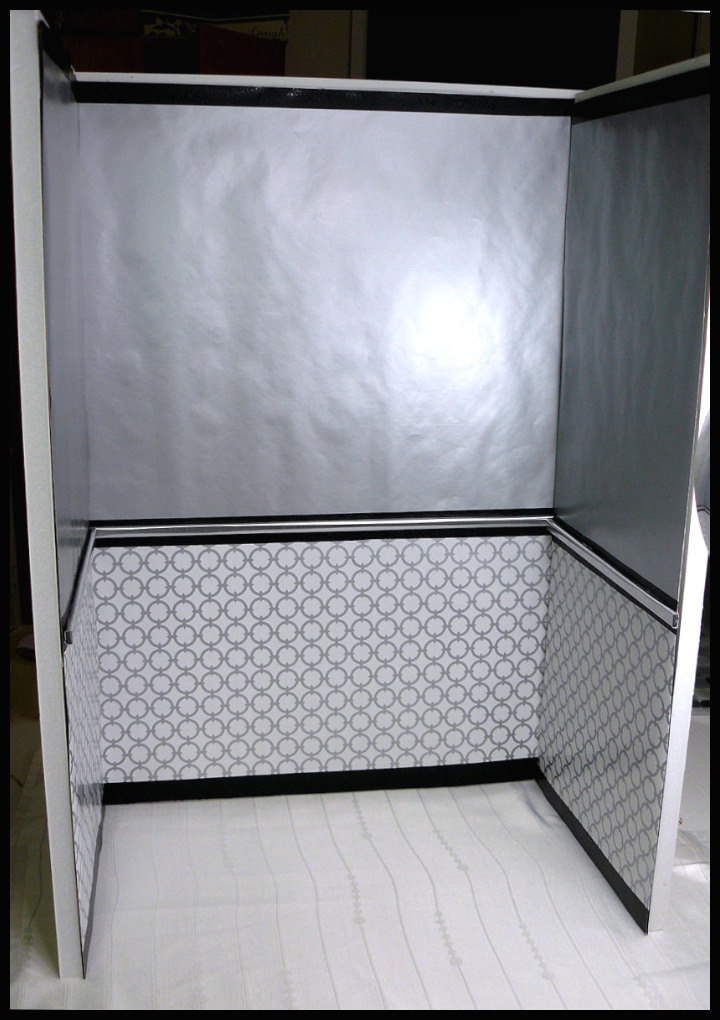
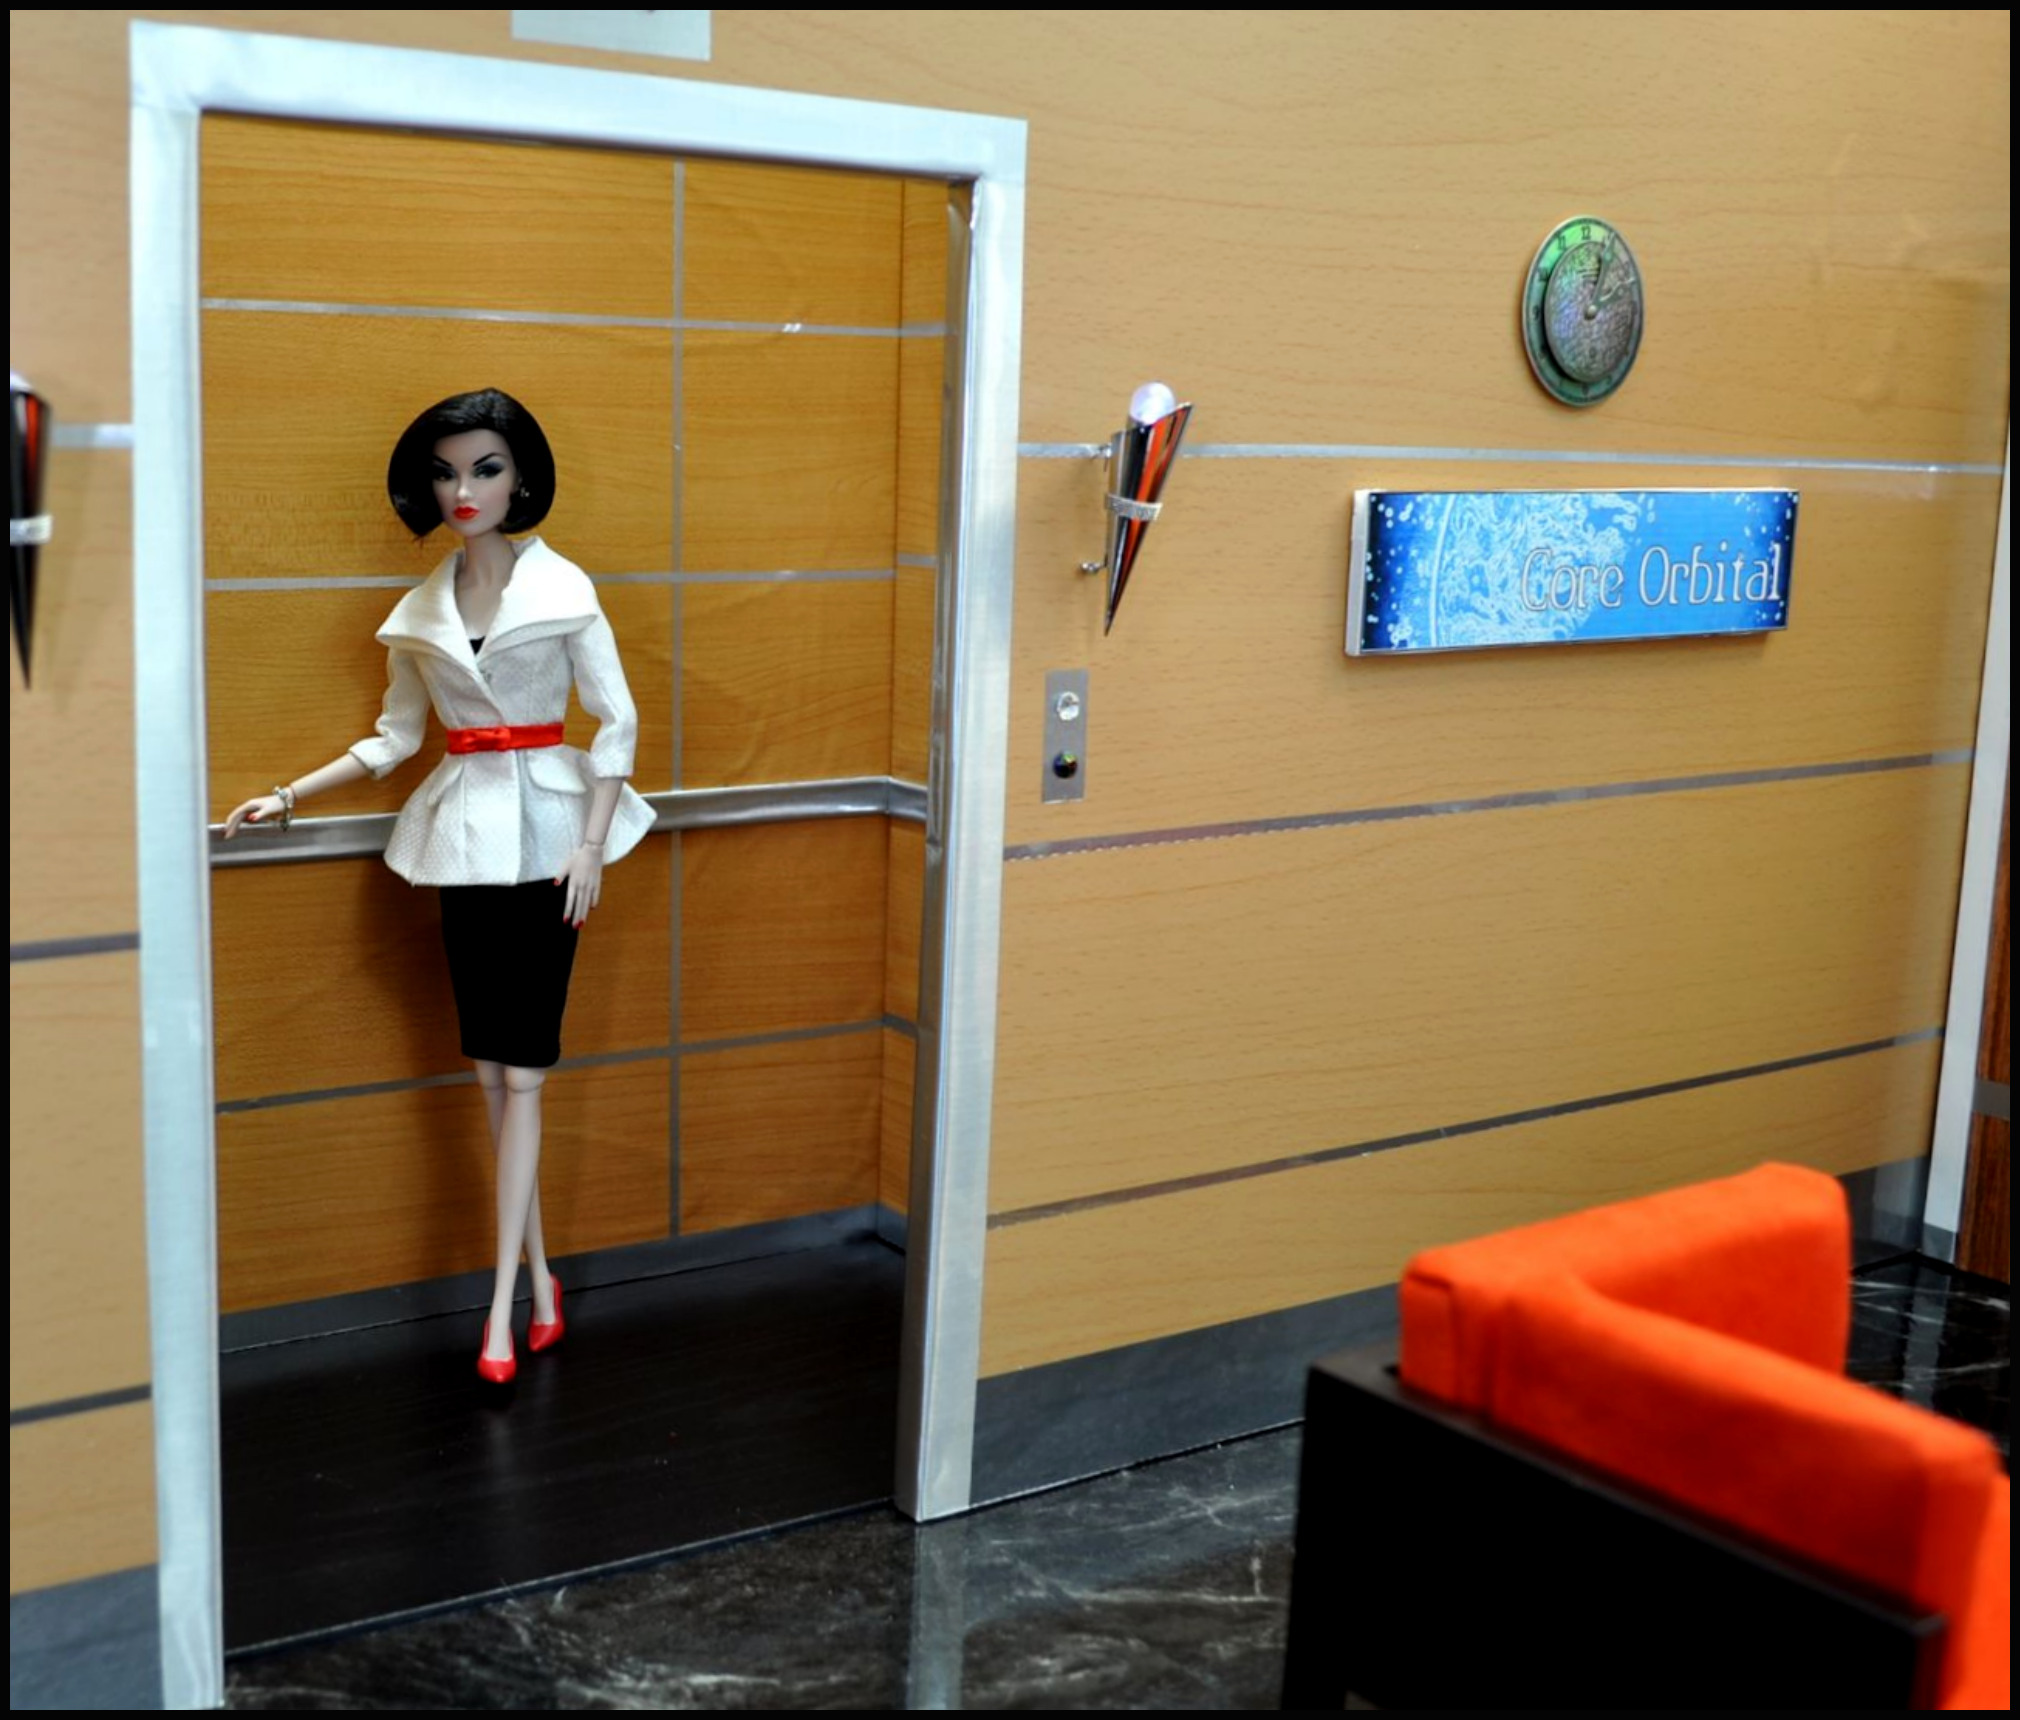
What I did right: 2 sets of Interchangeable Walls (1) a dark walnut and (2) a dull silver with a circular patterned bottom wainscoting look. The doorway to get into the elevator and the Up/Down indicators above the doors and wall push buttons looked decent and were made from 3-D scrapbooking gem stickers. Lastly, I put canned lights on top of the unit pointing down to give it realistic lighting.
MATERIALS NEEDED
Foam Board 1/4"
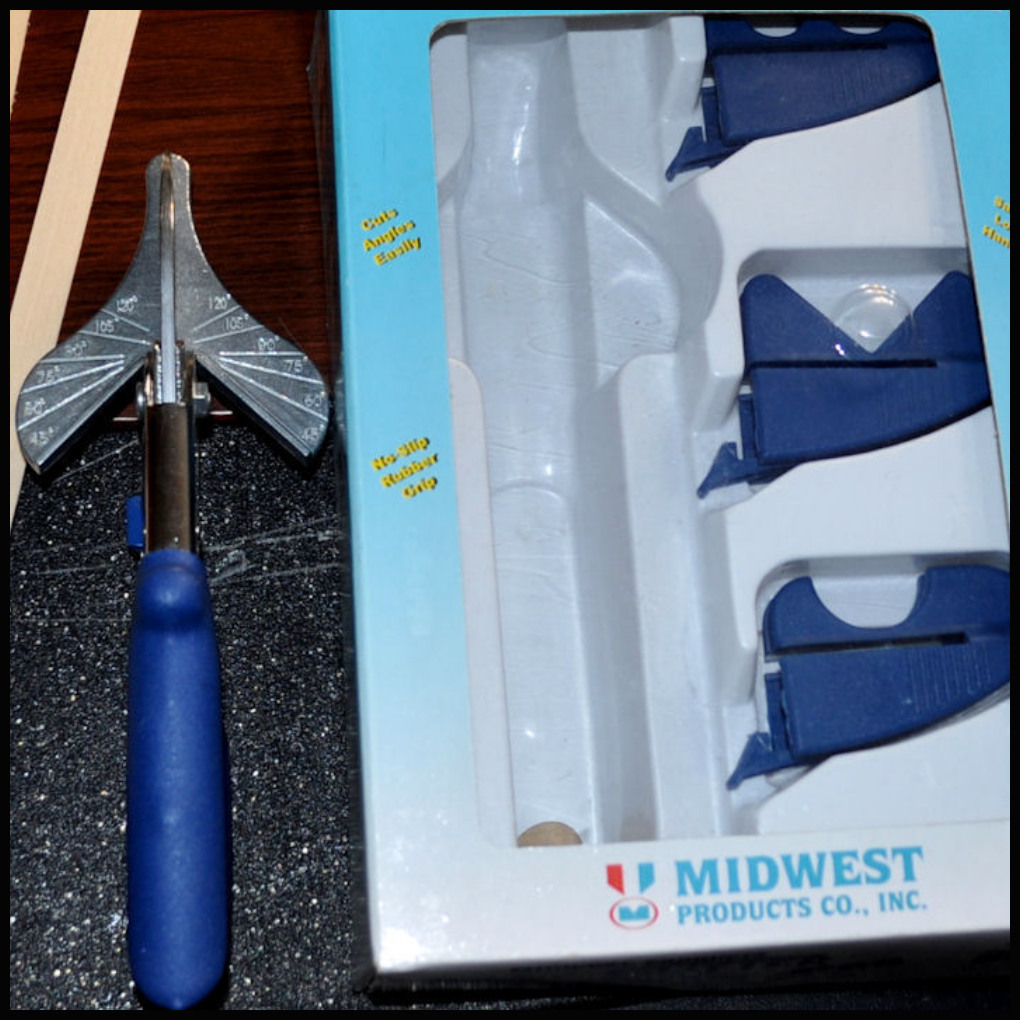
Cutting Tool - Medium Duty
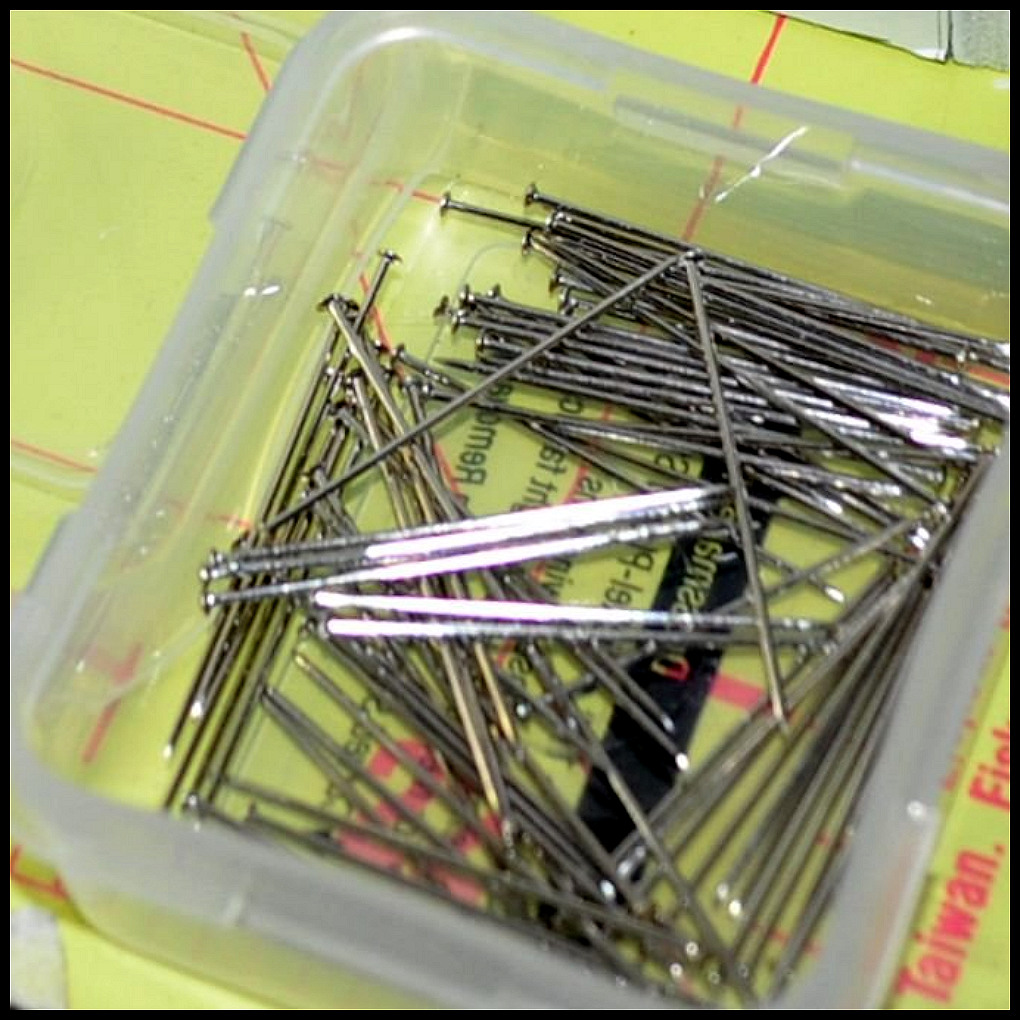
Sewing Pins - Flat Head
Foam Board 1/2"
Ruler - L-Shaped

Sewing Pins - Ball Head
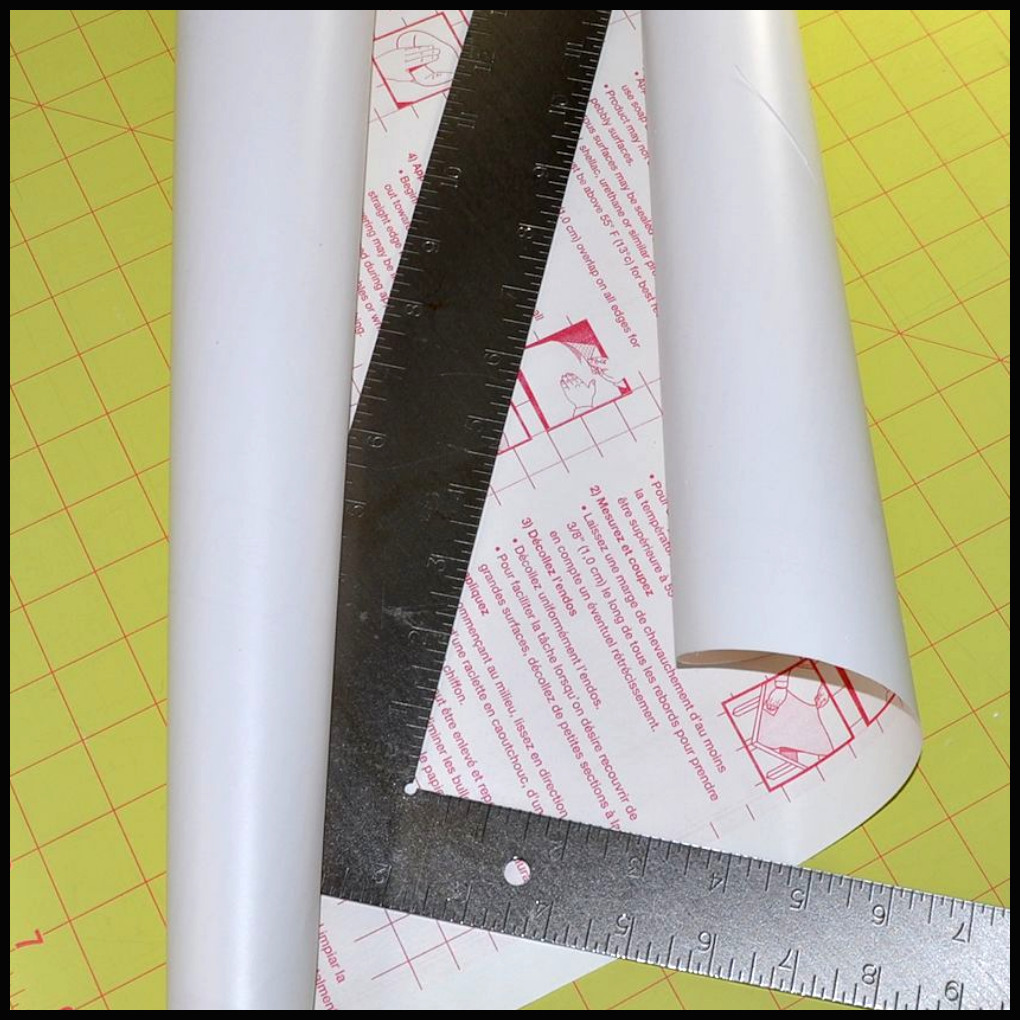
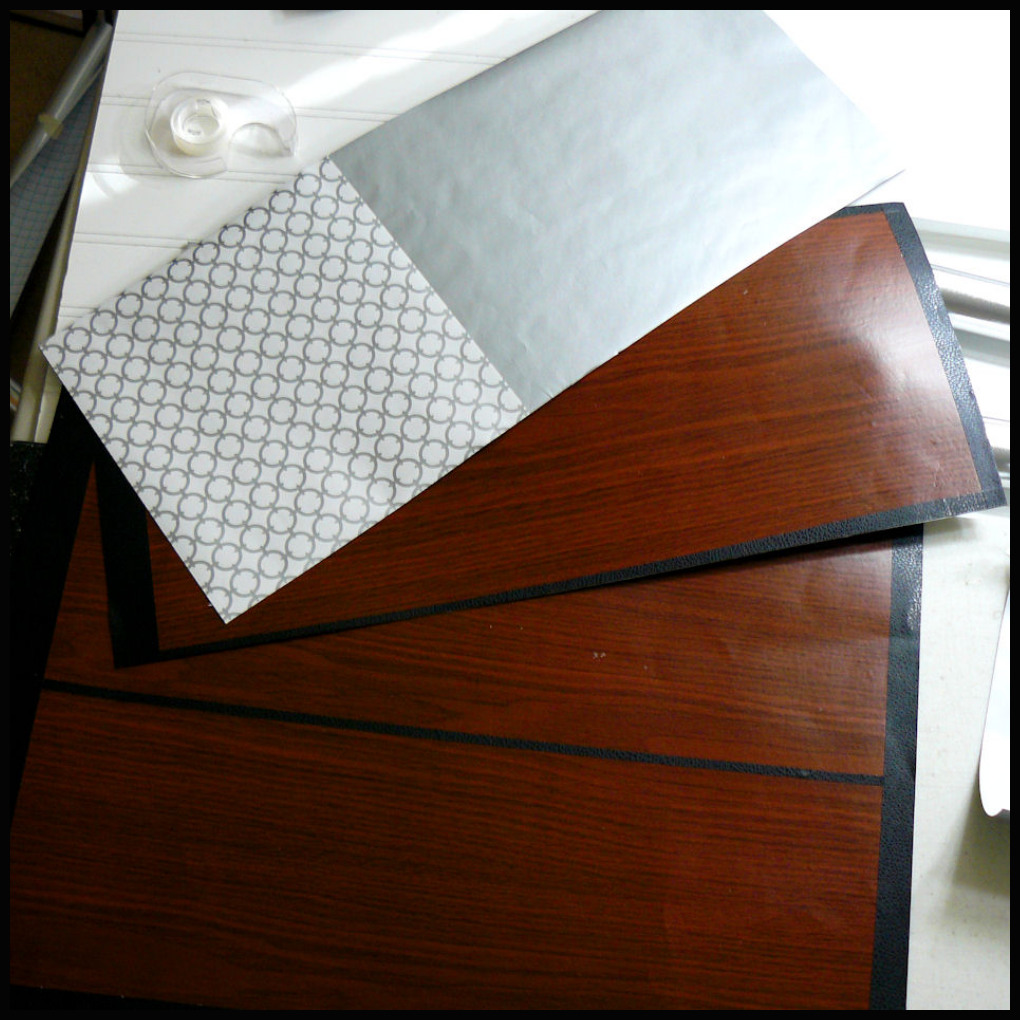
Contact Paper
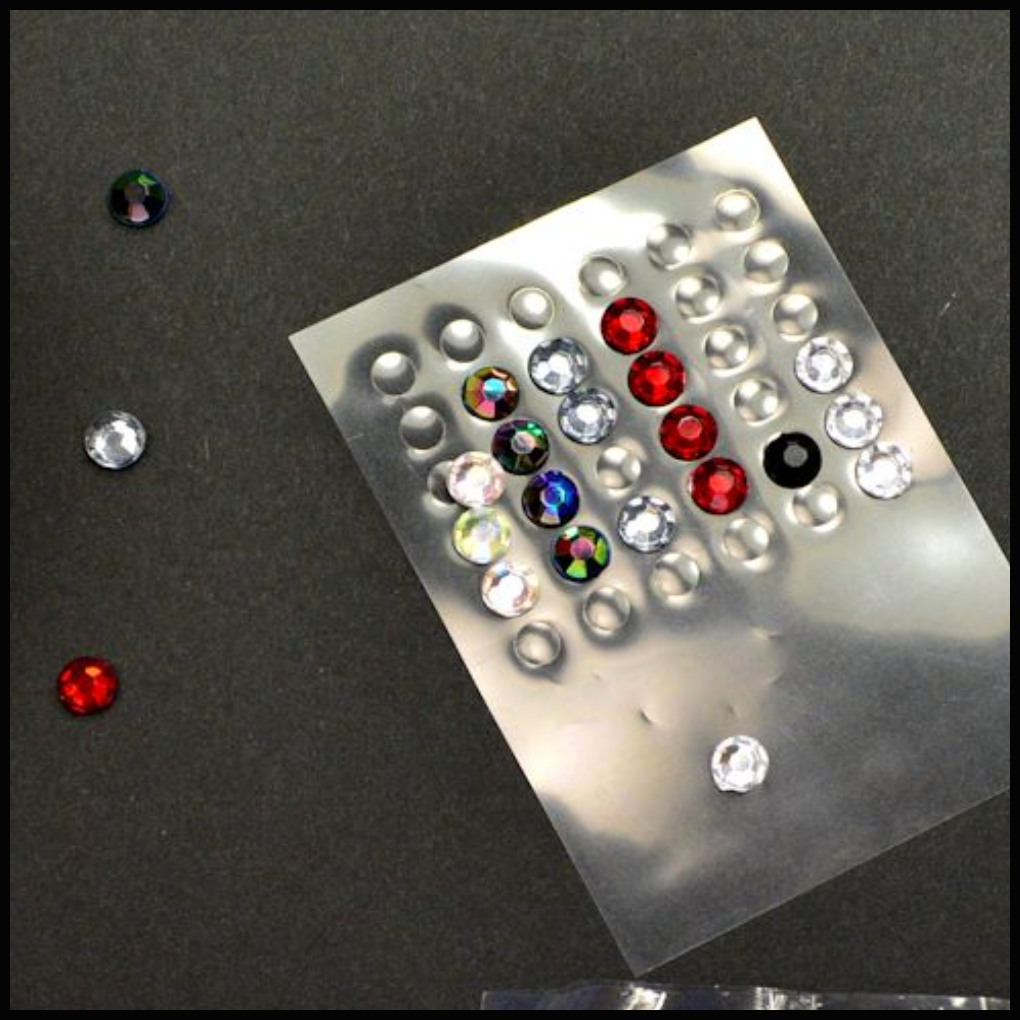
3-D Stickers (Gems)

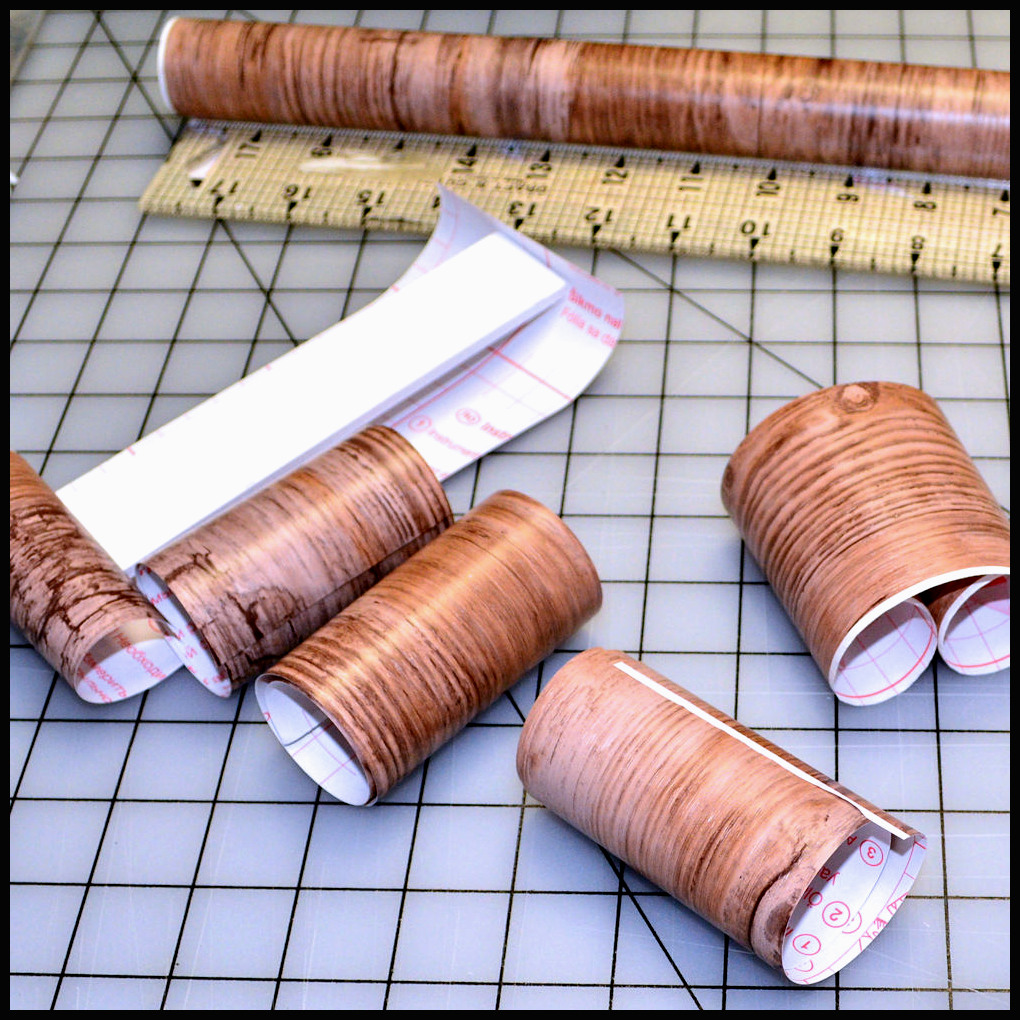
Dowel - Balsa Wood Strips
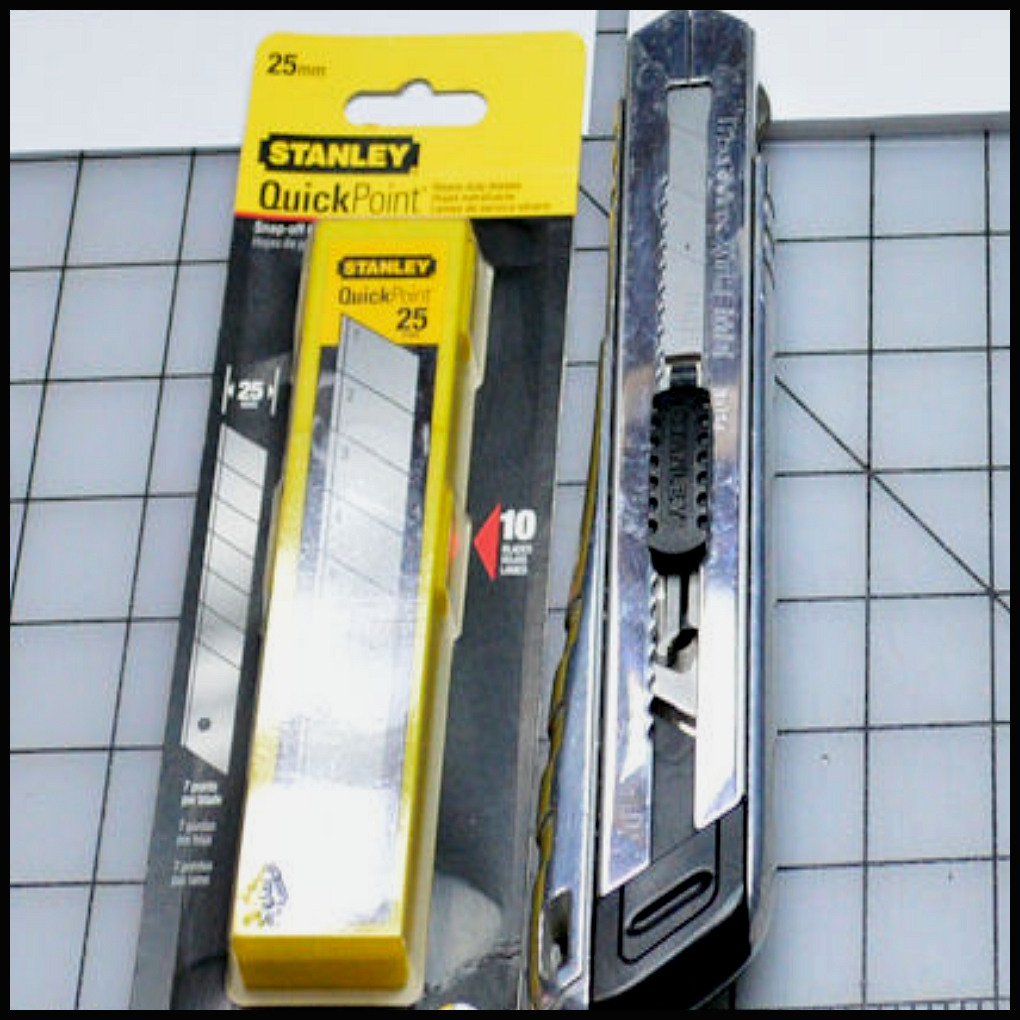
Cutting Tool
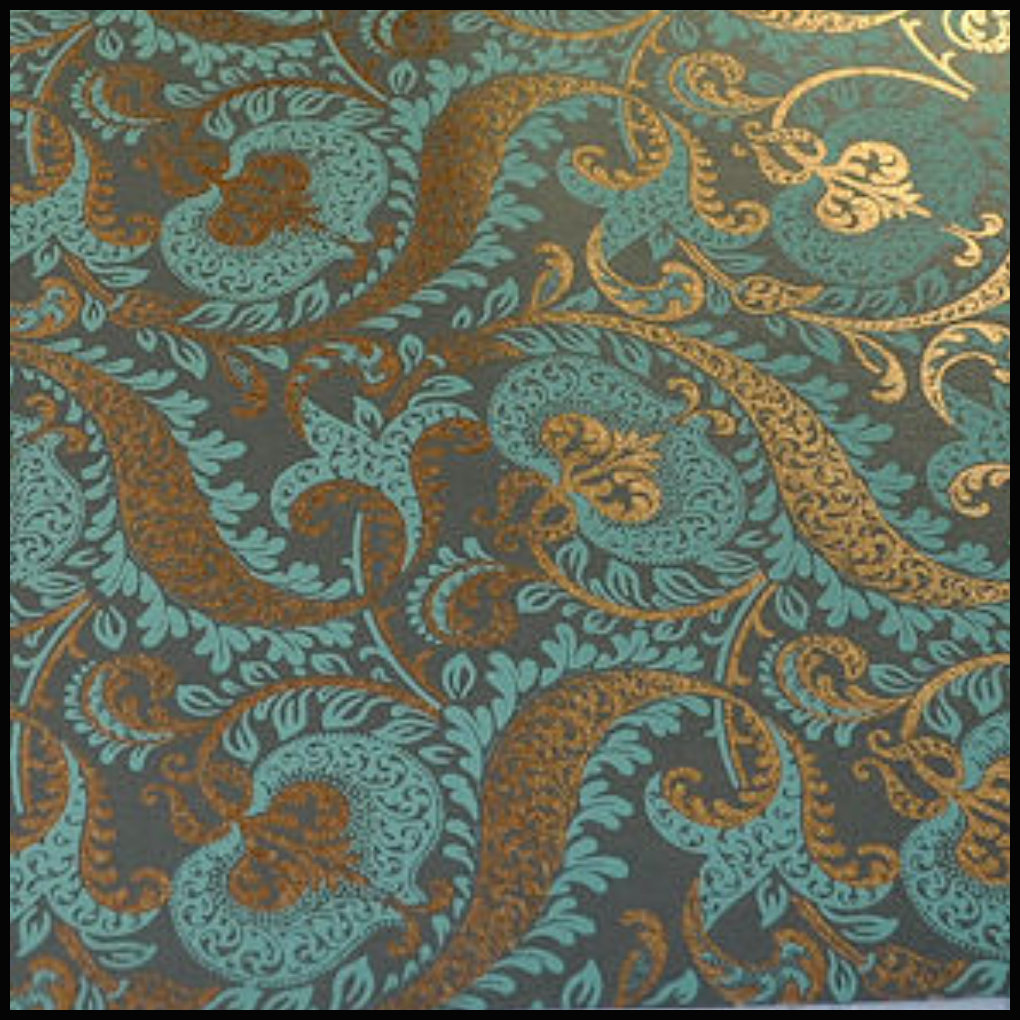
Decorative Paper
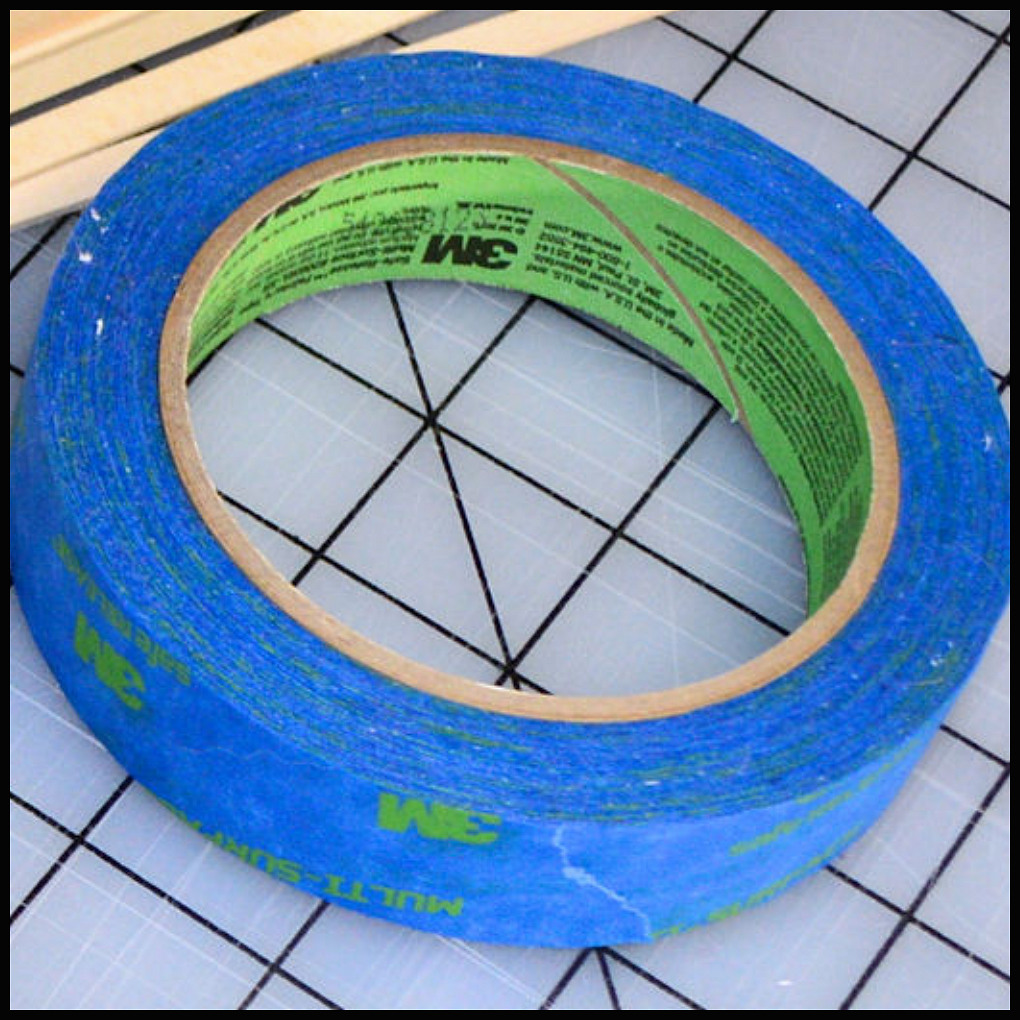
Masking Tape
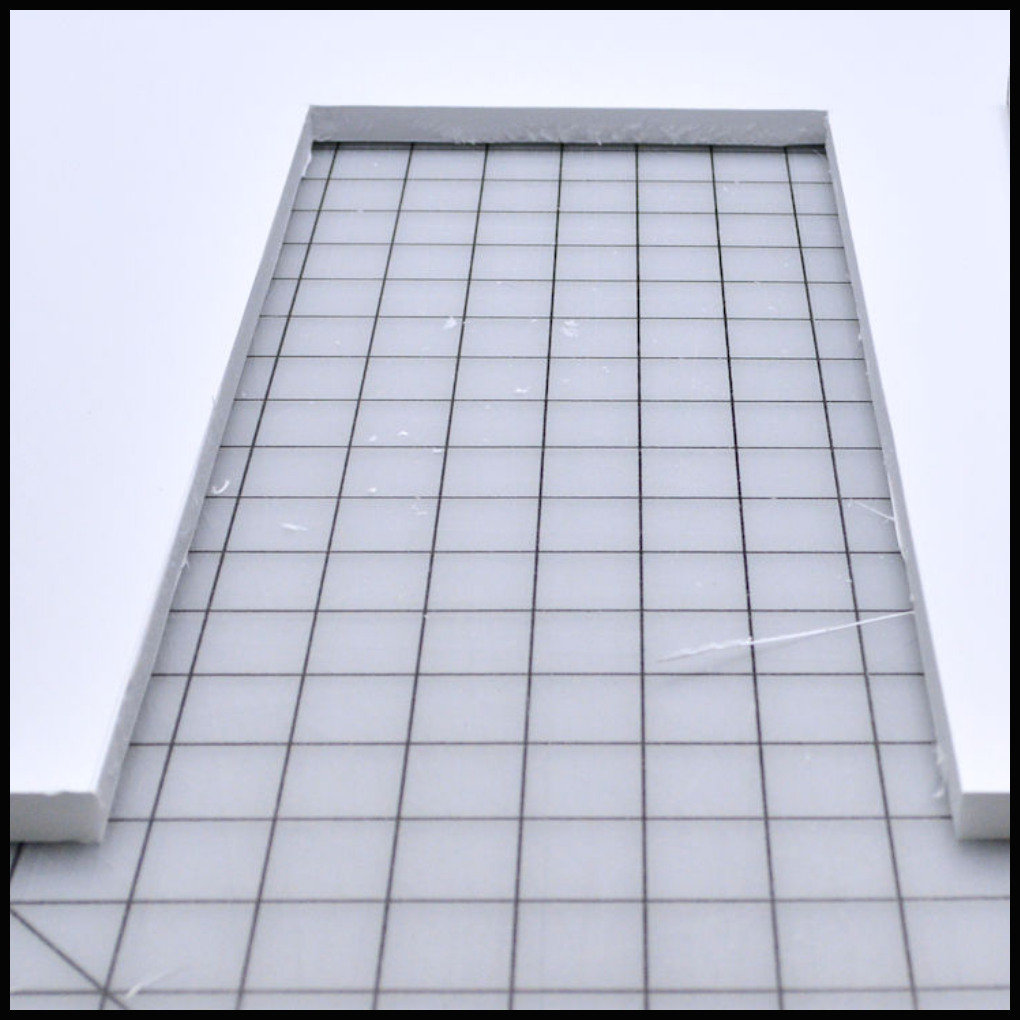
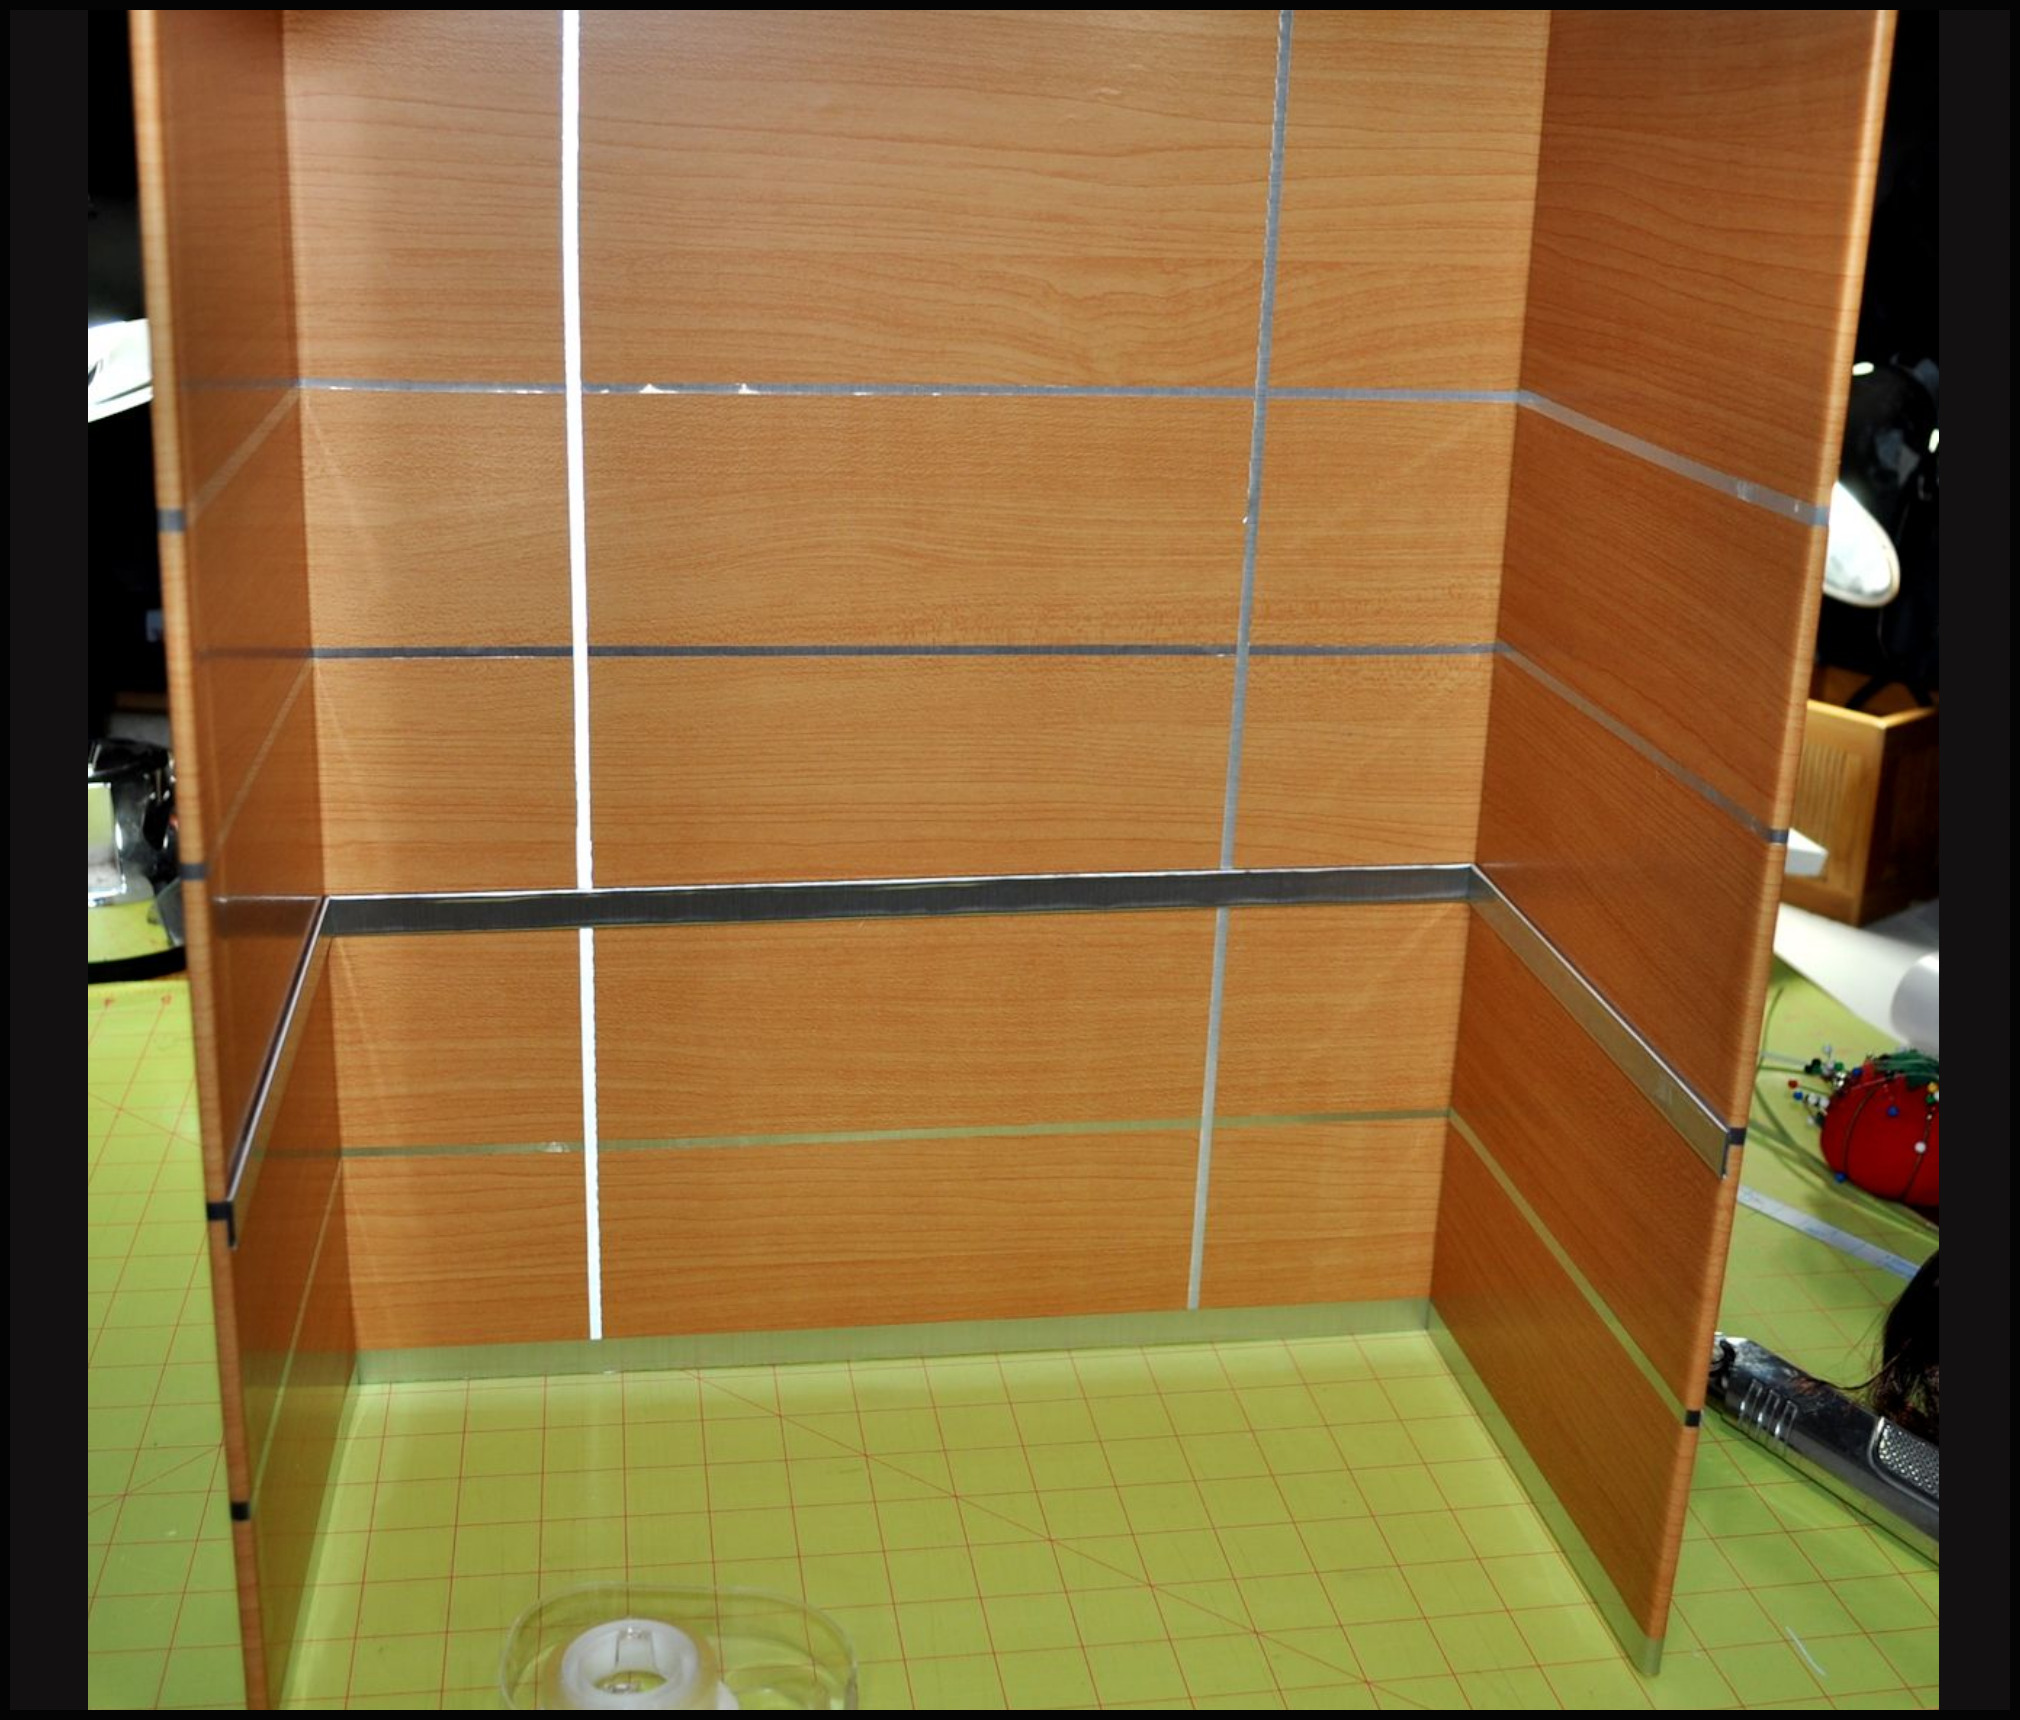
The entire unit is made from a 20″ x 30″ 1/2″ thick foam wall front wall. The back and two side wall pieces are also 1/2″ thick foam board that are 30″ tall. The side walls are 6″ inches wide x 30″ tall, the back wall is 12″ in wide x 30″ tall. They’re all pinned together with sewing pins.
The two sets of walls: (1) Walnut wood contact paper with strips of cut black contact paper to make it look like panels. (2) Silver wrapping paper with silver/white patterned wrapping paper in the bottom.
The hand rails are cut balsa wood flat dowels that have been wrapped in stainless silver contact paper and double-sided taped to the walls so they’re usable for any wall set.
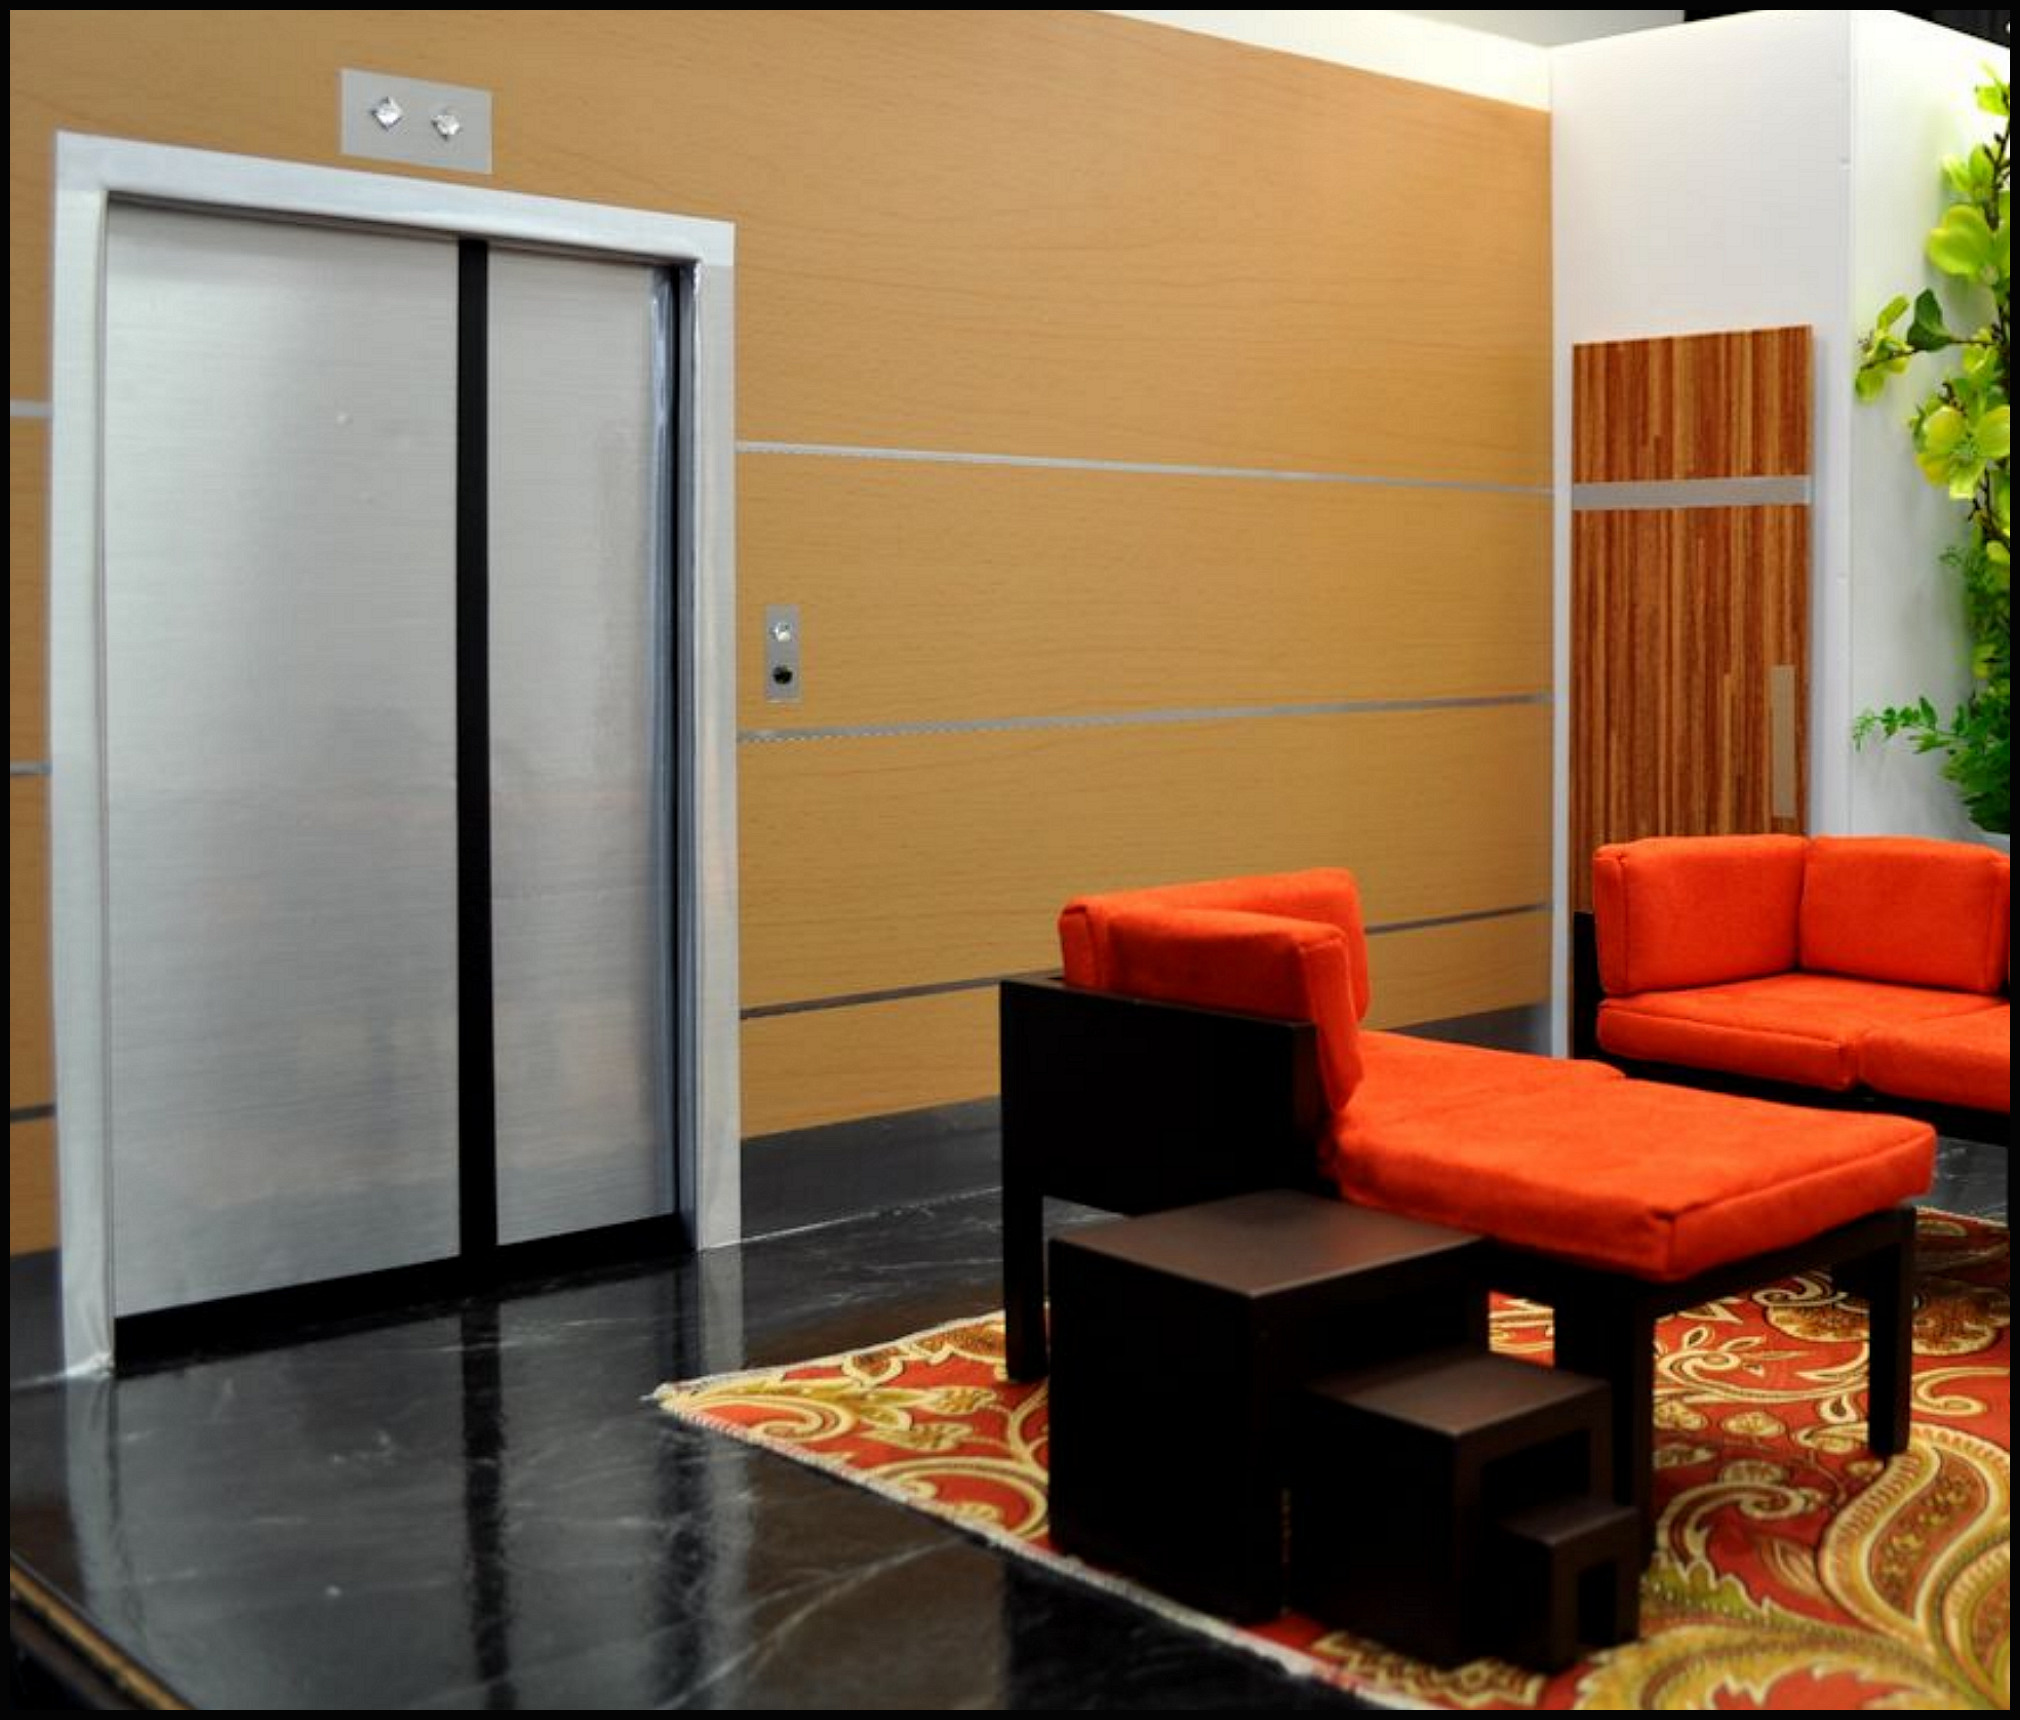
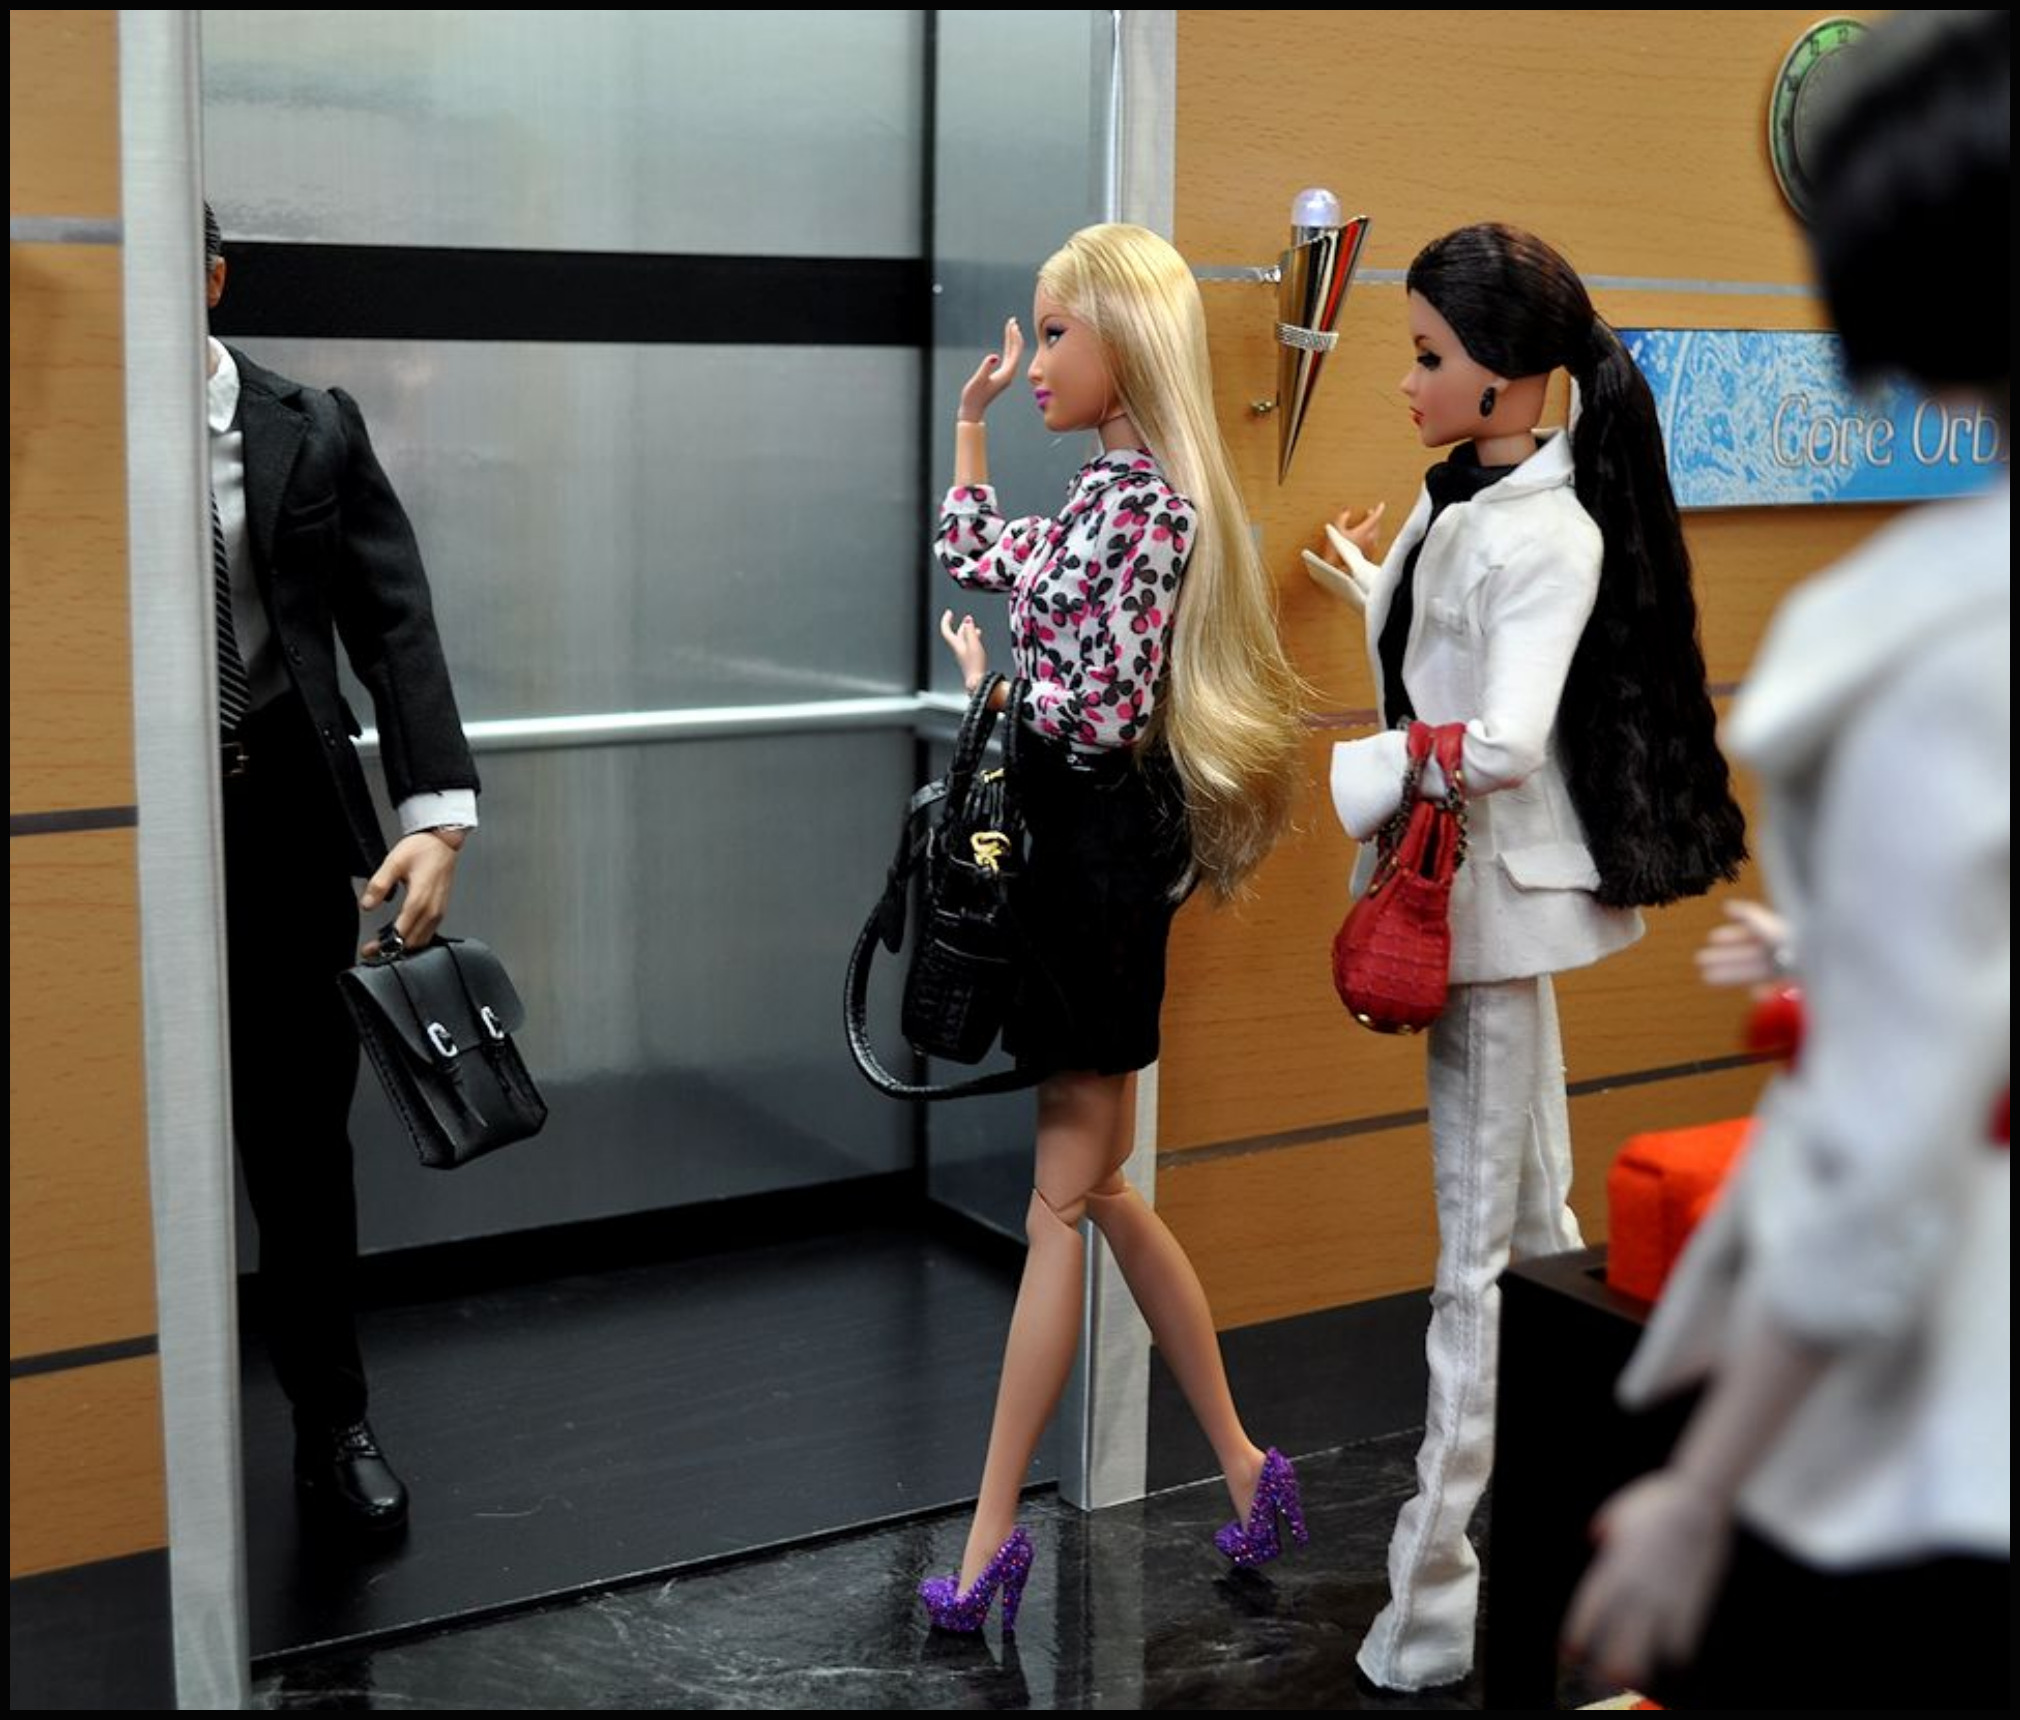
ELEVATOR #1 PHOTOS
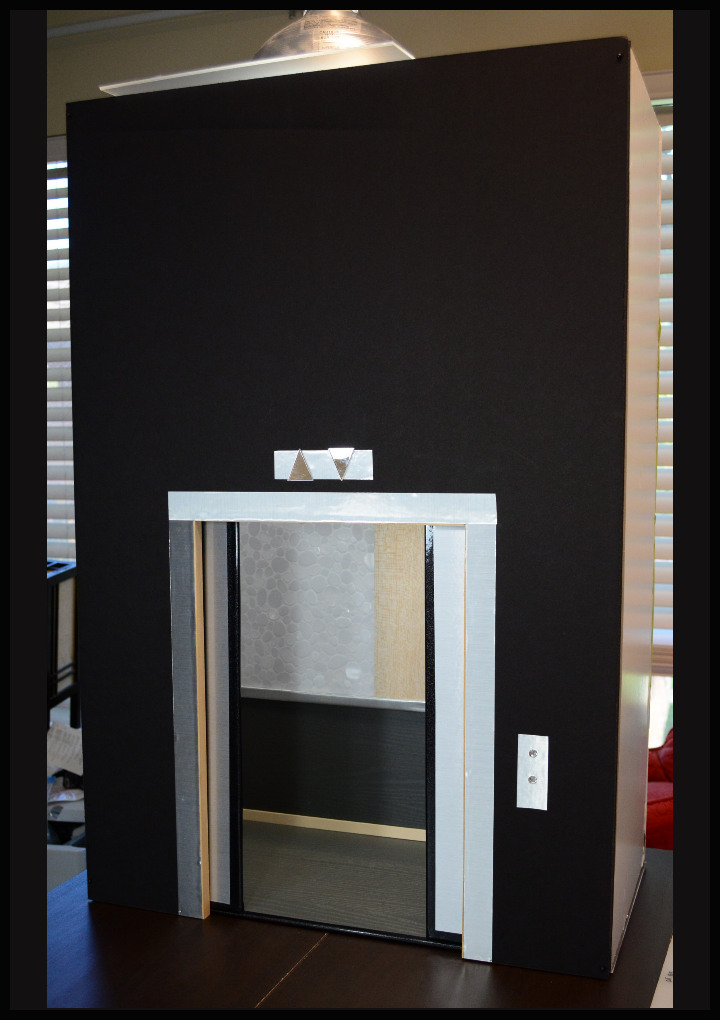
SECOND ELEVATOR
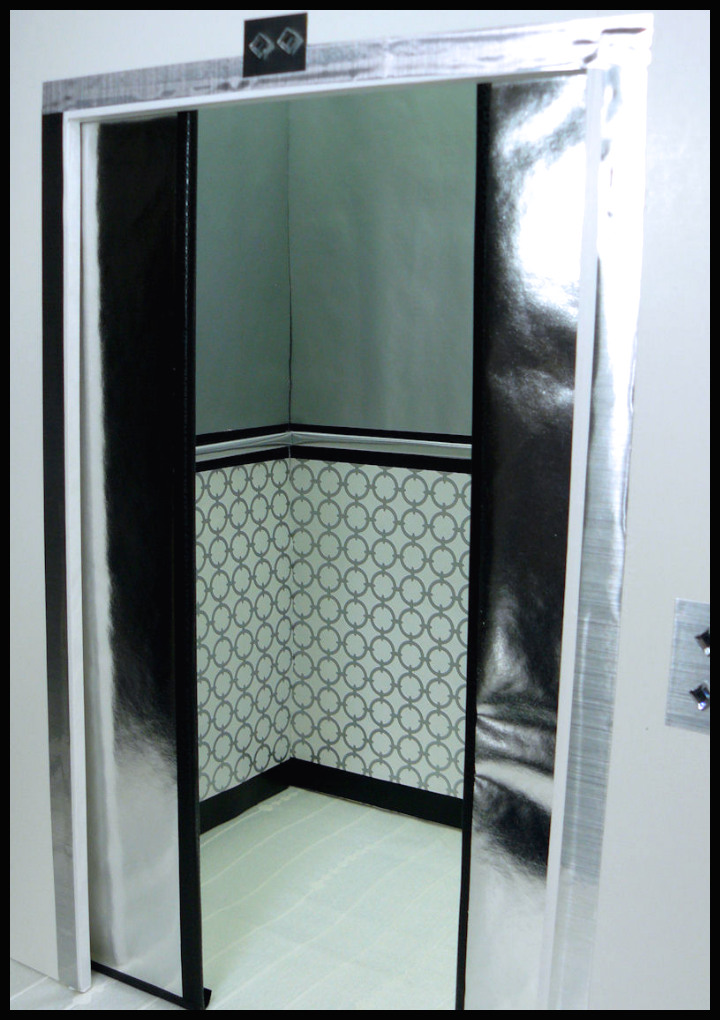
The photo to the right is actually a mix between Elevator #1 and #2. Elevator #1 was later upgraded for the story ‘The Bank Job’ where the walls were replaced with silver stainless steel contact paper on the entire inside with strips of black contact paper for molding and detailing.
Elevator #2 started off being made completely from the light wood contact paper with the silver stainless steel cut strips. But after 20 minutes of application the light wood paper had a severe issue with its glue not sticking. It bubbled up everywhere, turning it into an ugly mess.
I kept the contact paper on the outside wall of the office space (while having to do an hourly press down of the bubbles to film any stories in the room), but the elevator couldn’t be reached in for that type of effort, so it was switched out for this silver one instead.

SECOND ELEVATOR PHOTOS
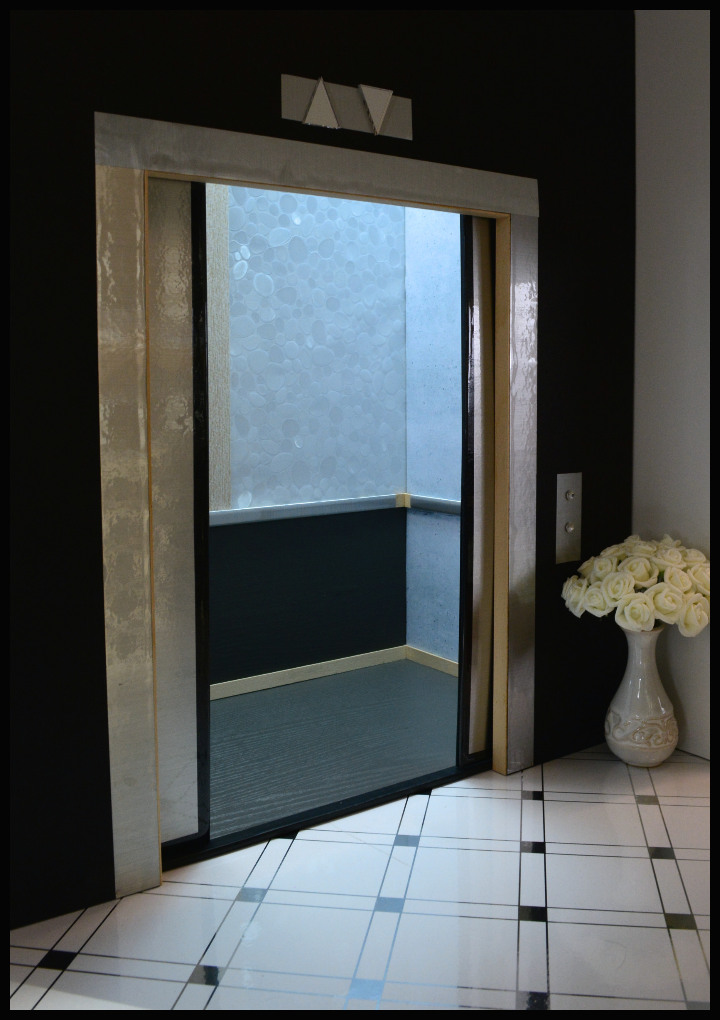
THIRD ELEVATOR
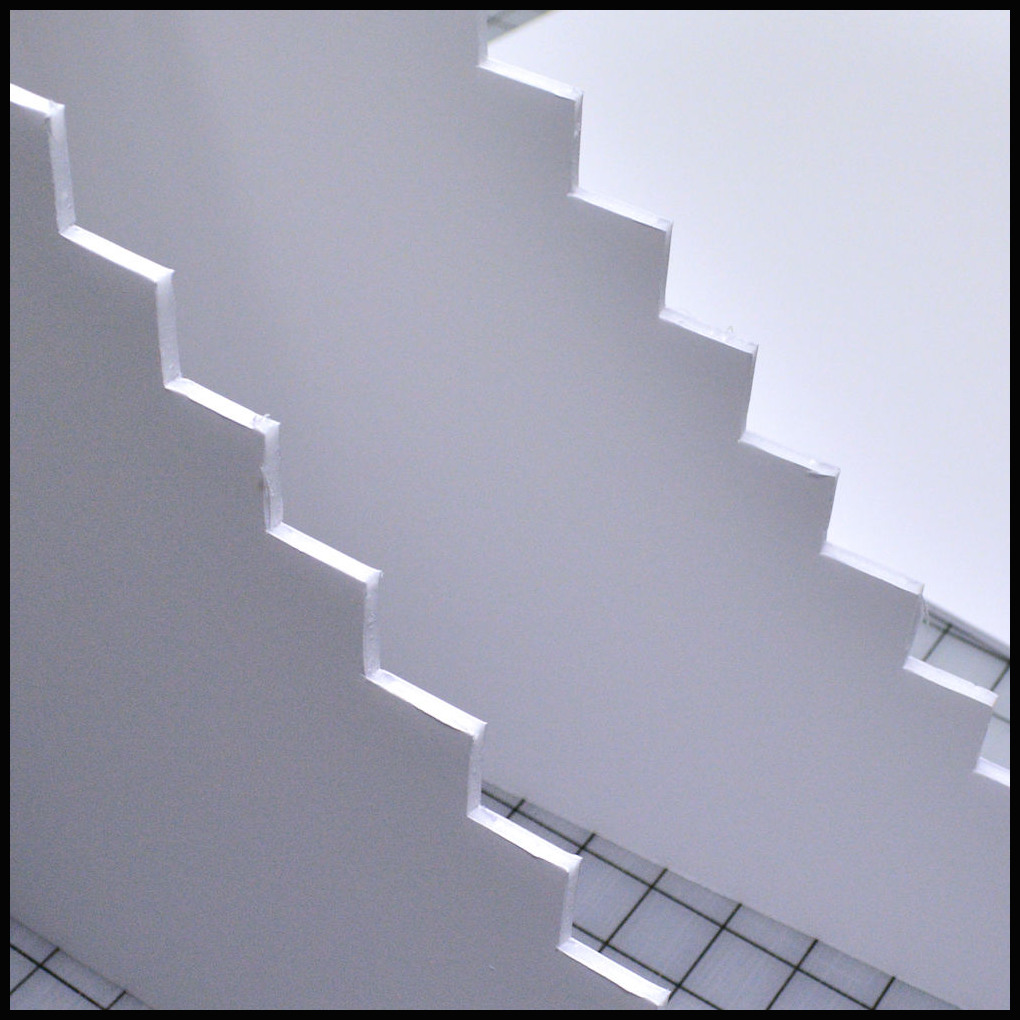
My biggest elevator so far, it’s a movable unit that could be picked up and placed into a diorama. 20″ wide on both the front and back wall, and 10″ deep for both side walls. I kept the 30″ height in case I wanted to use these foam boards for other things later. It has it’s own 1/4″ foam board floor that’s covered in a dark grey wood grain and is pinned with flat sewing pins to the four walls on all sides.
I made all the walls out of 1/2″ thick black foam board. The interior has a concrete look contact paper on the side walls. The interior back wall top halve has a plastic window coating film (used in bathroom windows for privacy when you need light).
The hand rails are all balsa wood flat strips partially covered in silver contact paper. the floor boards are the same balsa wood striped not covered. I also used them in the doors to cover the cut foam board and make the doors look finished.
The sliding doors are two 1/4″ foam board rectangle pieces covered in silver contact paper and black shiny contact paper on the edges. I’m using masking tape on the backside of this wall to keep the doors in place, either closed or open.
The UP/DOWN arrows at the top of the doorway are mirror stickers from the scrapbook section of Joann’s. The buttons to press on the wall are also 3-D gem stickers used in scrapbooks.
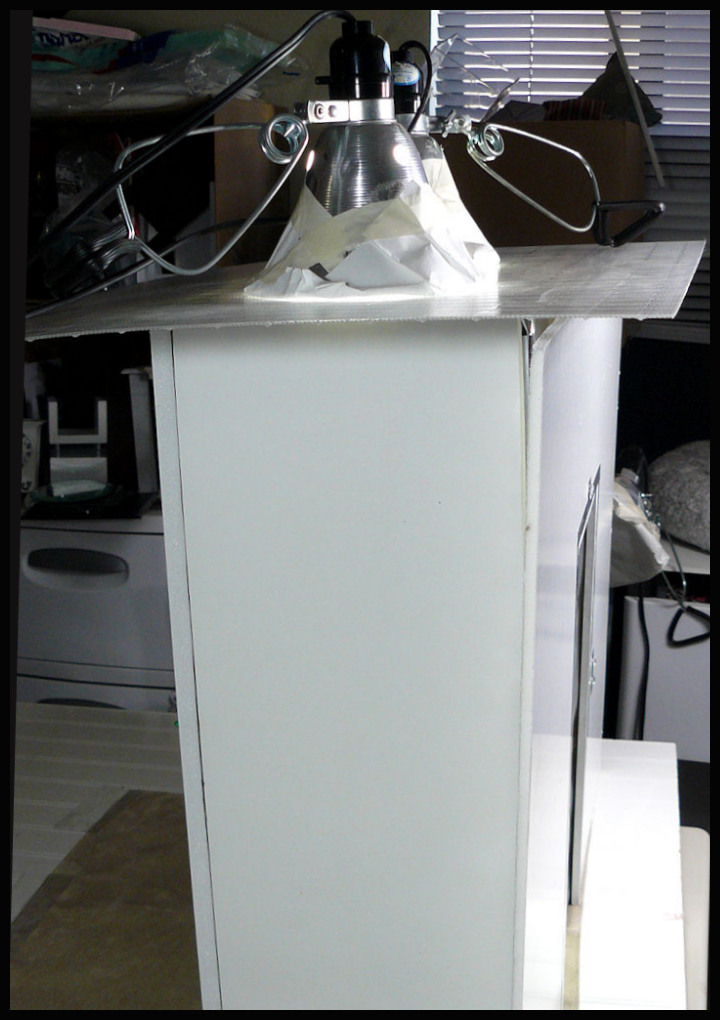
I’ve got a light can resting on Plexiglas at the top of the elevator to light the room.
At the time of writing this I haven’t put out the story this set goes with, so I can’t show too much. I’ll add more photos to this tutorial after the story is released.
ELEVATOR #3 PHOTOS
My future challenges to myself:
(1) Figure out how to make them look like they’re moving incorrectly (doors open no elevator, doors open, elevator half way up, etc).
(2) Be able to take decent photos inside such a tight space.
Thanks for reading my tutorial!
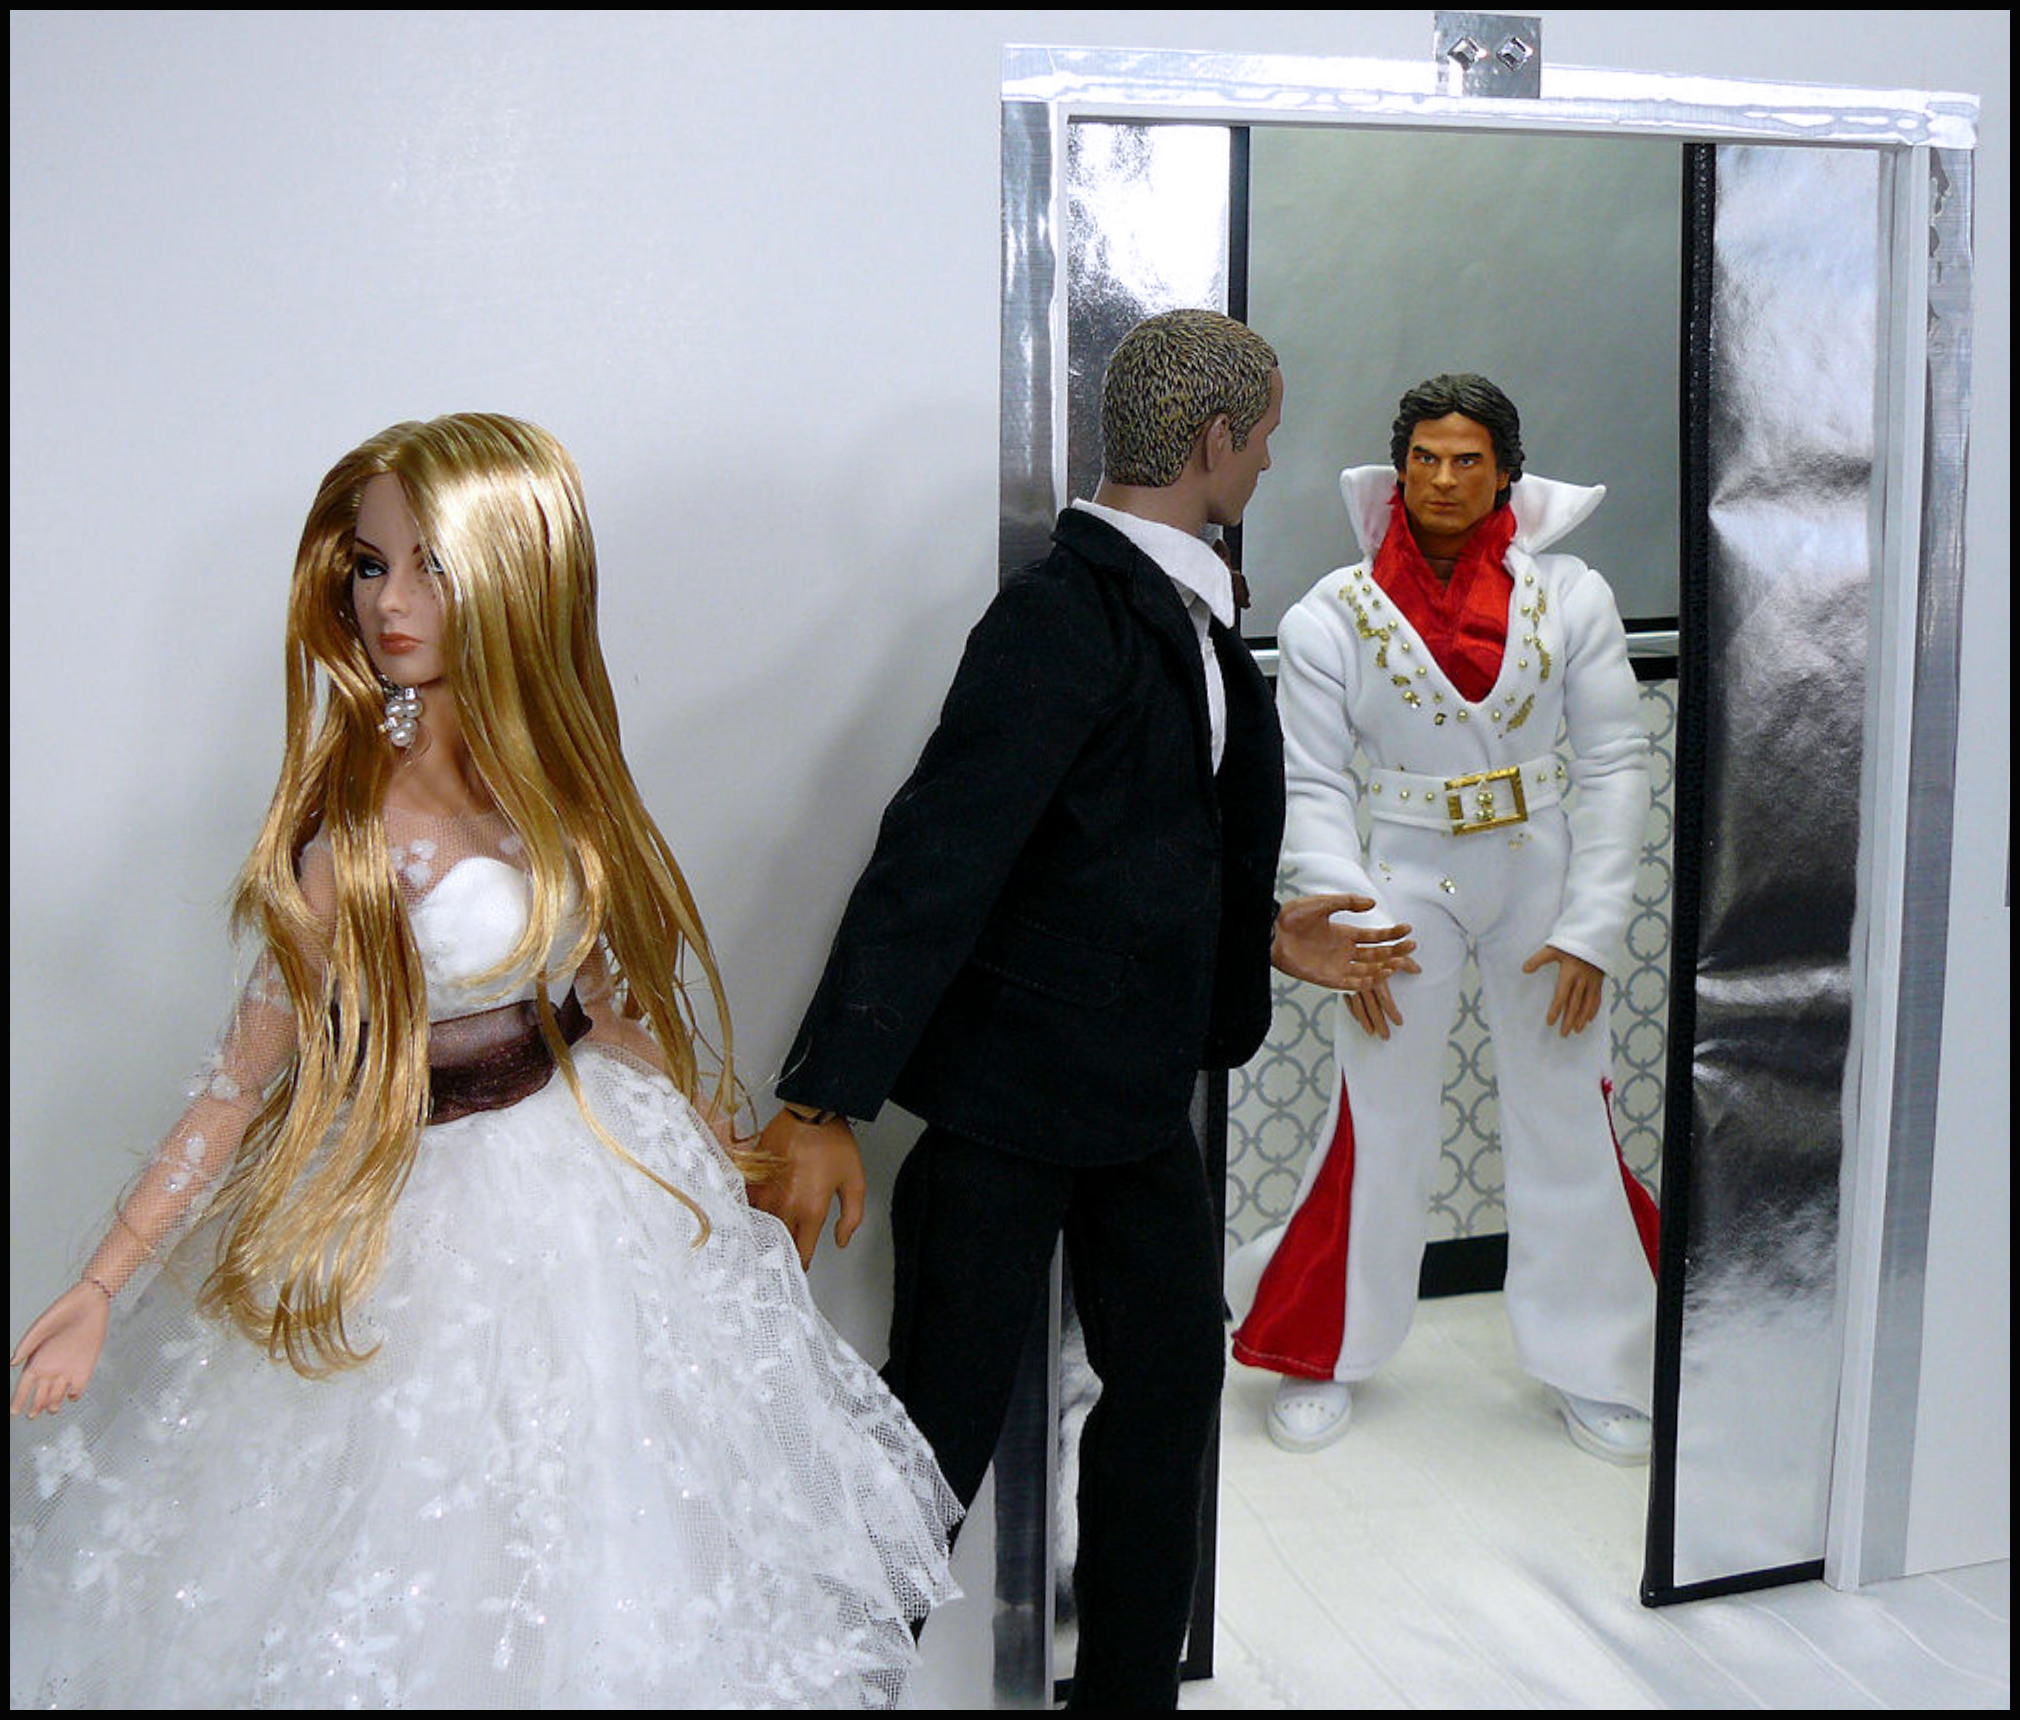
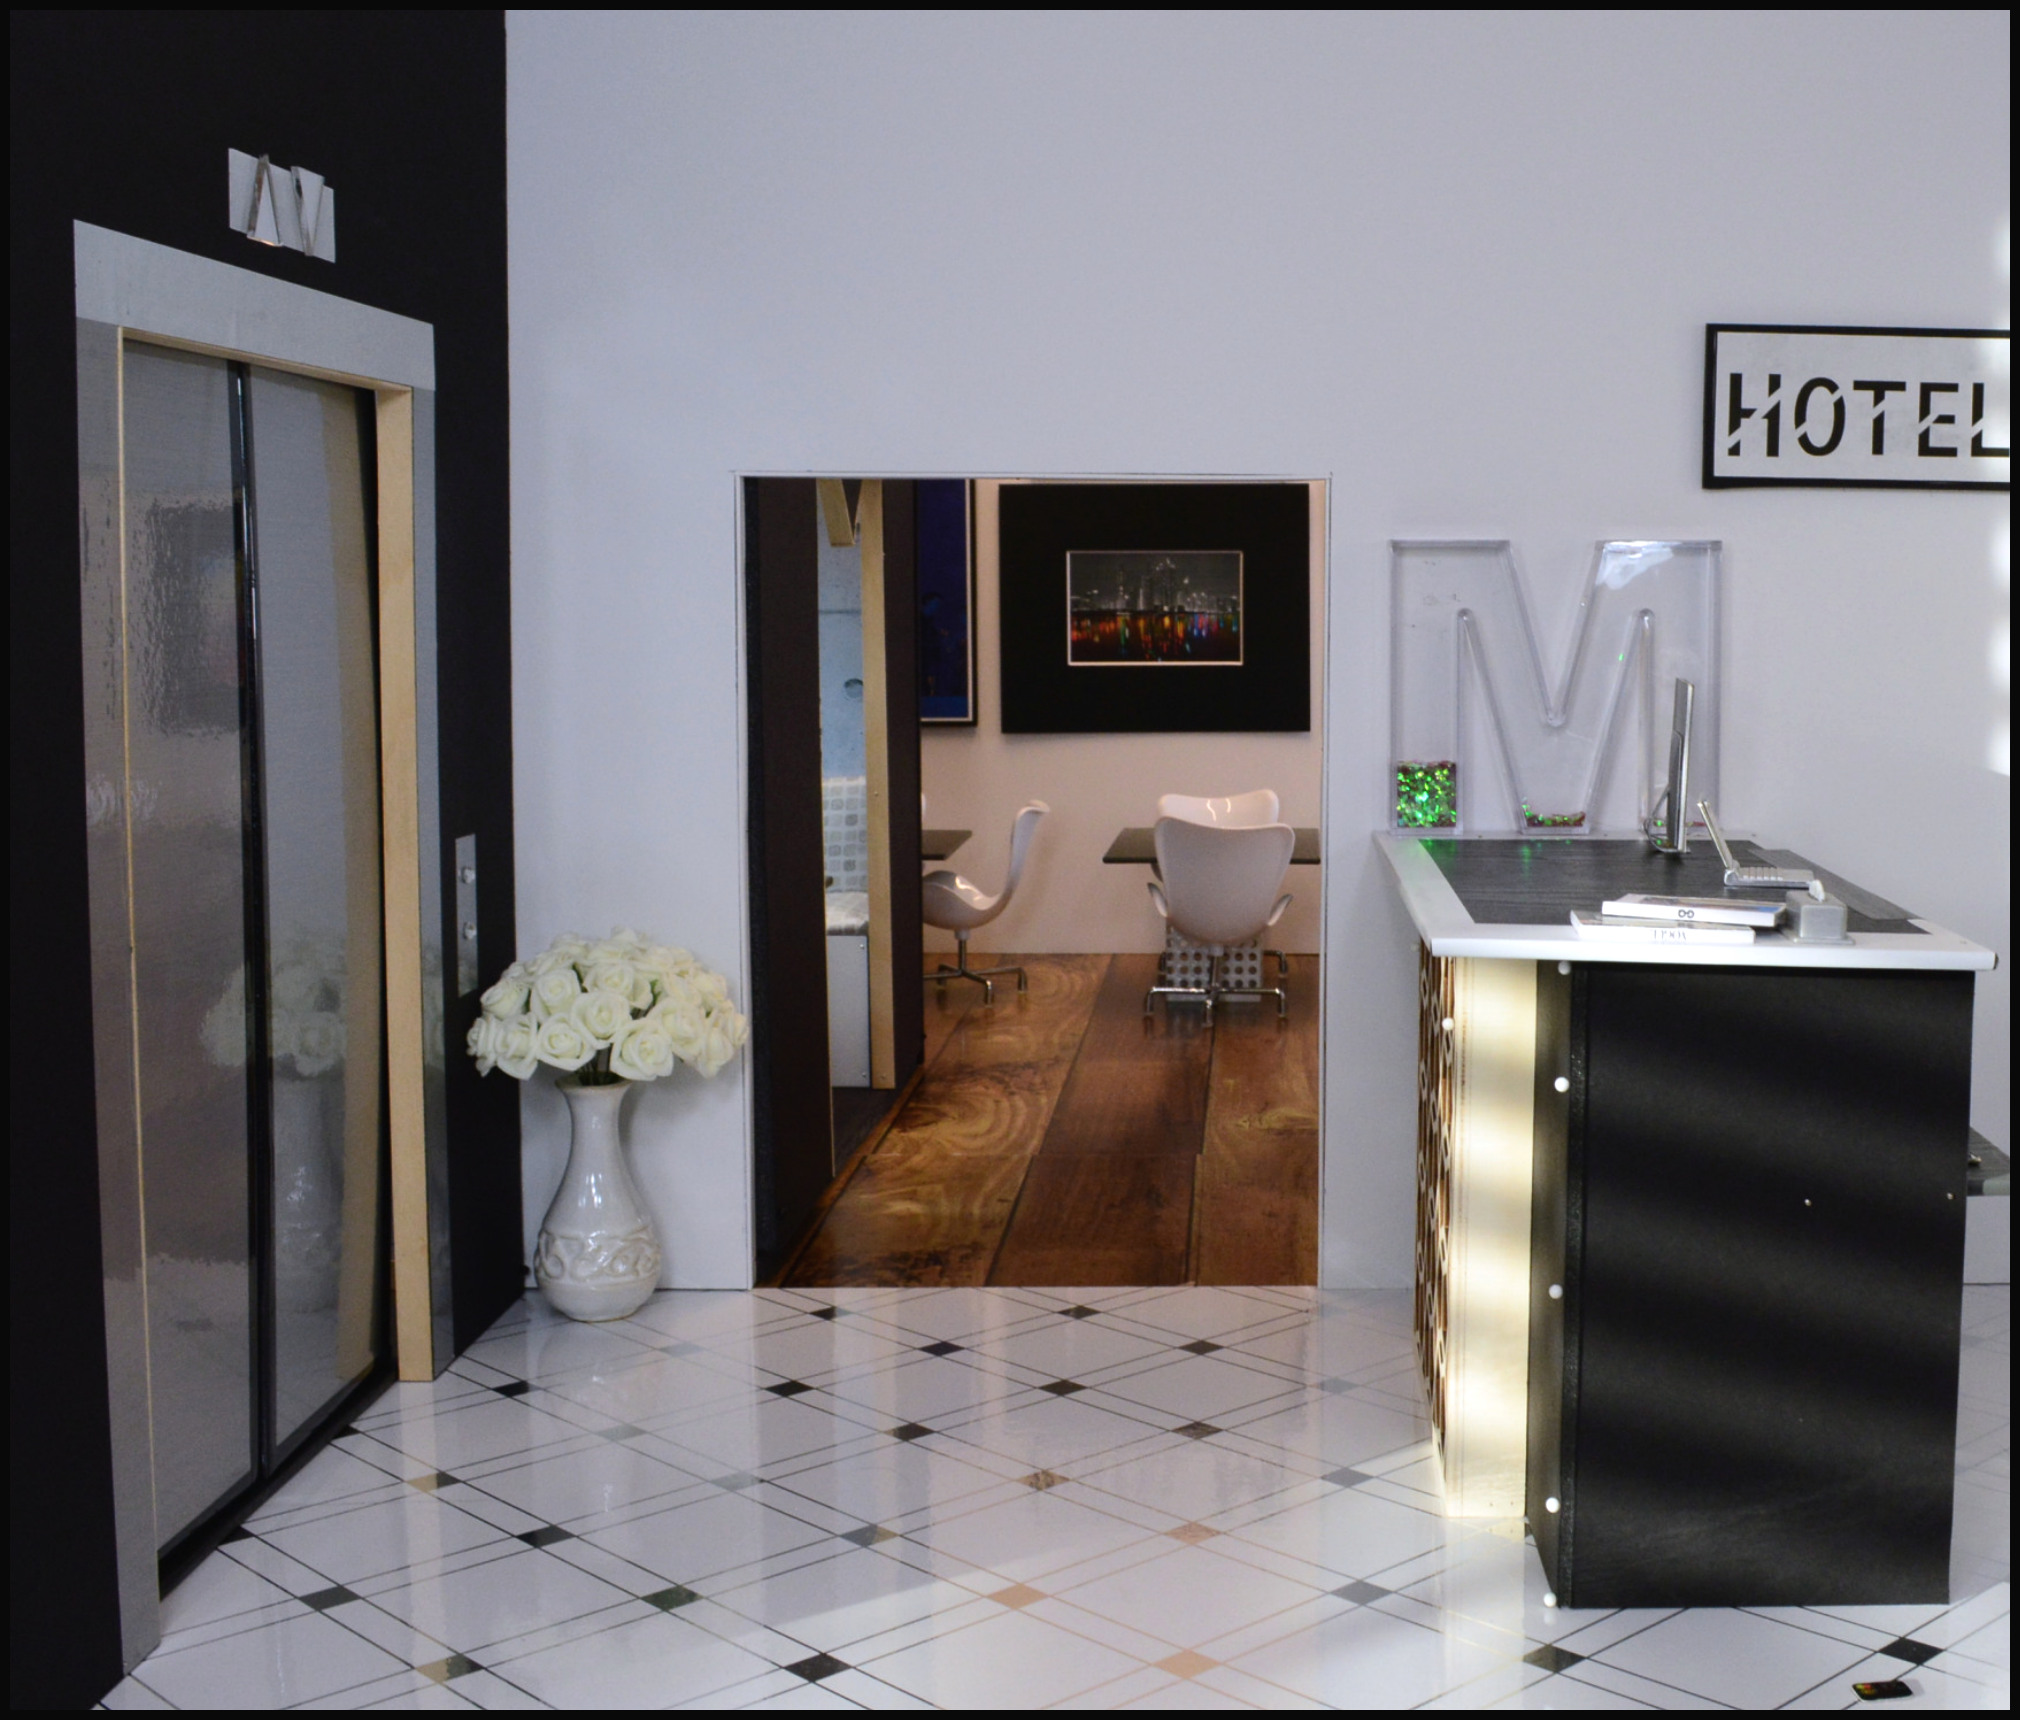
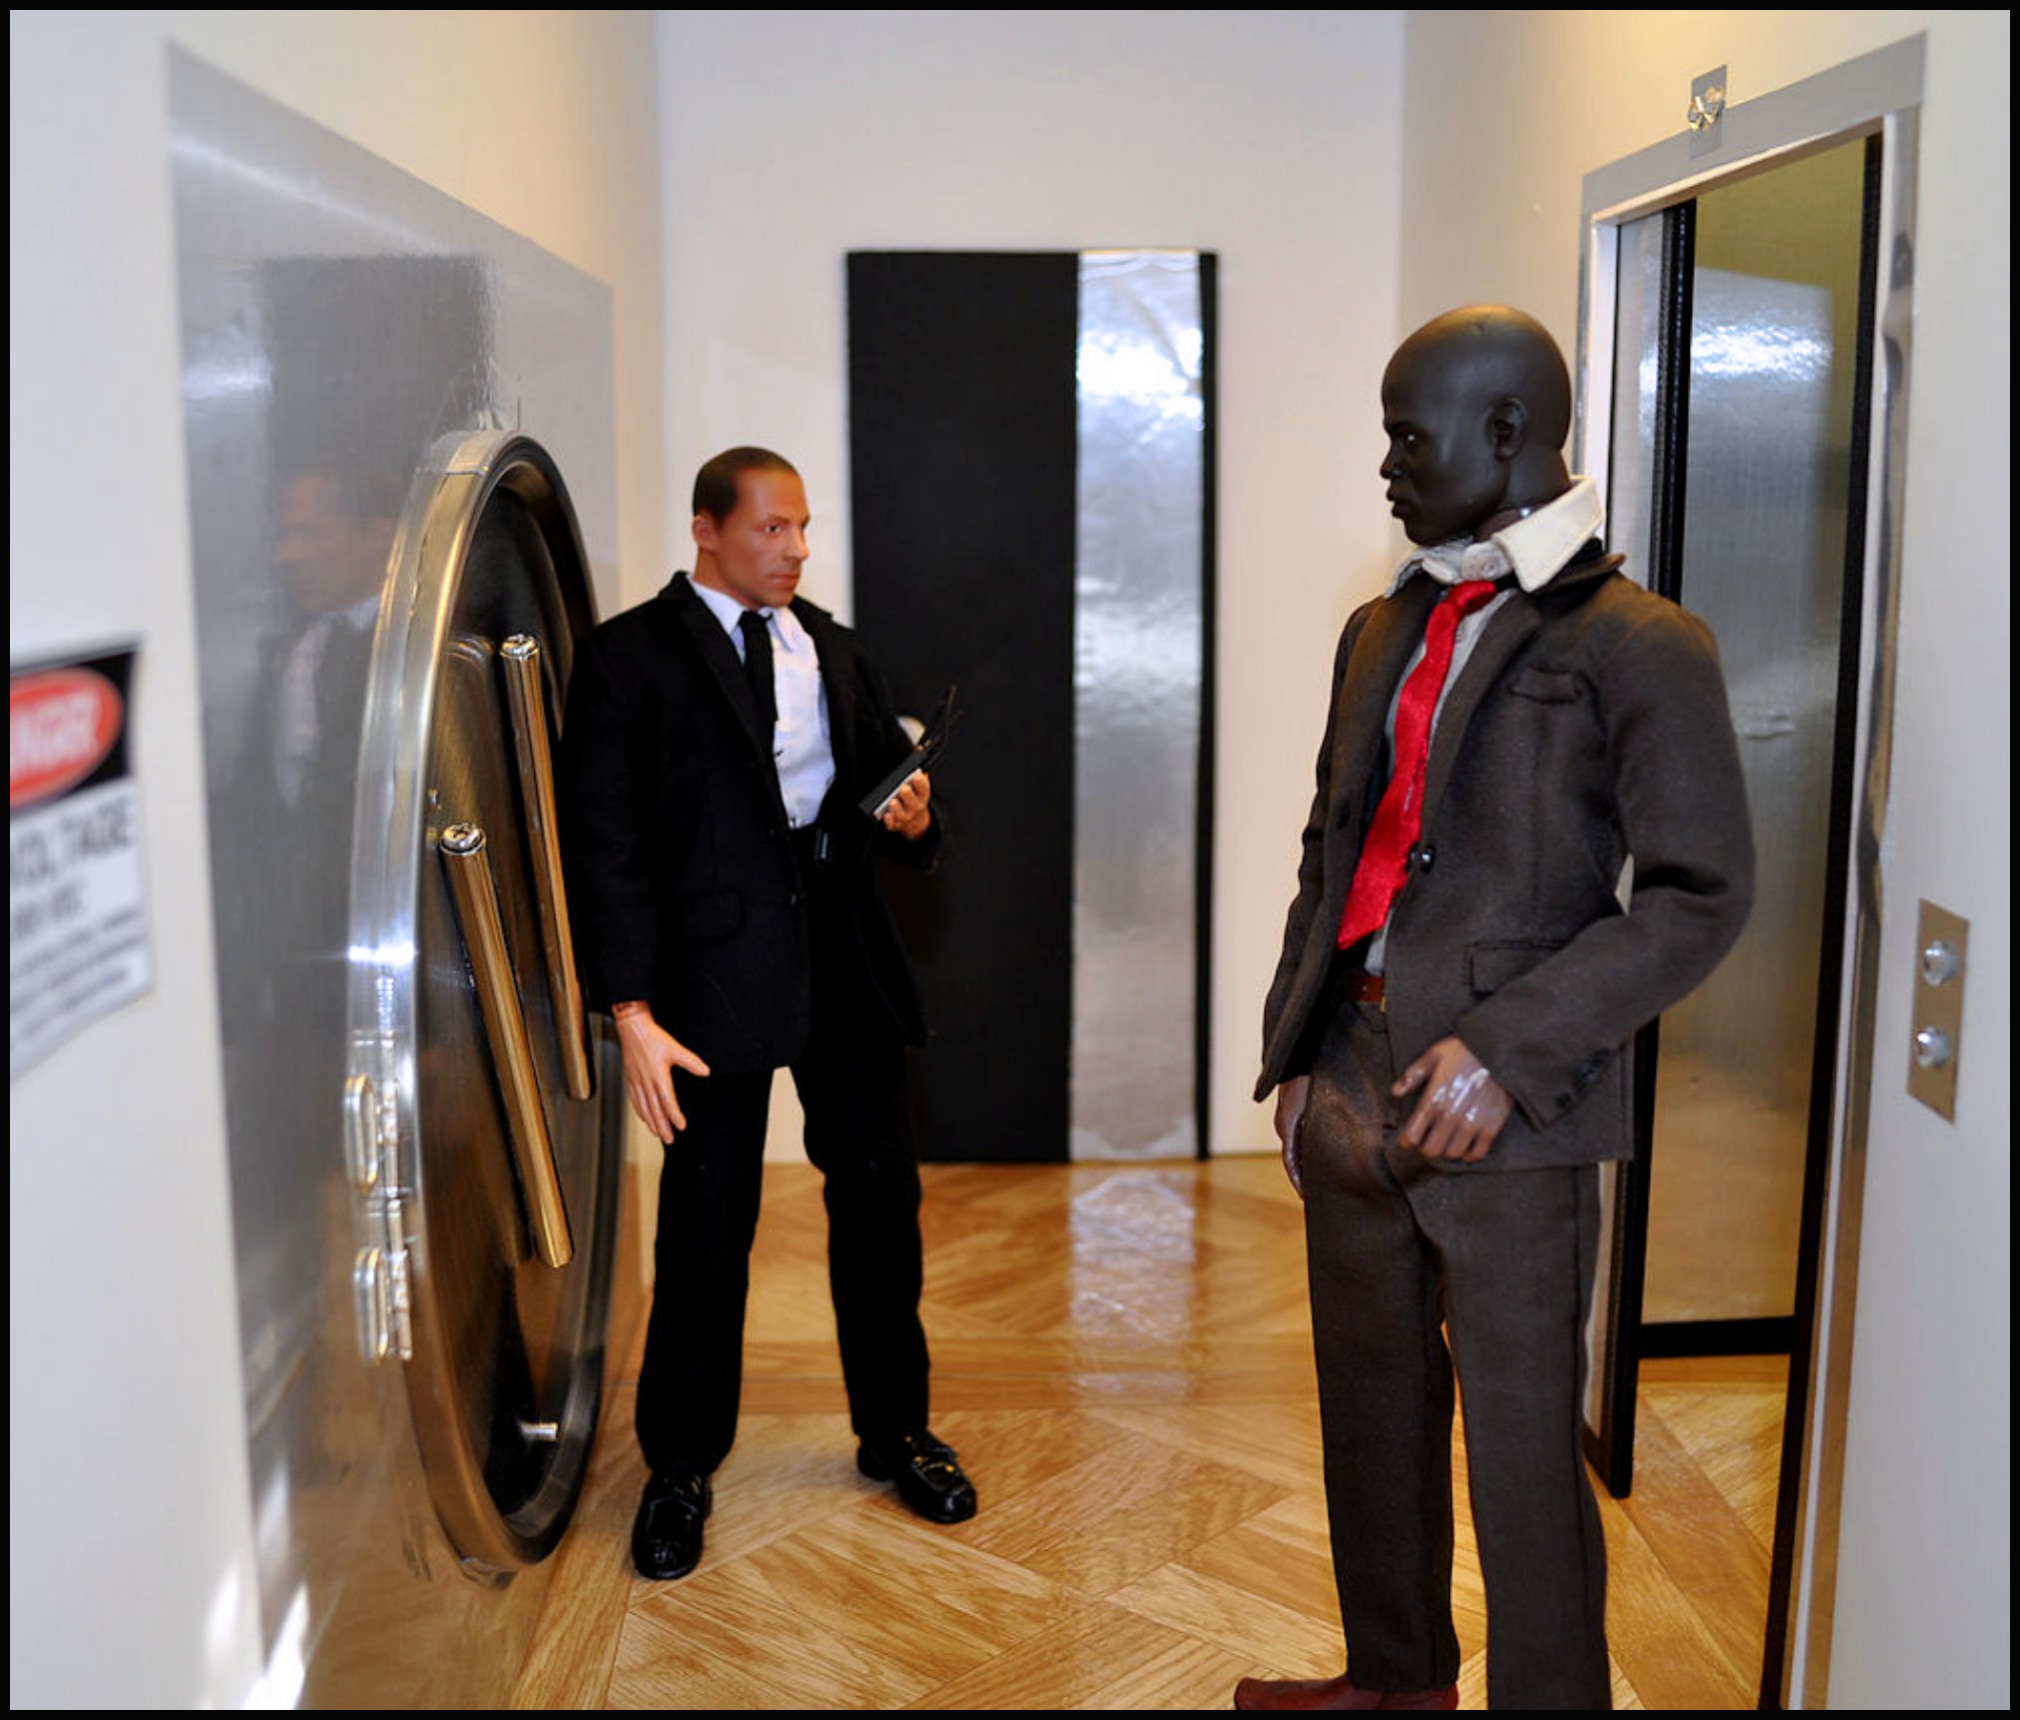
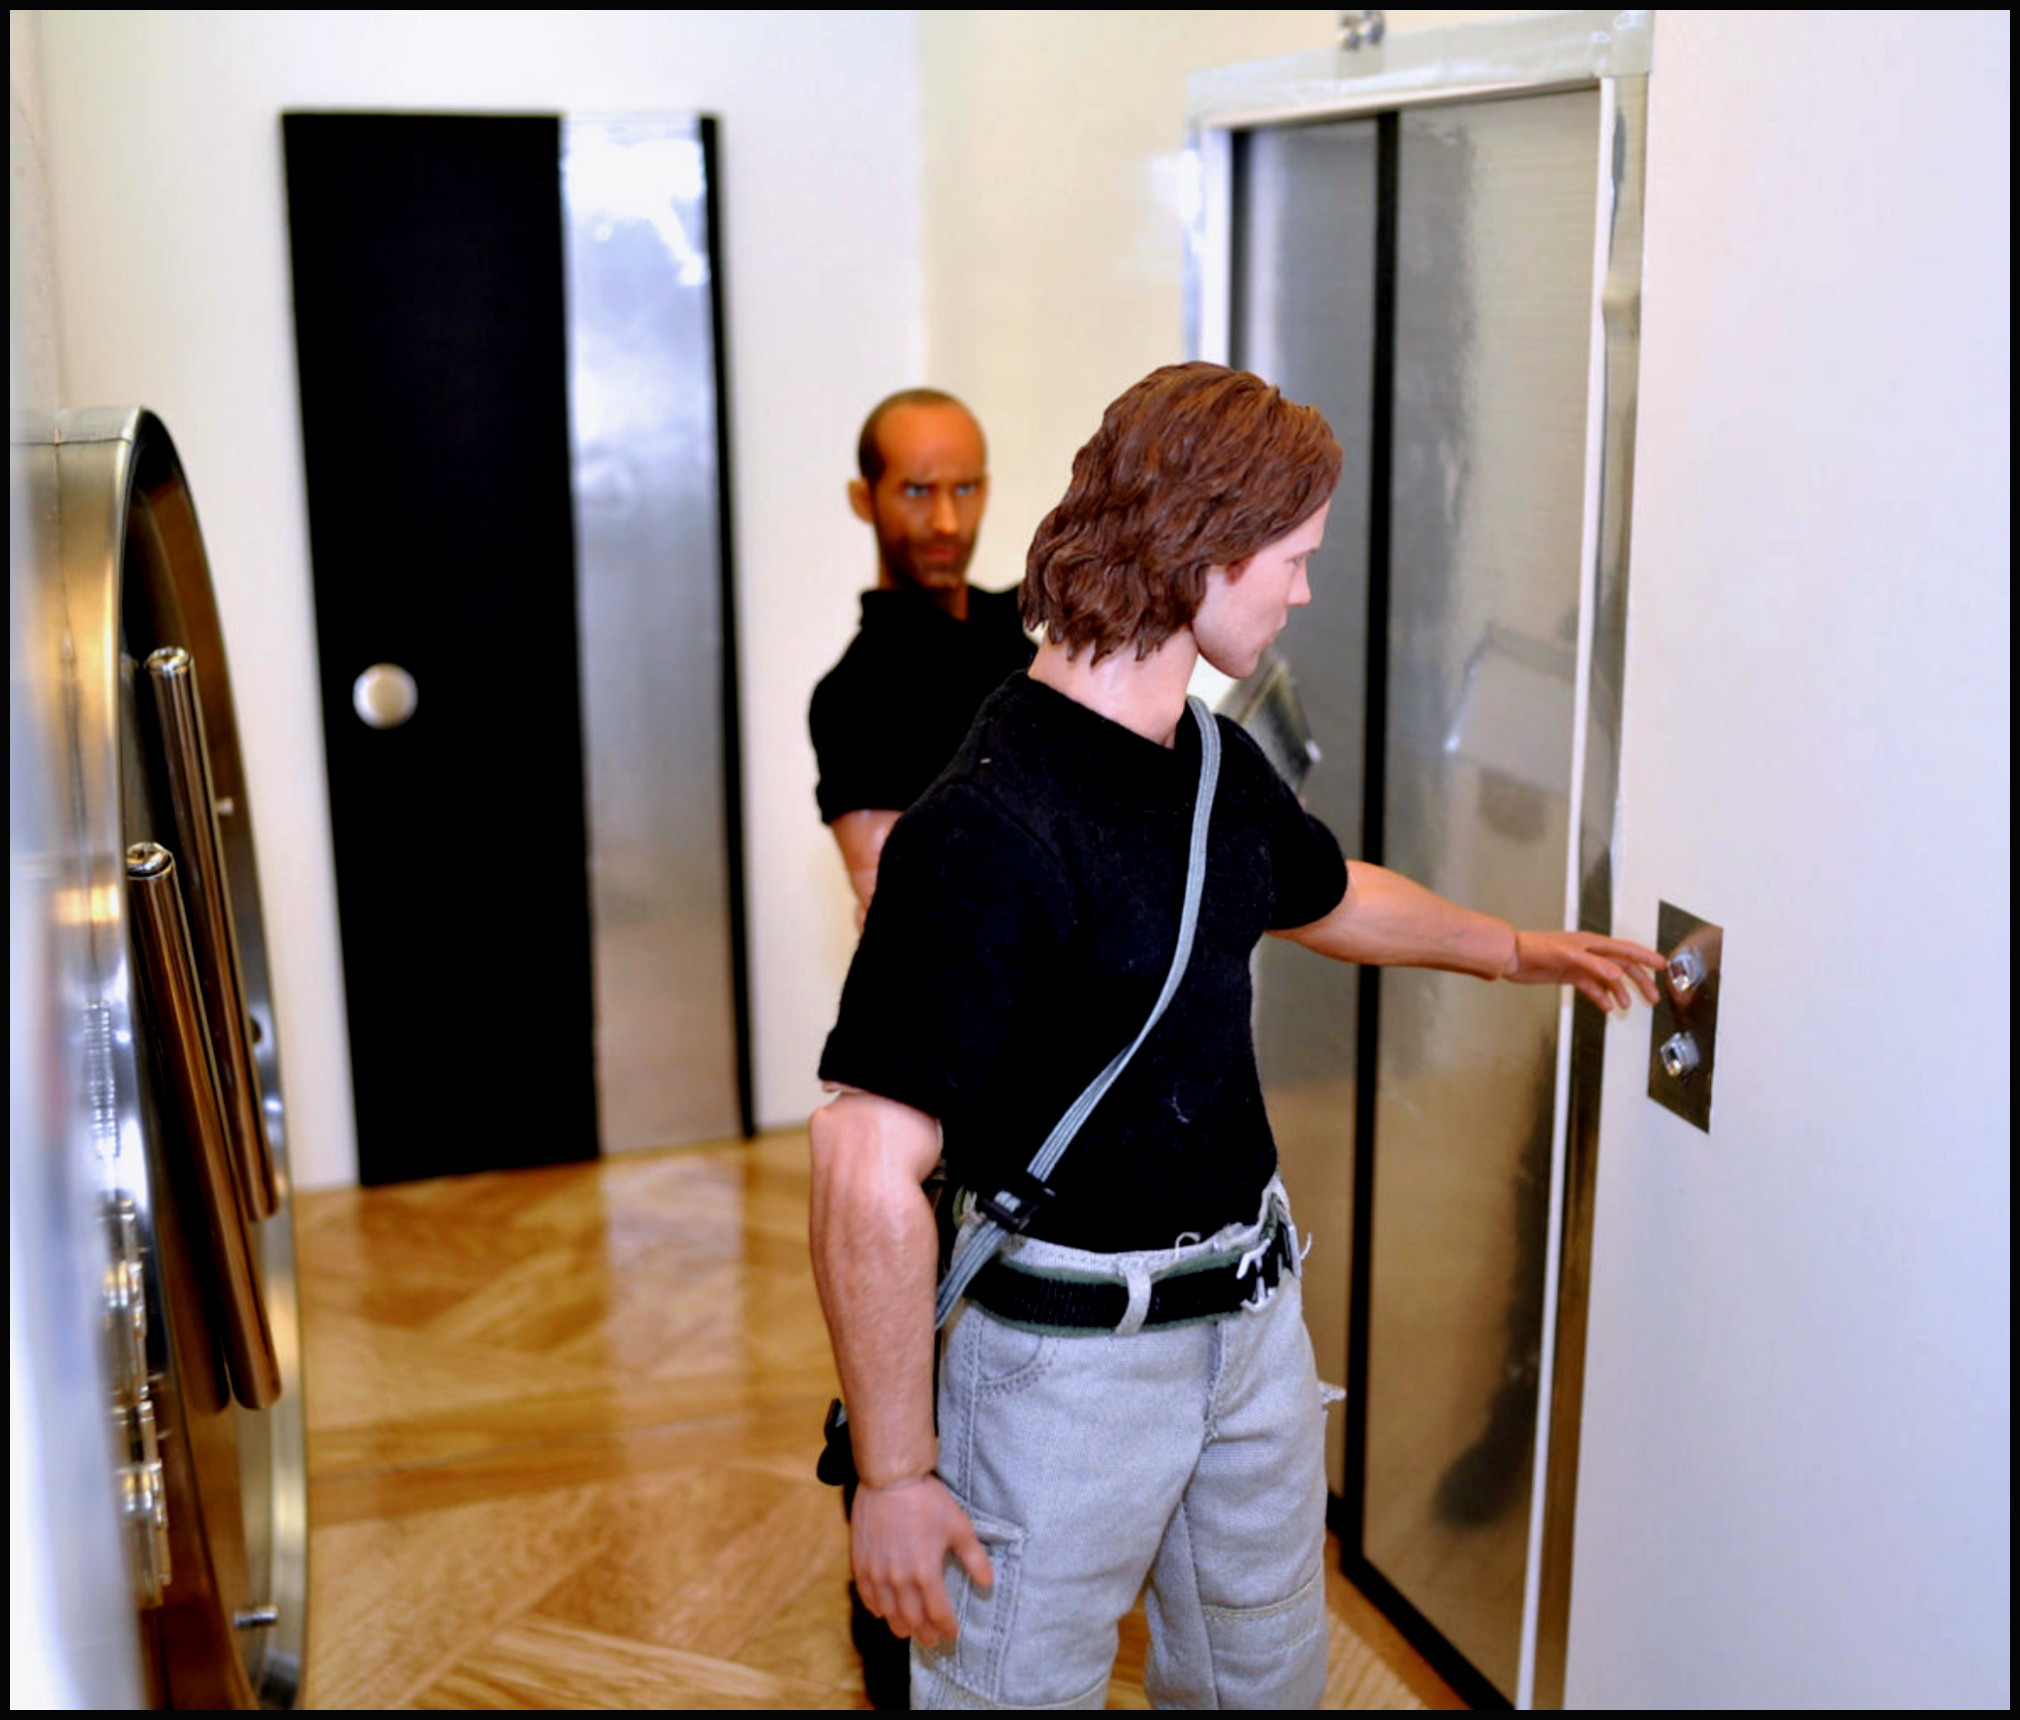
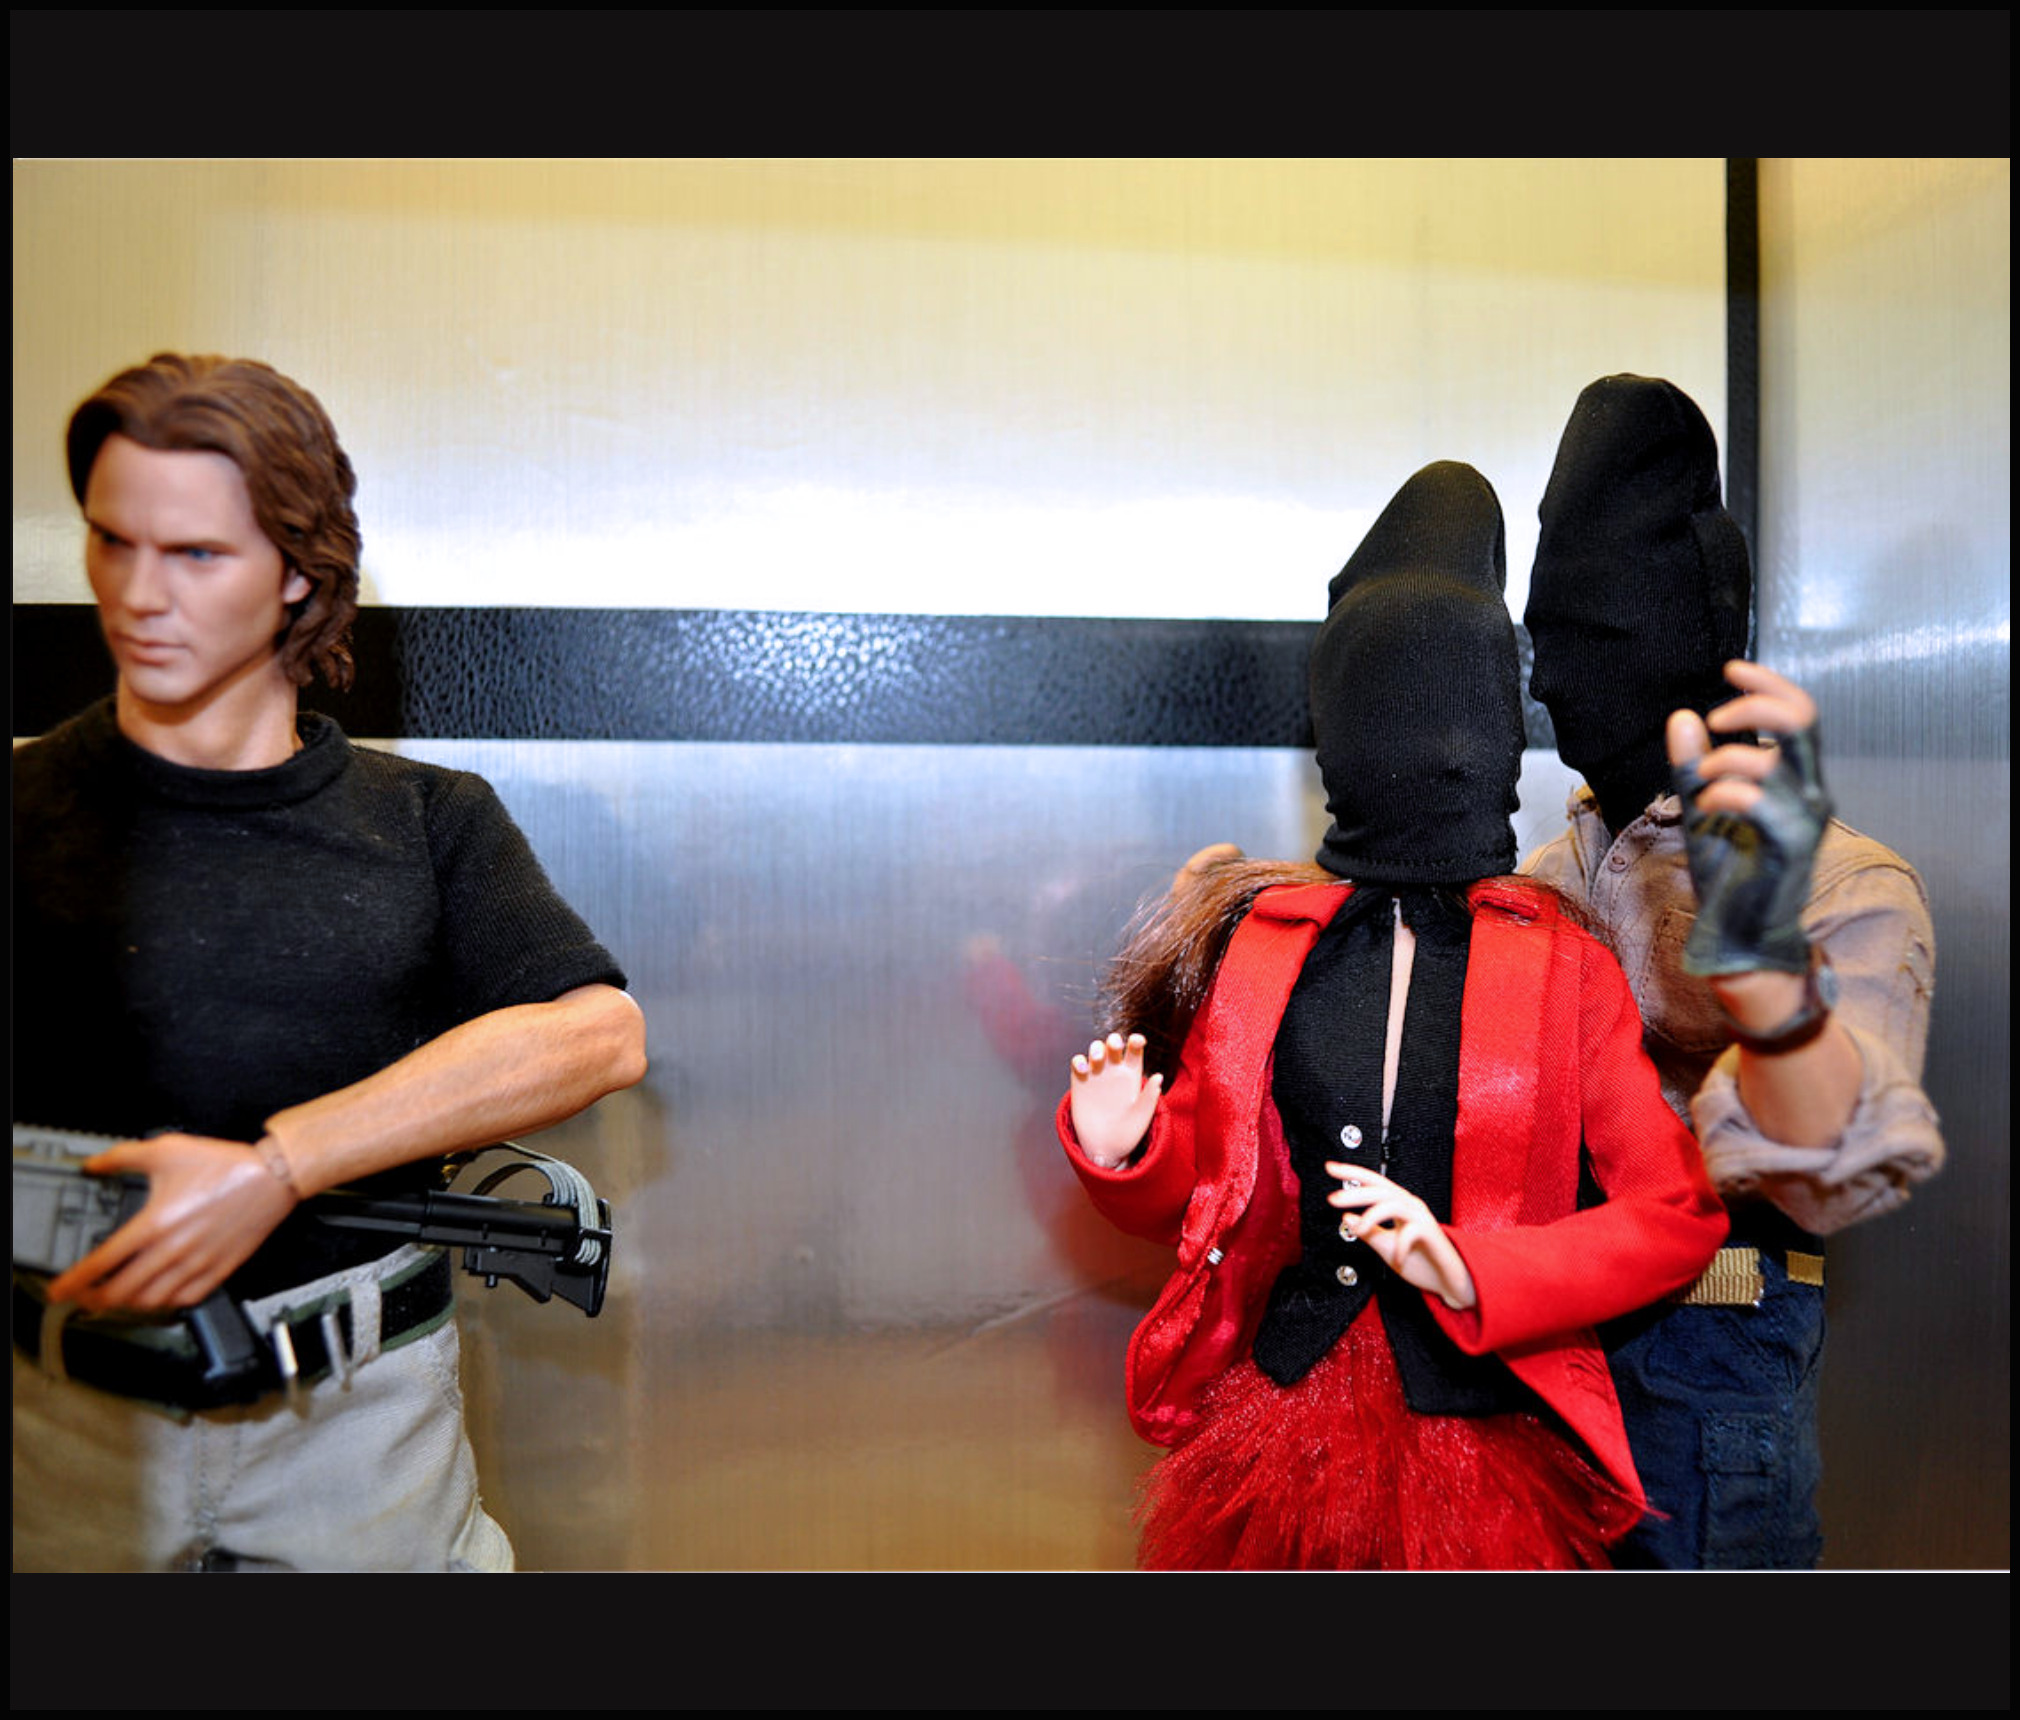
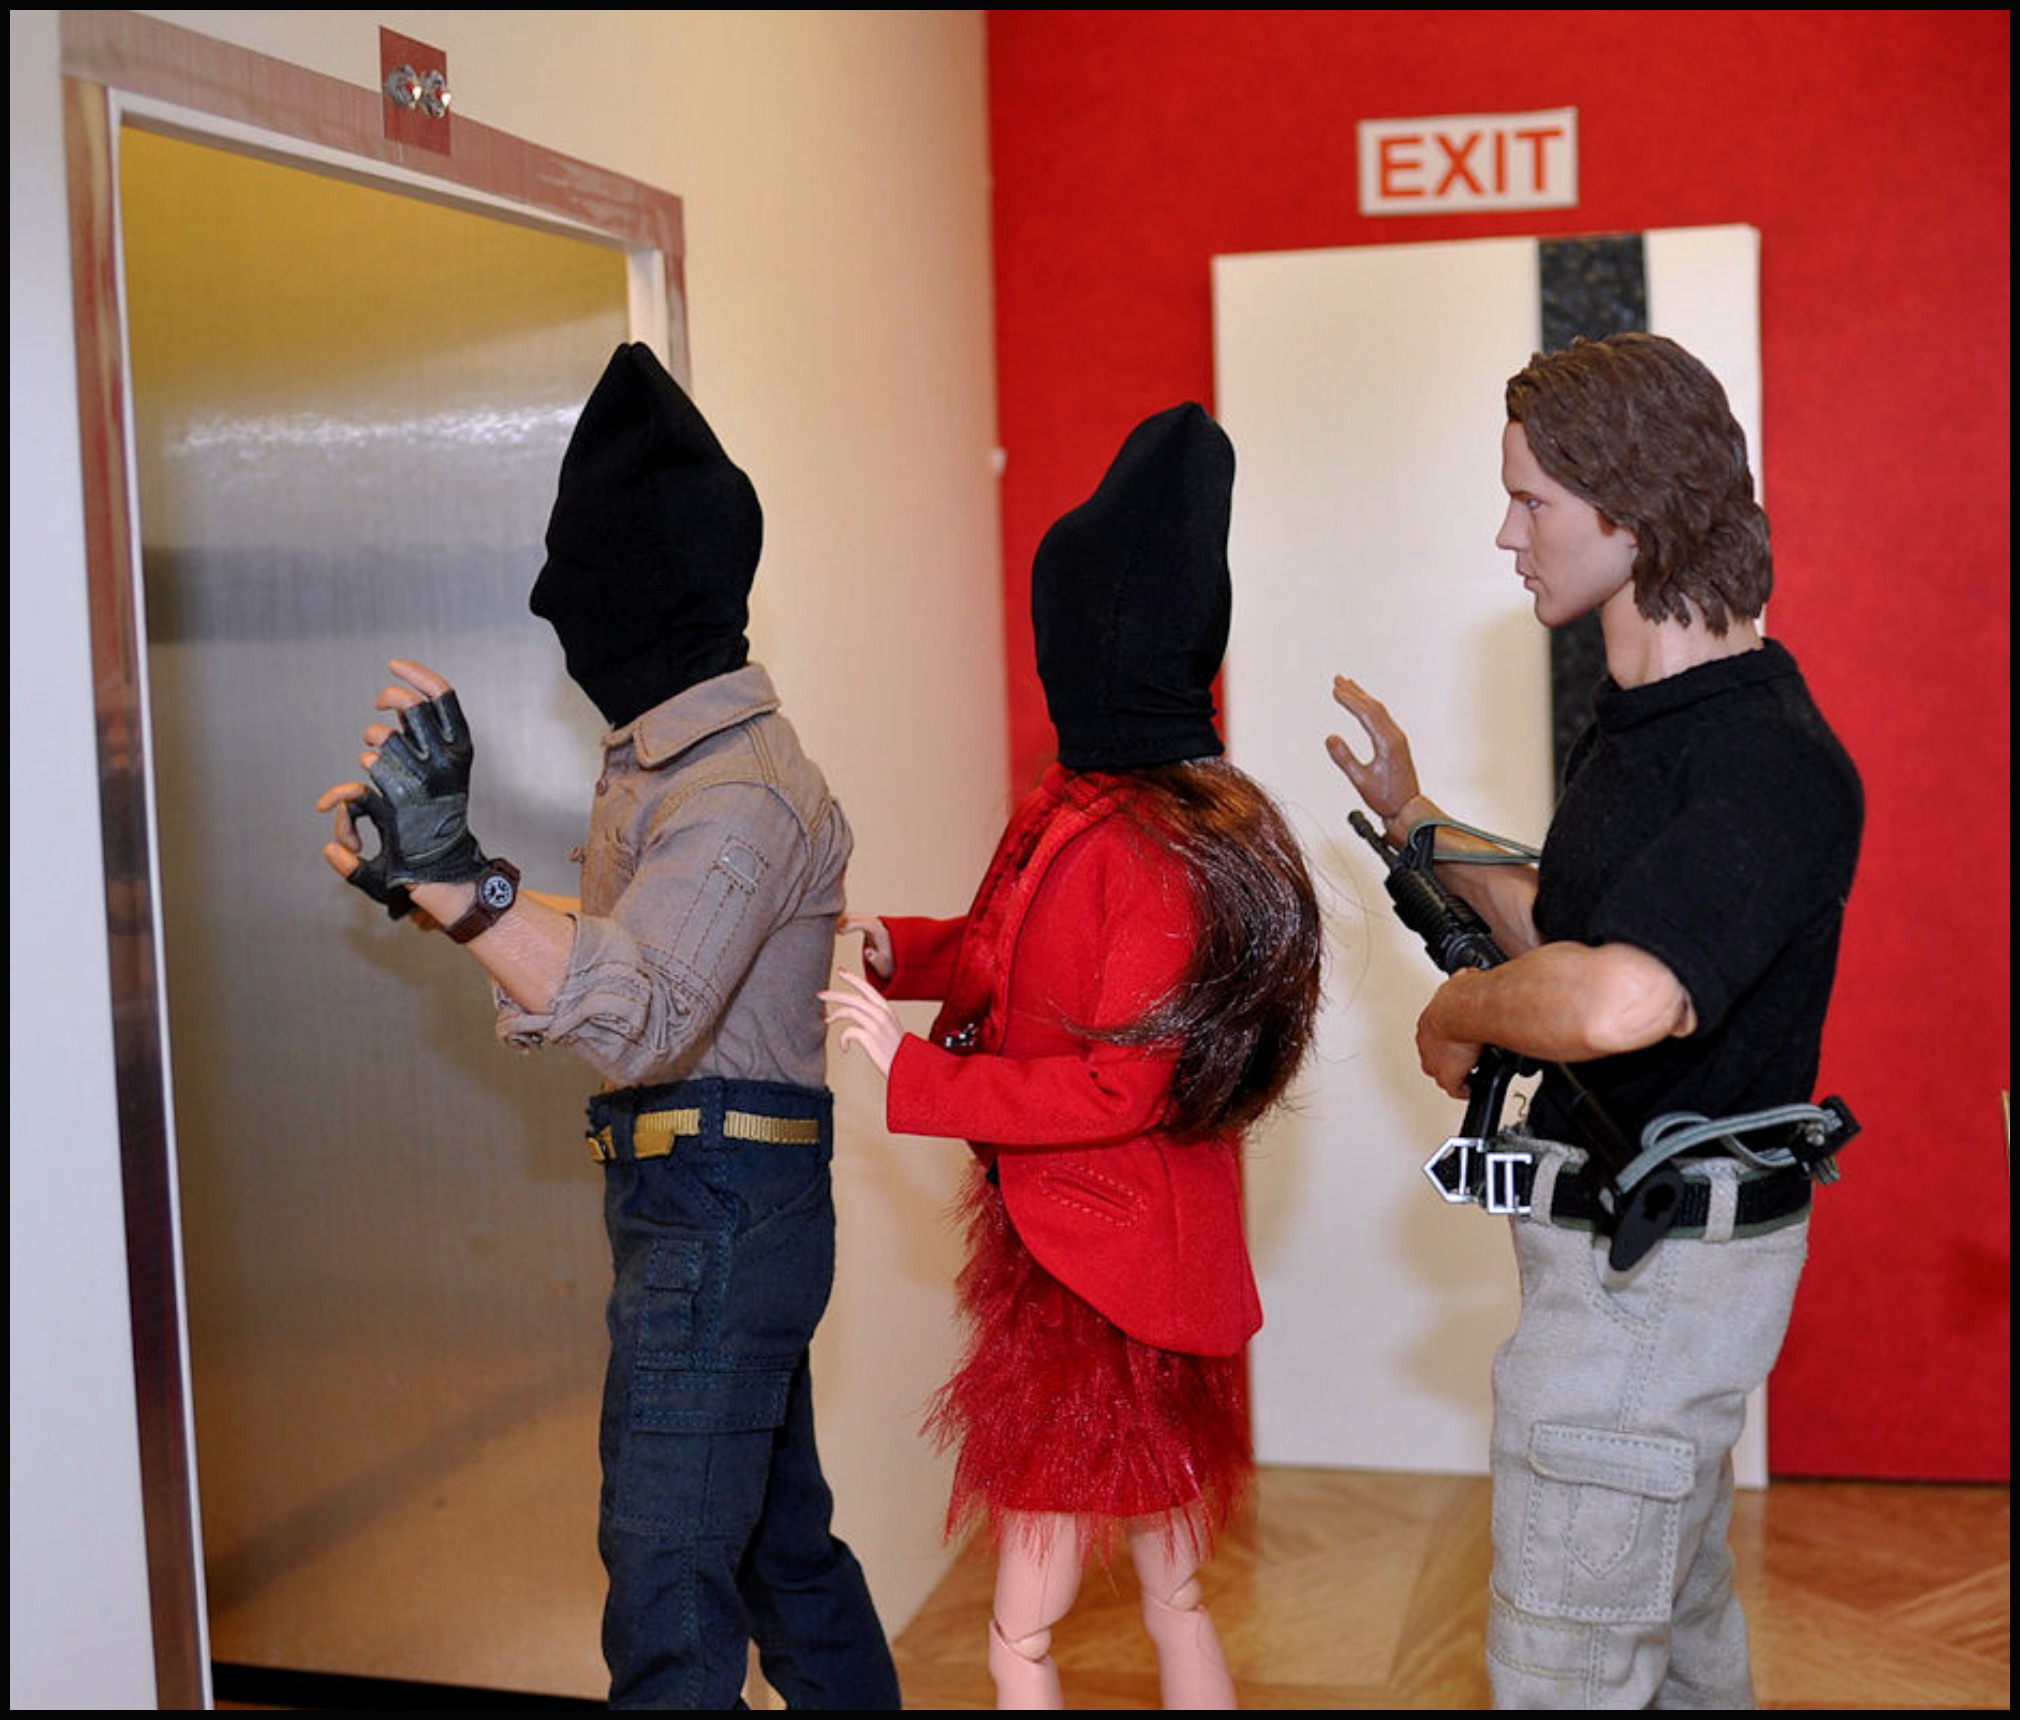
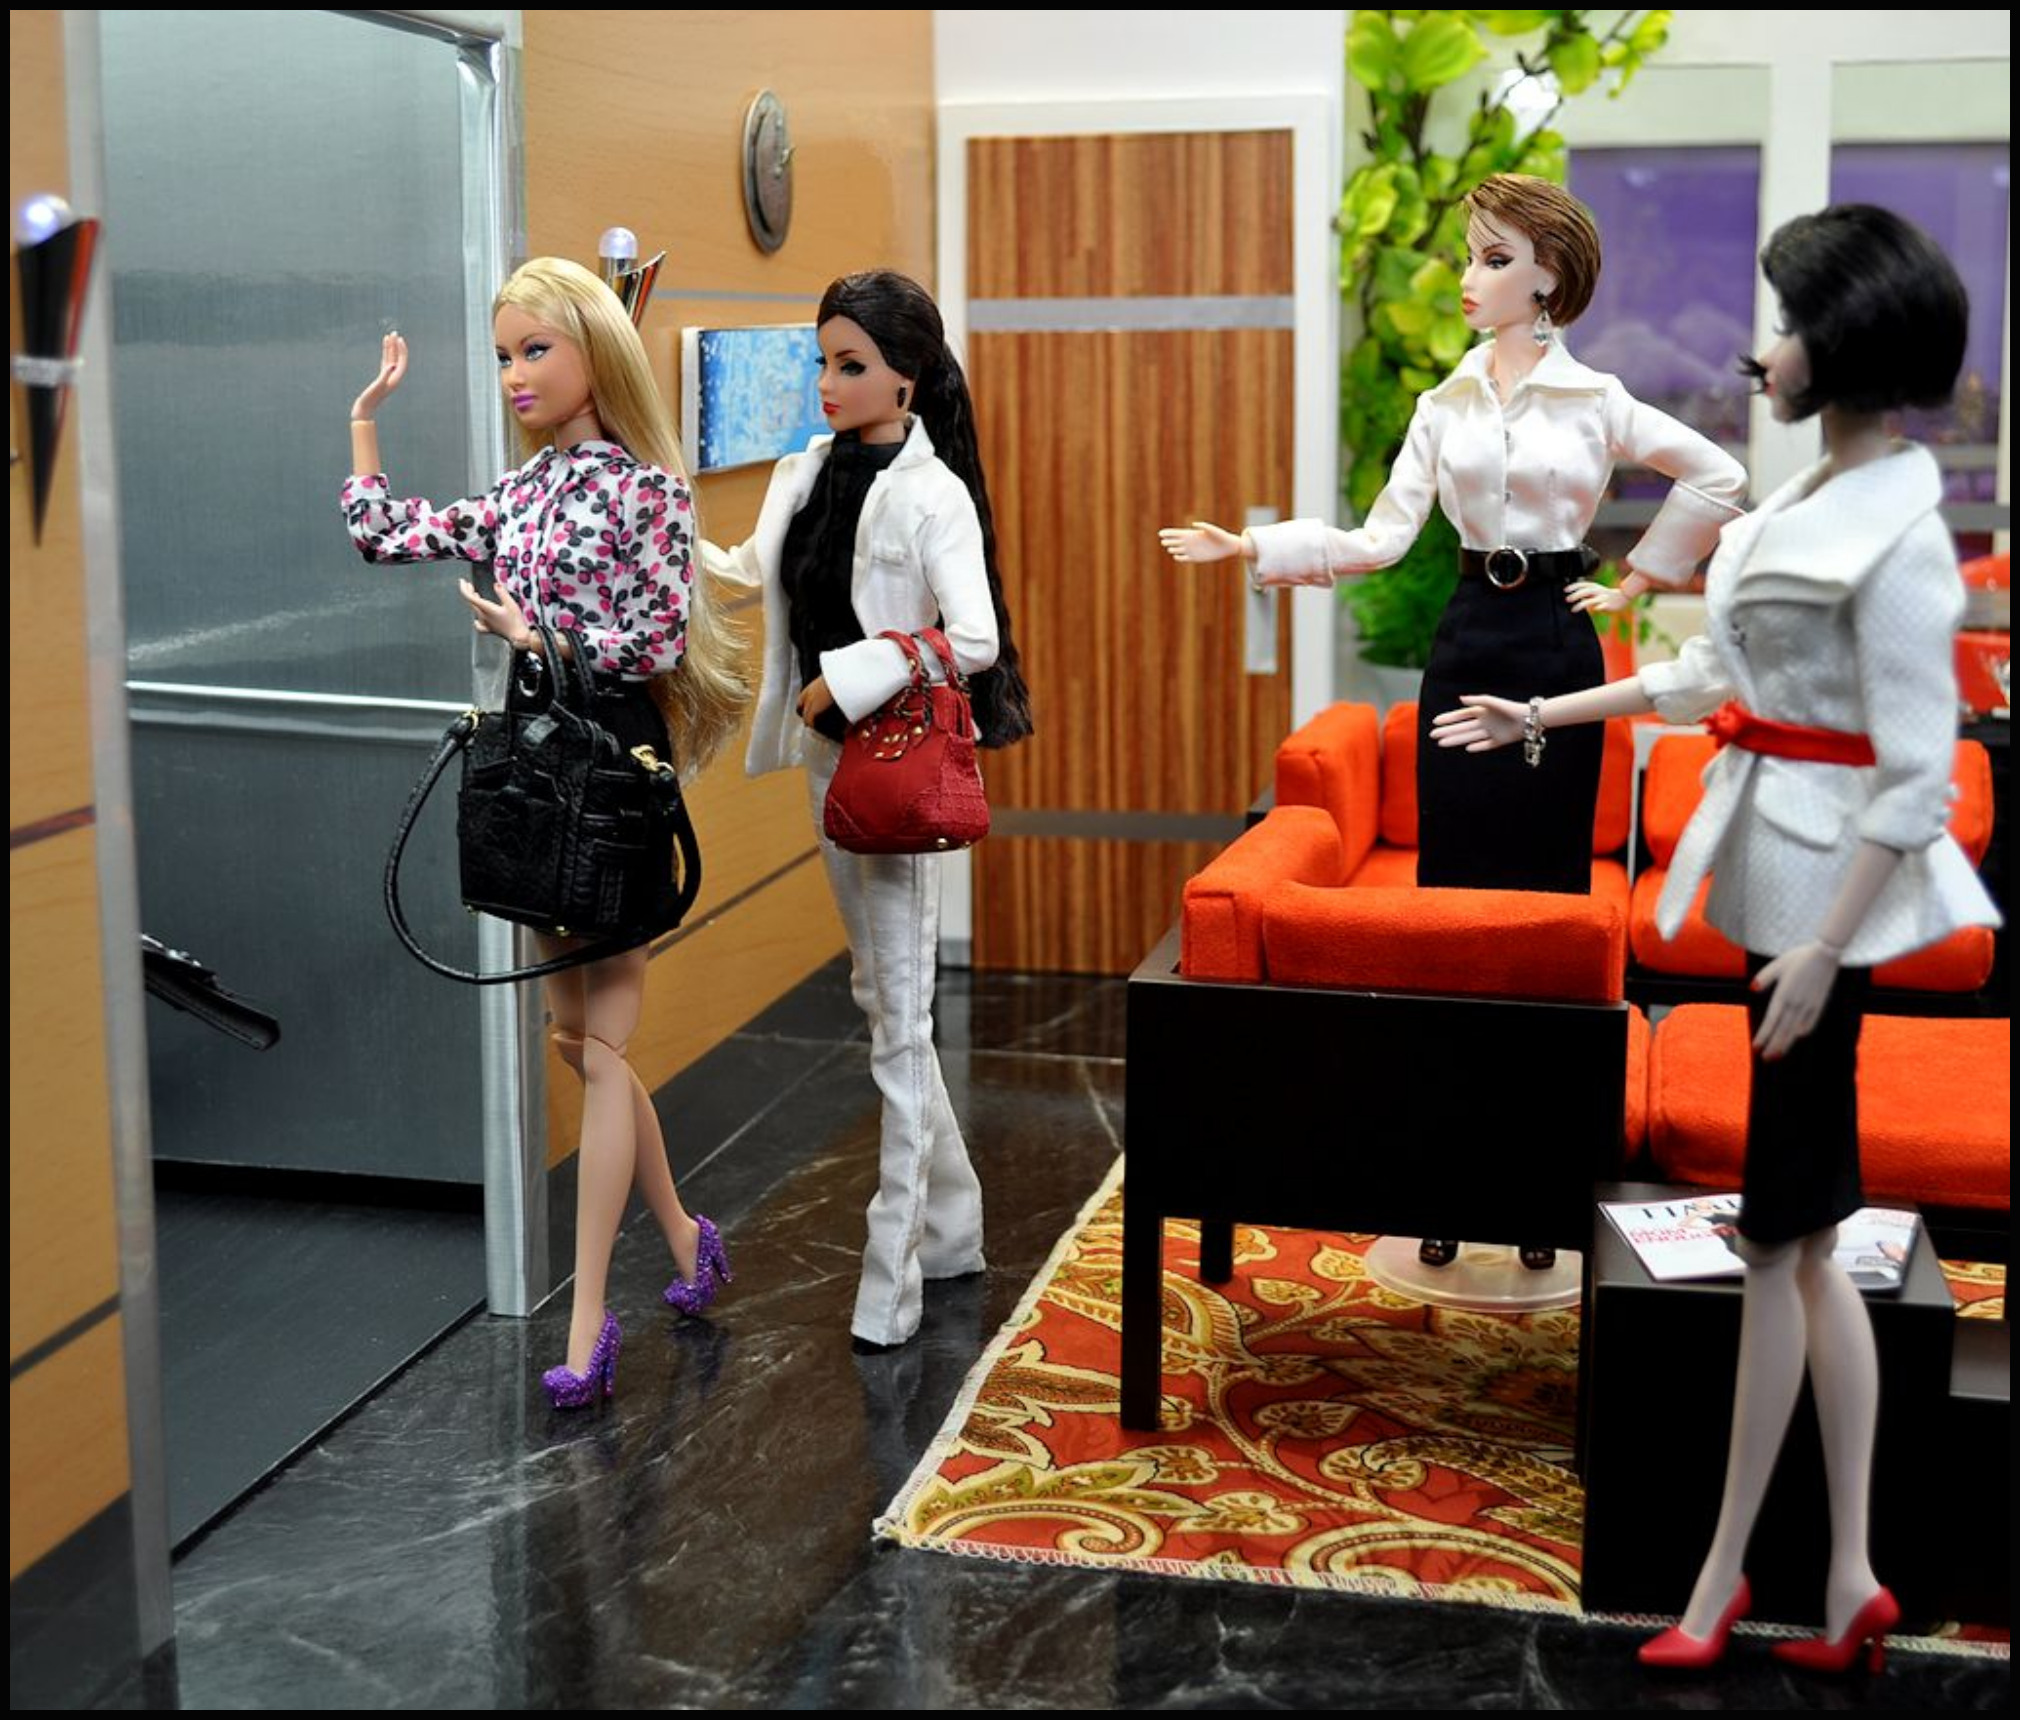
HOW THE ELEVATORS LOOK IN STORIES:
(CLICK ON 1ST PHOTO BELOW TO START SLIDE SHOW)
I love this!! I had to make me one!
Thanks so much Jenni! JATMAN