BATHROOMS
WHAT’S BEING BUILT: SHOWERS, VANITIES & LINEN CLOSETS

MATERIALS NEEDED
Cutting Board
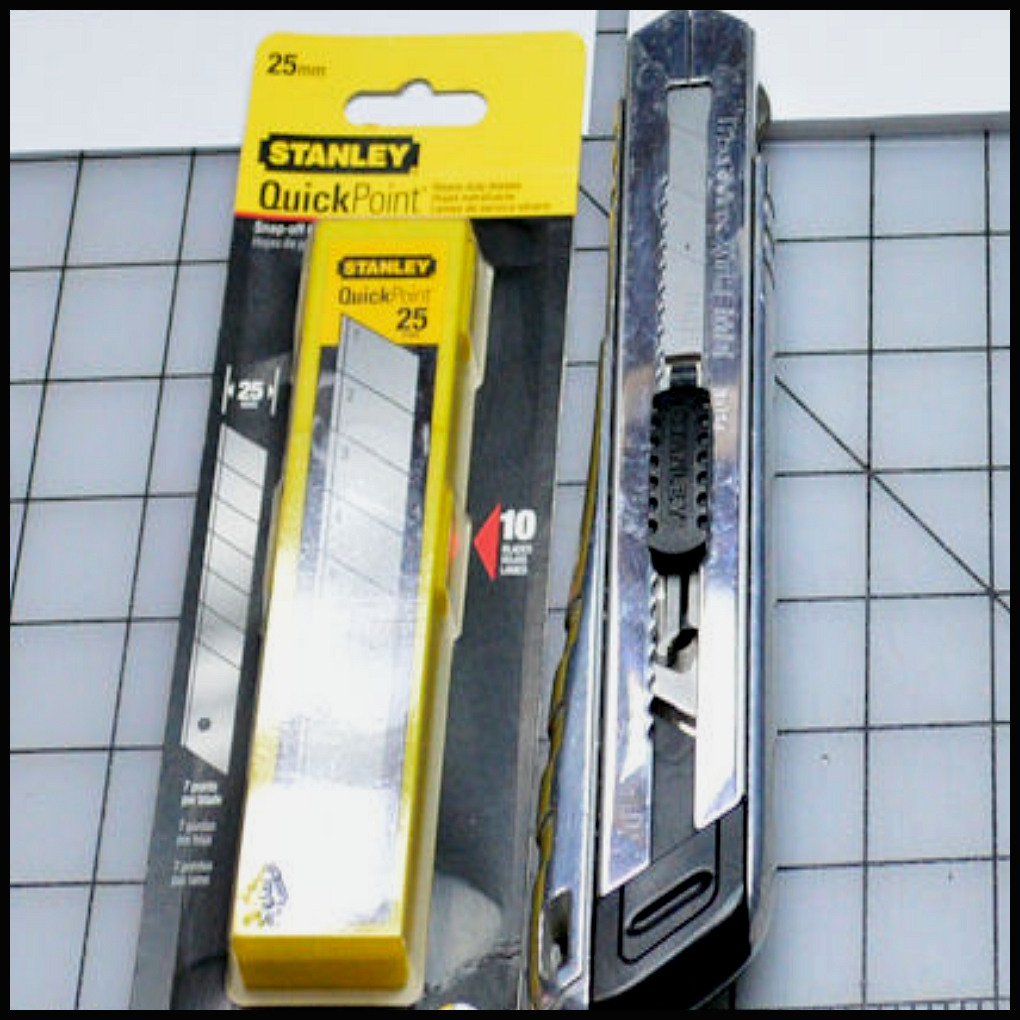
Cutting Tool

Hair Clip
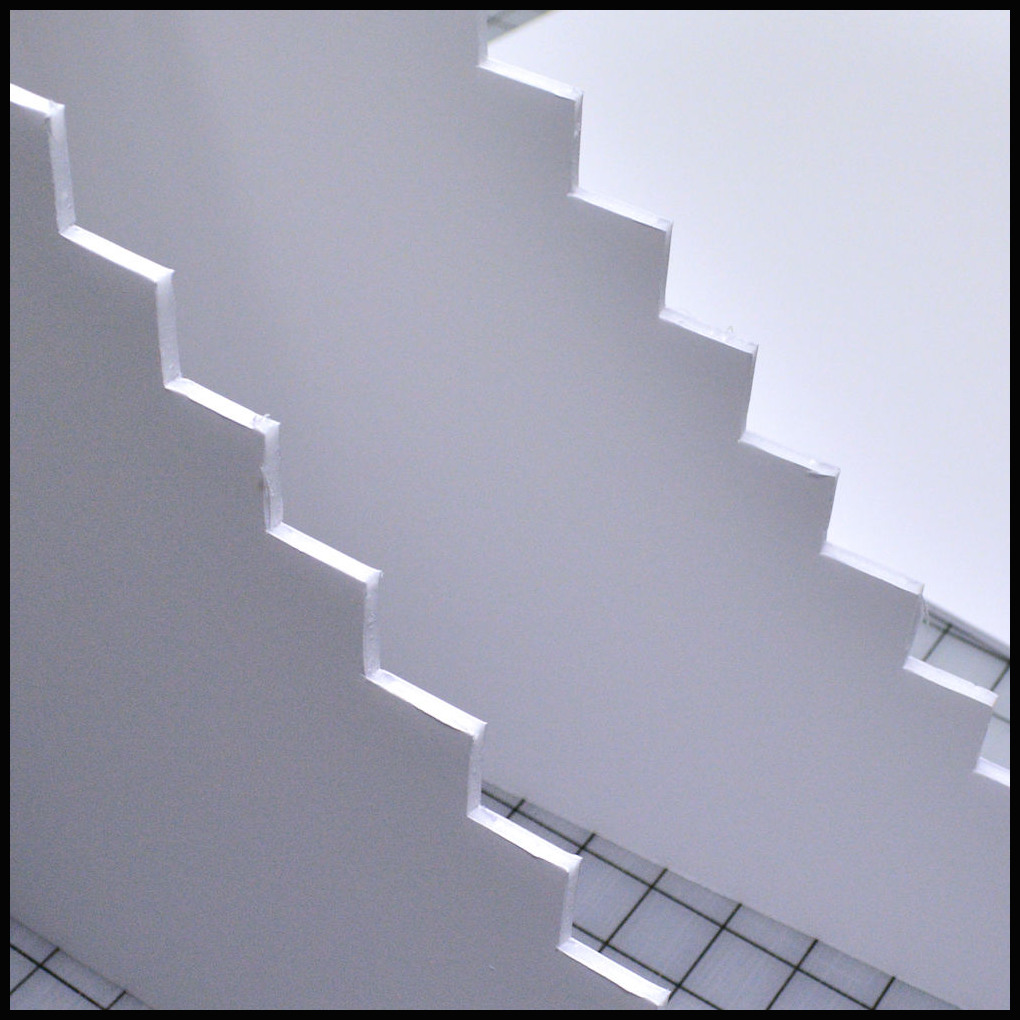
Florescent Ceiling Lamp Panel
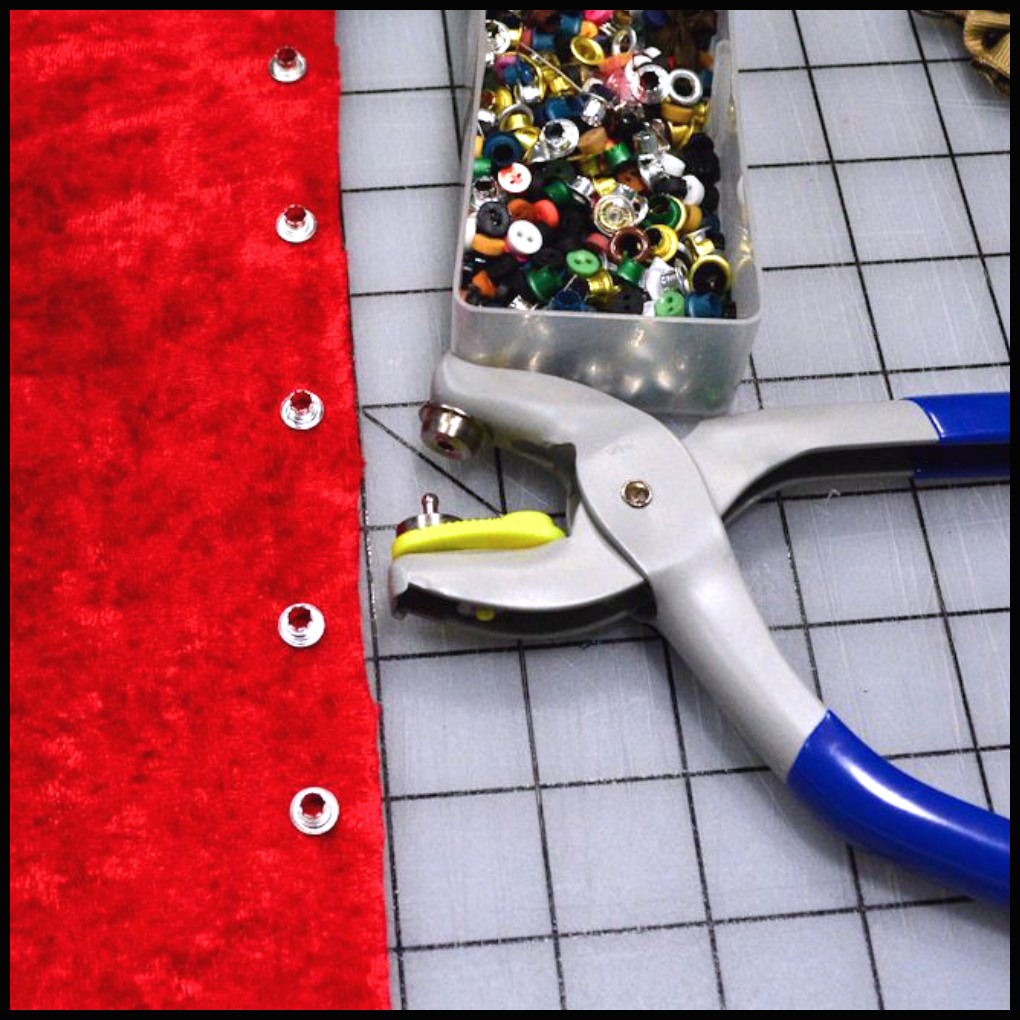
Grommet Tools
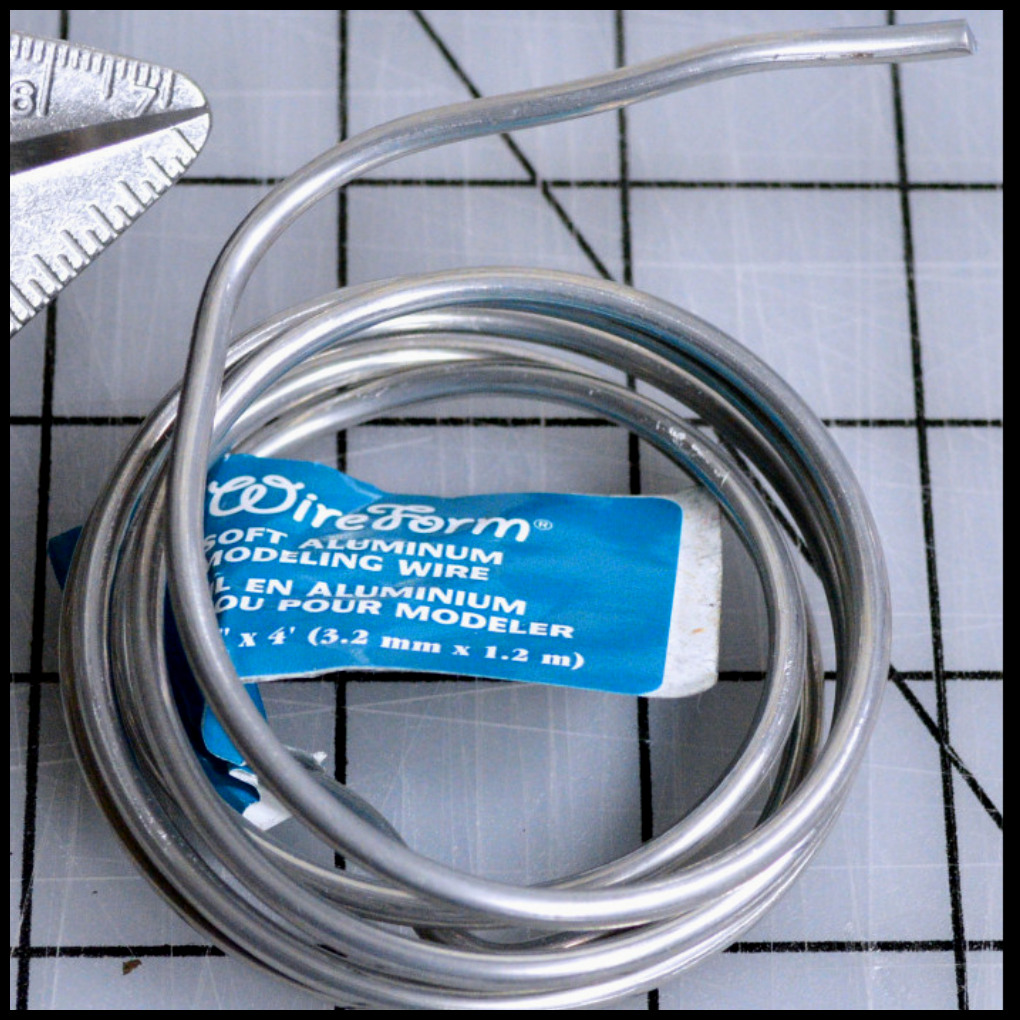
Wire - Thick Flexible
3-D Stickers
Foam Board 1/4"
Contact Paper
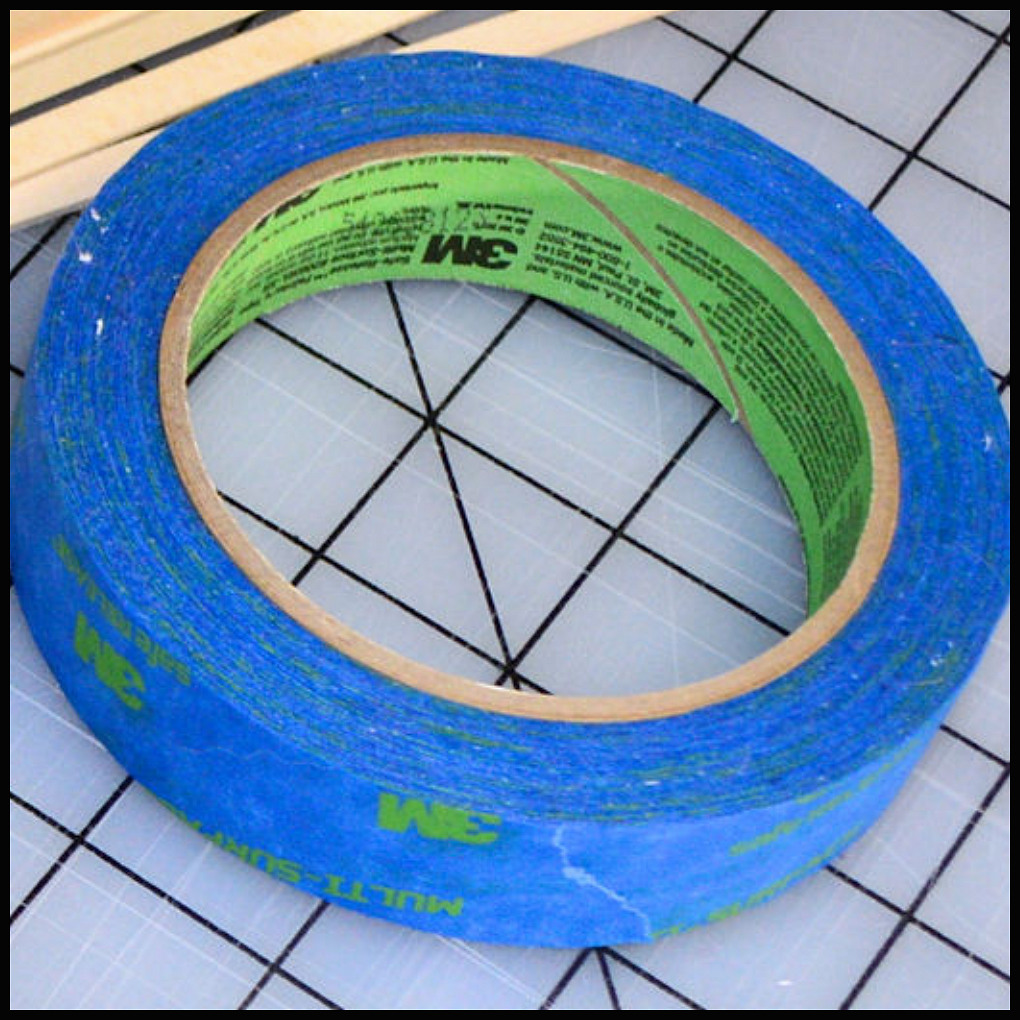
Masking Tape
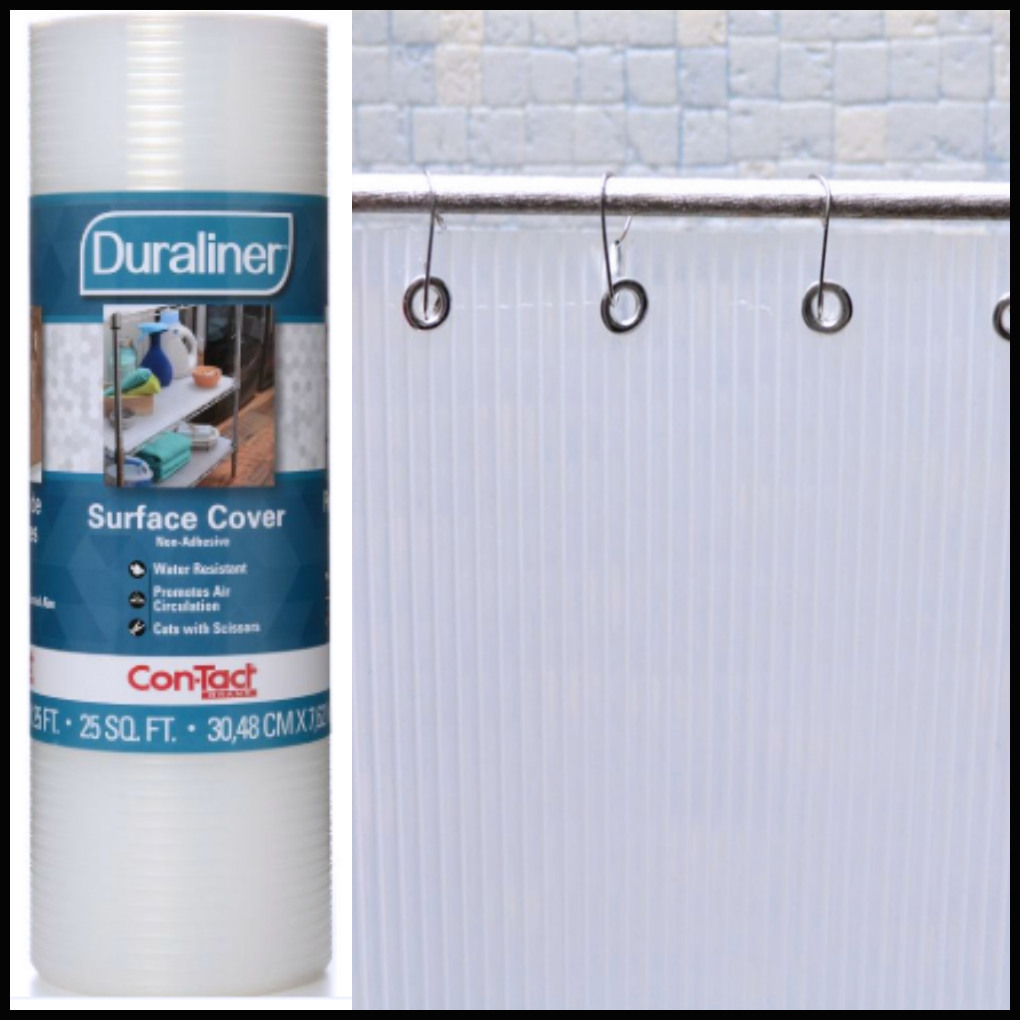
DuraLiner Contact Drawer Liner
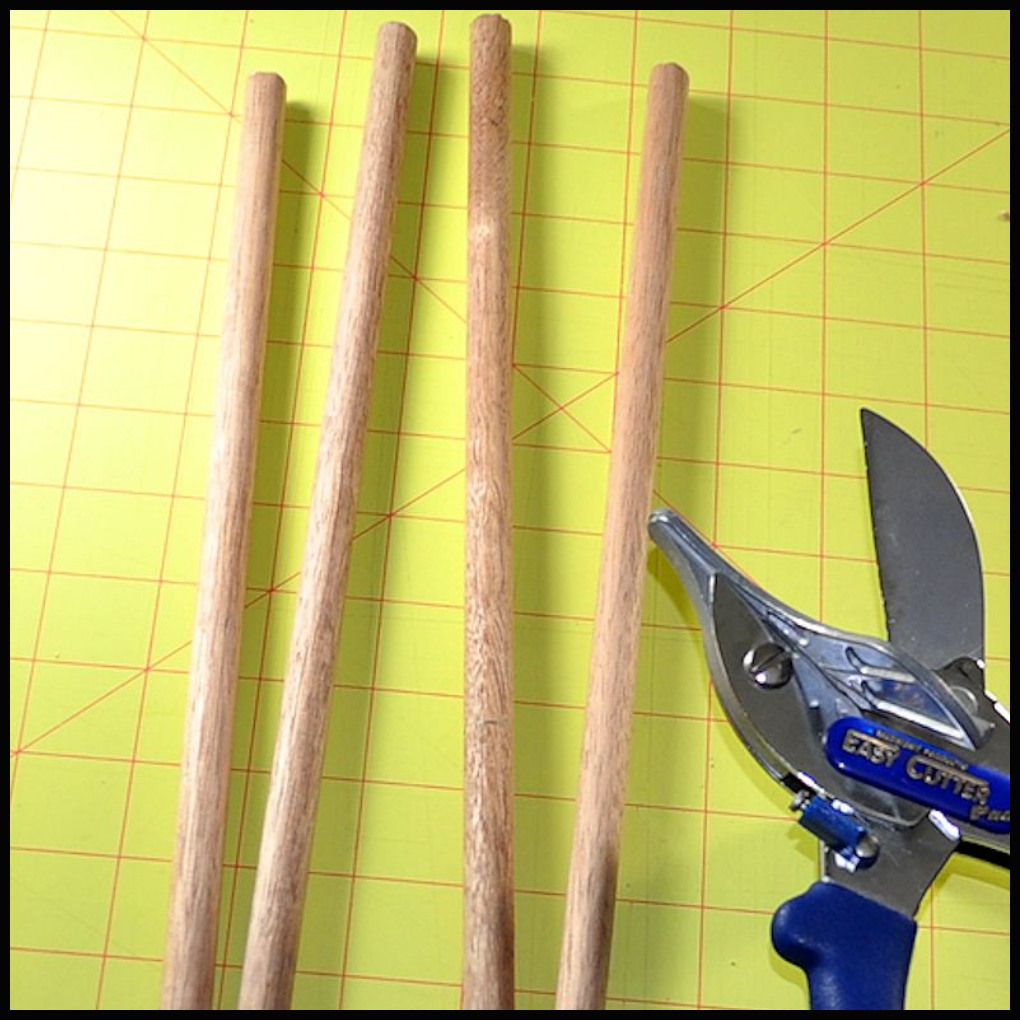
Dowel - wooden
Drawer Pull
Cardboard Box
Foam Board 1/2"
Sewing Pins - Ball Head
Duck Tape
Wallpaper Textured
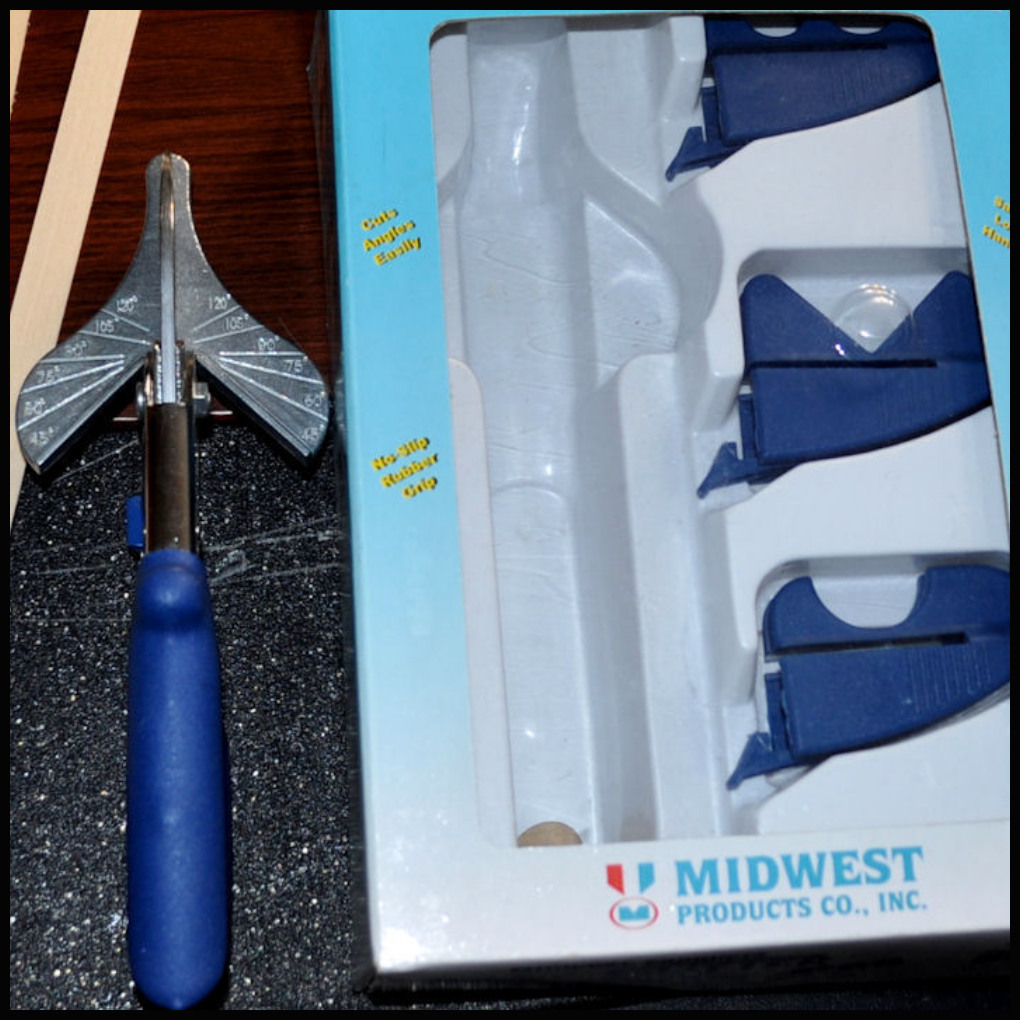
Cutting Tool - Medium Duty
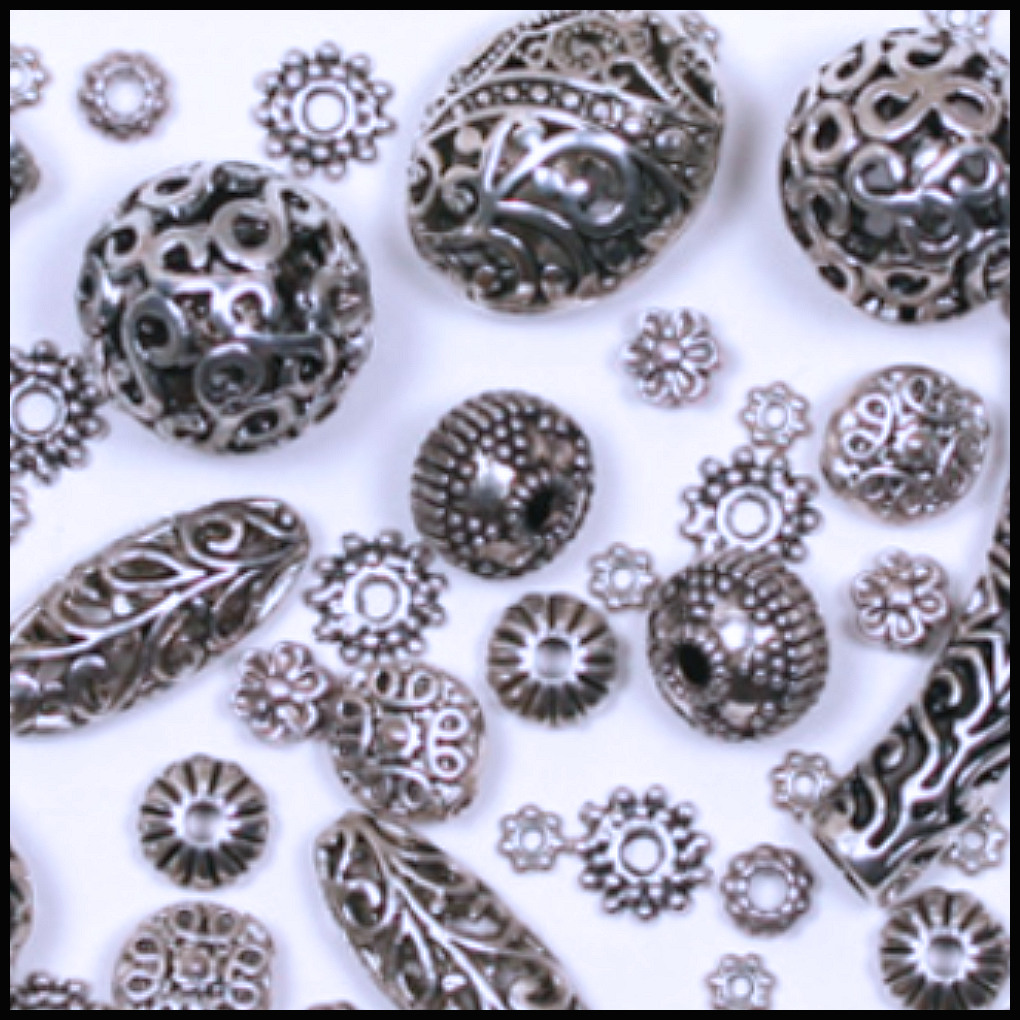
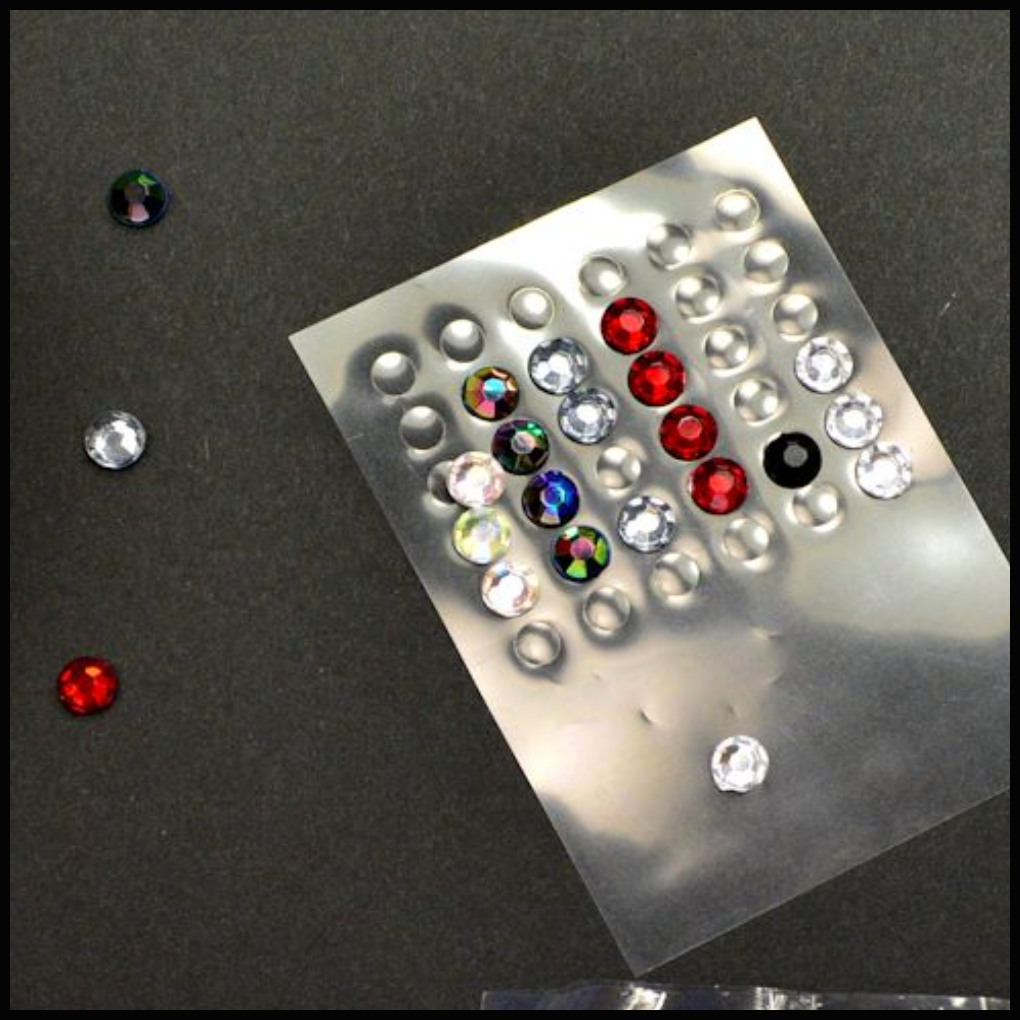
Jewelry Beads

Sewing Machine
Ruler - L-Shaped
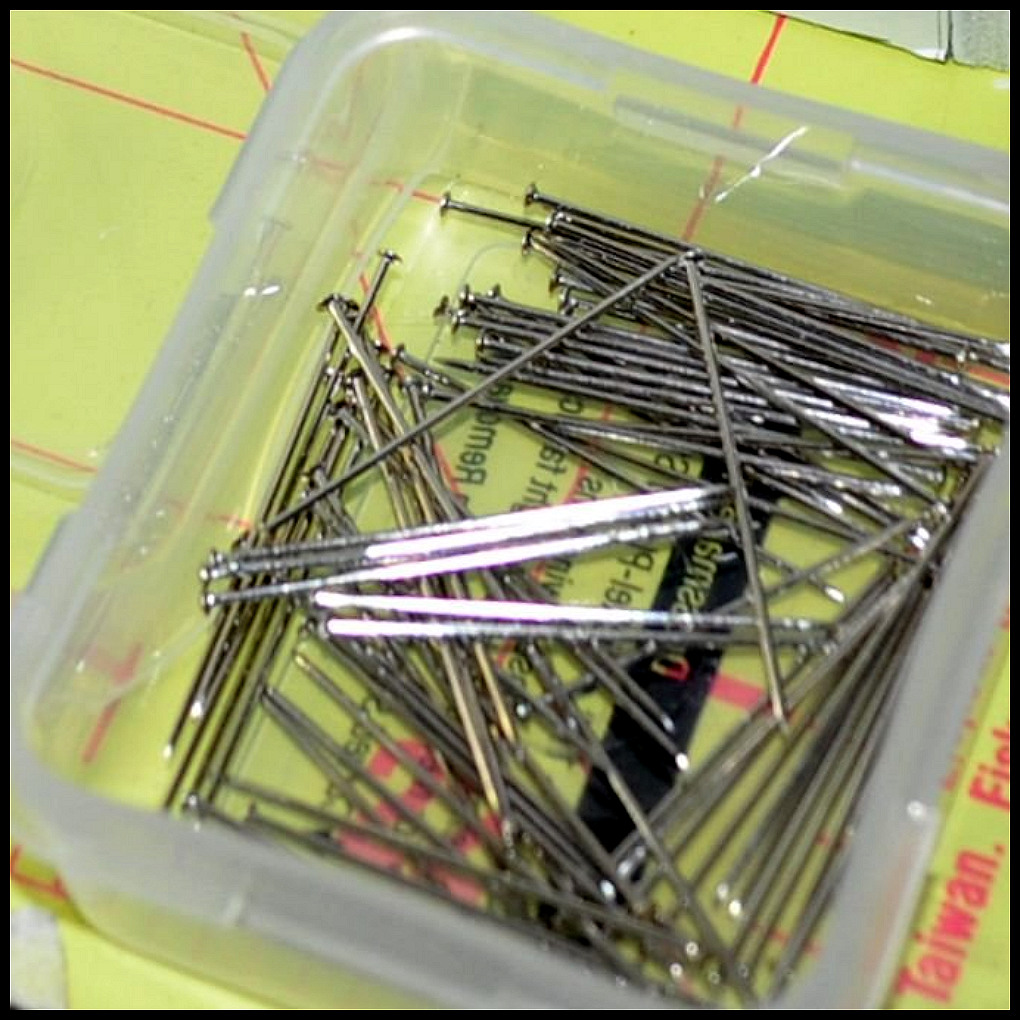
Sewing Pins - Flat Head
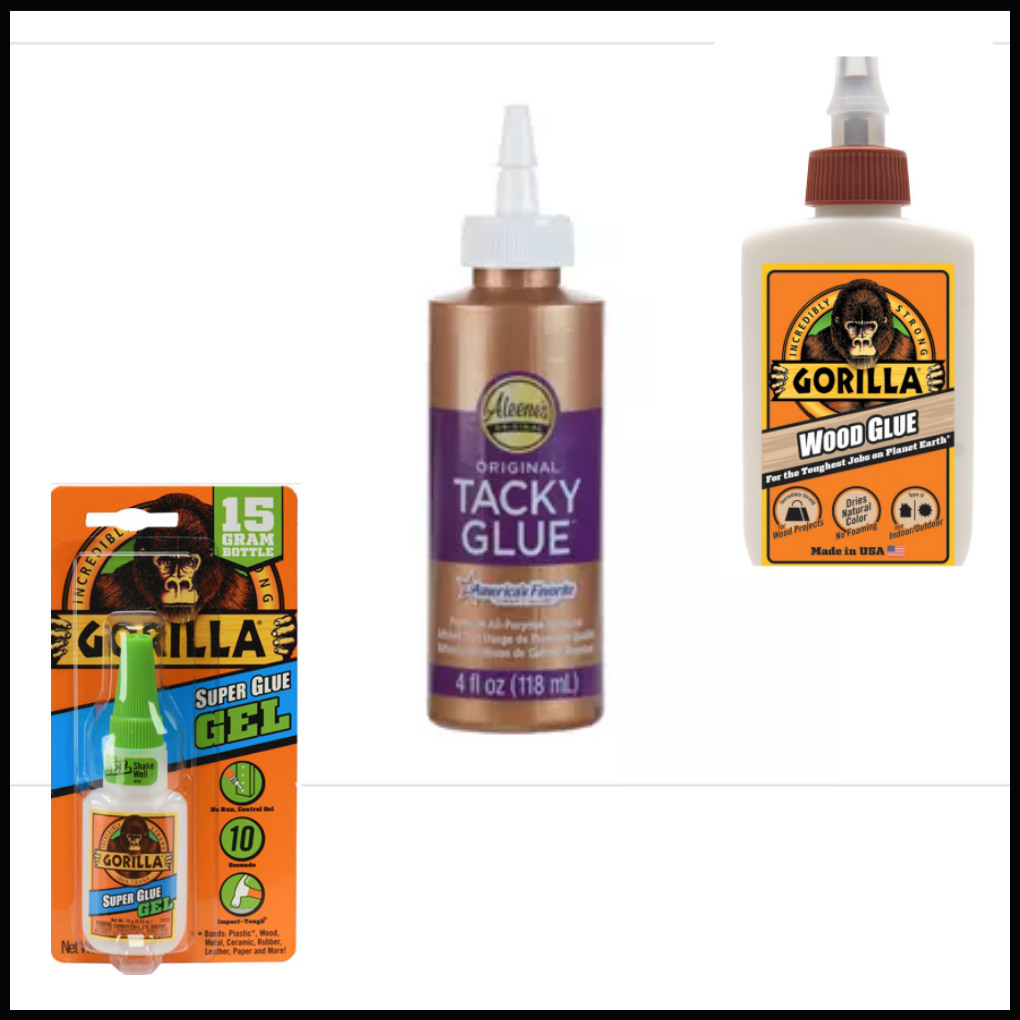
Glue
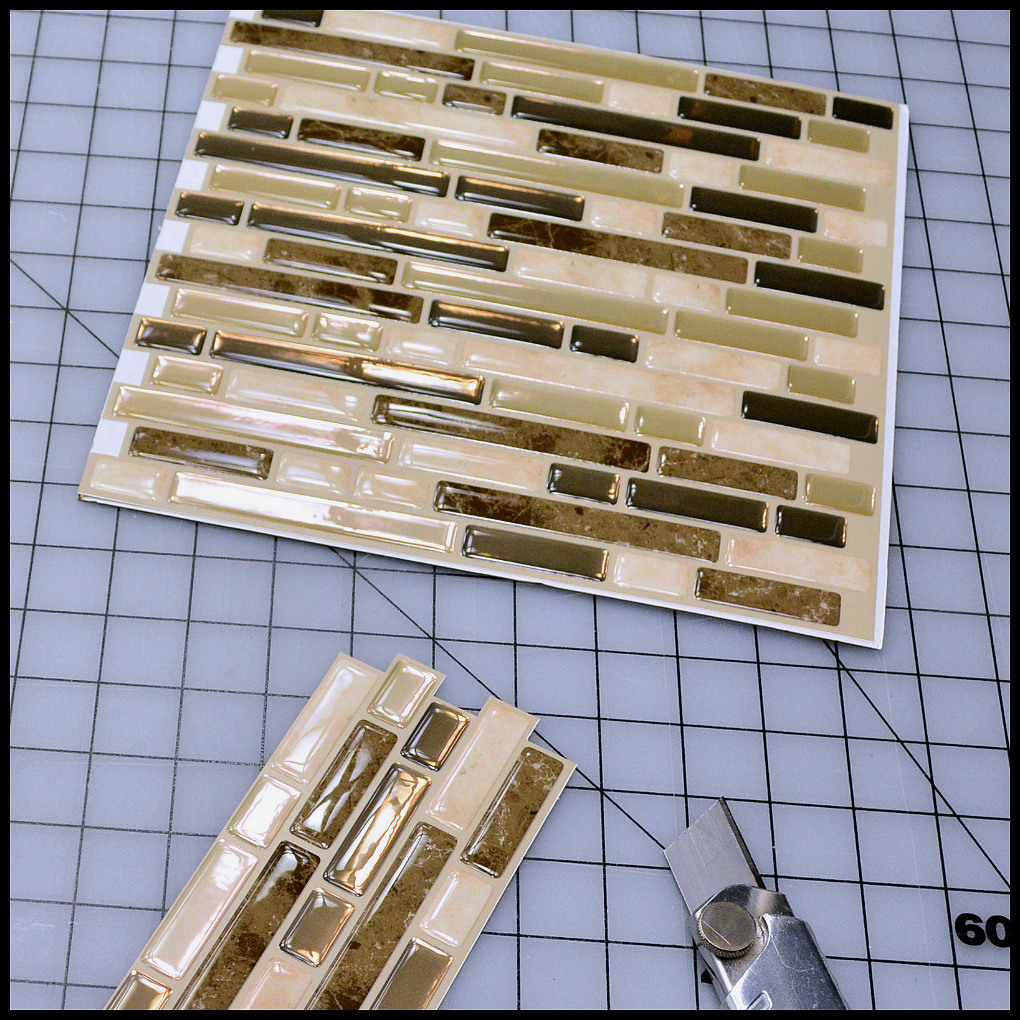
Bath/Kitchen Tiles
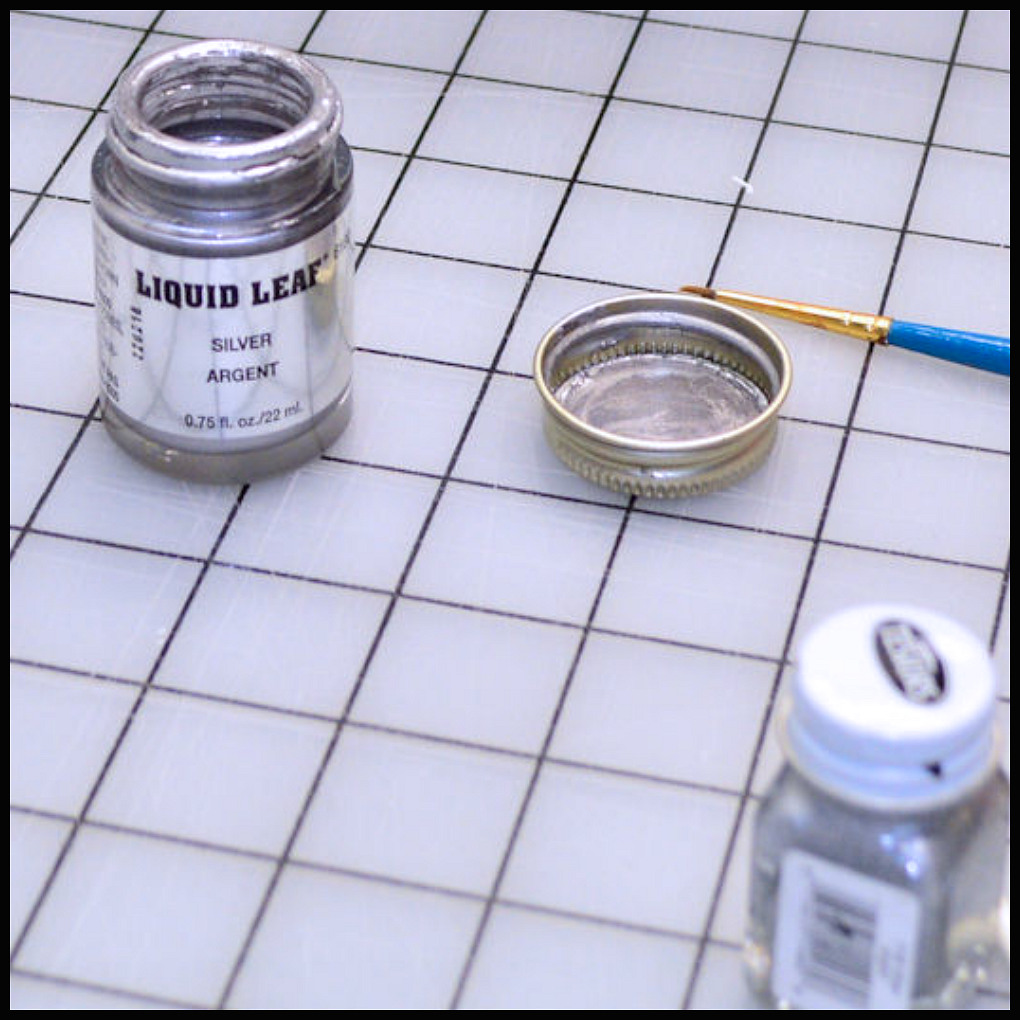
Acrylic Paint
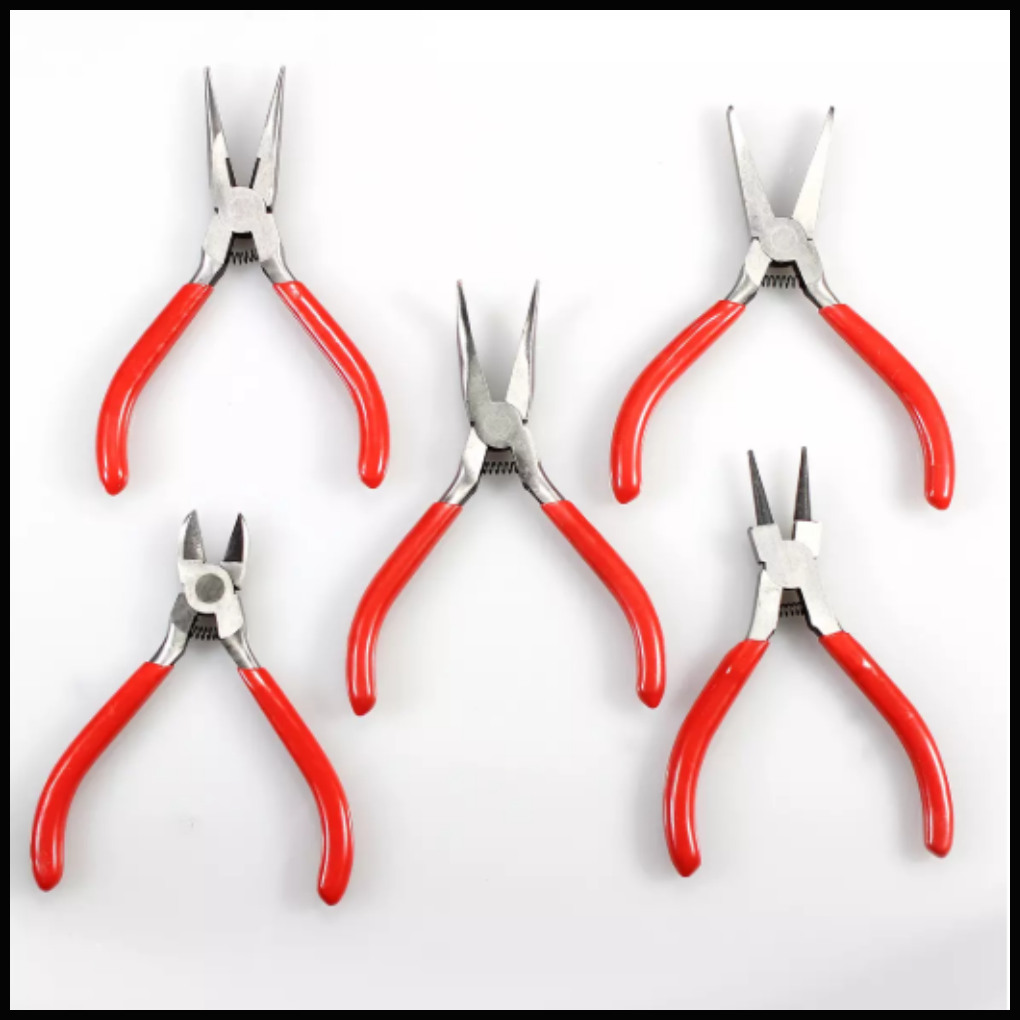
Jewelry Tools
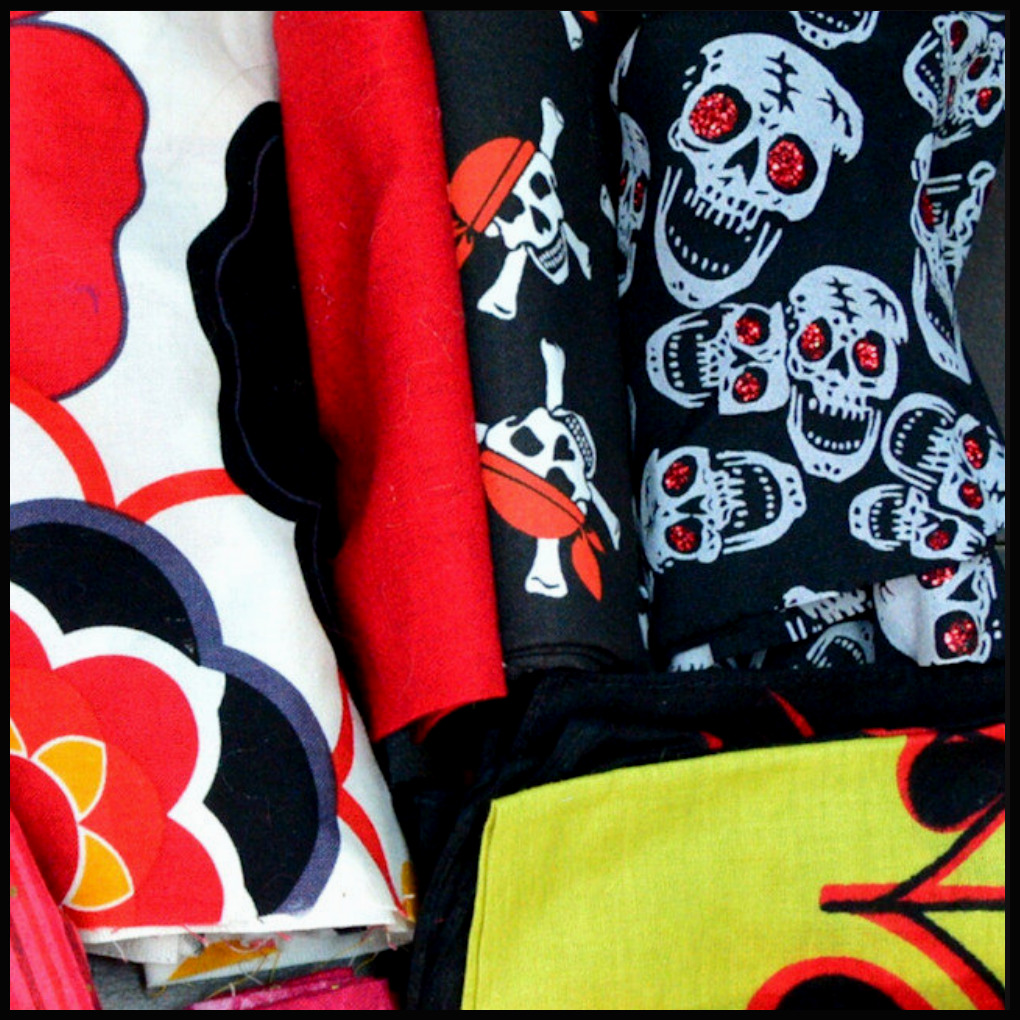
Fabric
FOAM BOARD POSSIBILITIES
Foam Board can make showers, vanities, walls, floor, and toilet stalls for public restrooms, but not other bathroom appliances like toilets or rounded sinks.
Any toilets shown in my dioramas are purchased elsewhere, such as the Gloria barbie furniture, or the newer VS Toys Bath & Toilet set. I found a few toilets on Etsy as well made by 3-D printers.
This tutorial will focus on the objects I’ve been able to make with so far.
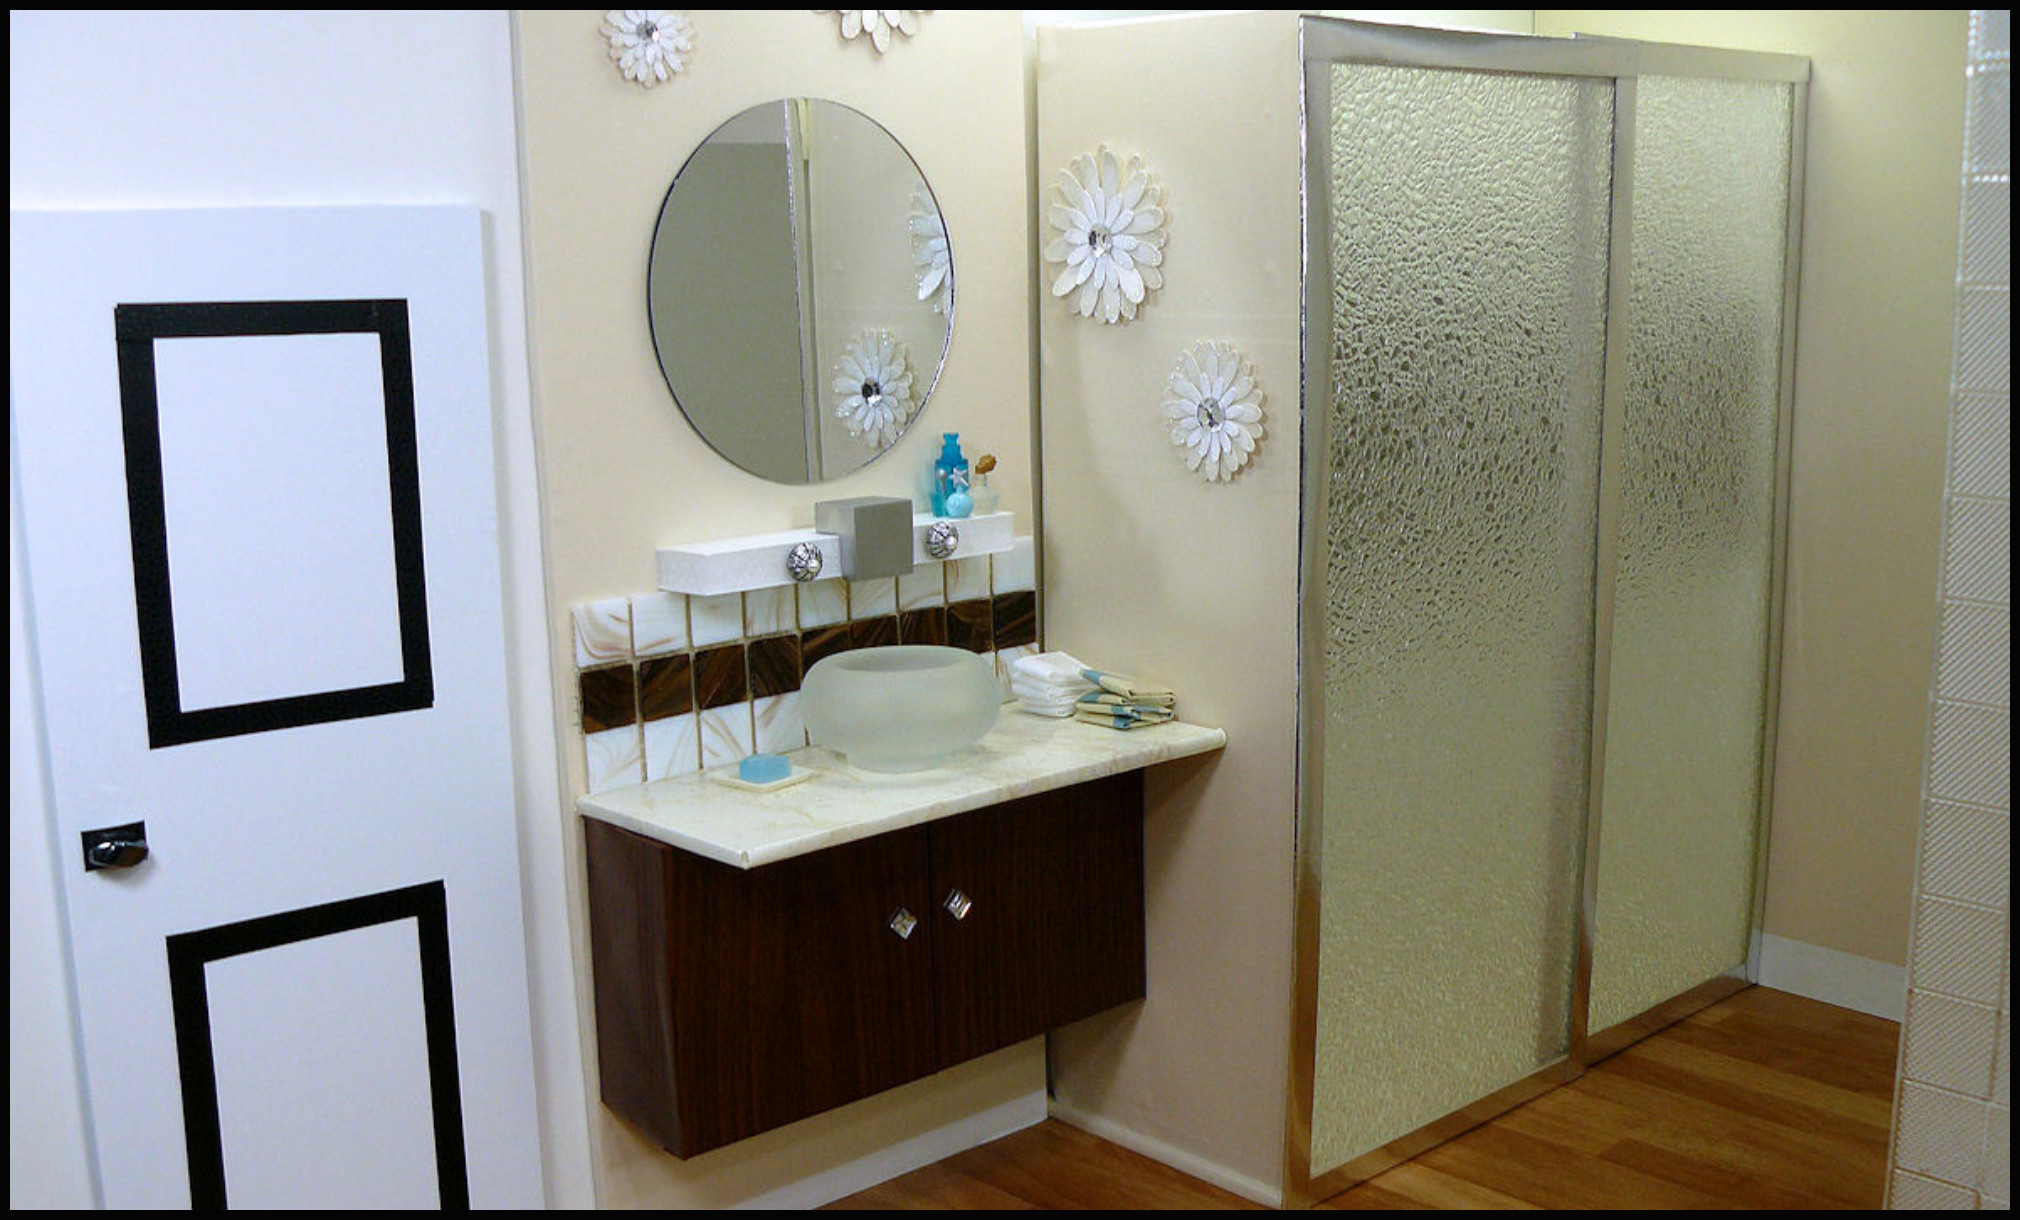
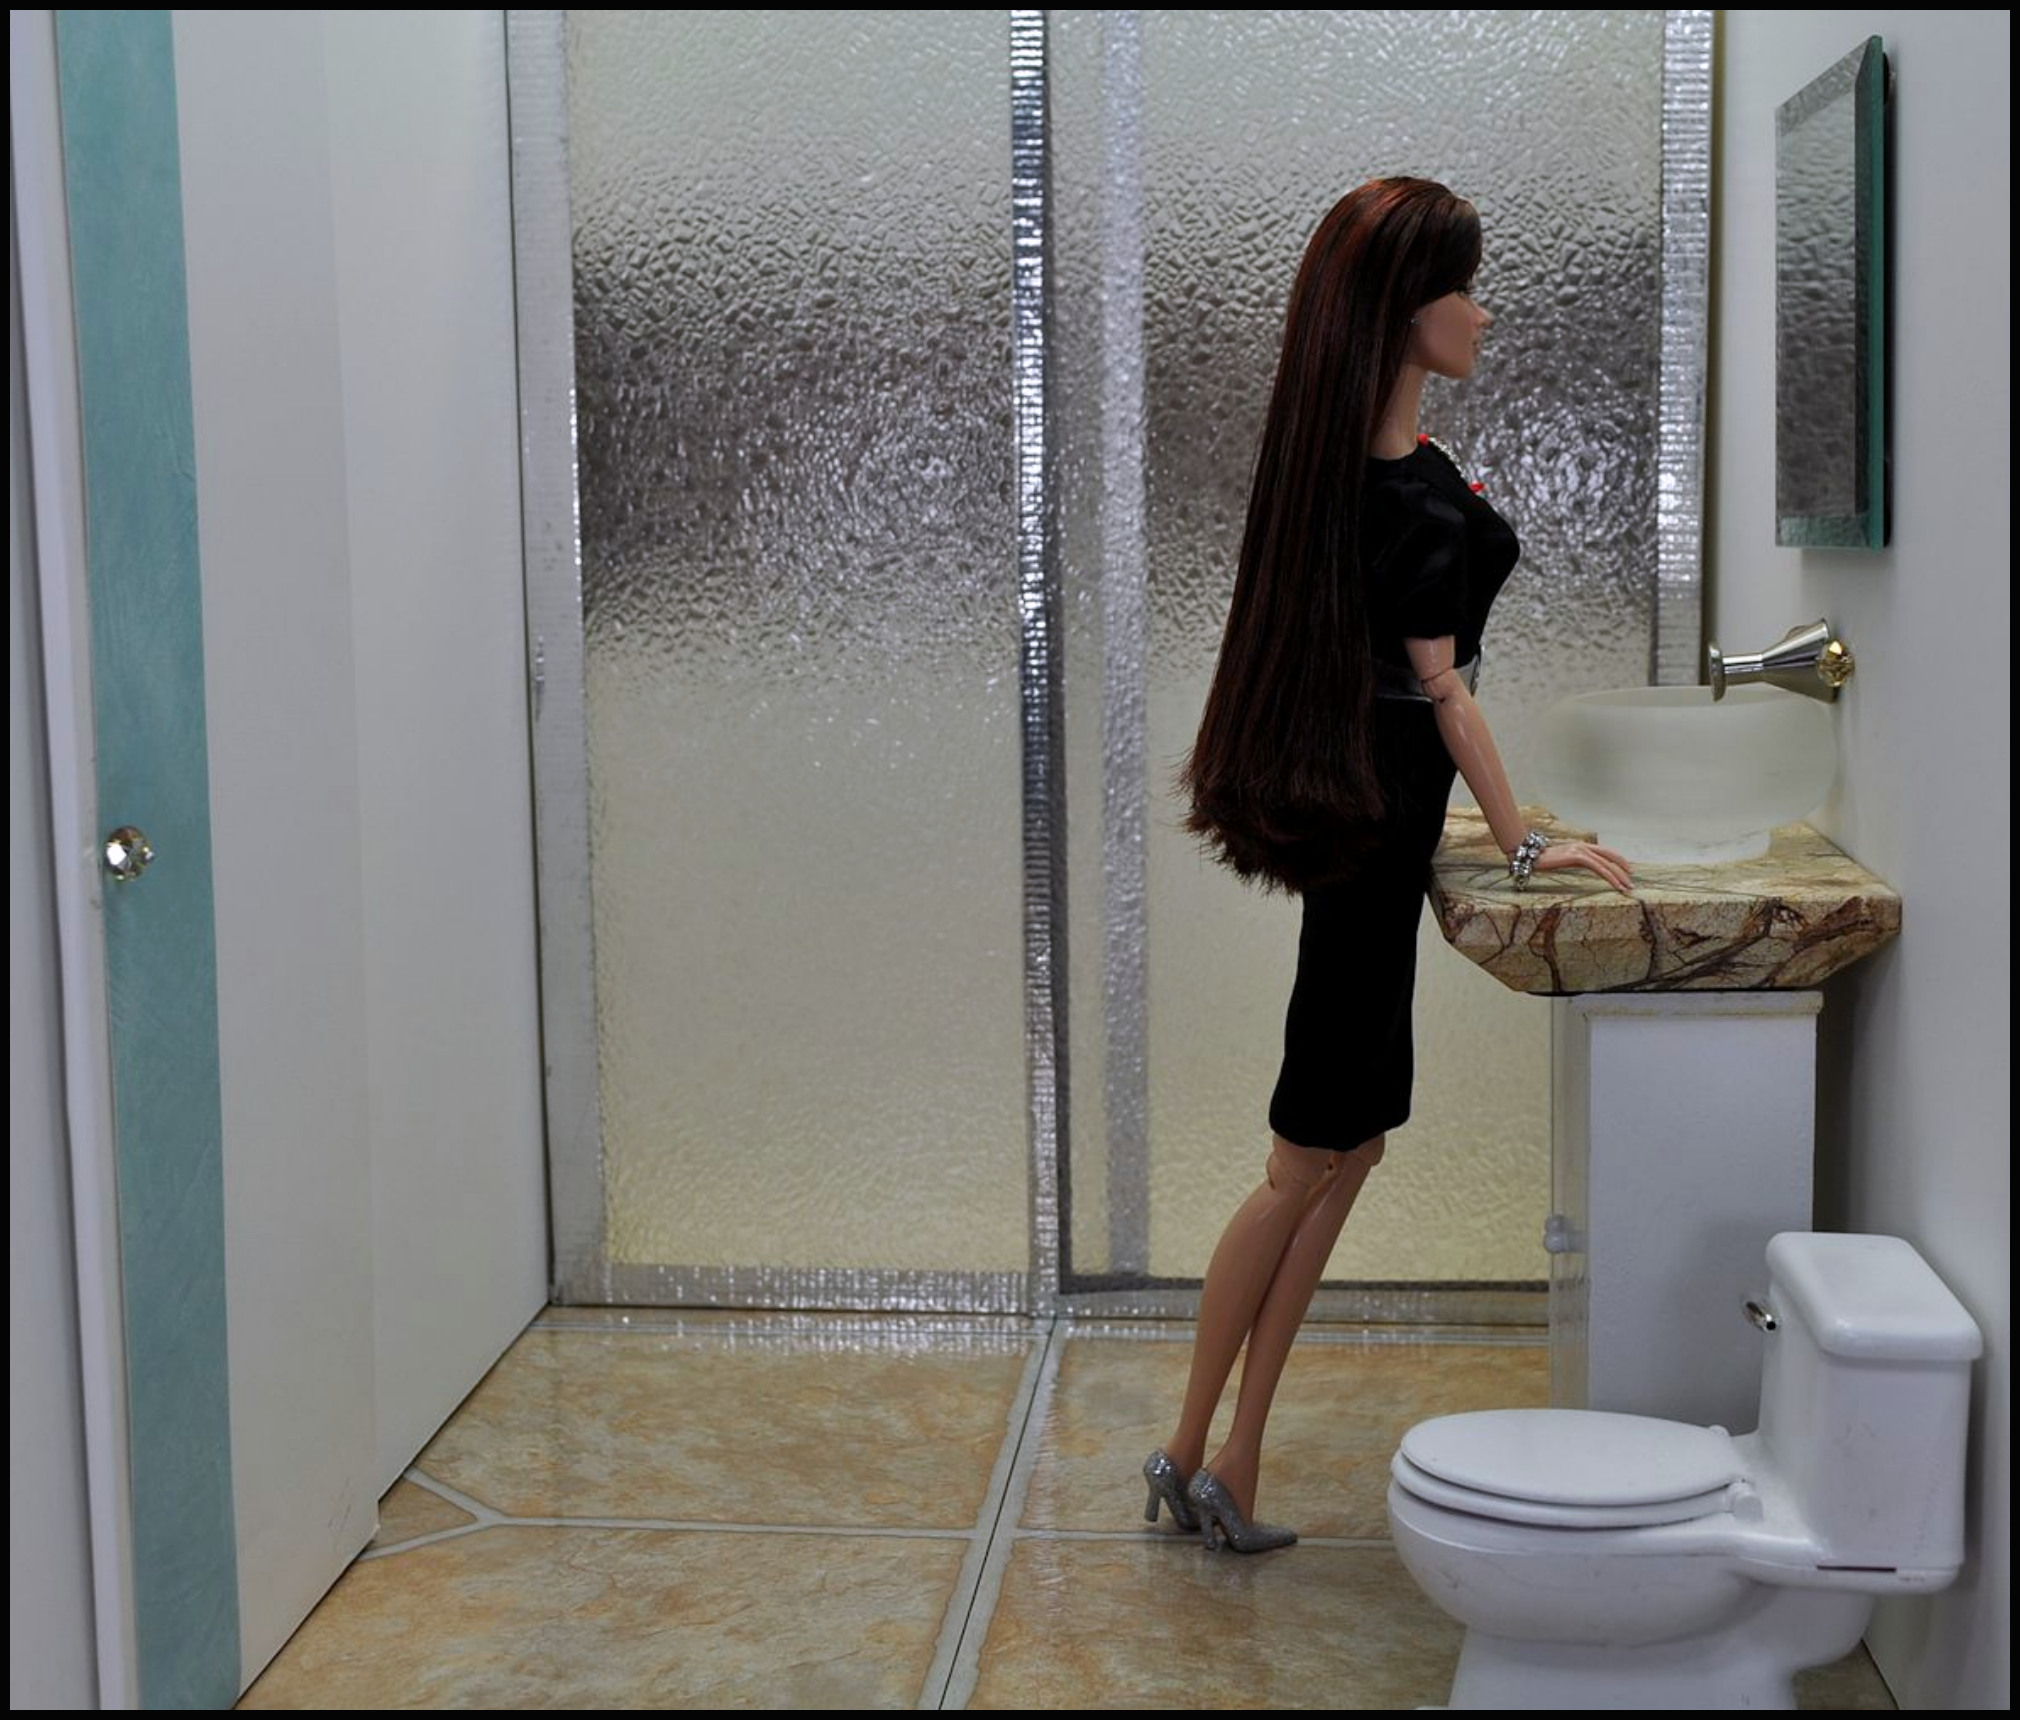
SHOWER WITH GLASS DOOR
Foam Board can make showers, vanities, walls, floor, and toilet stalls for public restrooms, but not other bathroom appliances like toilets or rounded sinks. So this tutorial will focus on the objects I’ve been able to make with so far.
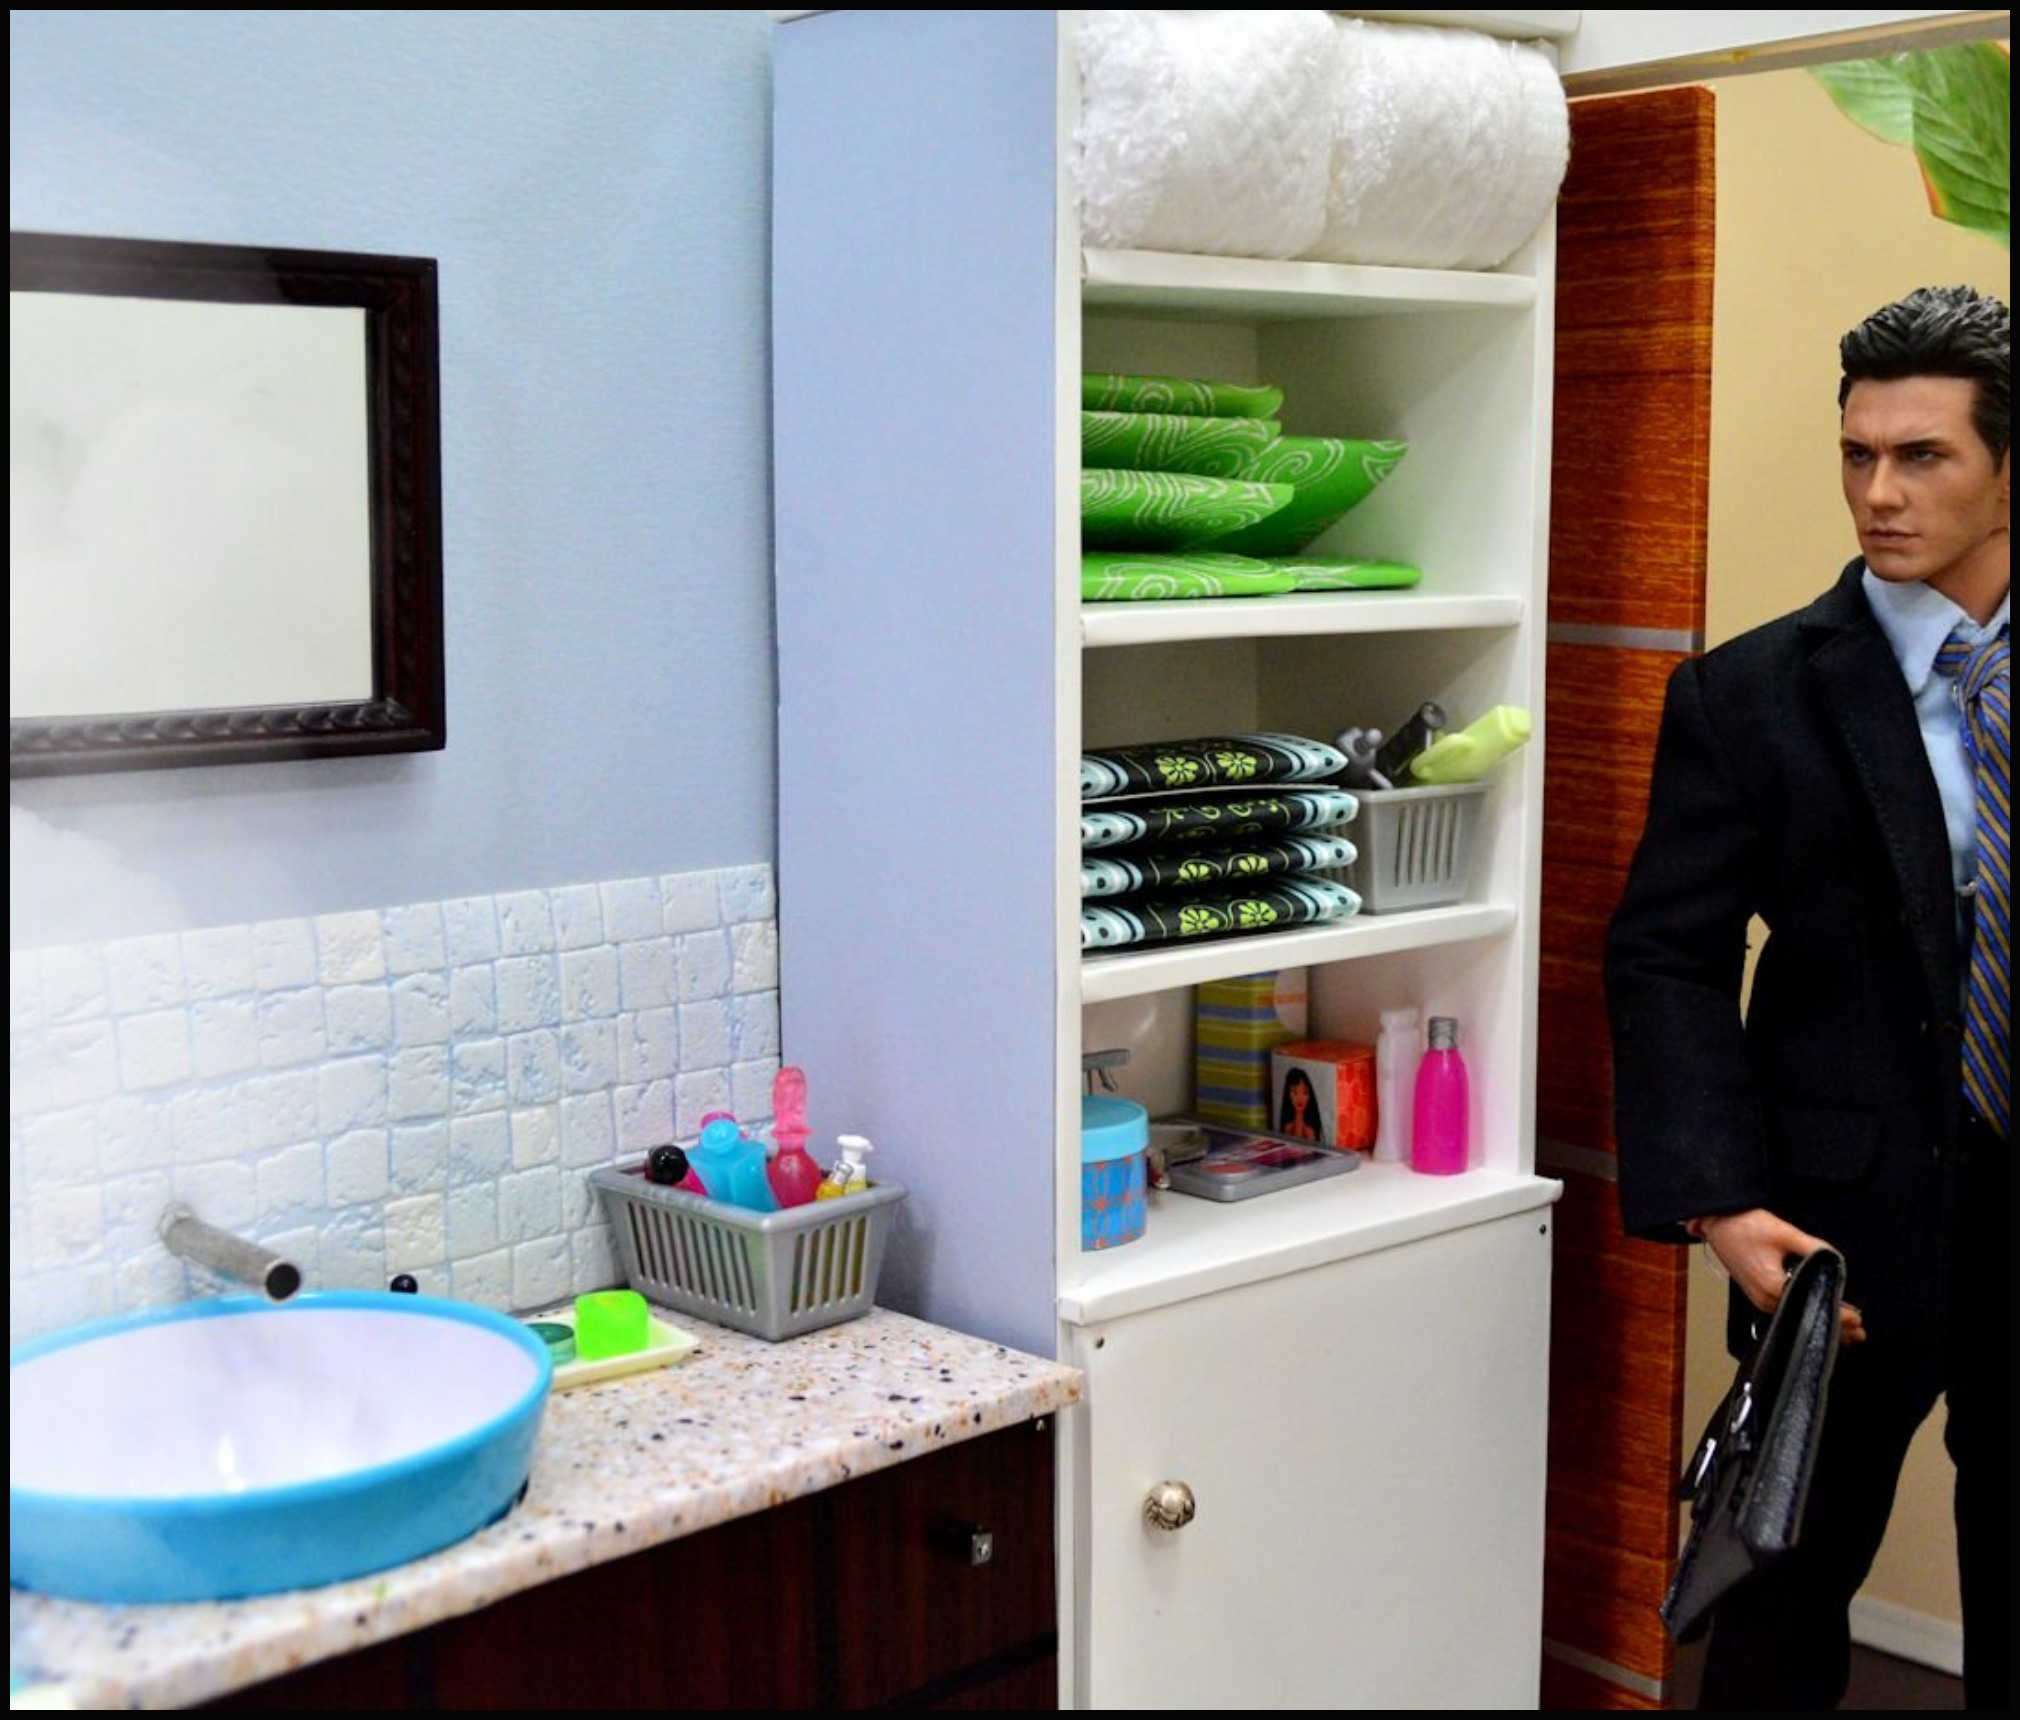
The photo to the left shows a shower and vanity I made from foam board and other materials I’ll describe more in detail below. .
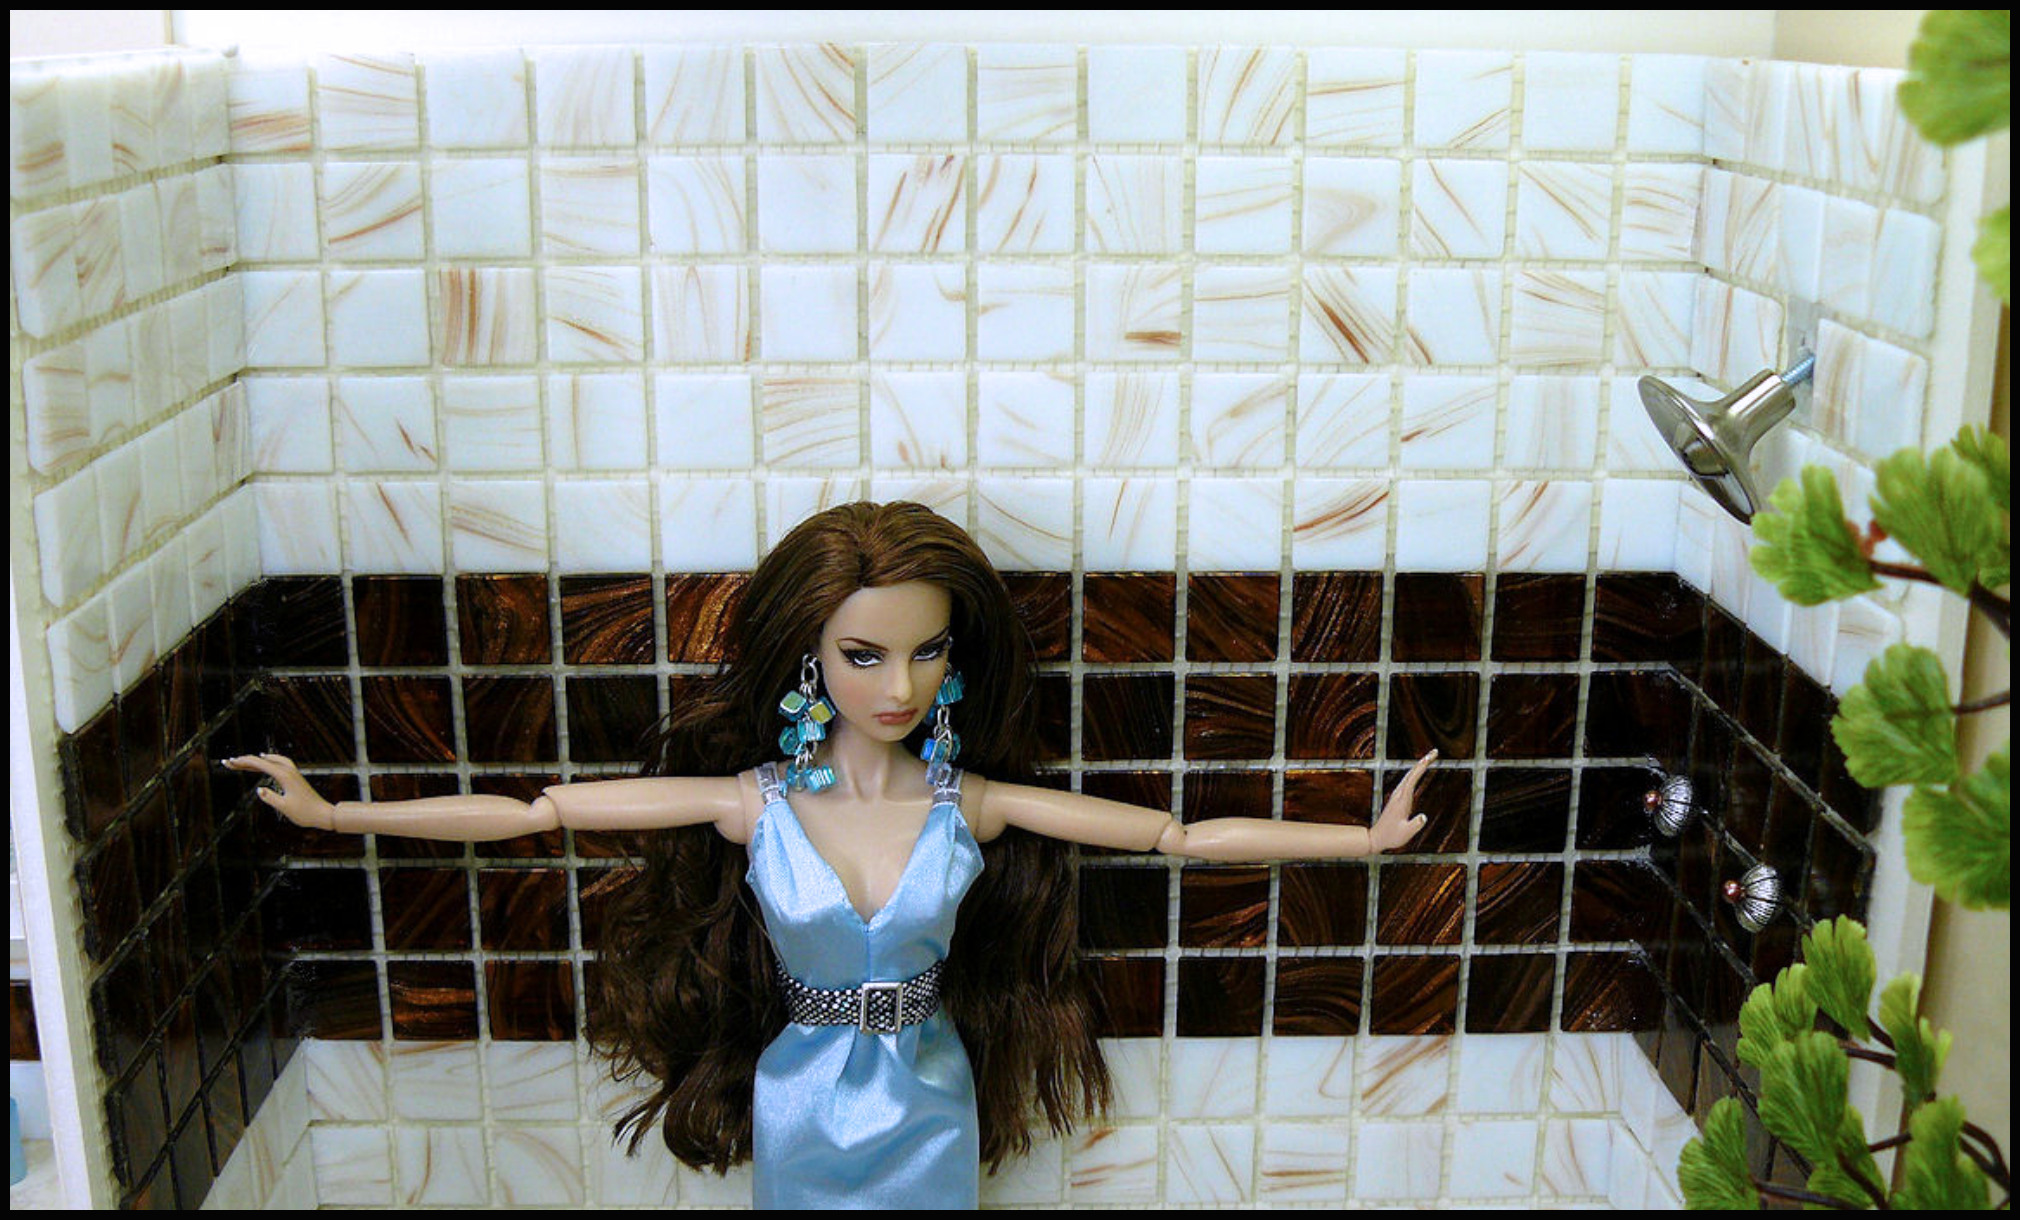
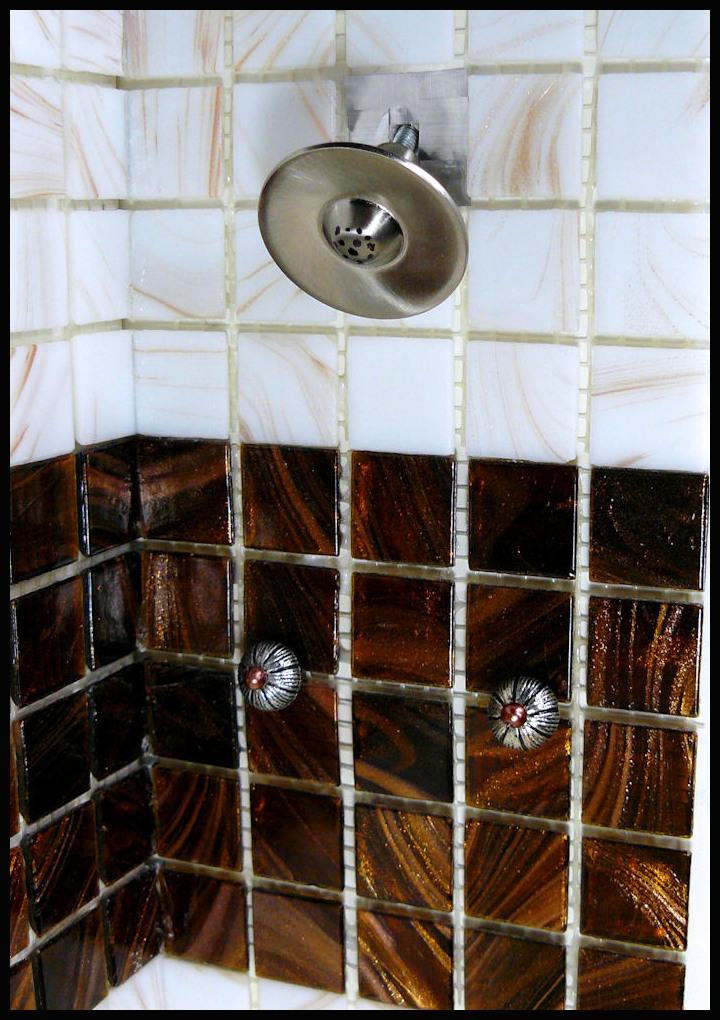
The first shower I constructed I still use today, because I used an abundance of glue. It has real bathroom tiles (2 sets in 2 colors curt and then glued to the walls). It weighs a few pounds due to the tile work, which is heavier than a lot of my diorama pieces. I used a drawer pull for the shower head, then a black magic marker to draw round dots on the head to make it look like a shower head.
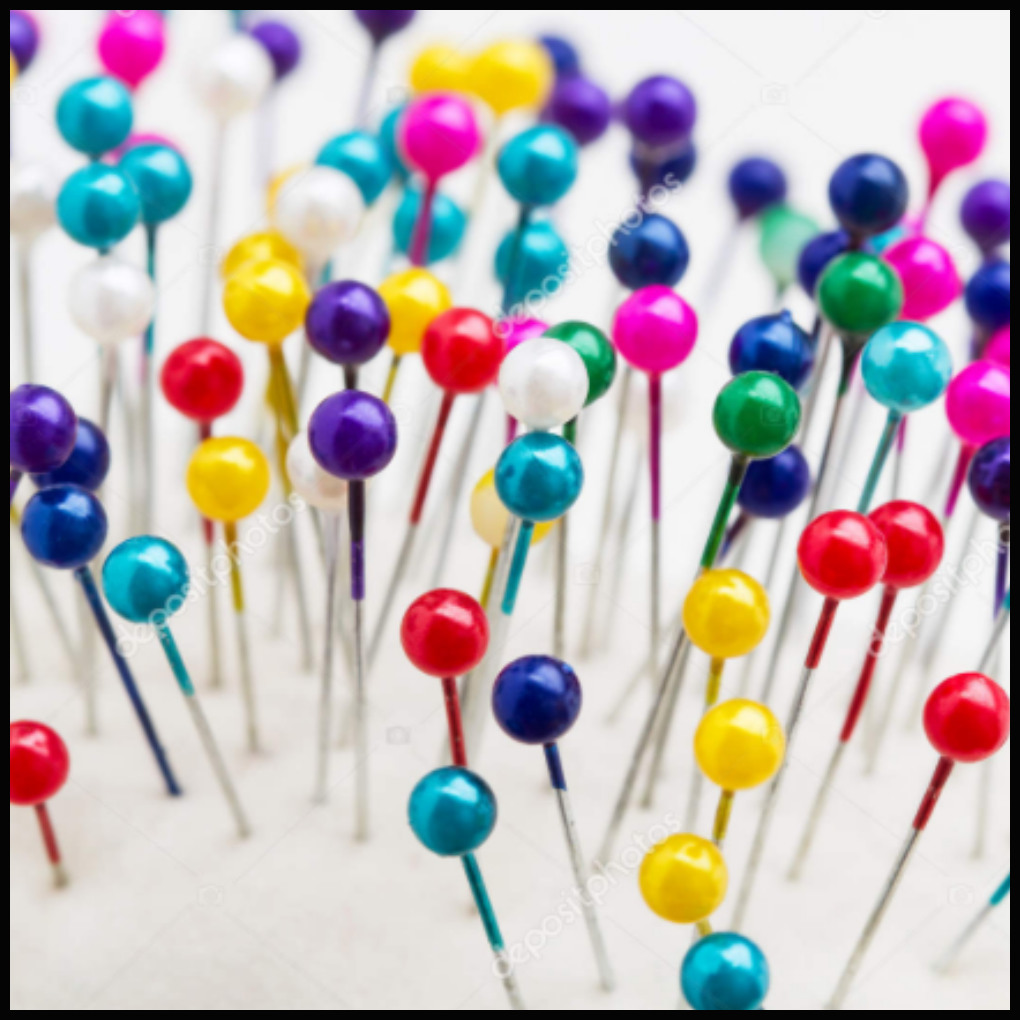
The Cold/Hot knobs are jewelry beads that are also glue to the walls through the tile slots
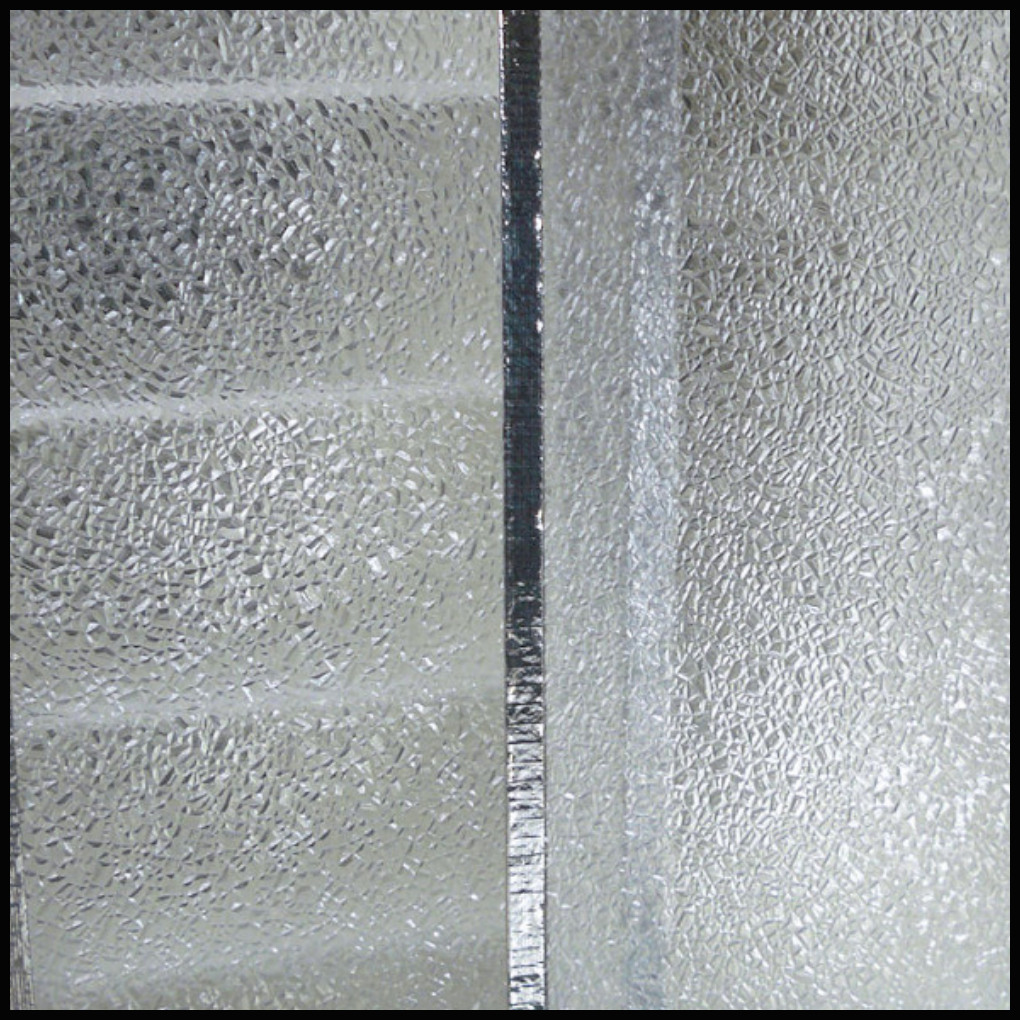
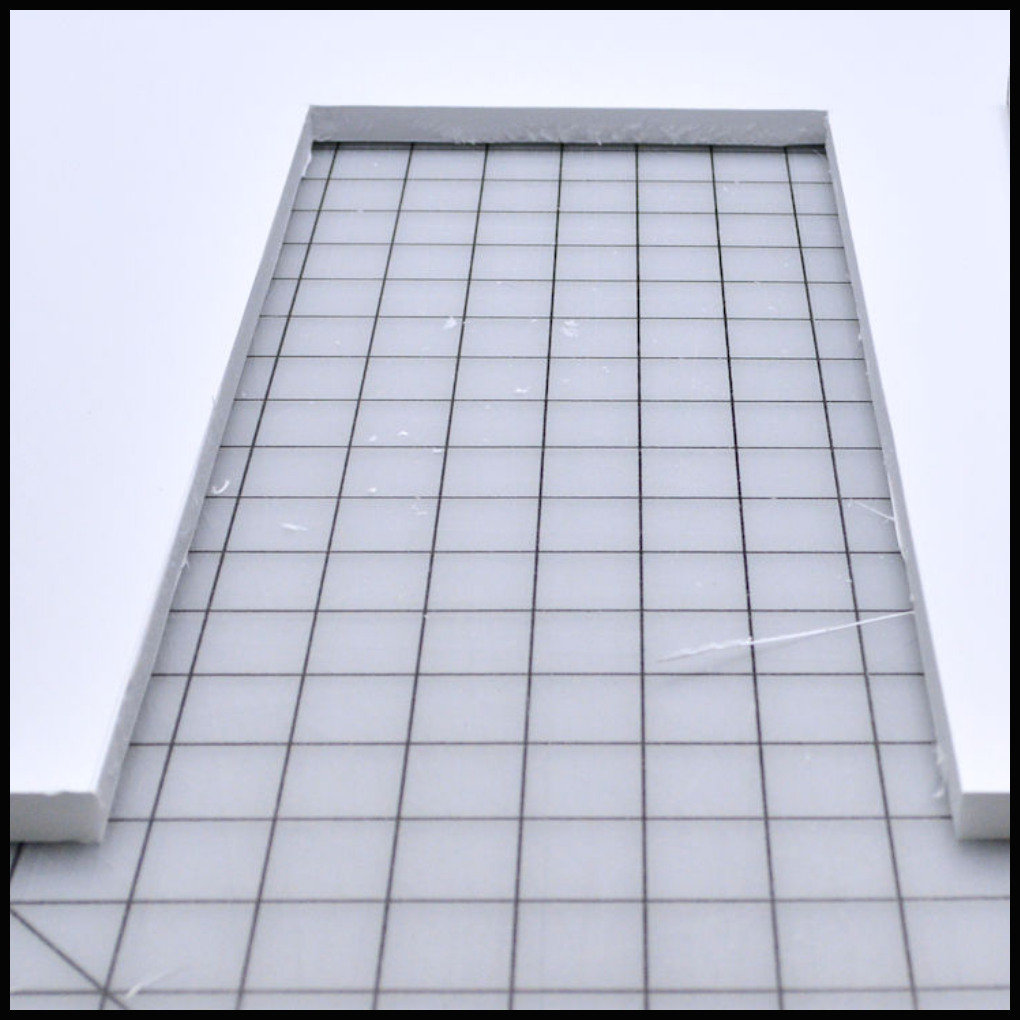
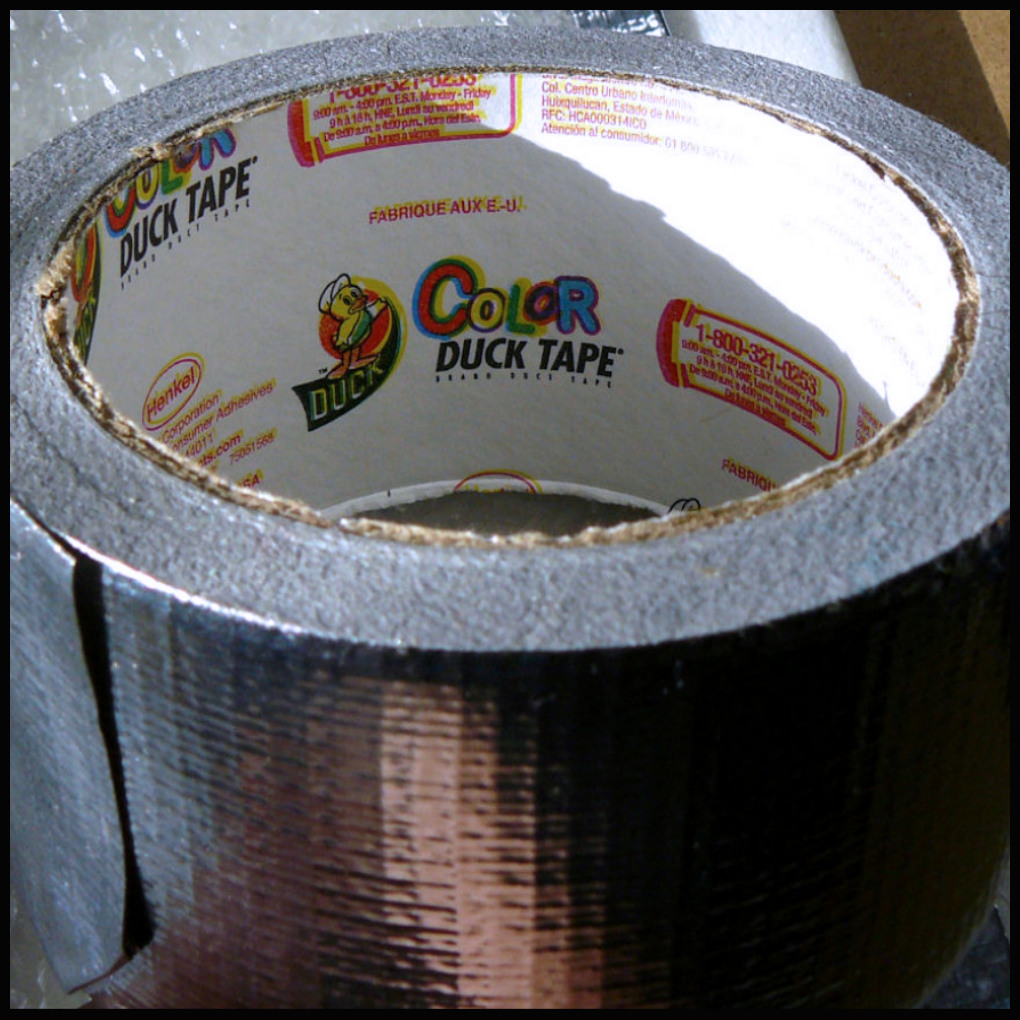
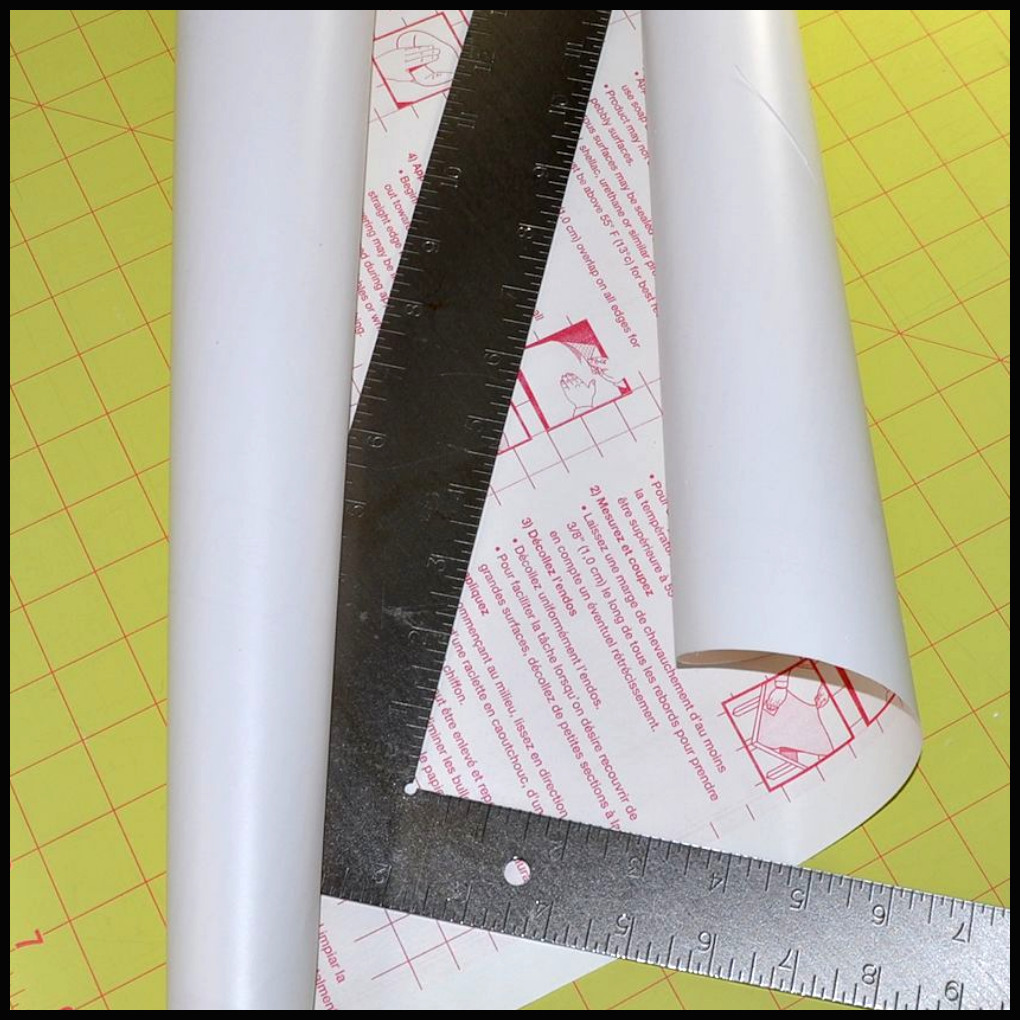
The doors are cut pieces of florescent overhead light cover panels that re cut to size. I used my same cutting tool with a new blade cutting on the same lines over and over until I could break the plastic panel. This stuff is tricky to cut, splinters and shatters very easily and will cut your skin, use caution.
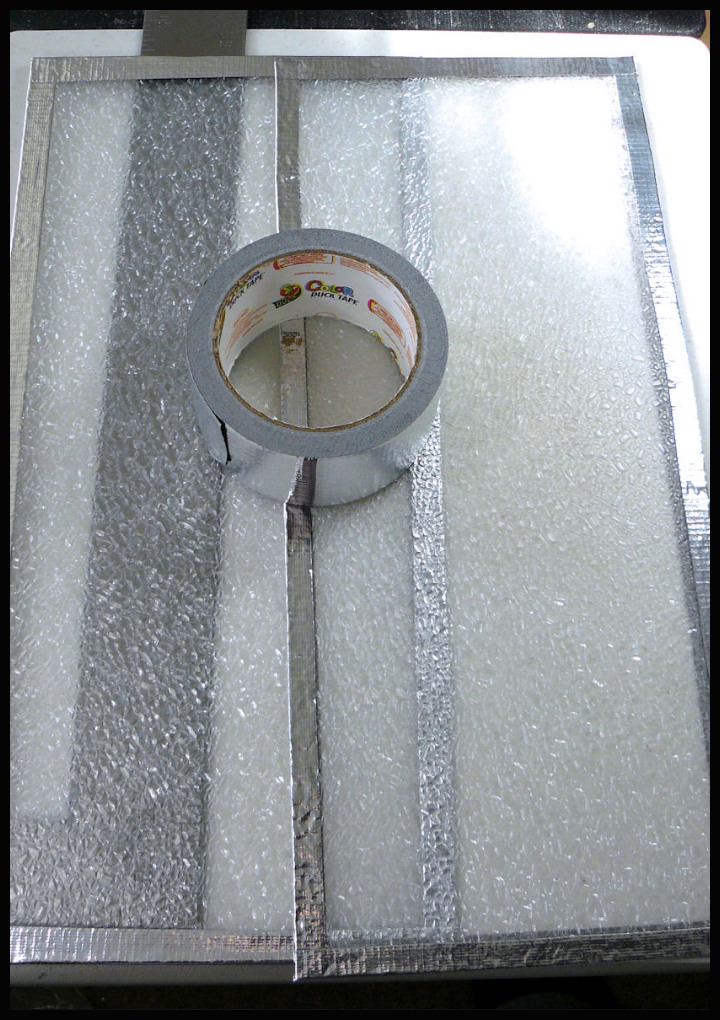
The only thing that sticks to this type of textured plastic is silver duck tape. I tied silver contact paper and it couldn’t find enough contact on the bumpy surface. The Duct tape goes down easy and from a few feet away, it looks pretty realistic as chrome edges to shower doors.
It even photographs well from above, looking like a to scale shower. The drain in the middle of the floor is also a square jewelry bead glued to the floor.
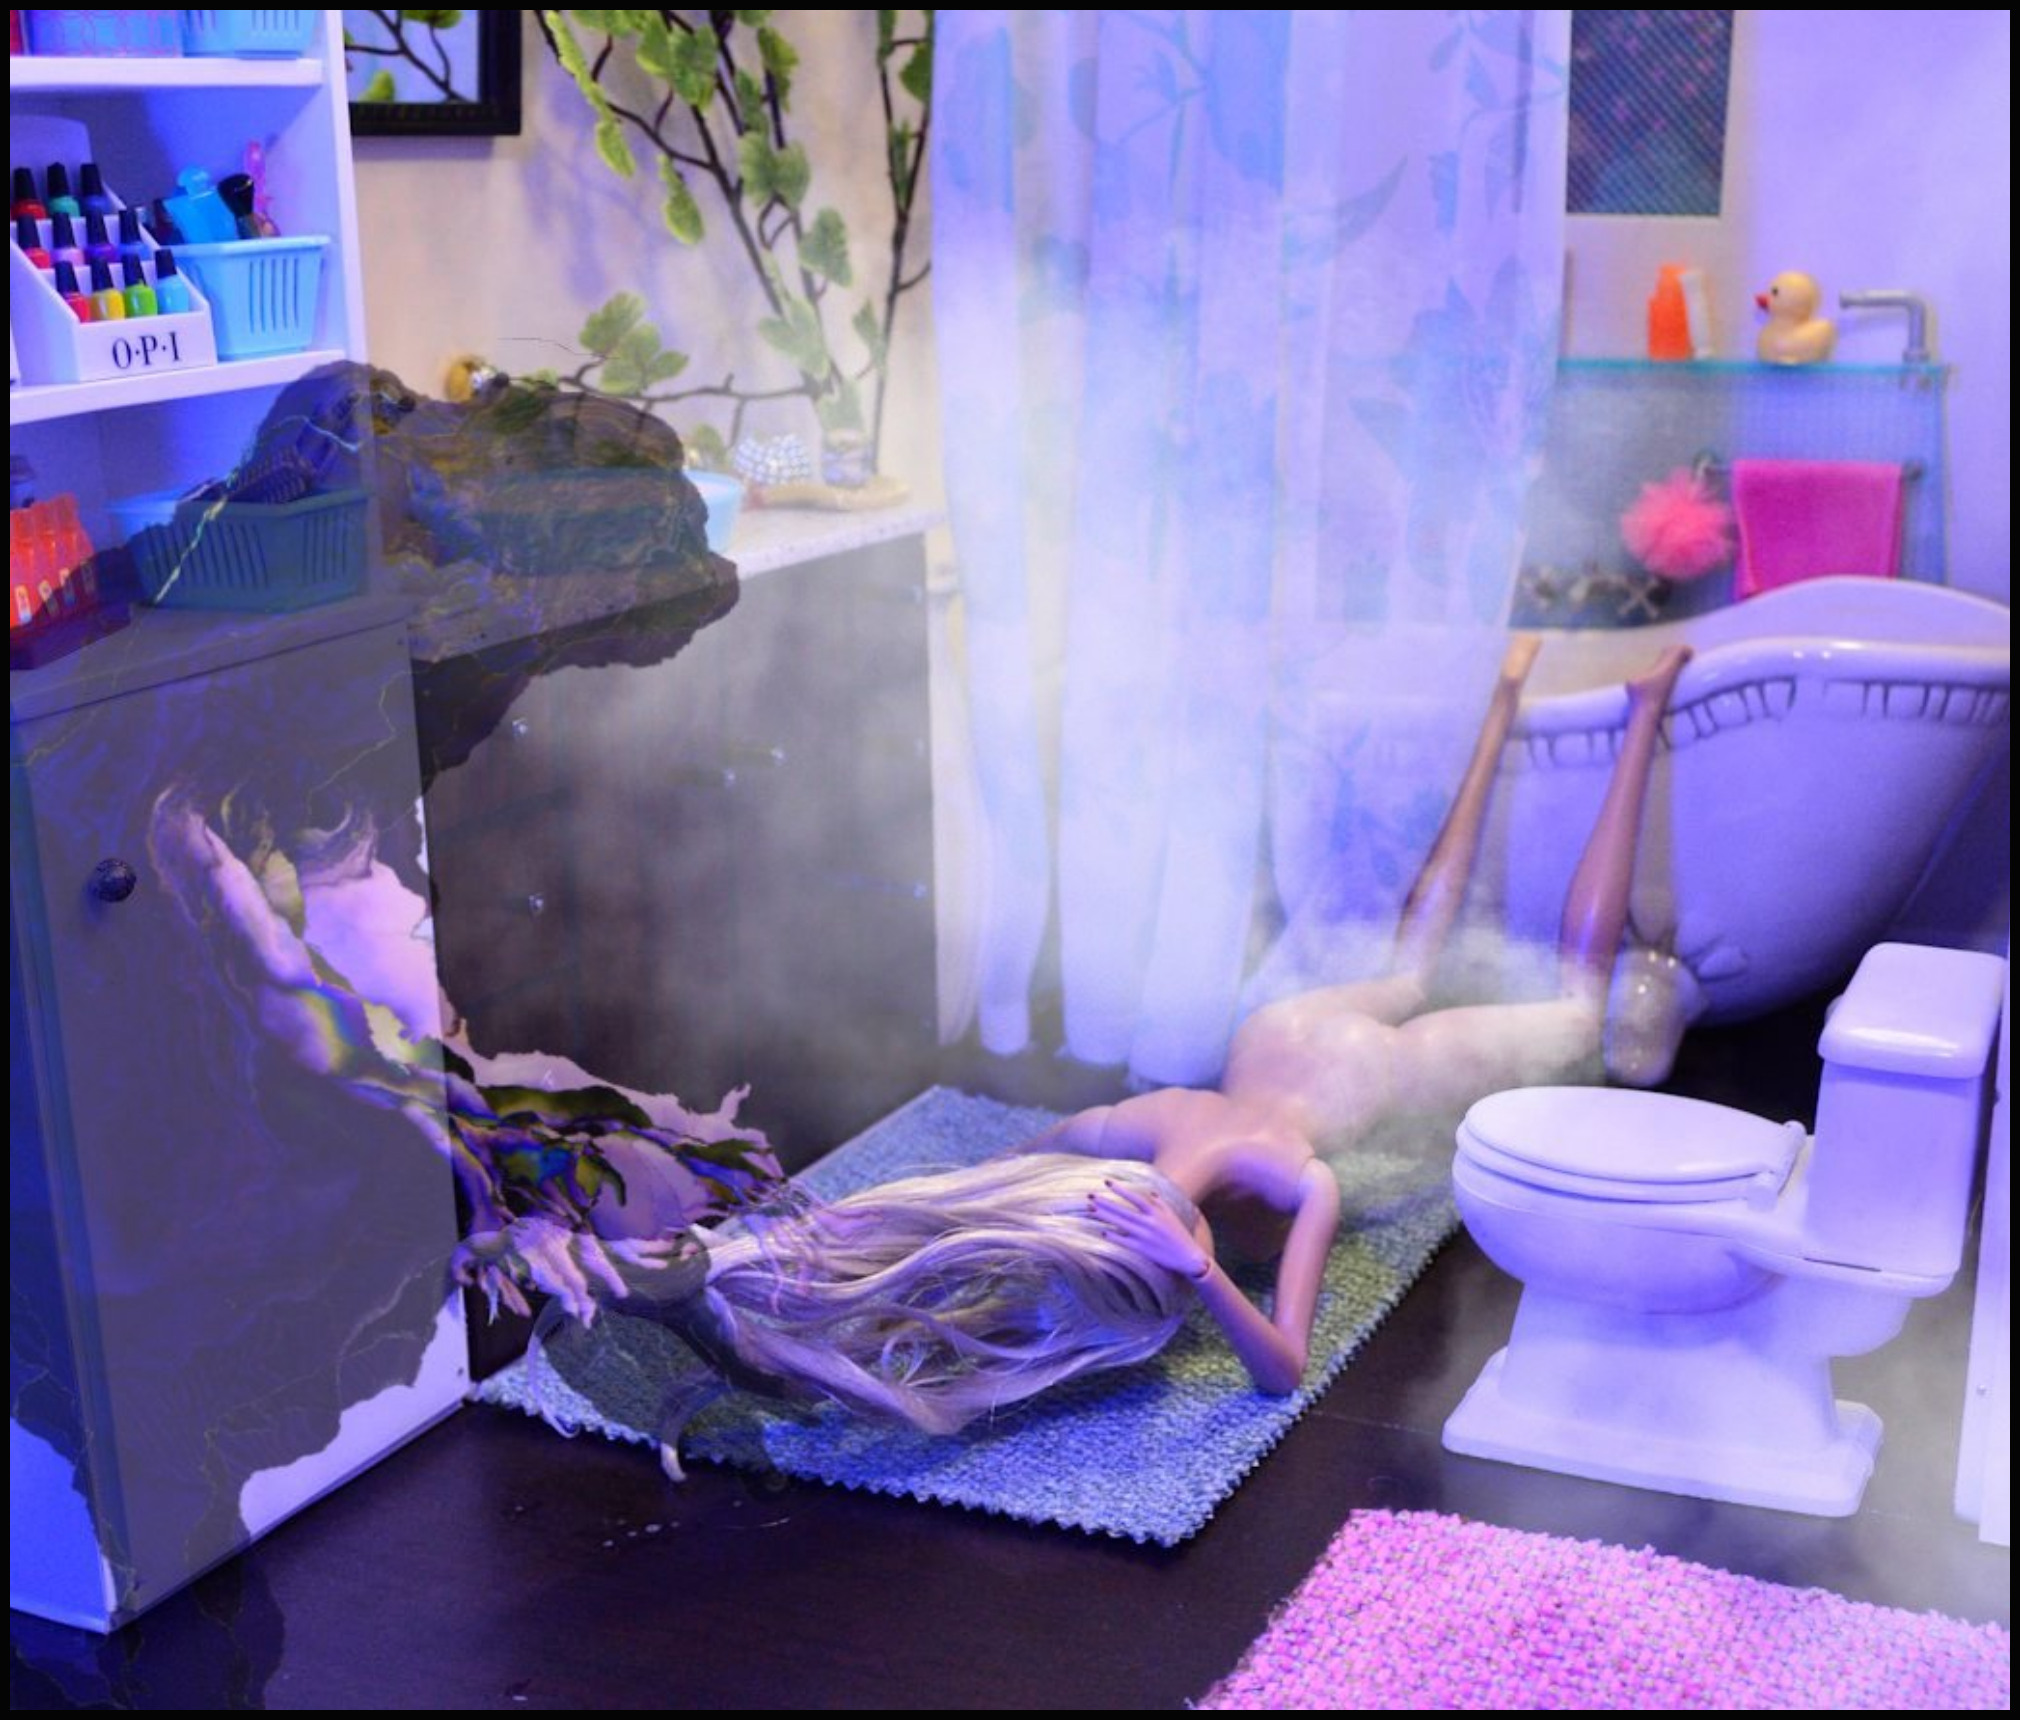
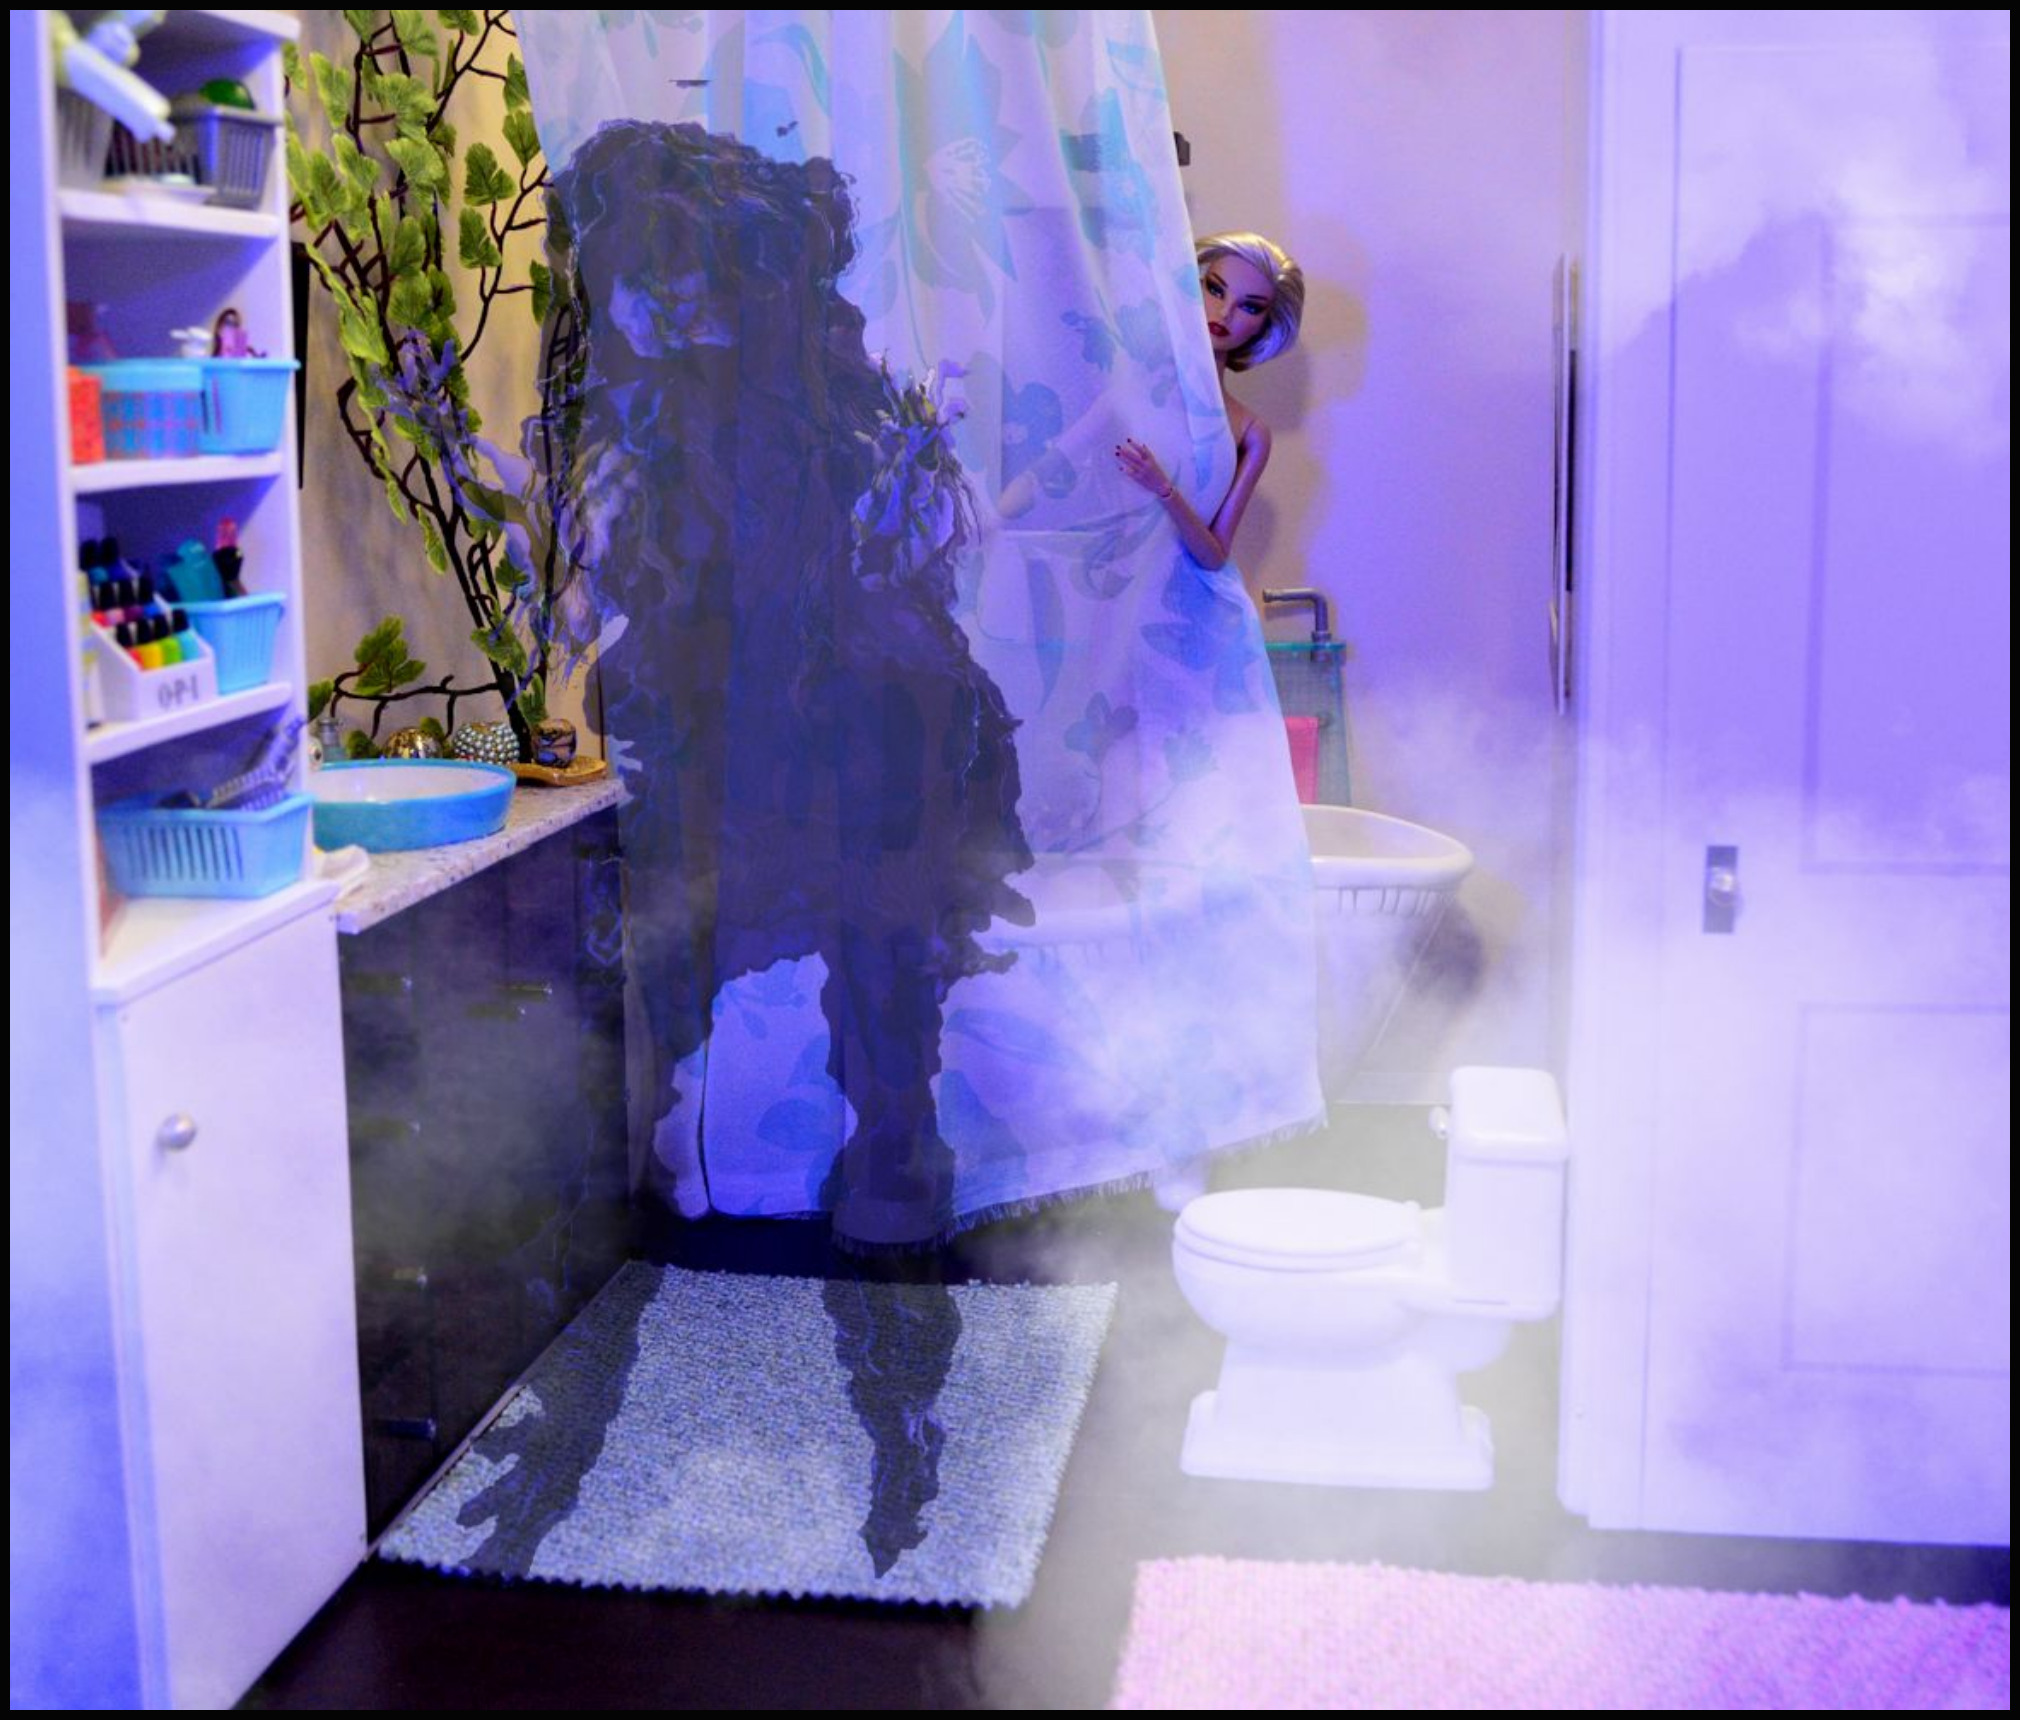
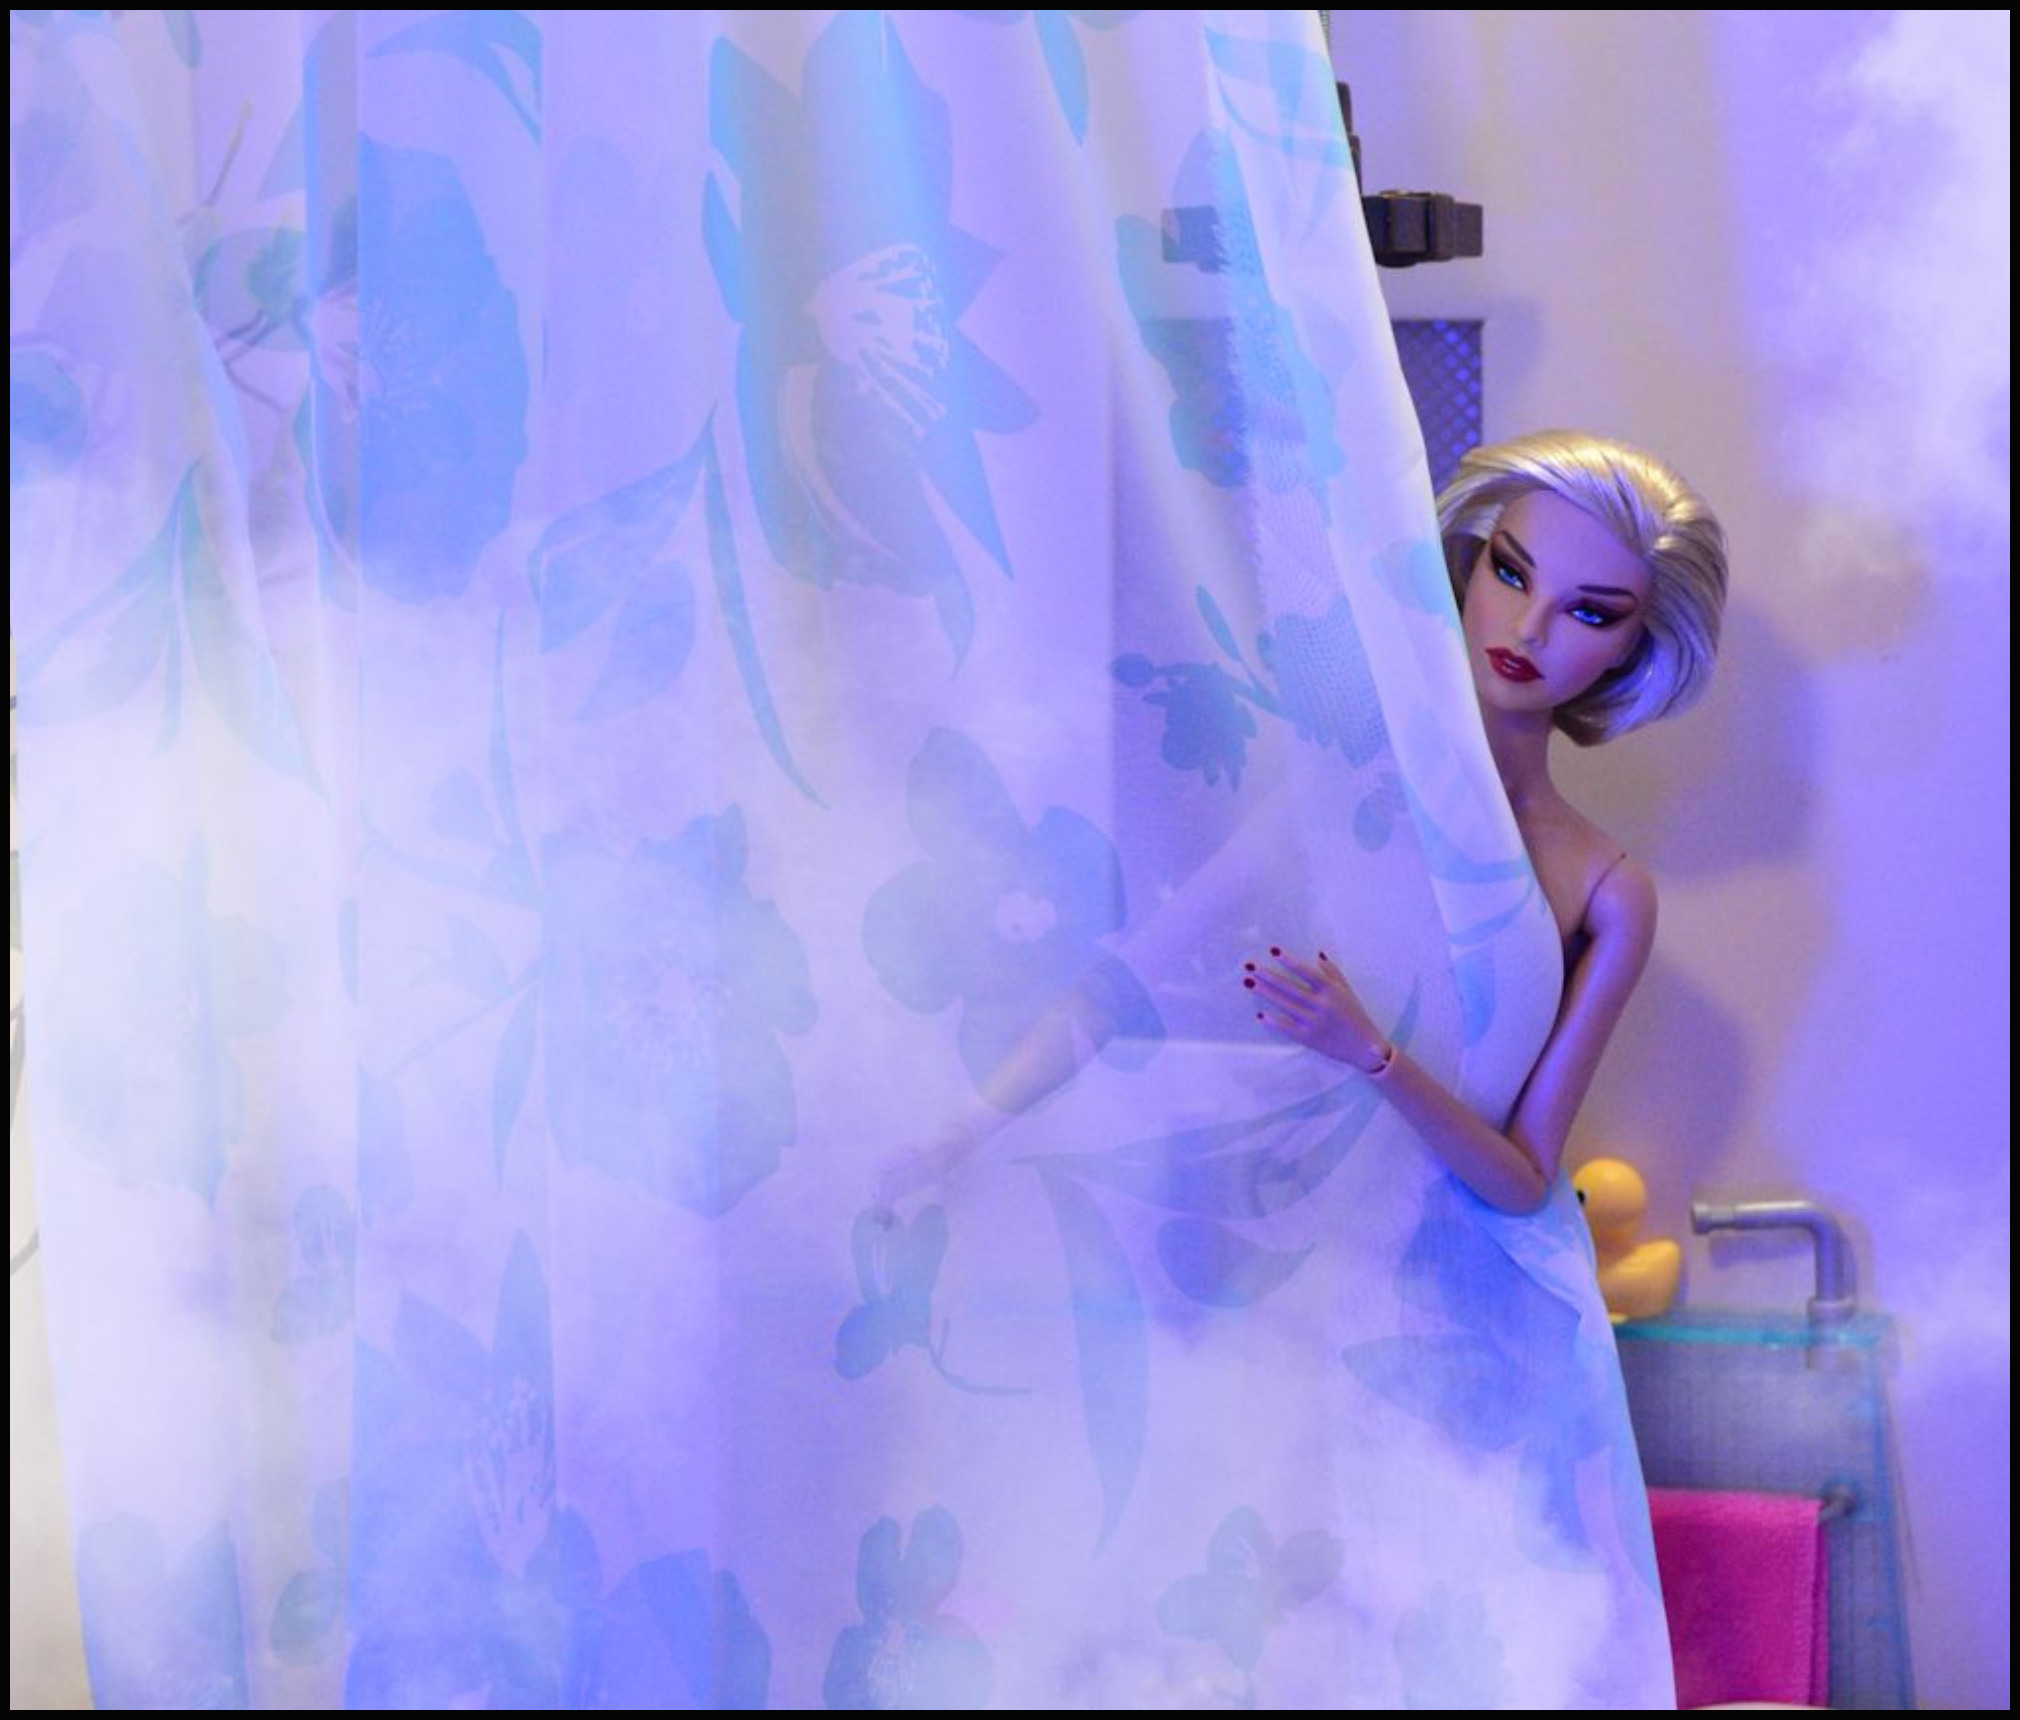
SHOWER WITH CURTAIN
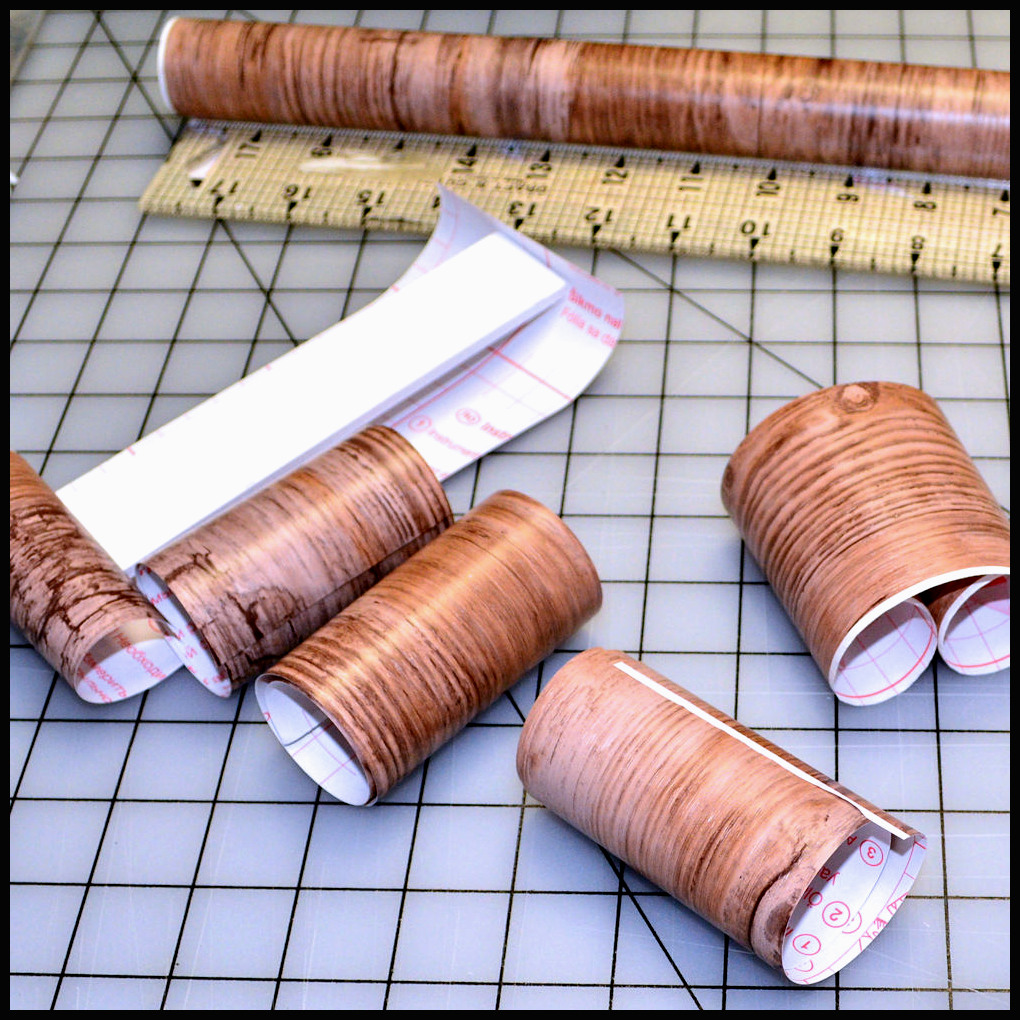
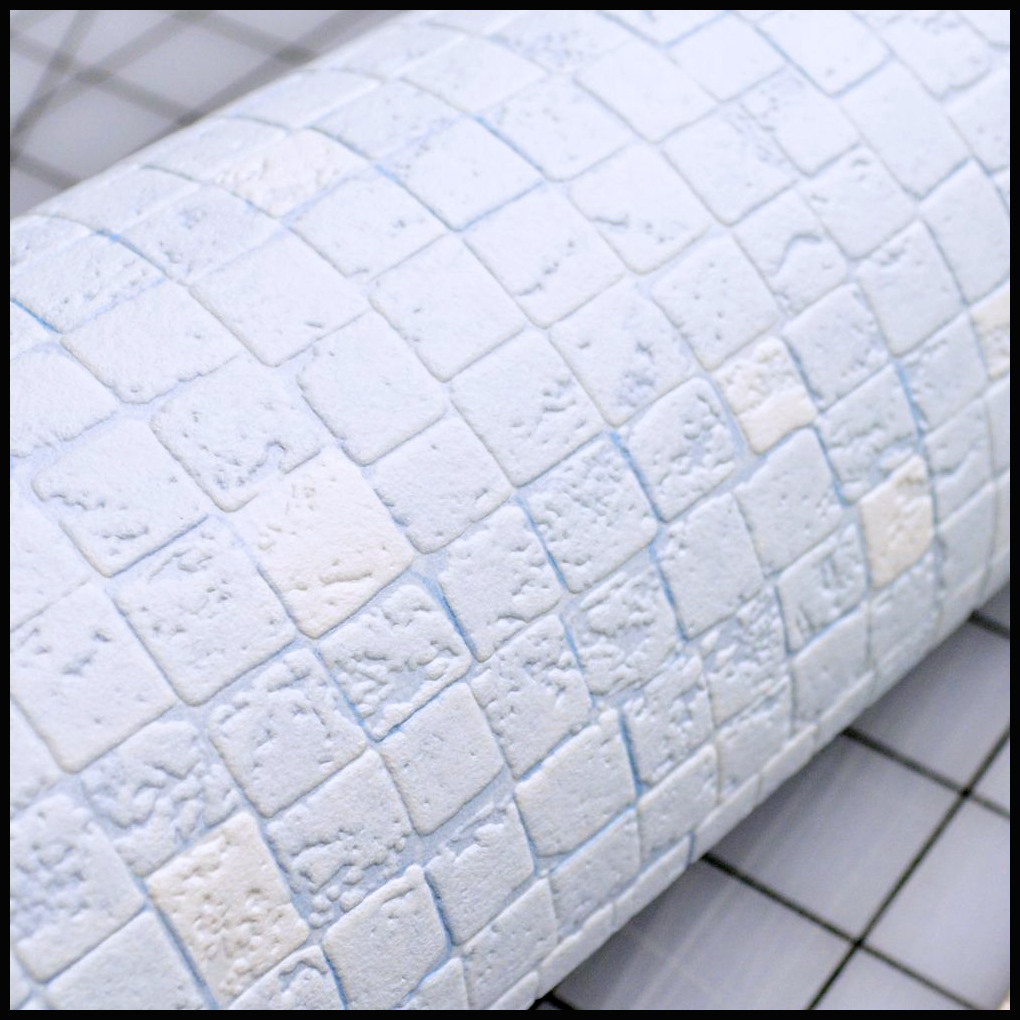
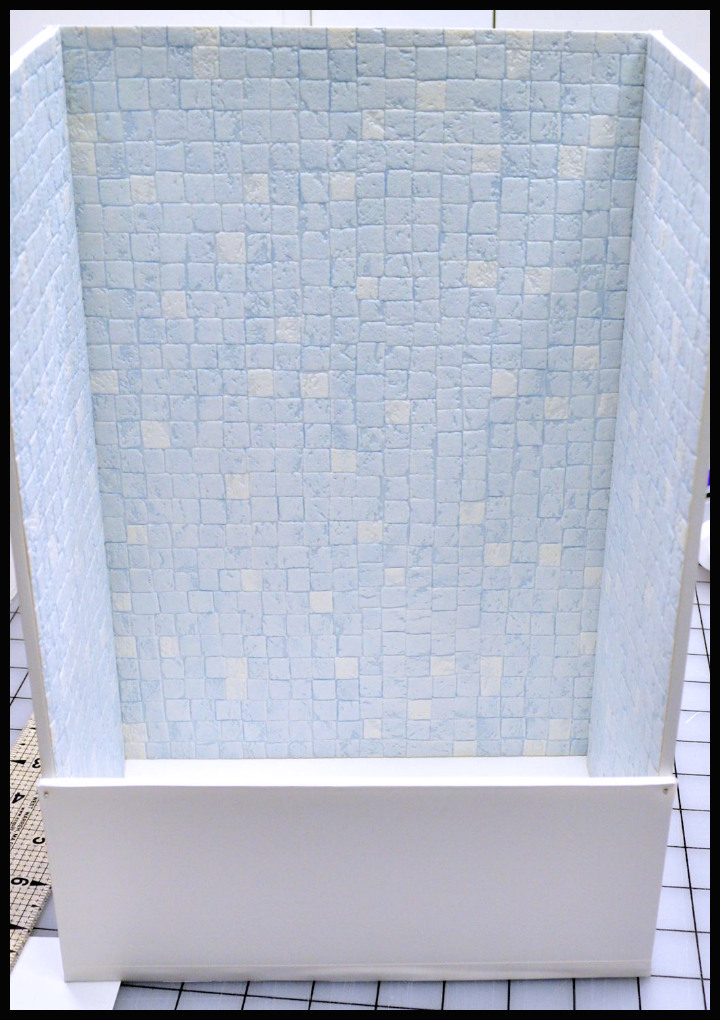
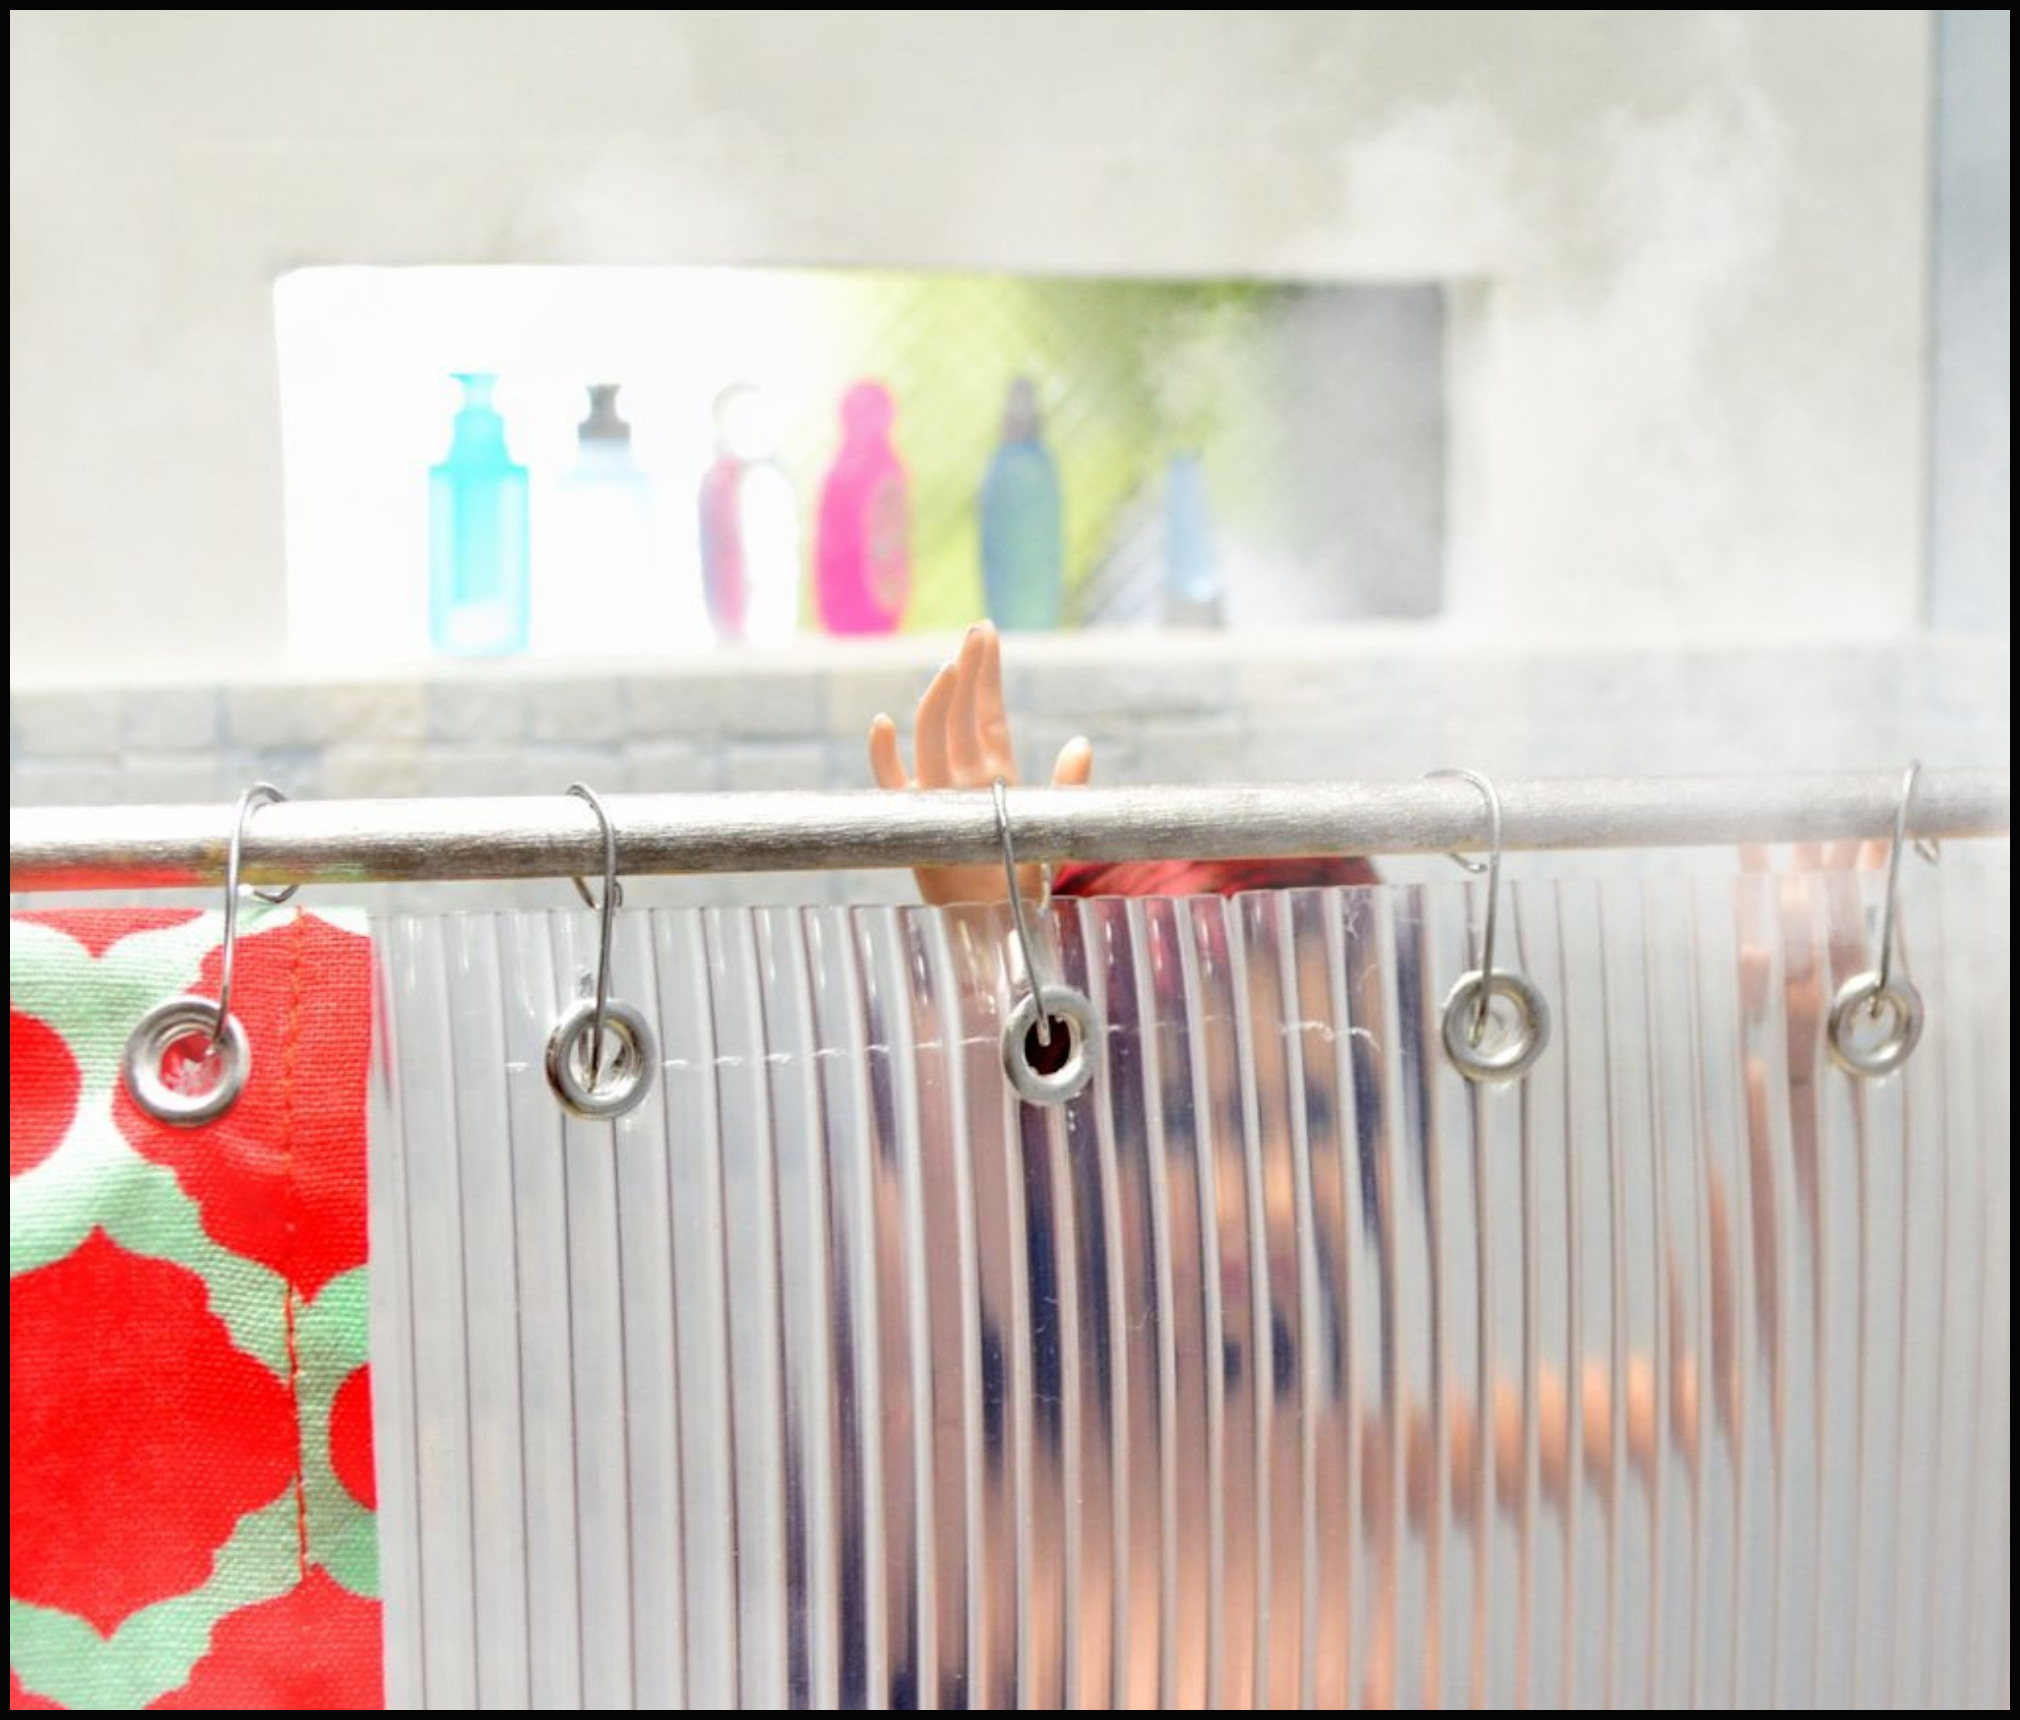
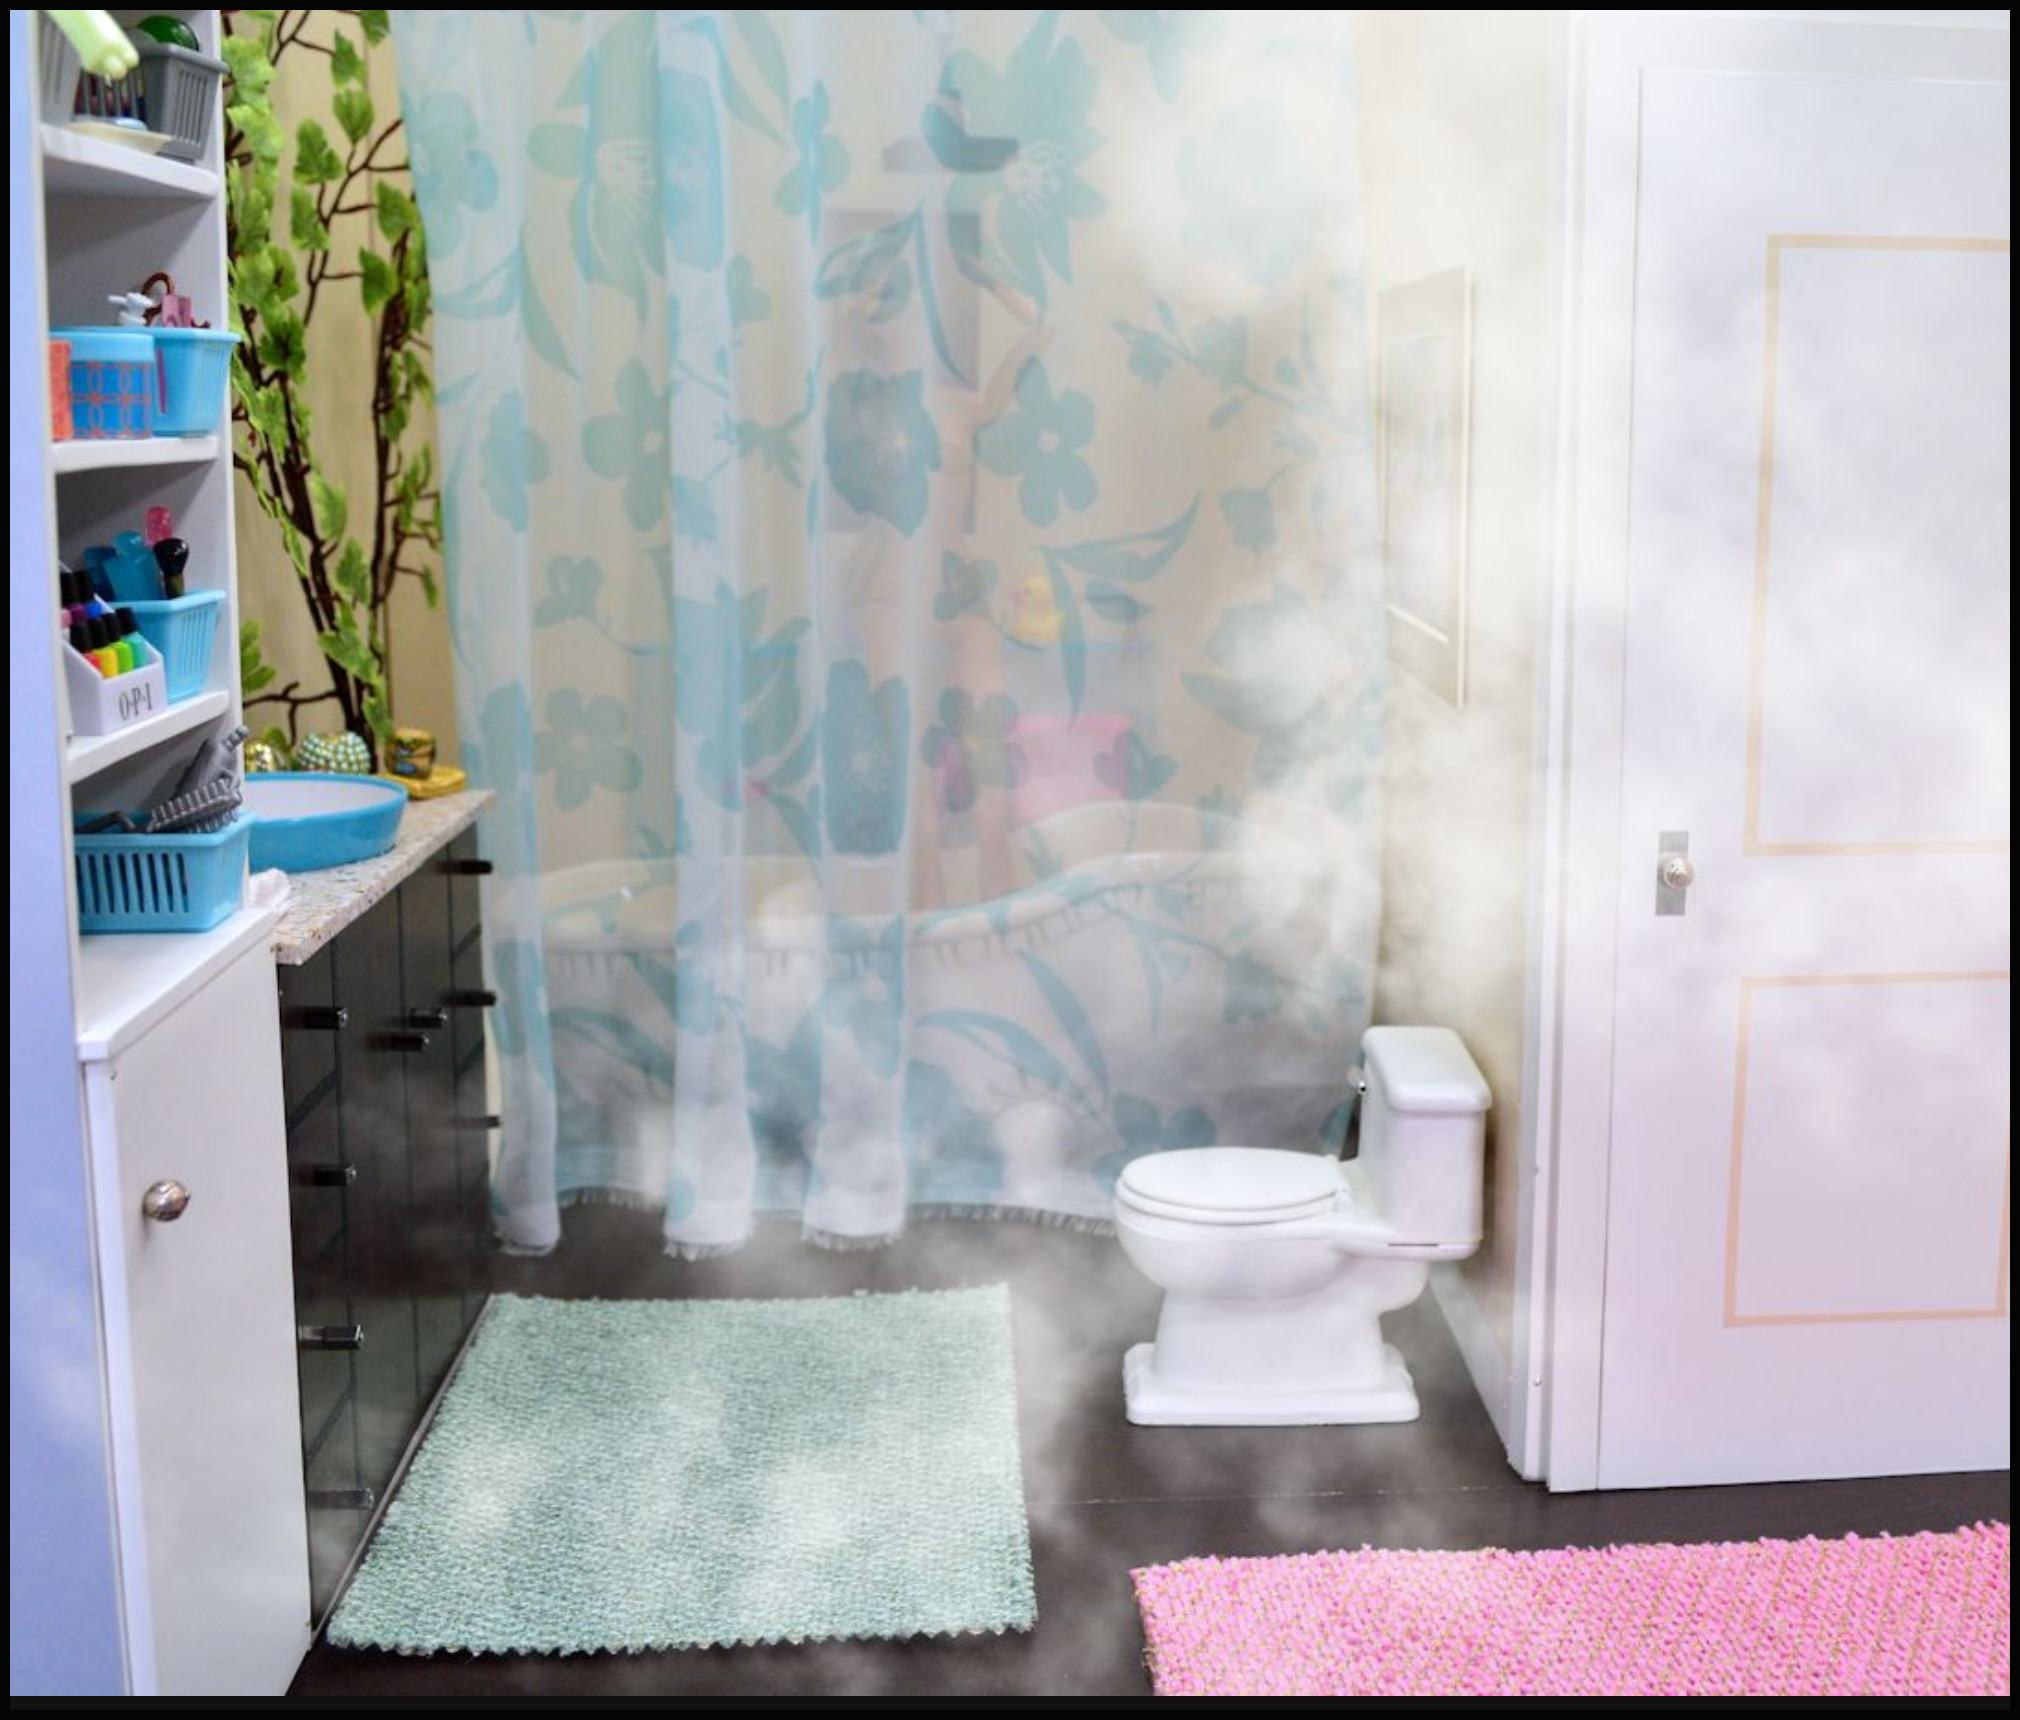
The fabric curtains on both side were sewn with my sewing machine. The round loop holes are from my grommet tool and the wire hangers are from Christmas ornament hooks cut with jewelry tools. They’re wrapped around a balsa wood dowel that’s been painted silver. The dowel is glued to the two sides of the foam board wall which is covered in a textured faux-tile wallpaper.
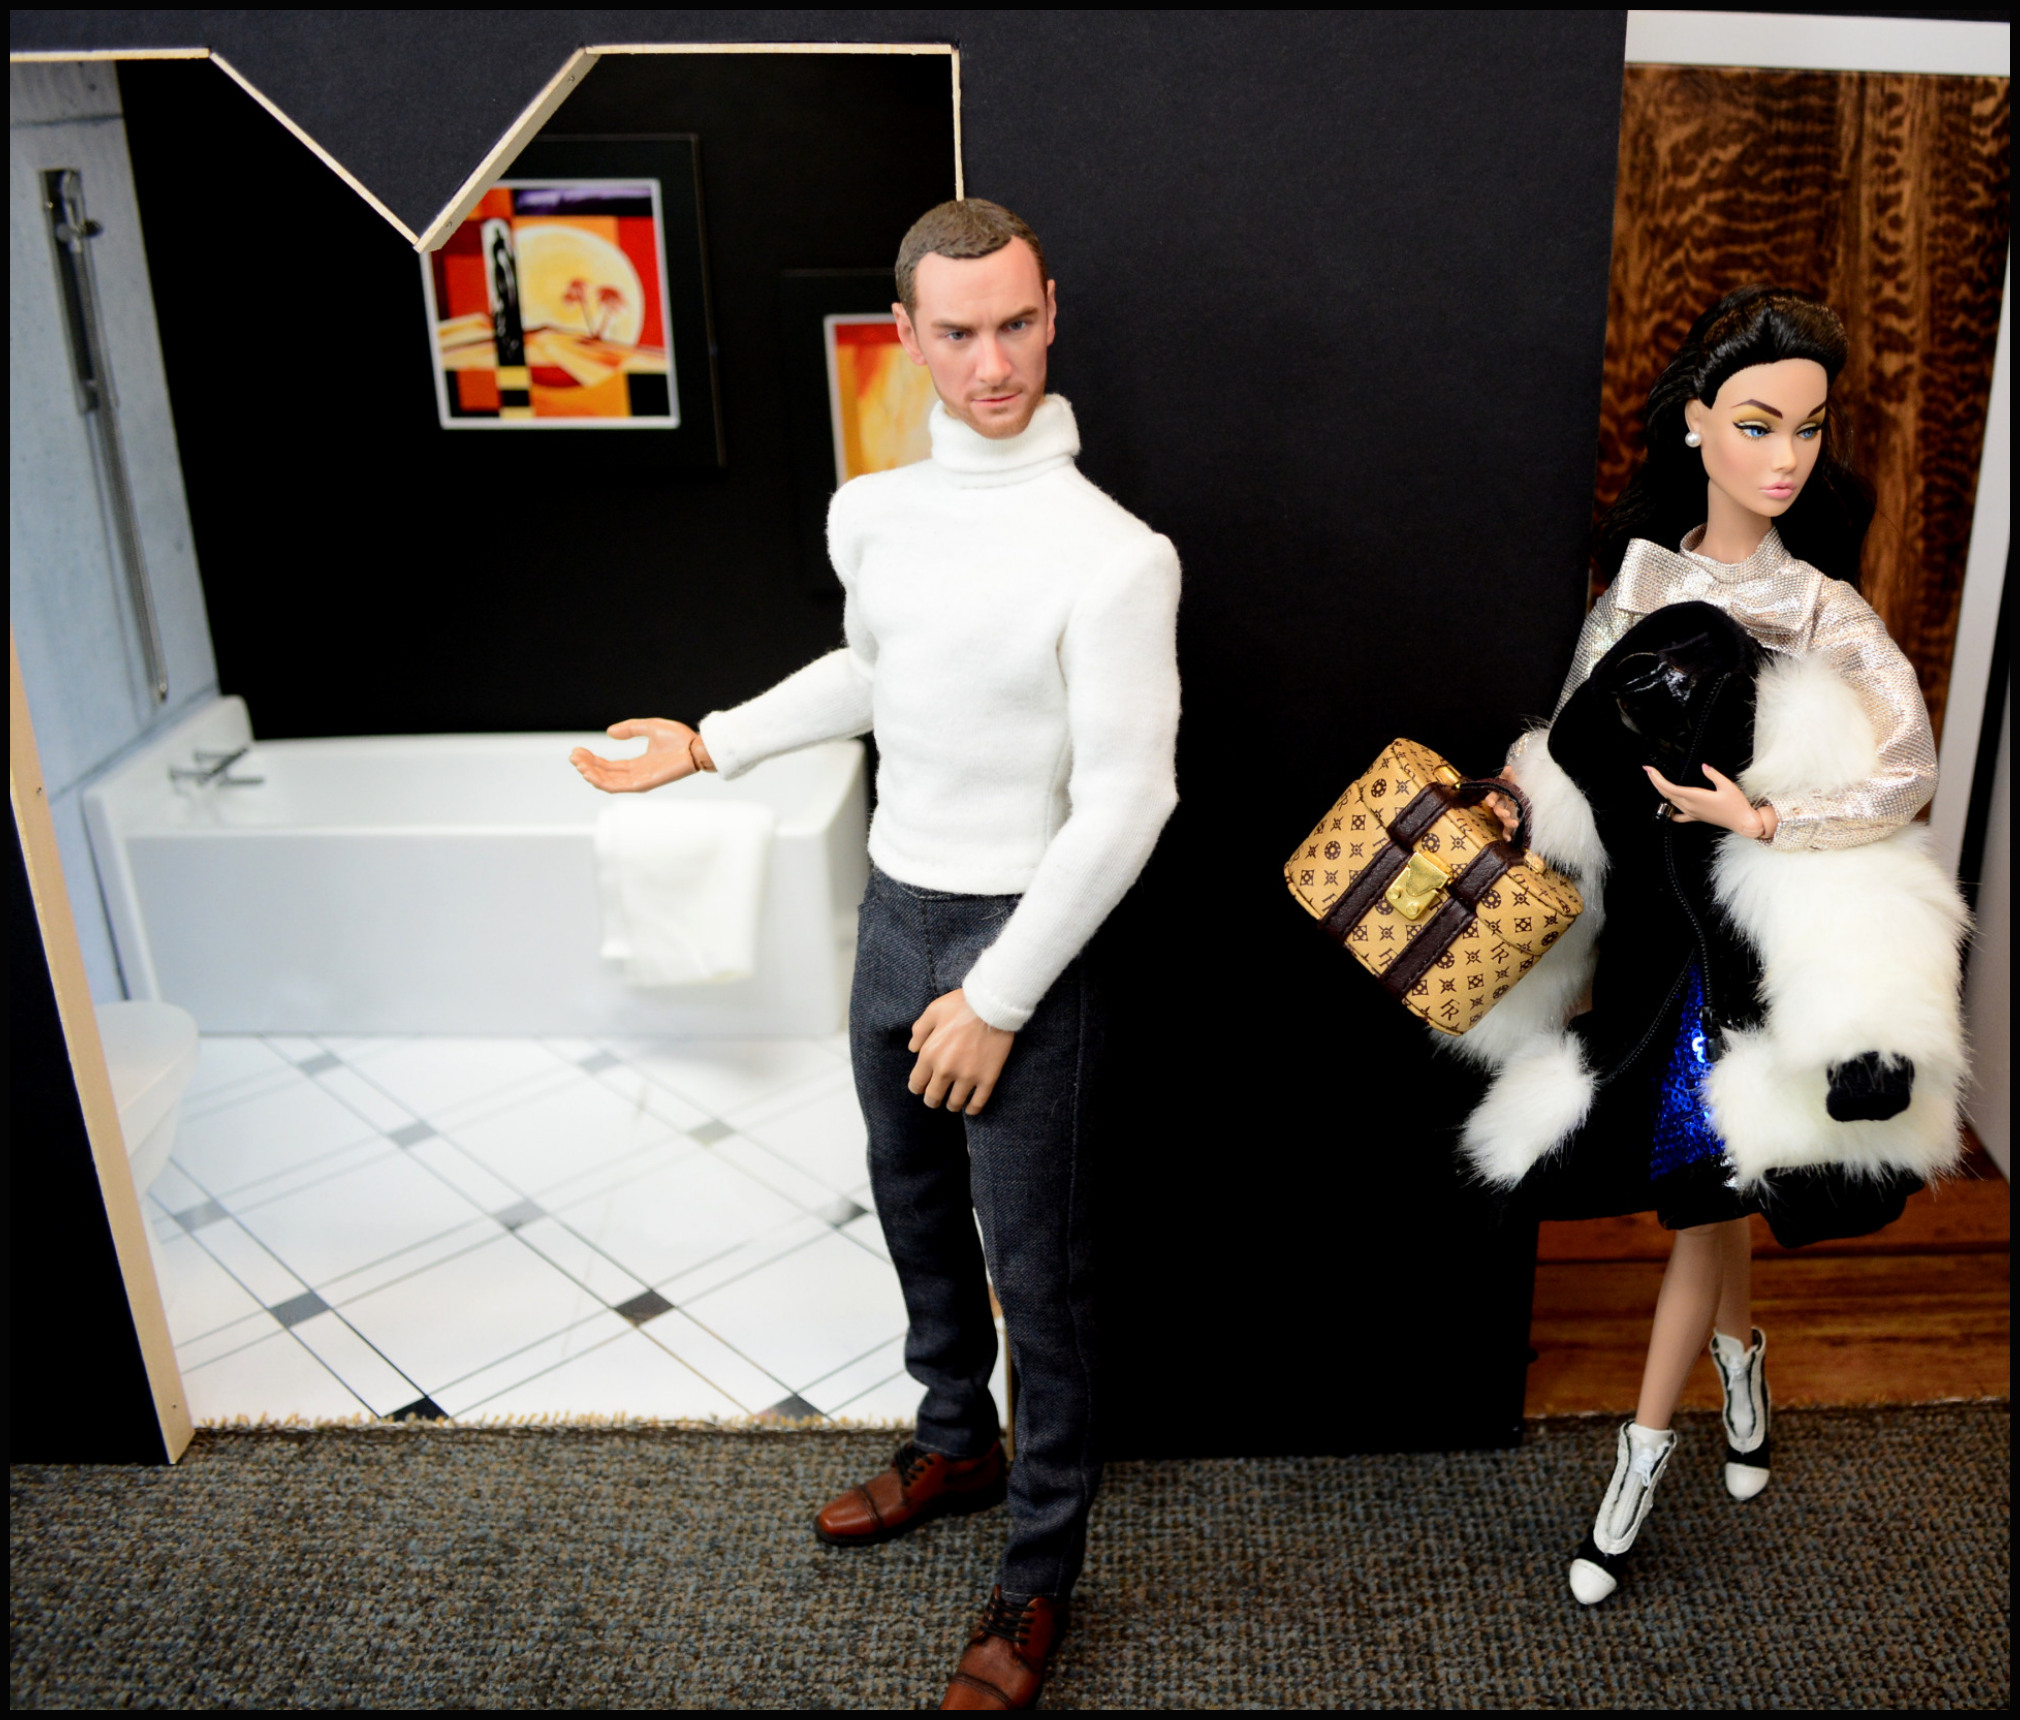
Below the simple rectangular box was all I needed to make, the transparent plastic and two cloth curtains hid all the details of the shower while still announcing what it was in the story.
I used a plastic Duraliner kitchen drawer liner roll to make my shower curtain because it was transparent enough to look like a clear shower curtain and heavy enough to hang well.
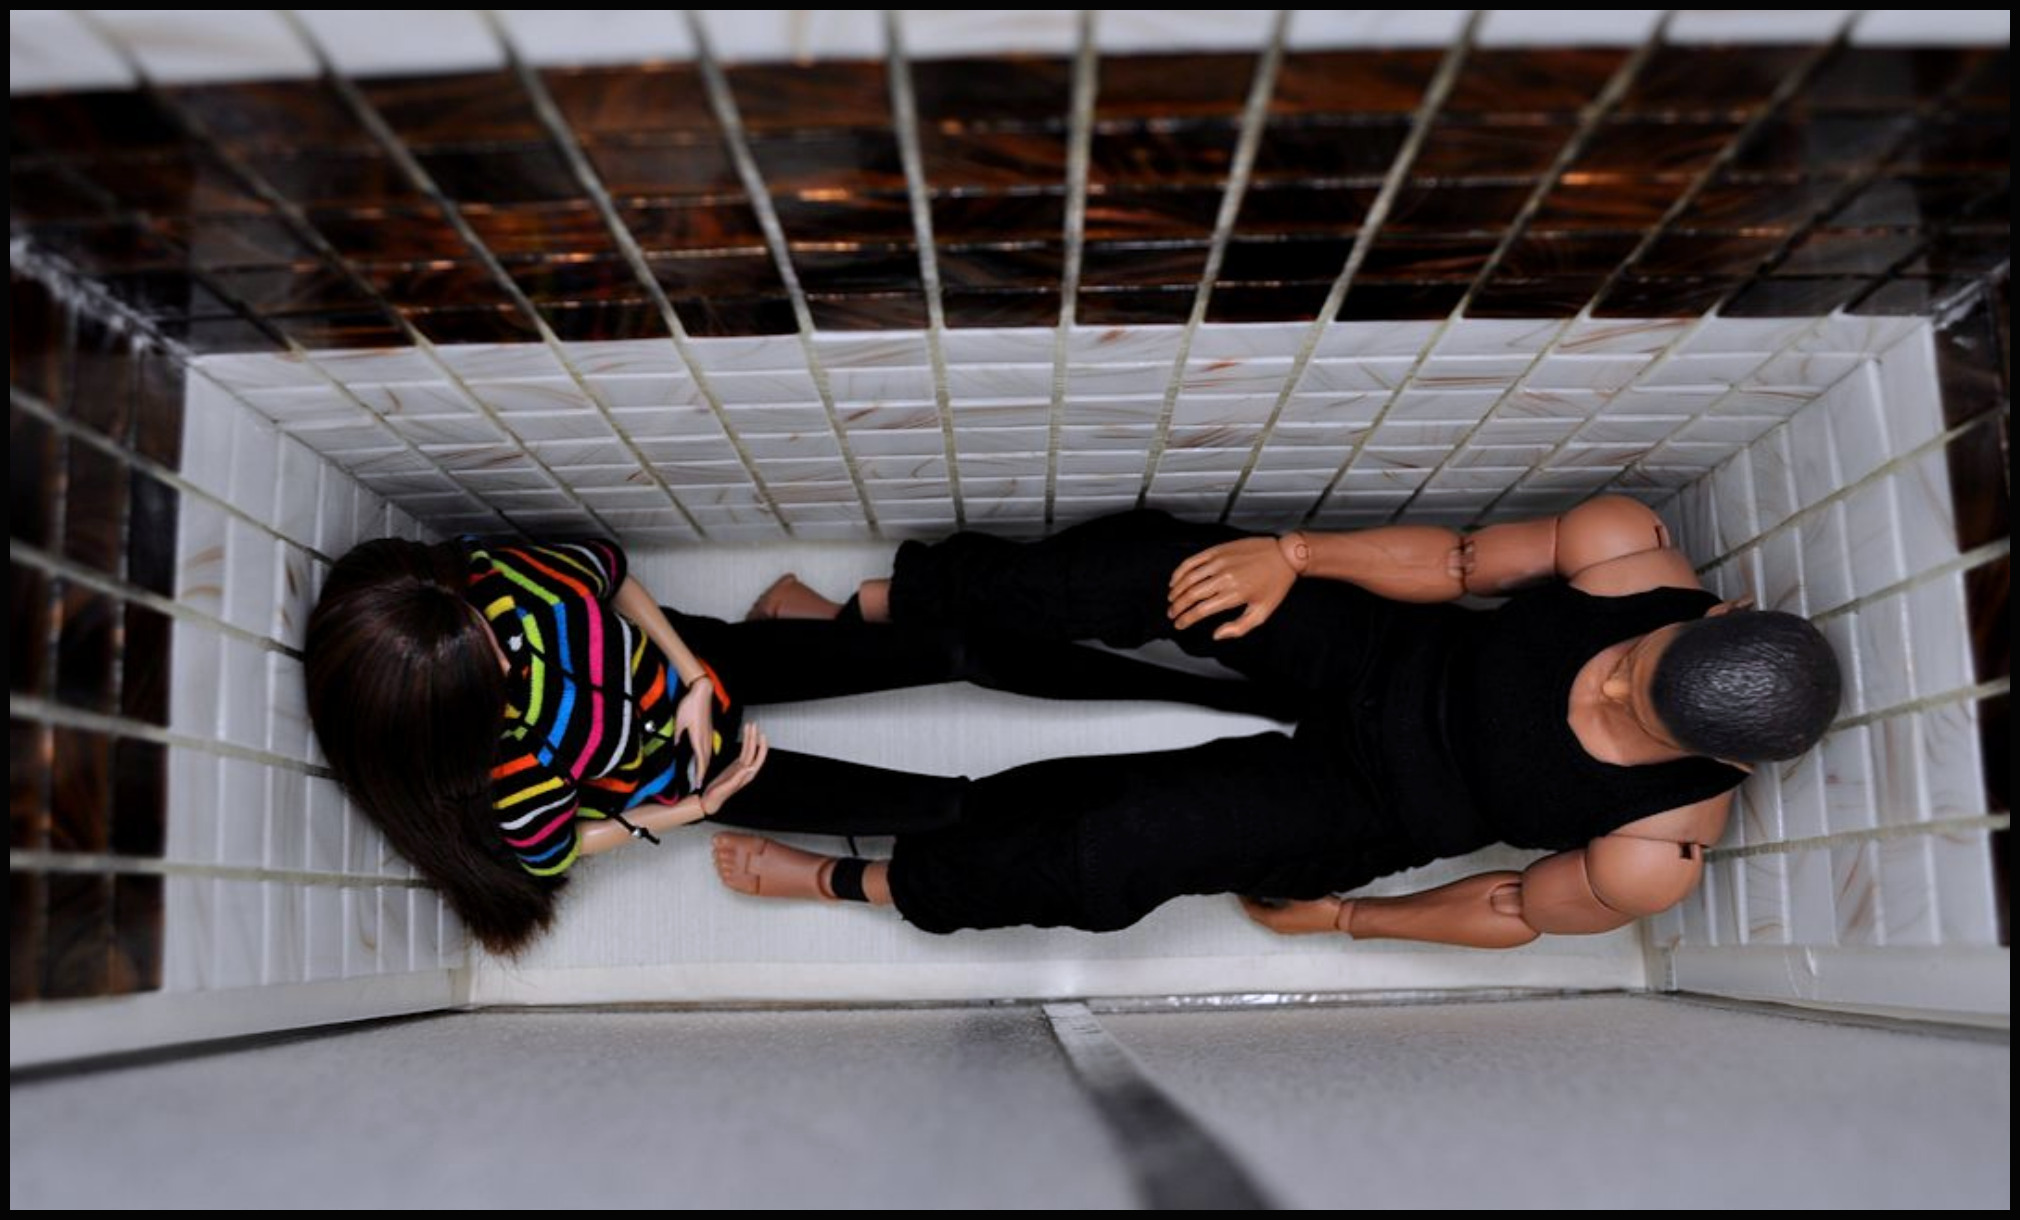
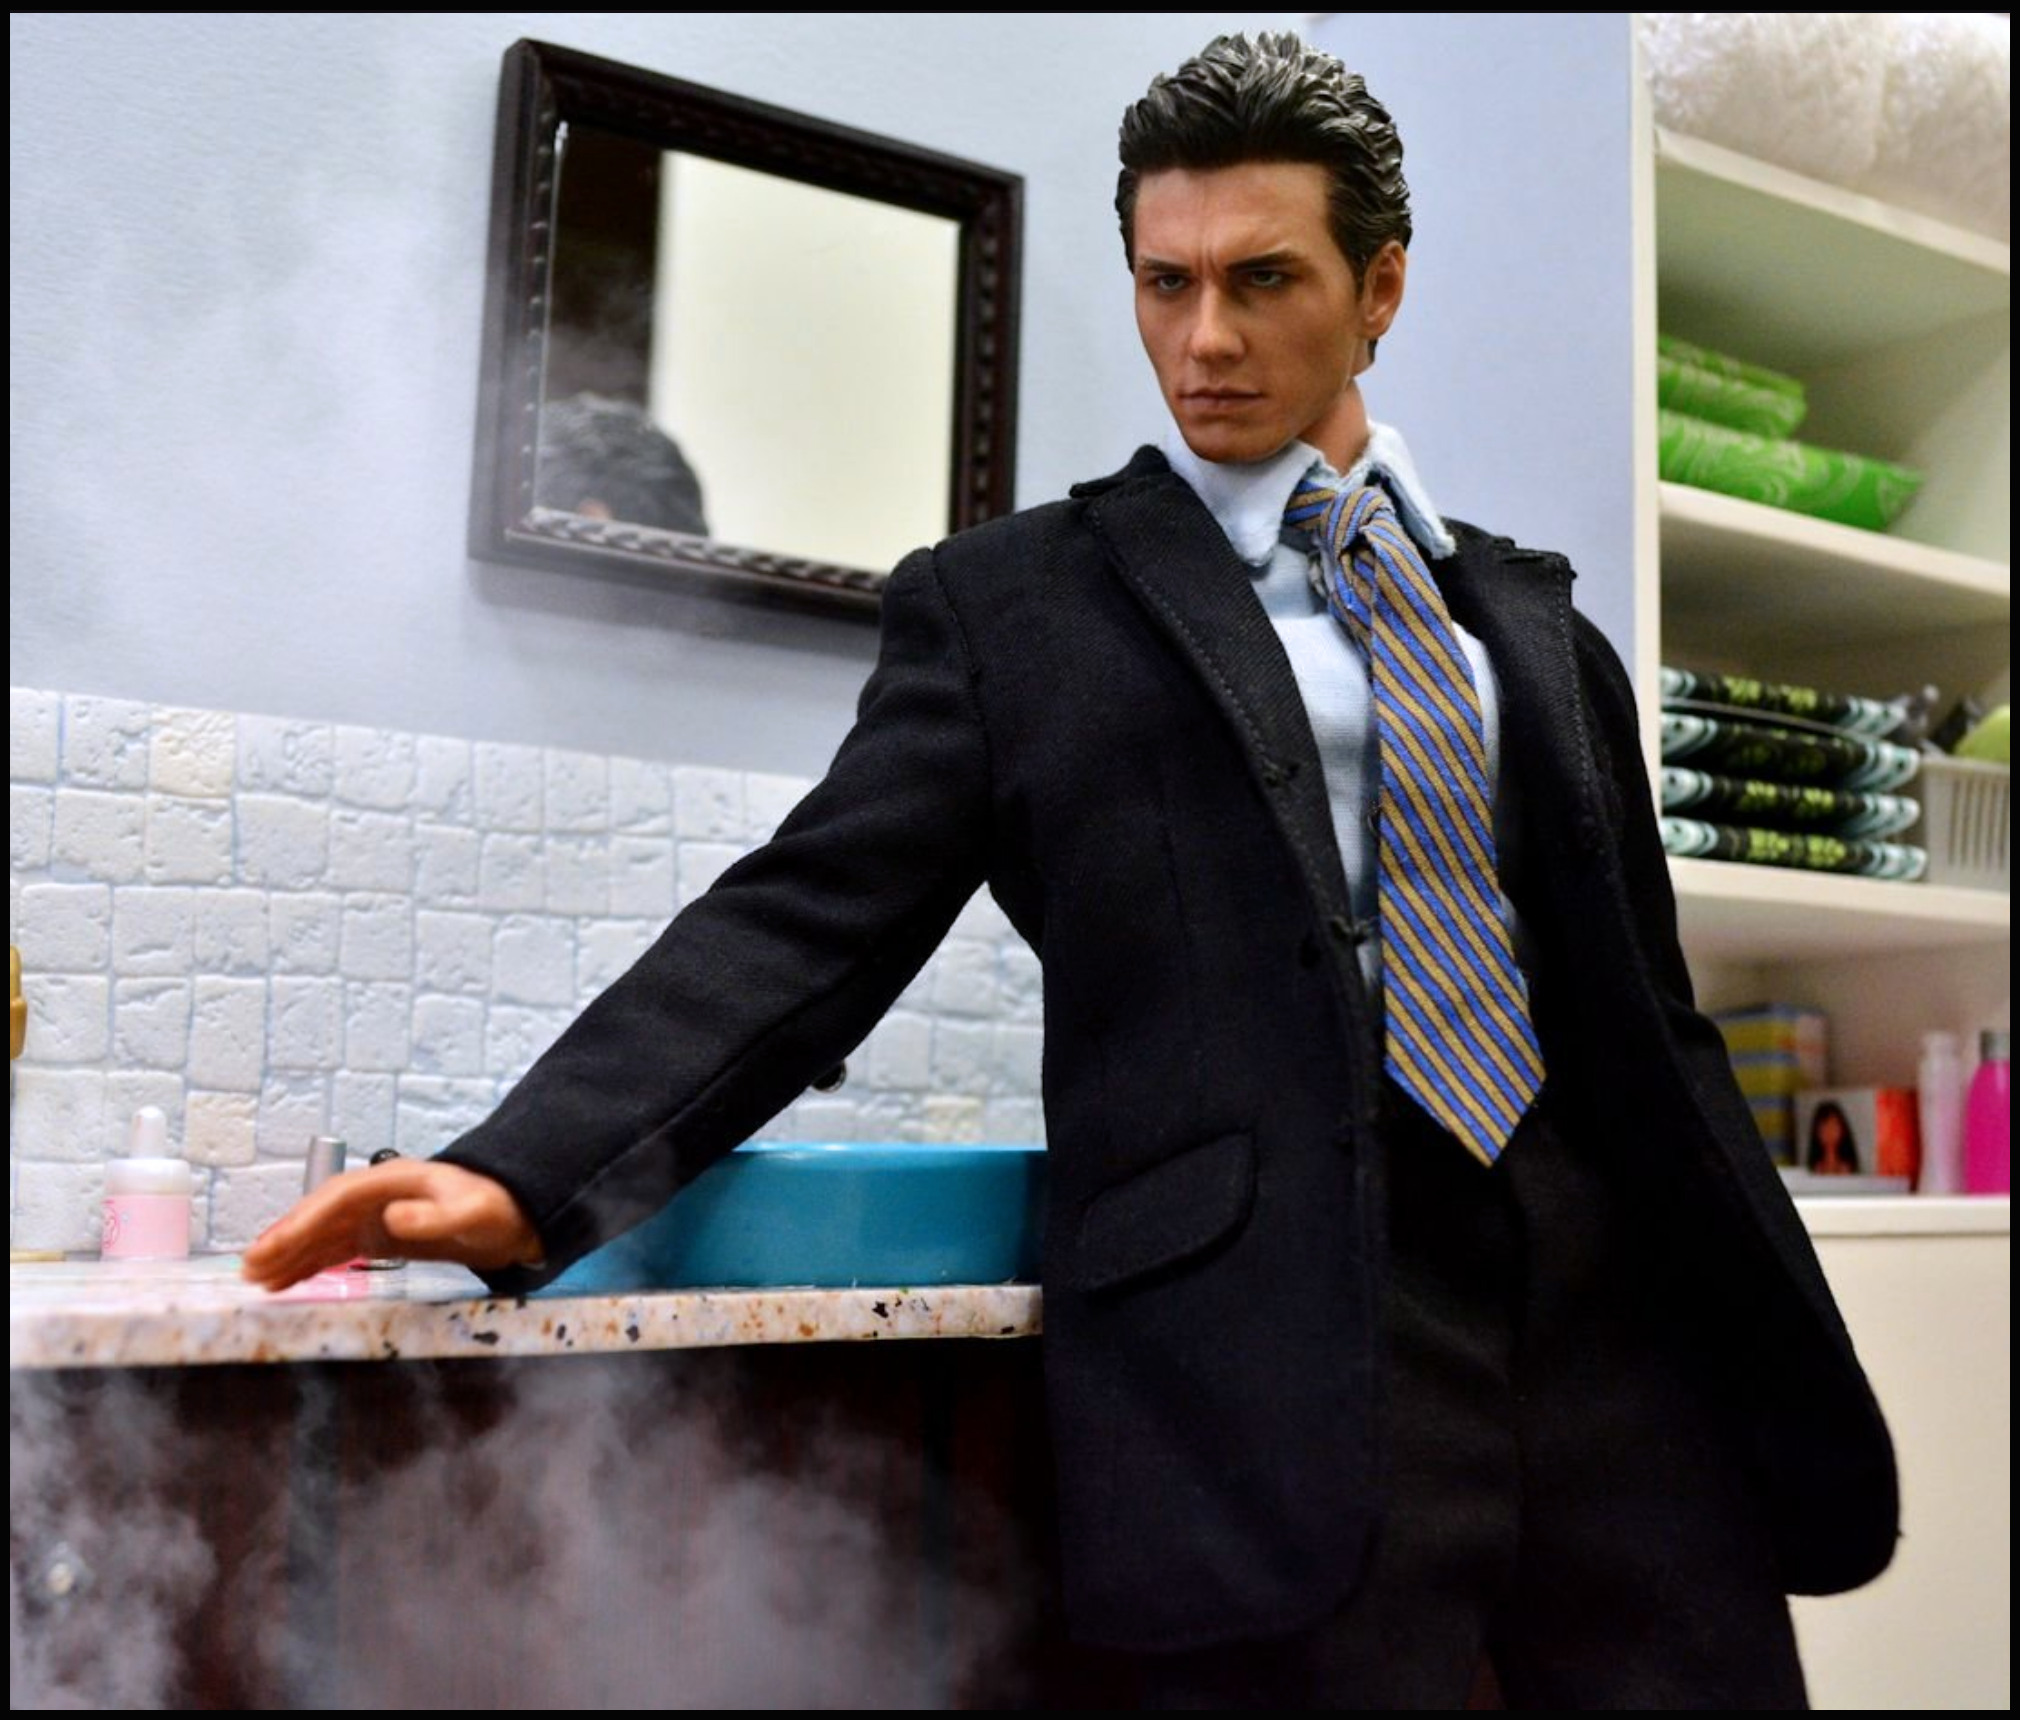
Below with a doll in the shot and Barbie shampoo bottles, only post-production special effect layers of steam were added to finish the shower look.
SHOWER WITHOUT CURTAIN
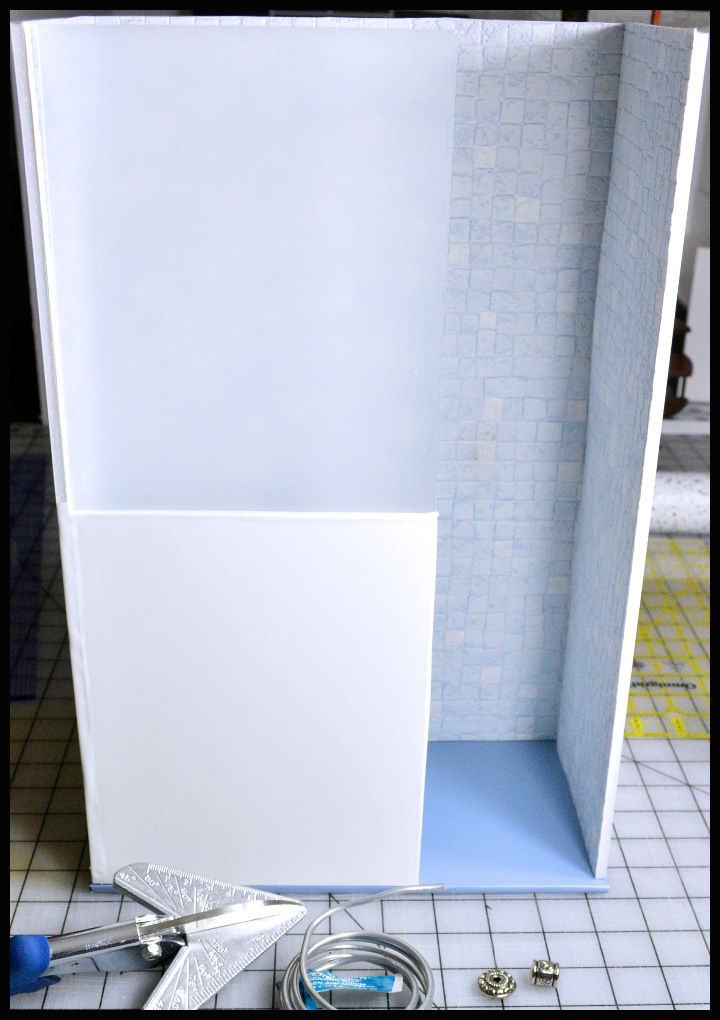
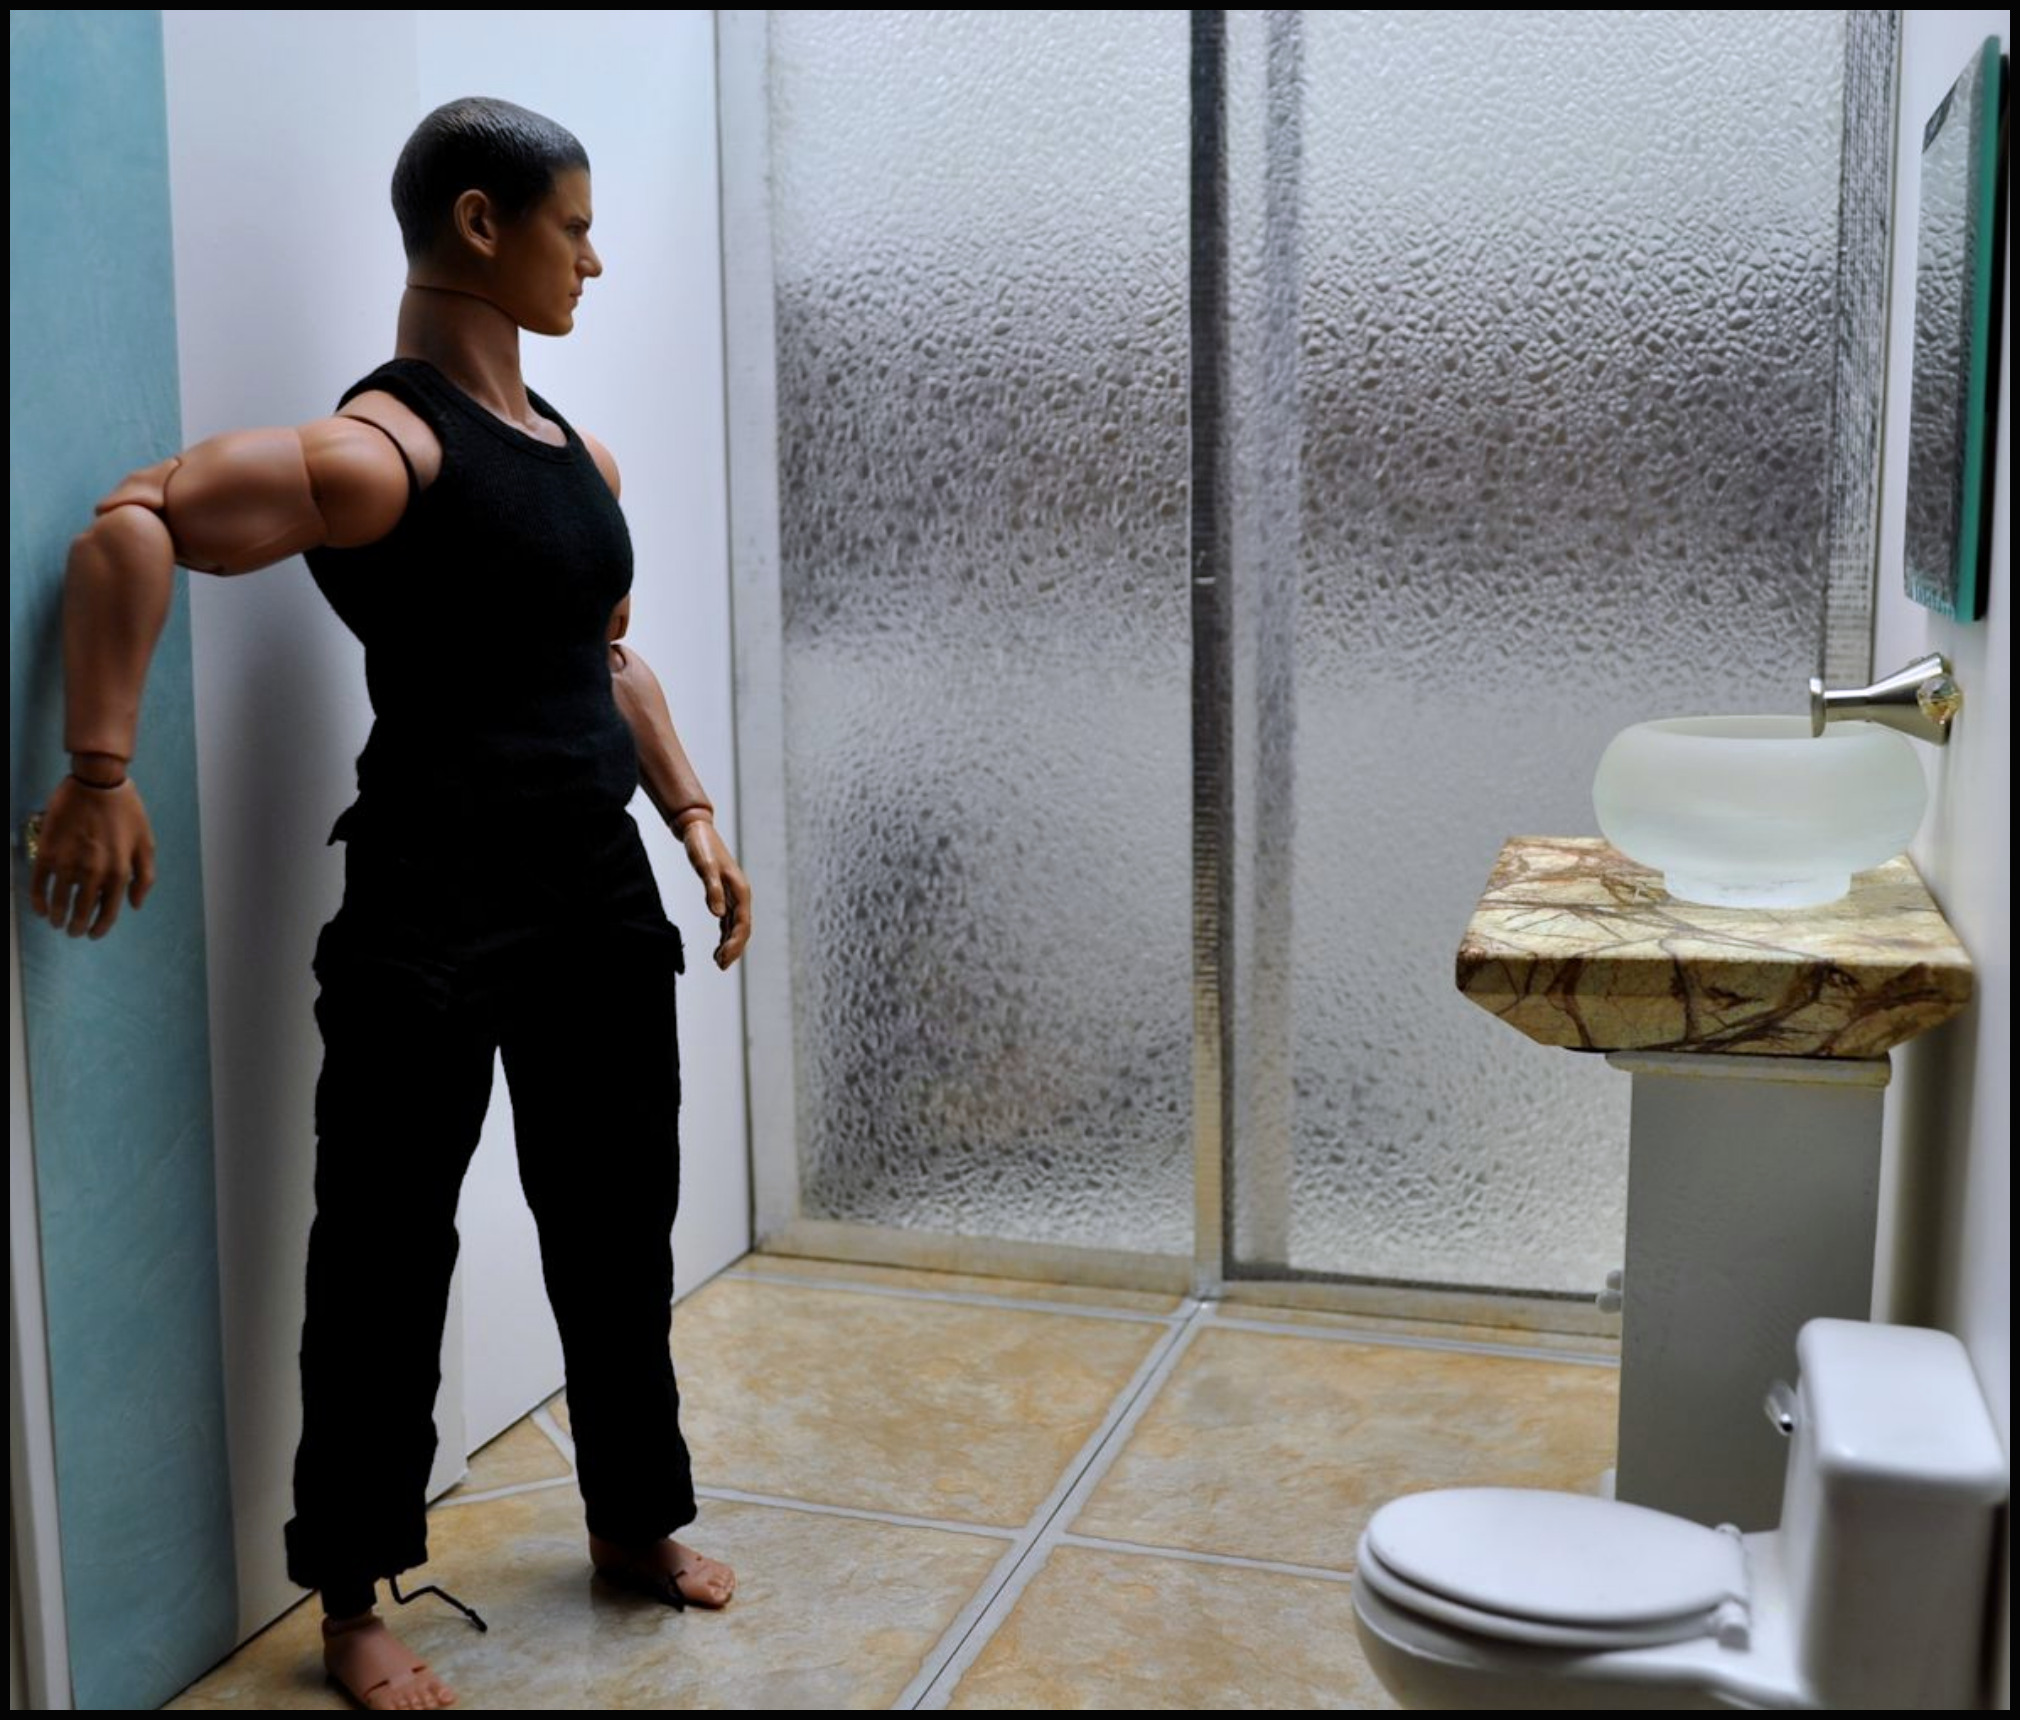
Modern showers are easier to make: just four foam board walls, textured faux-tile wallpaper, and a piece of Plexiglass for a water guard.
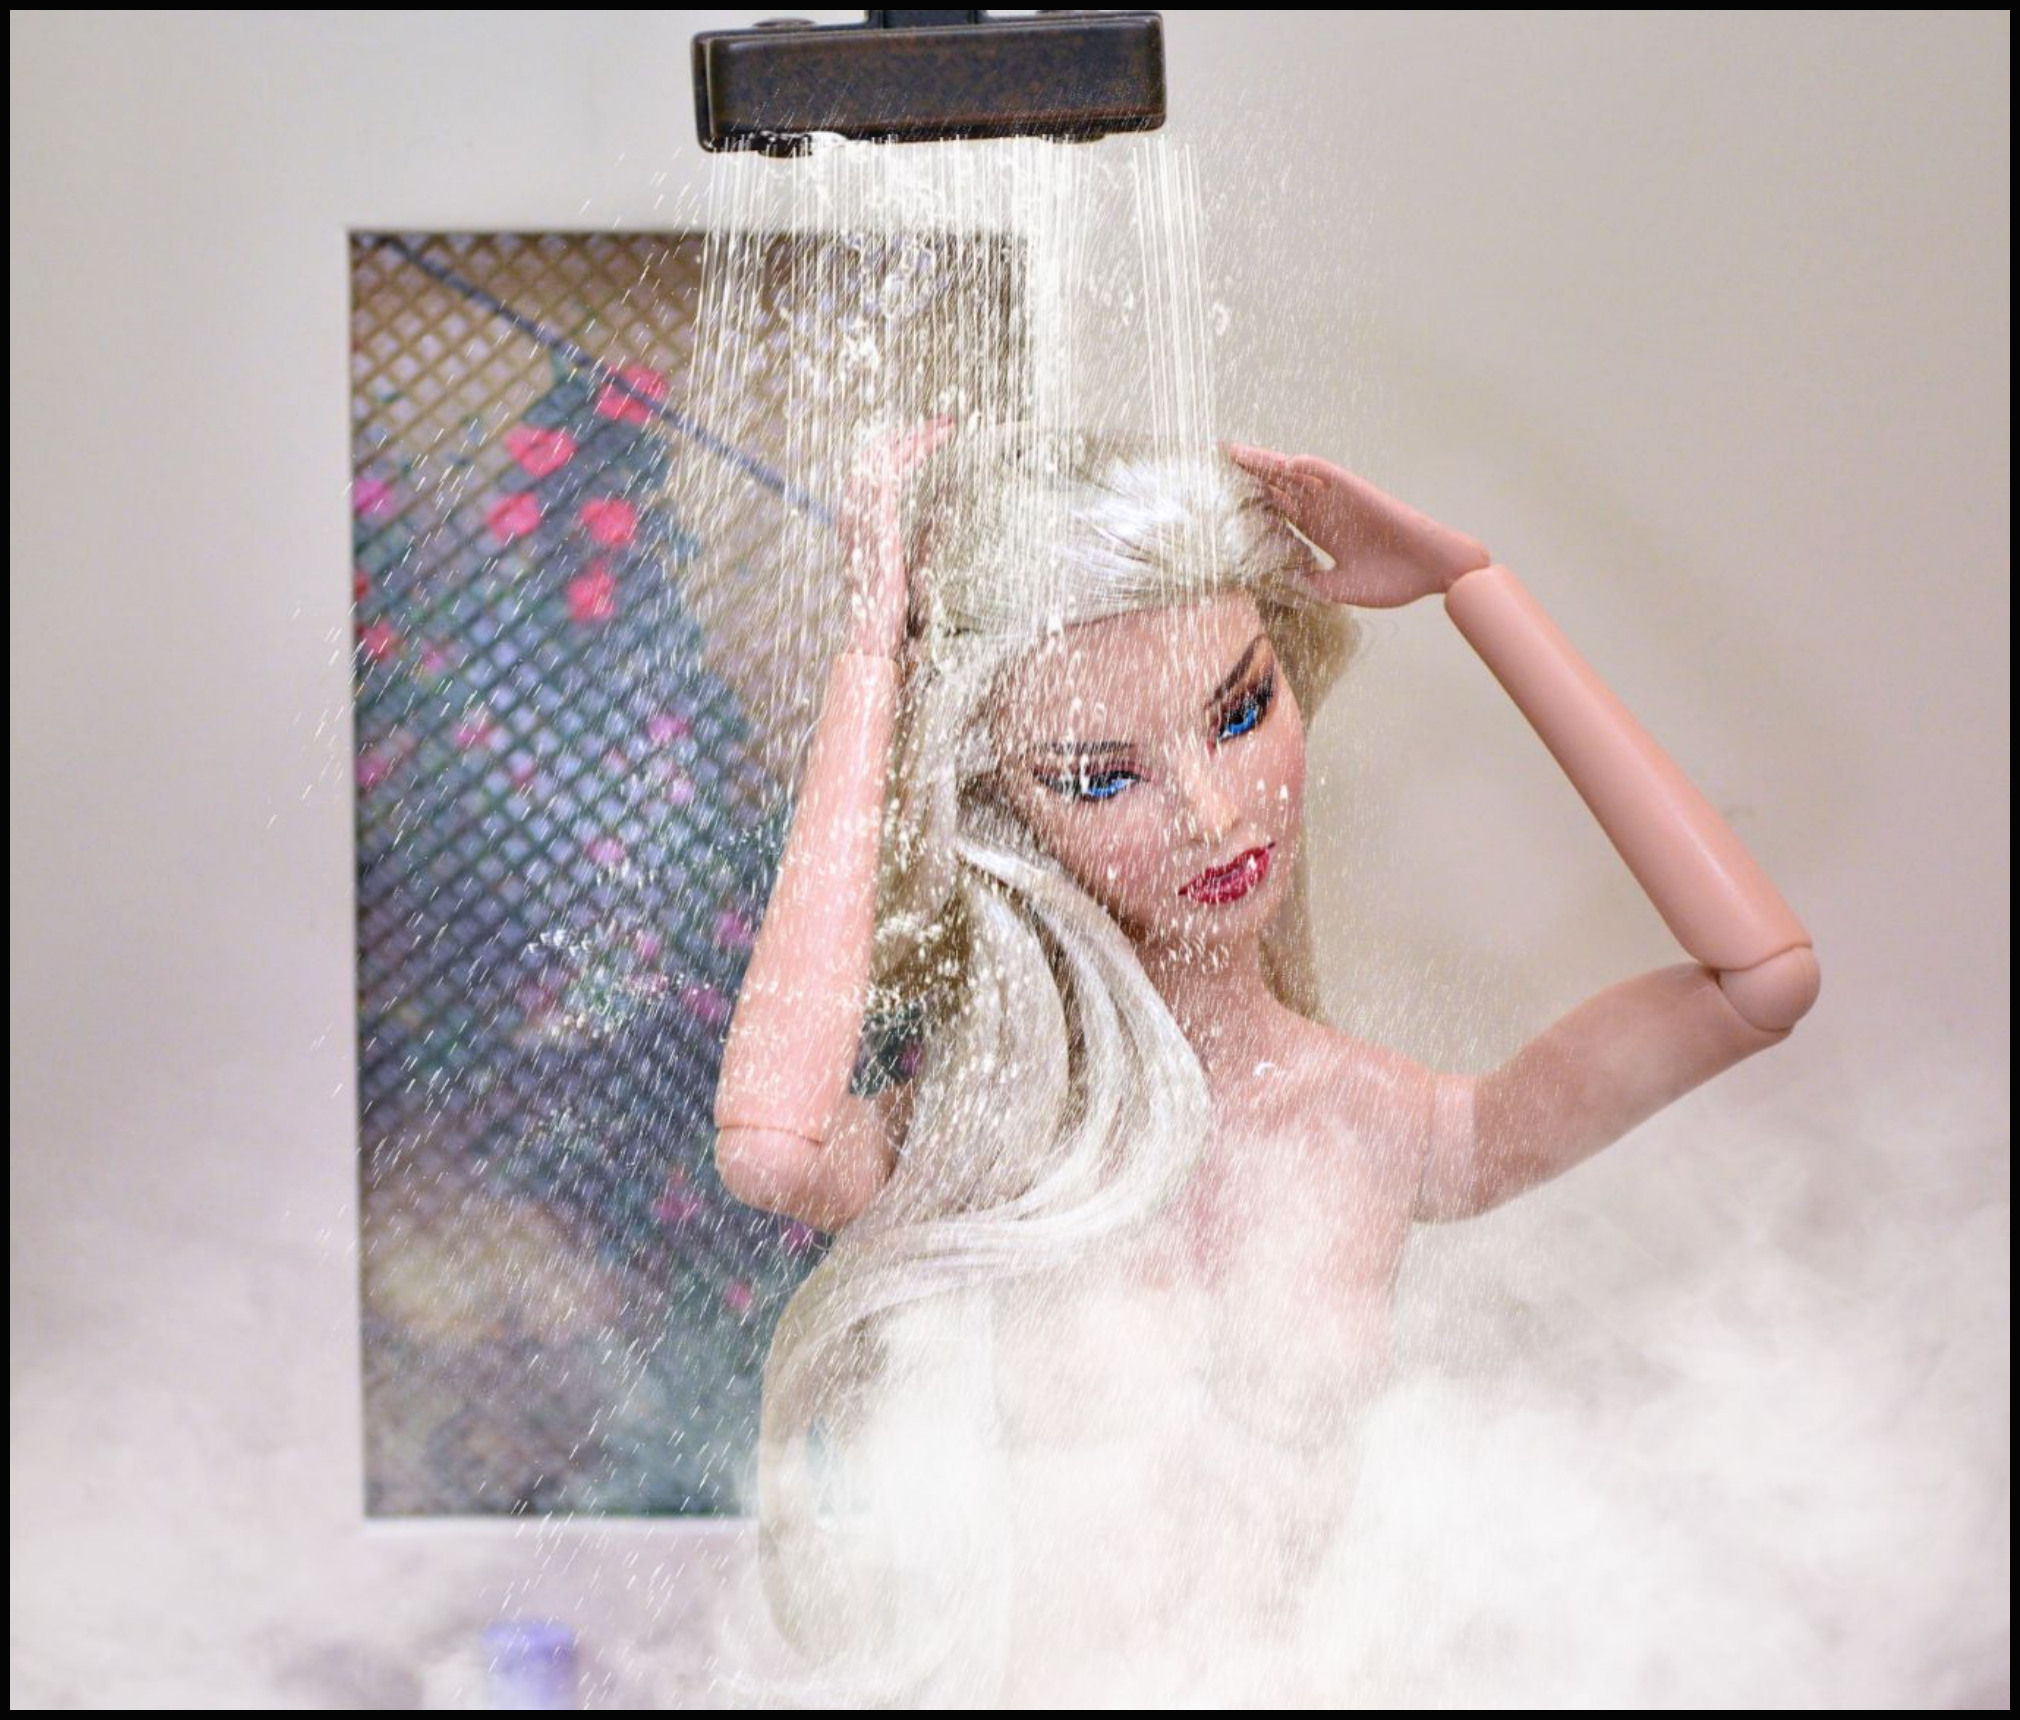
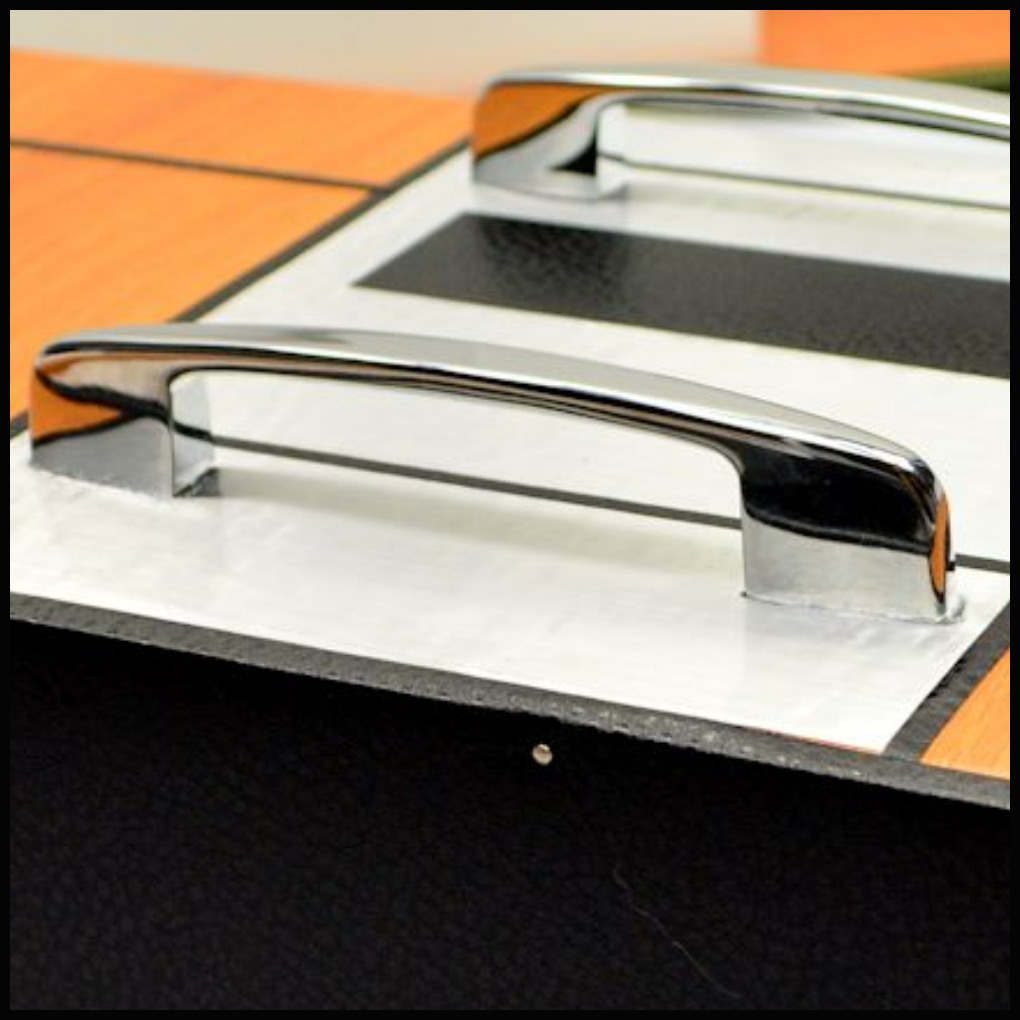
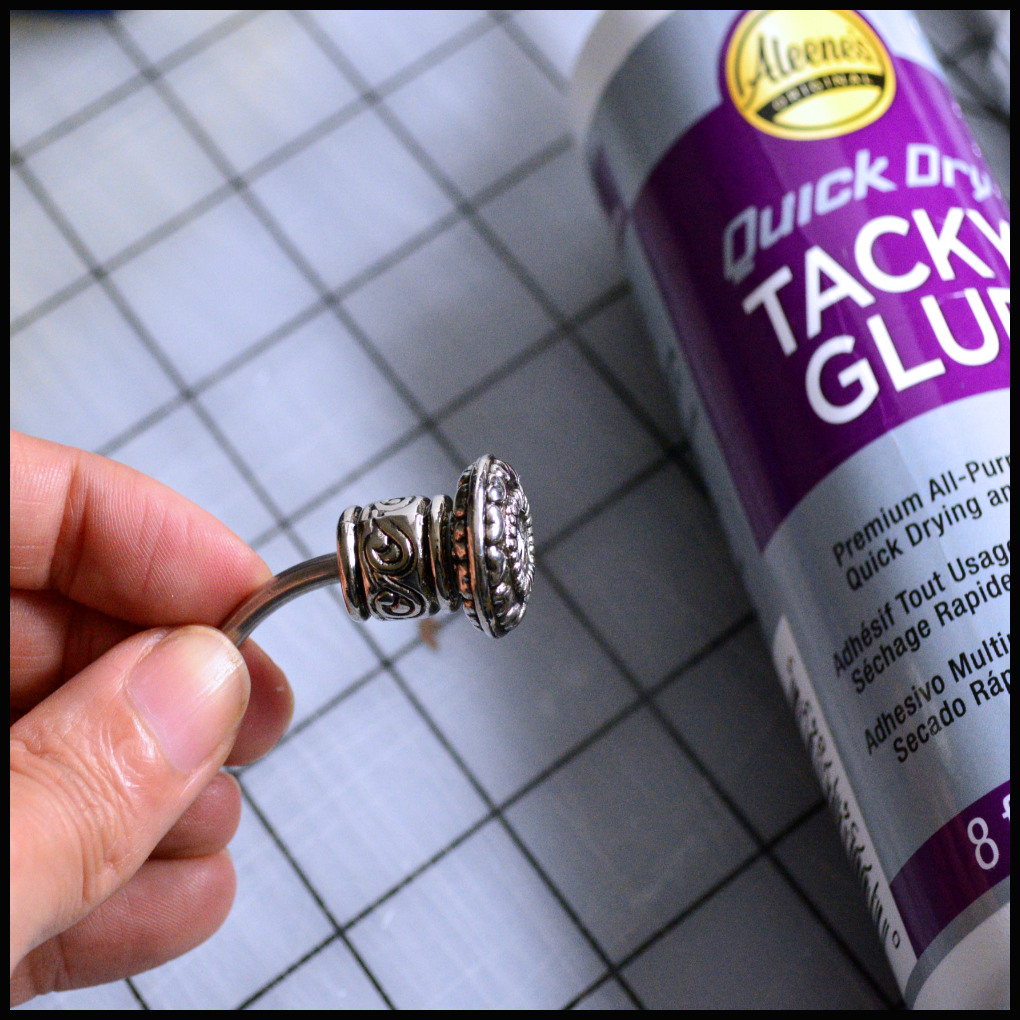
I’ve made shower heads from kitchen drawer pulls like the one above which is hanging down from a ribbon tied to a dowel laid across the top of the walls. The water and steam are layered Photoshop special effects put in later.
Below I made a shower head from bendy wire and two jewelry beads that were glued to the end.
MANUFACTURED BATHTUBS
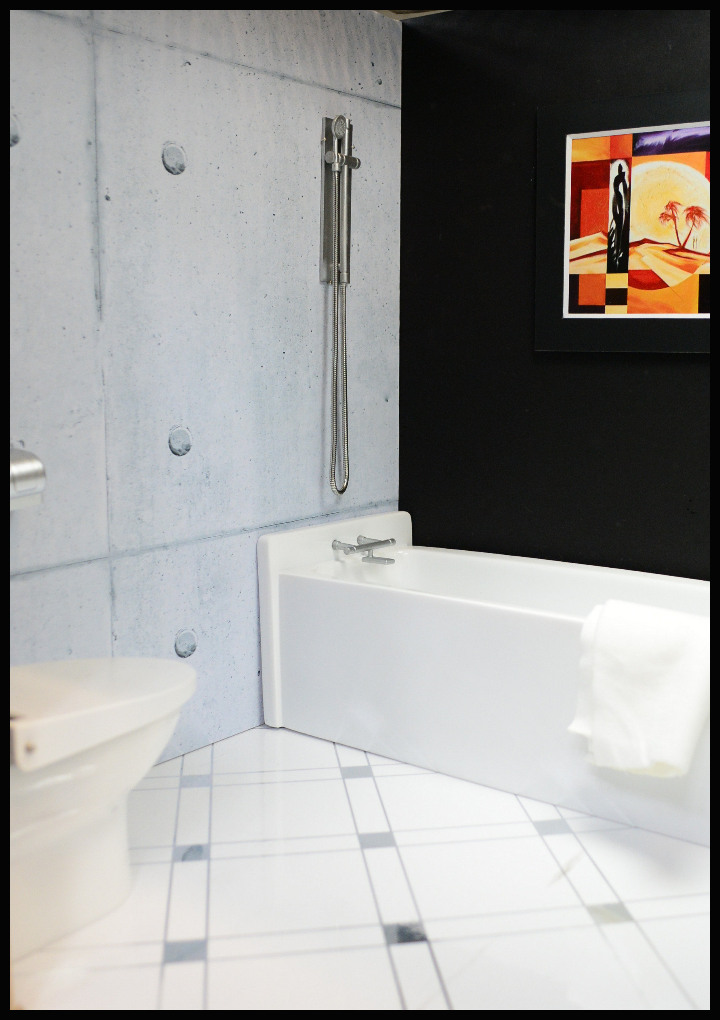
VS Toys made this gorgeous set of ceramic bathrub, toilet. toilet paper silver canister and hand-held shower head wall mount. The tub weighs several pounds so I had to be very careful placing it on 1/2″ thick foam board flooring so it wouldn’t dent it.
I found this ceramic tub at Hobby Lobby in the gardening section. People grow plants in it for the cuteness factor. It’s 1:6 scale to perfection and sealed so you can actually fill it with water and bubbles to give your figures a relaxing evening.
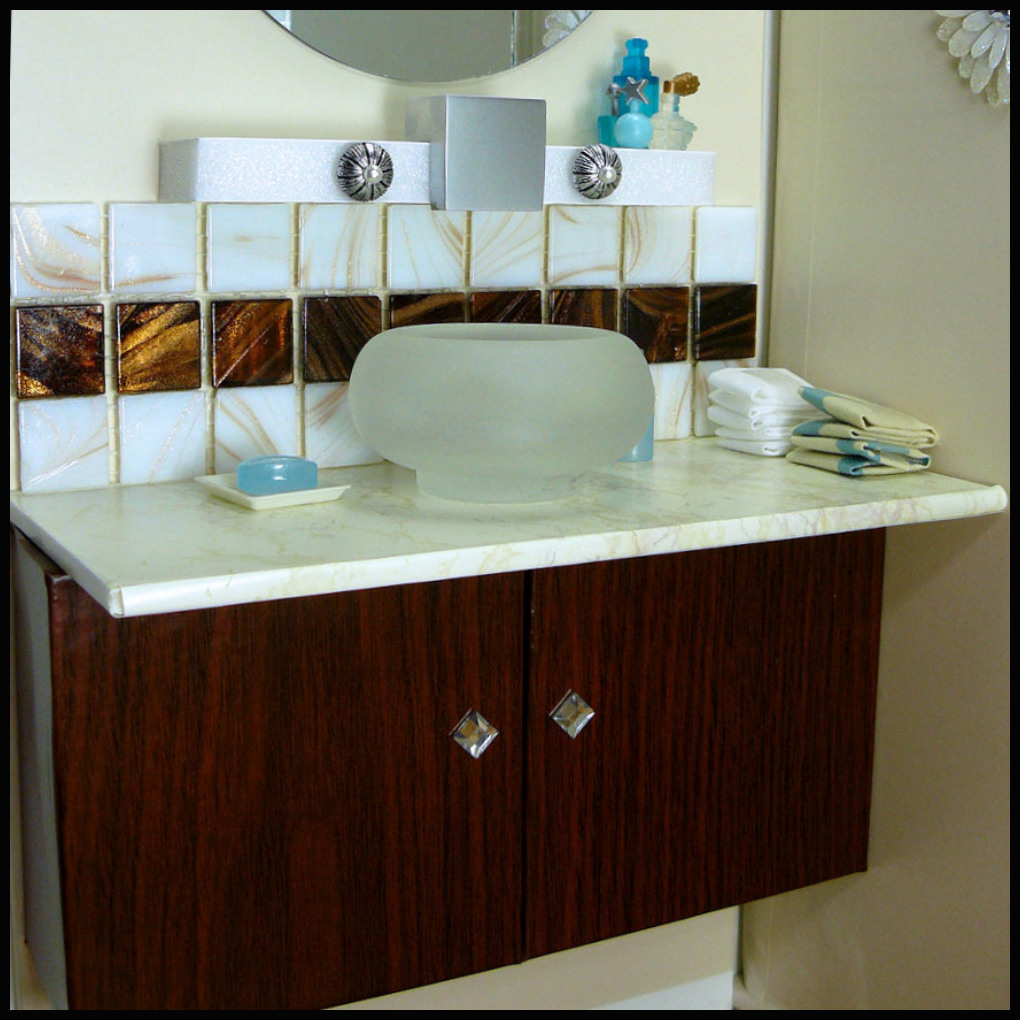
VANITY & LINEN CLOSETS
After all my experience making kitchens, vanities and linen closets have become easy to make because they’re usually just rectangular foam board pieces that need to be wrapped in contact paper and pinned and/or glued together.
Sinks are another issue. If they’re round, then I have to use an outside pre-made object, like a candle holder, or a sauce cup.
Faucets and cold/hot knobs are difficult to make too. I’ve just discovered this thick, bendy wire that’s made the faucet a lot easier (see my Kitchens Tutorial).
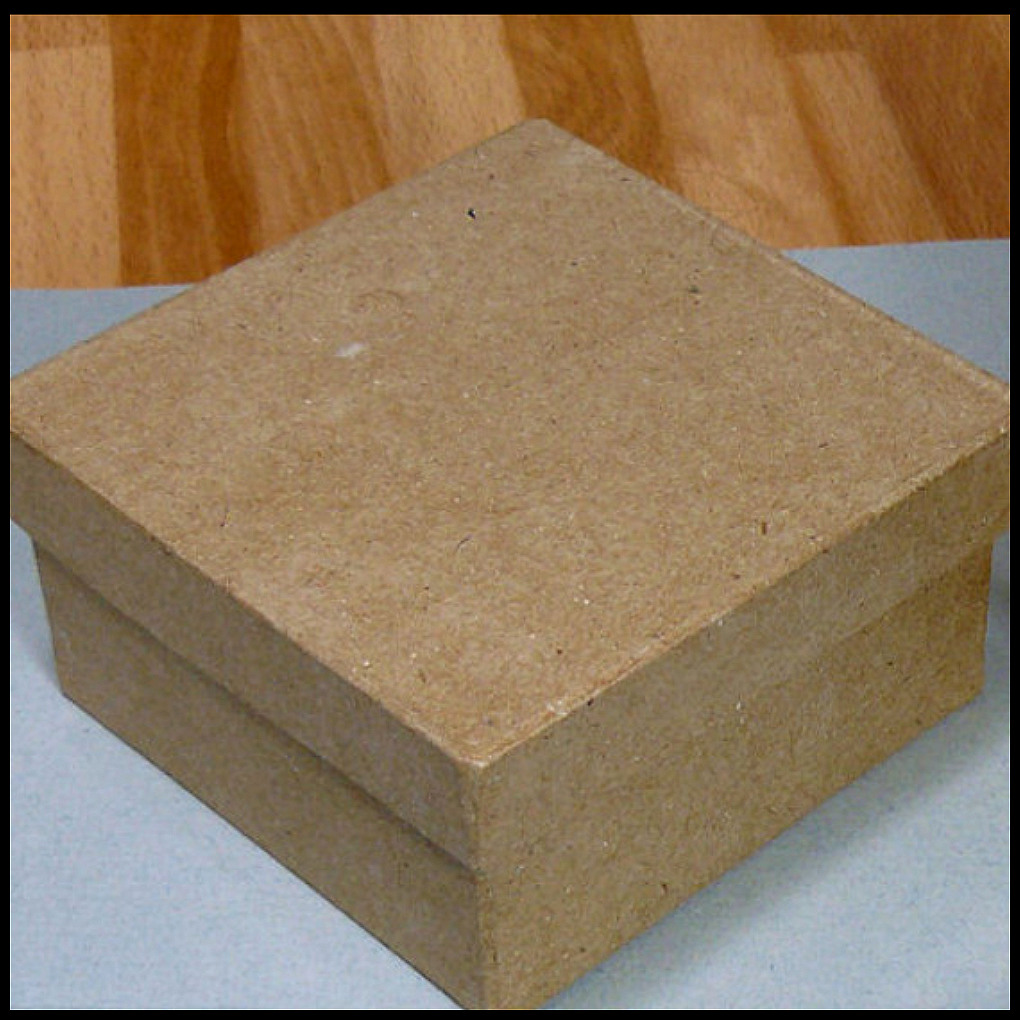
My very first attempt at a vanity was with two cardboard box covered with two pieces of thin, flat balsa wood. I couldn’t figure out how to attach door pulls without damaging the fragile wood, then I glued them and made a mess.
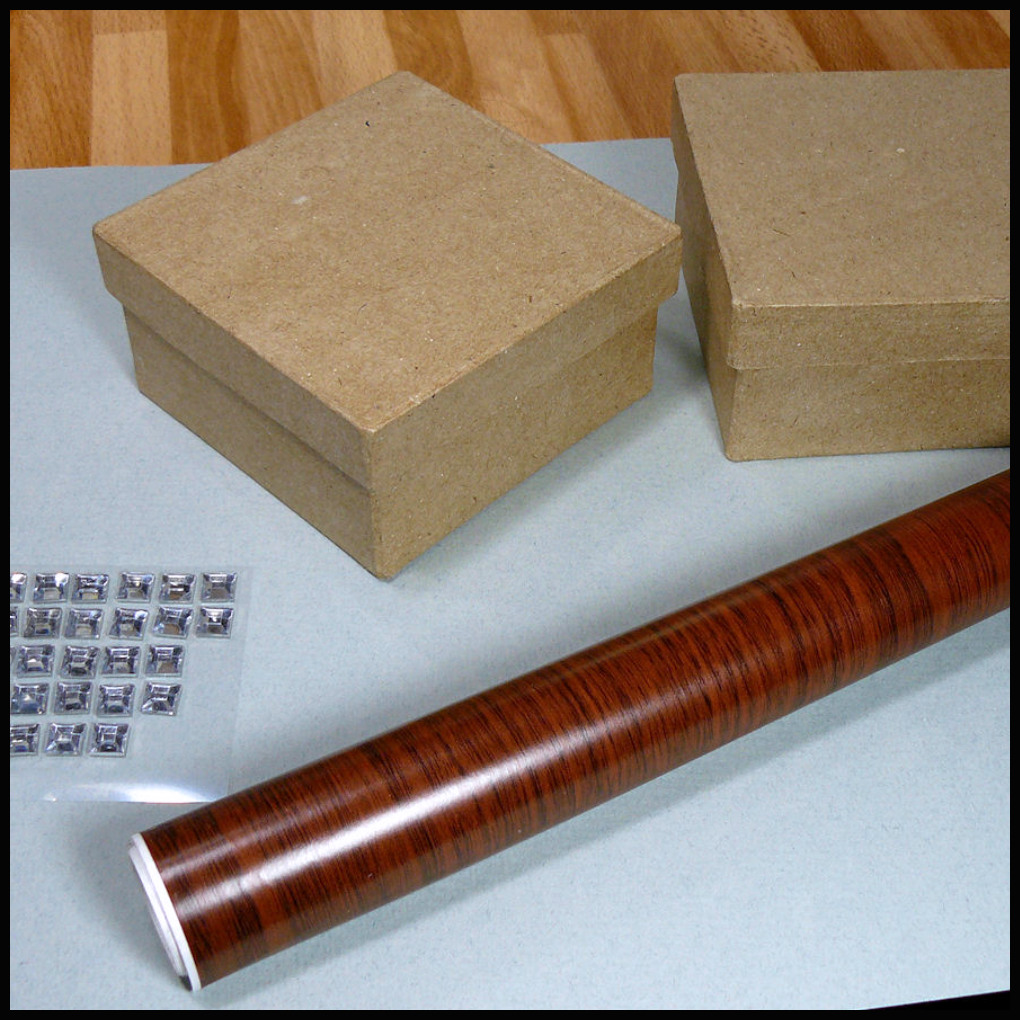
I ended up just covering the cardboard box tops with wood contact paper and using 3-D stickers as the door pulls. I’ve found great decorative pins that would have worked much better, but you work with what you can find at the time.
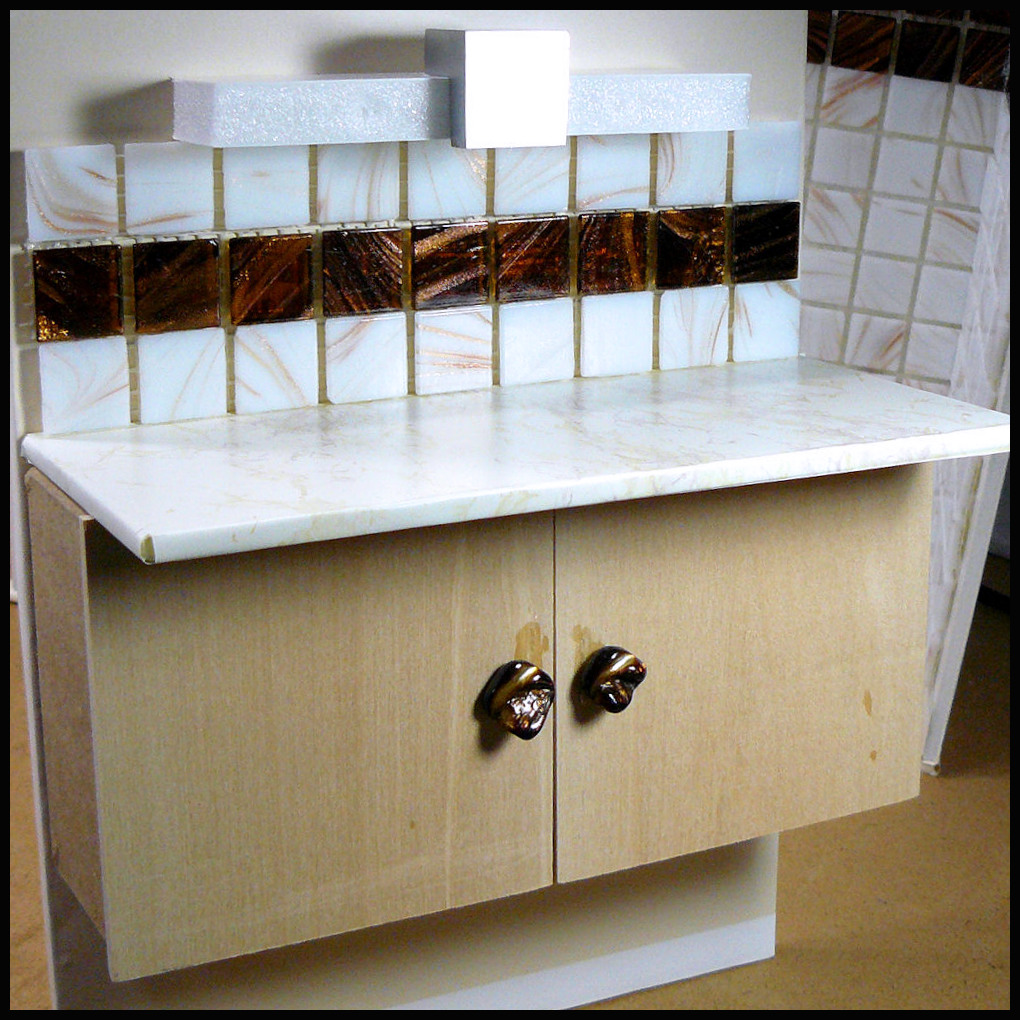
Another piece for foam board wrapped in marble looking contact paper is pinned on top. Cut piece of real bathroom tile is glued to the wall. A candle holder is the bowl of the sink.
The faucet is a kitchen drawer pull that’s turned on its side on top of a cut piece of foam board. Two jewelry beads are pinned through the foam board to look like hot/cold water knobs. A jewelry bead is glued to the bottom of the candle holder to look like a drain.
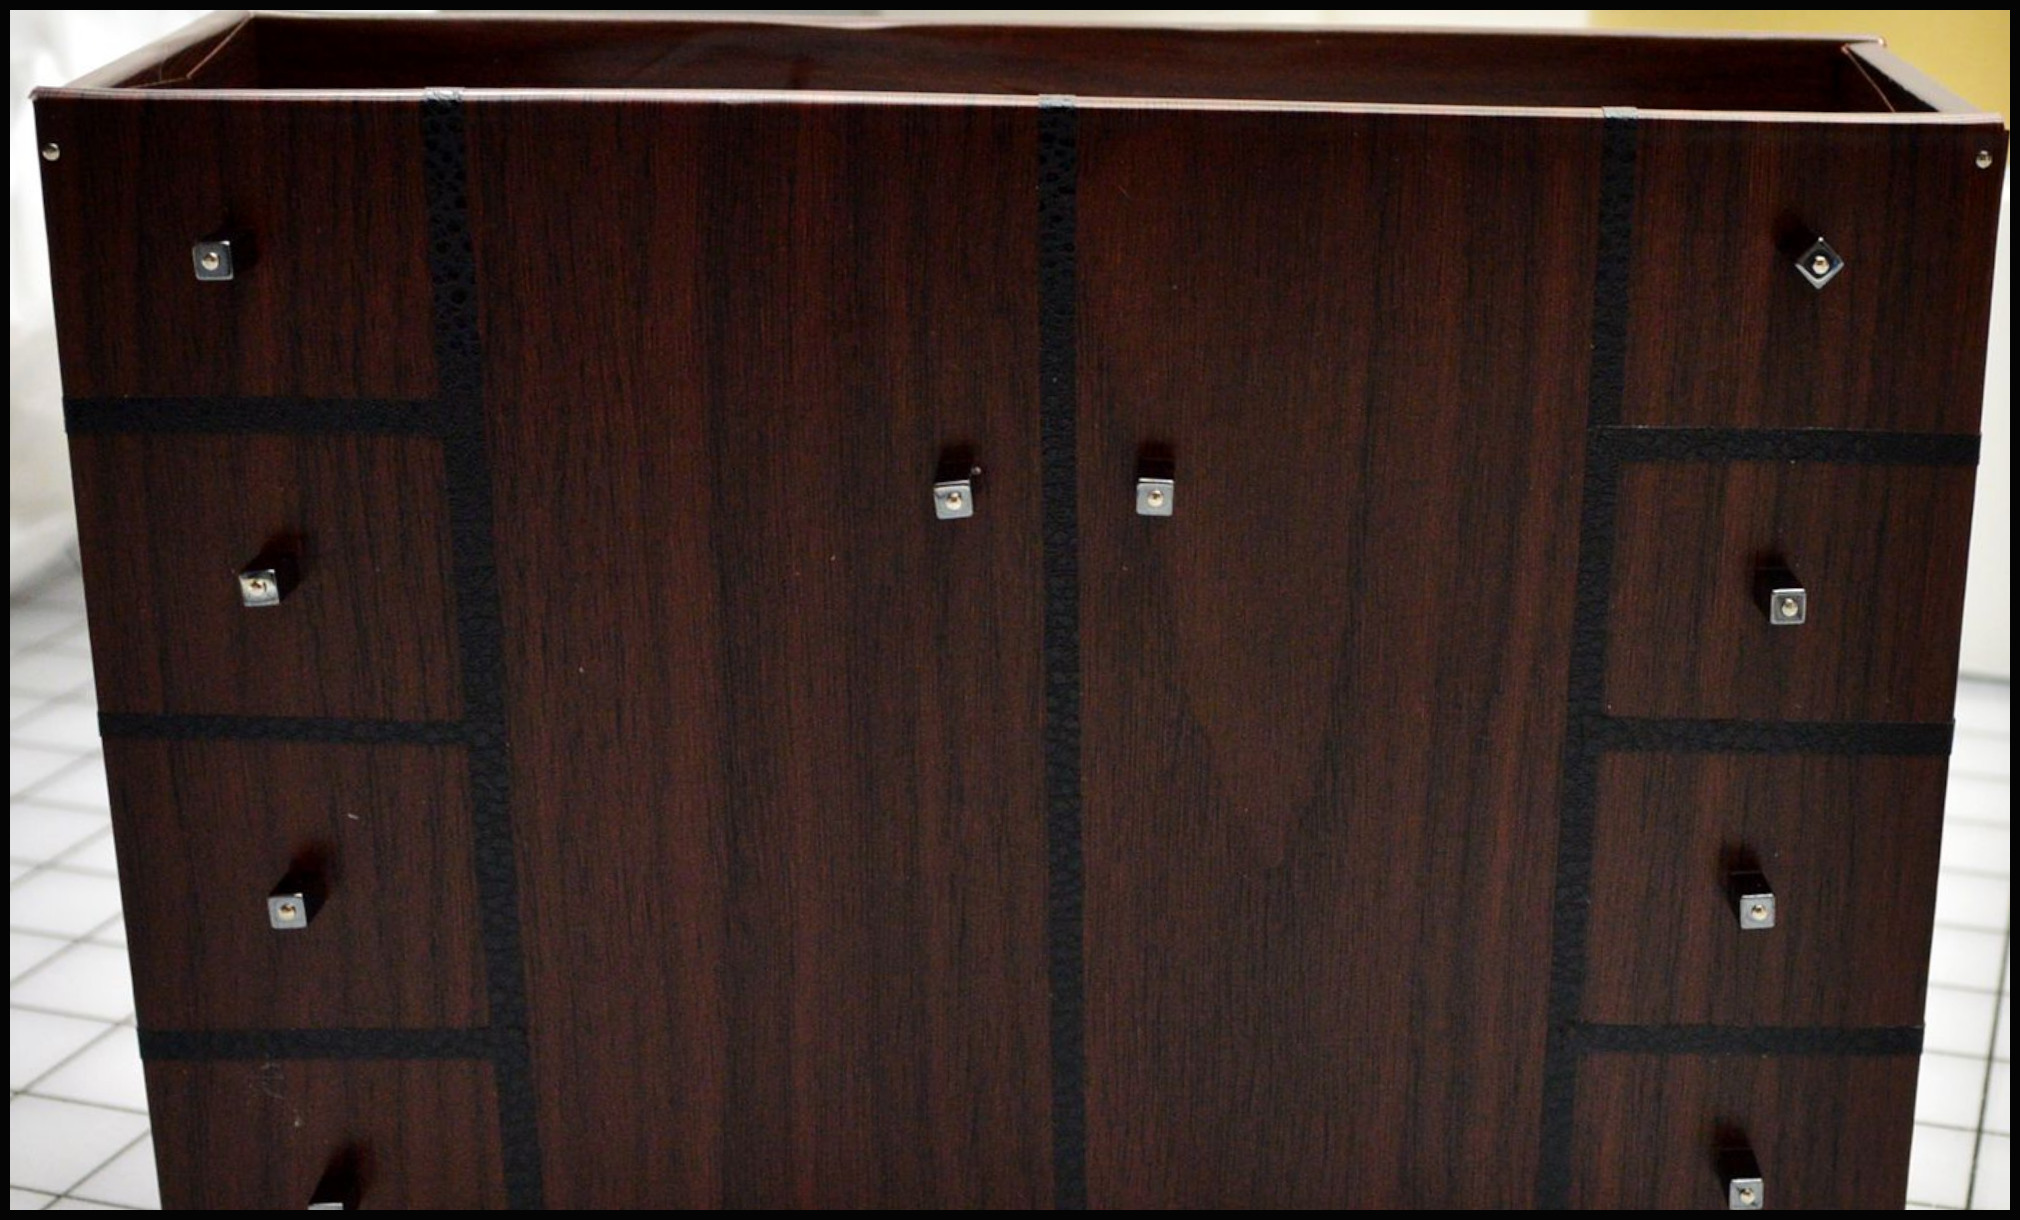
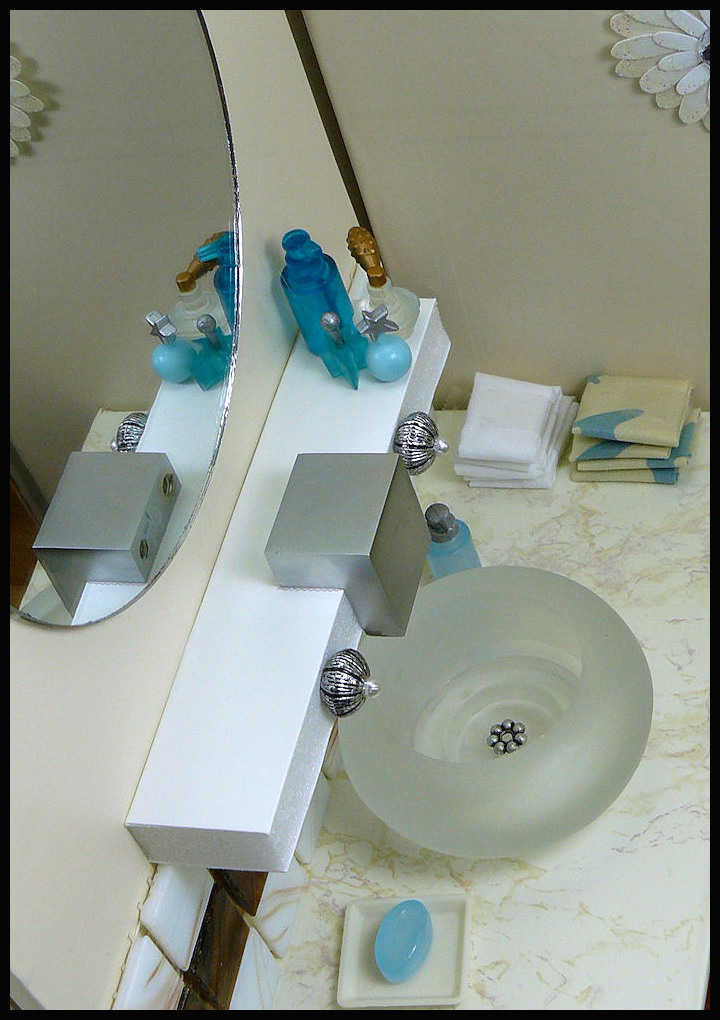
With my next bathroom vanity, I made it completely out of contact paper wrapped foam board pinned and glued together. I cut strips of black contact paper to define drawers that will never pull open. Then pinned square jewelry beads to resemble drawer pulls.
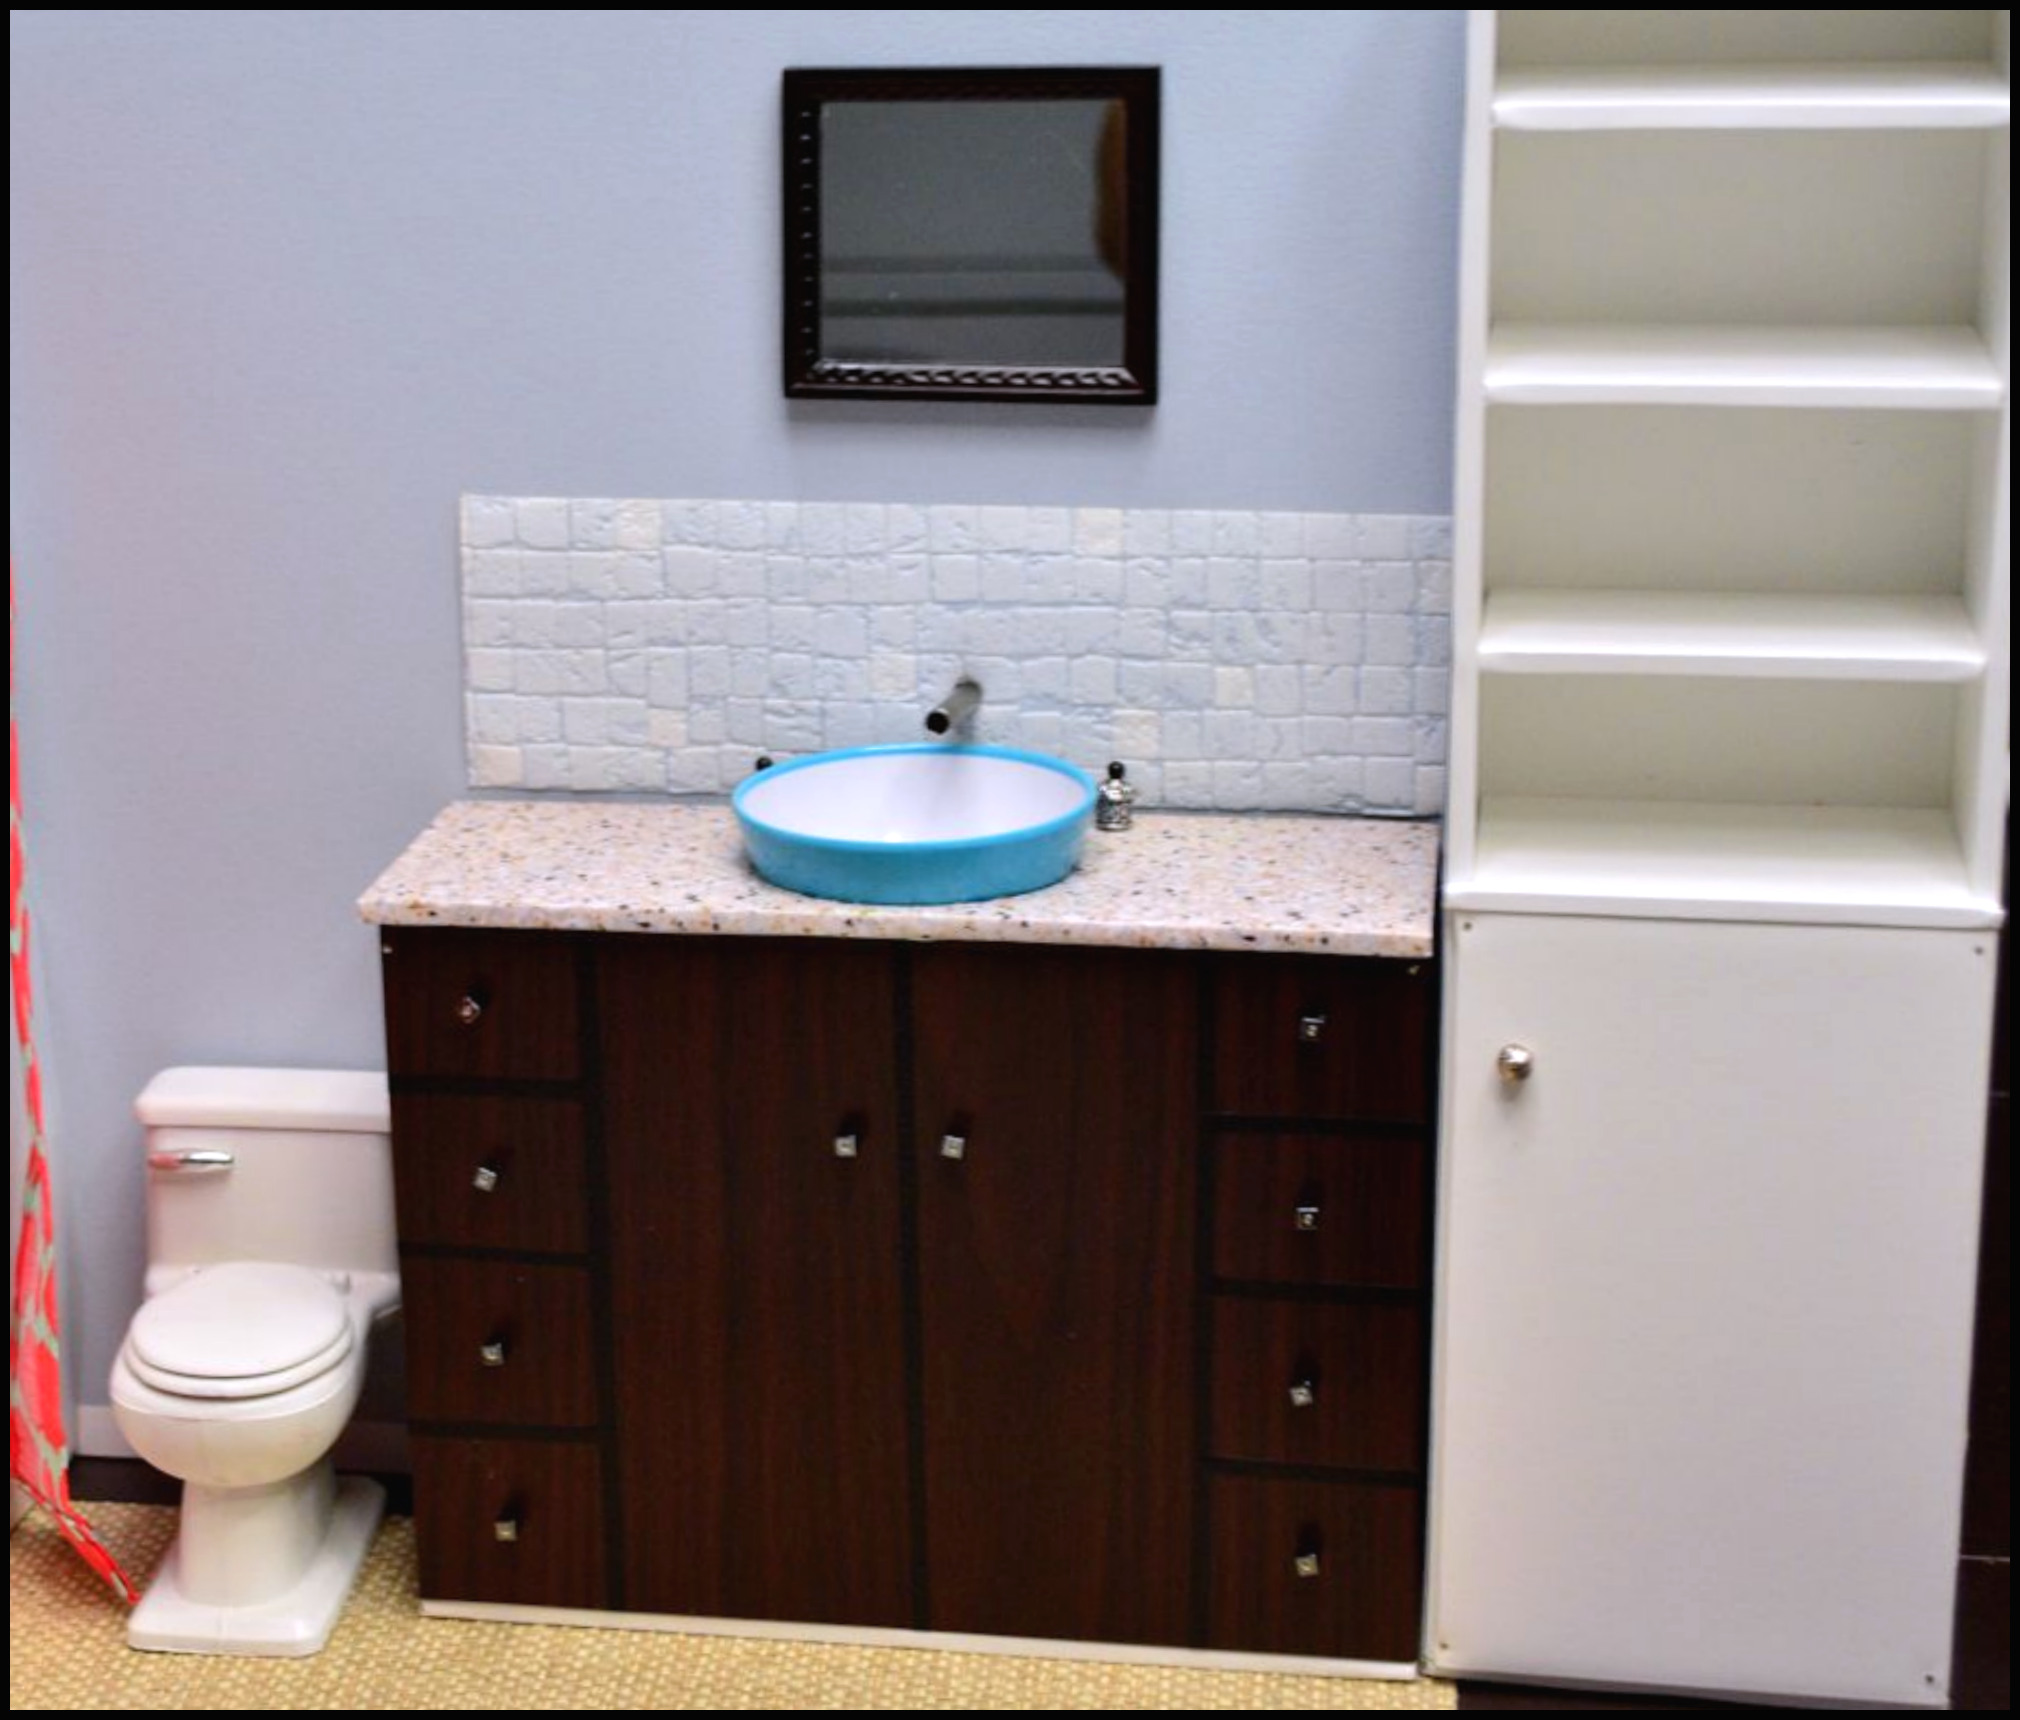
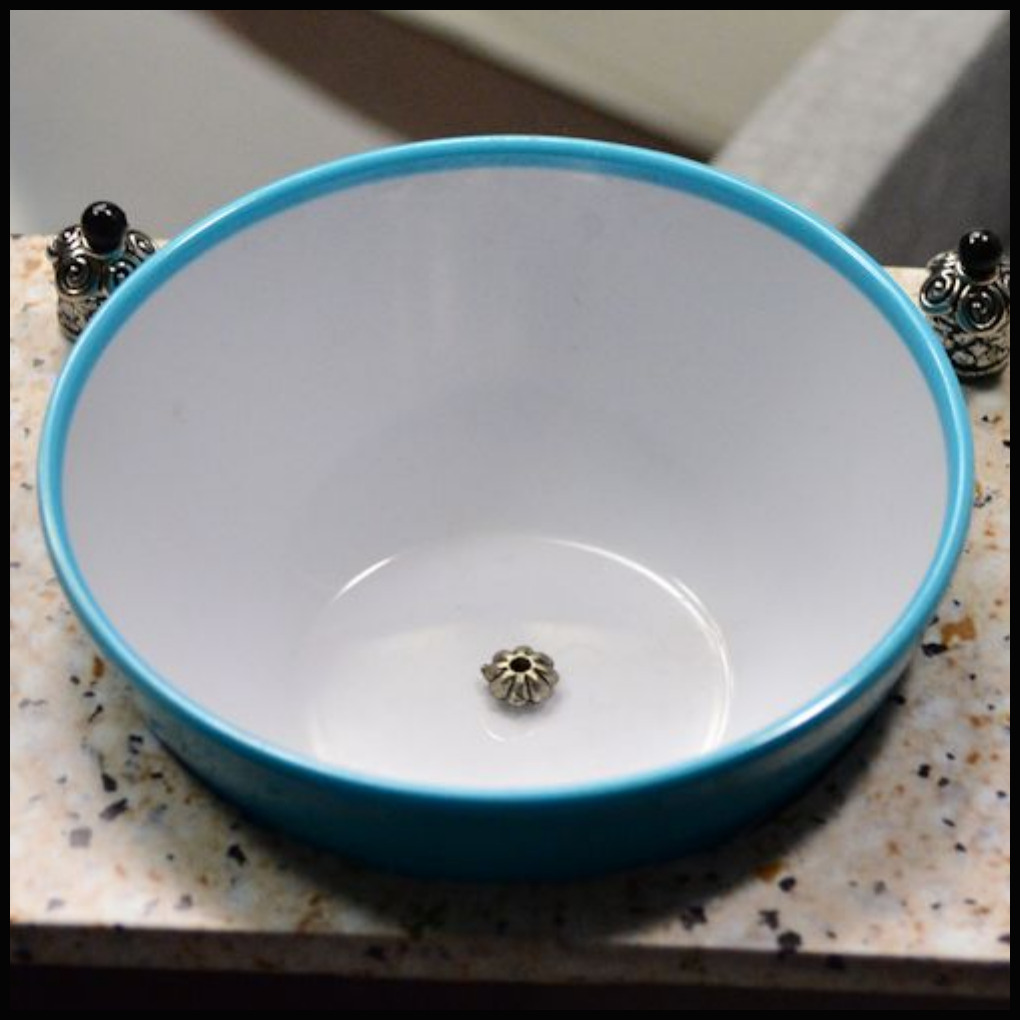
The bowl is a sauce bowl from my kitchen, I think it’s made for soy sauce or side things like that. I glued another jewel bead to the bottom for a drain. The hot/cold knobs are also pinned jewelry beads.
I had a rough time with the faucet, I hadn’t discovered the bendy wire yet. I used a jewelry cylinder piece.
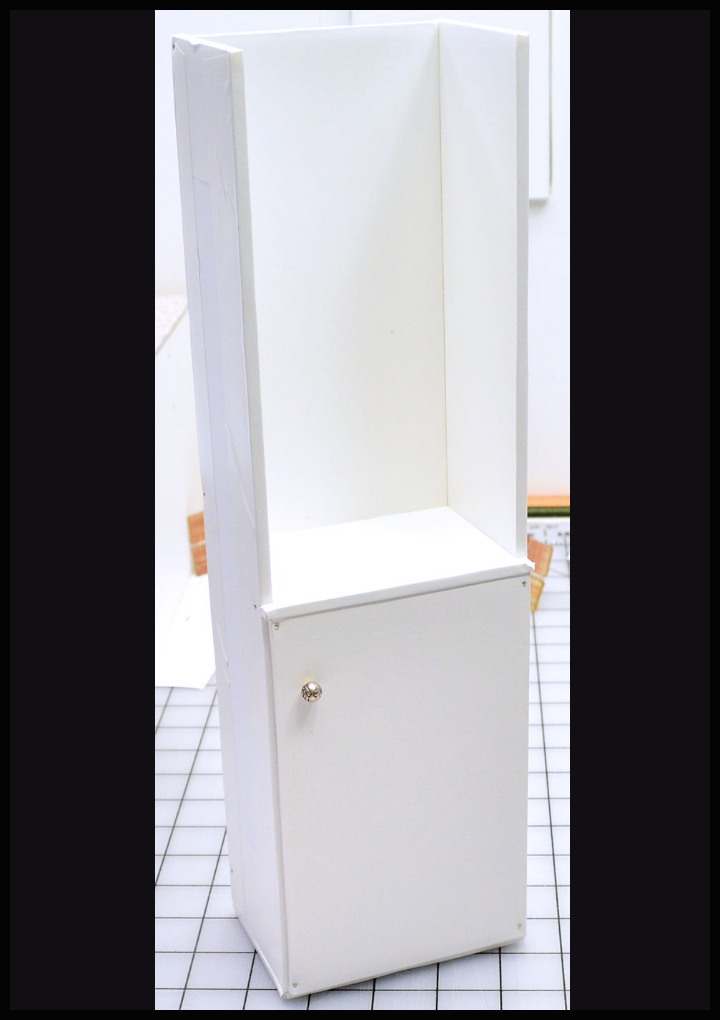
The door on the pantry doesn’t open, but for a facade to hold folded linen items, this works. Wrapped in white contact paper, pieces of foam board are pinned and glued together.
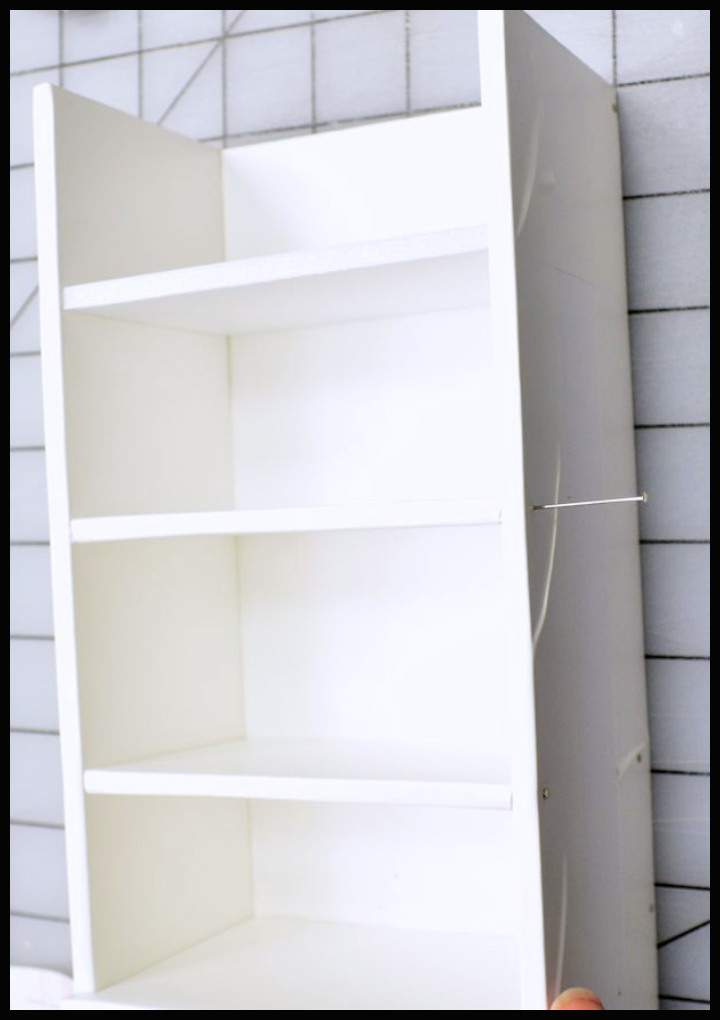
Wrapping contact paper on foam board on all sides without seams, wrinkles or lines is extremely difficult. I usually always have a side of the board which has sloppy edges pulled onto it. I had to put his unit between two walls since both side walls have sloppy contact paper on folded onto them. If this was a stand-alone unit I would have been a lot more careful when applying the contact paper, or just not used it and kept the white contact board as is.
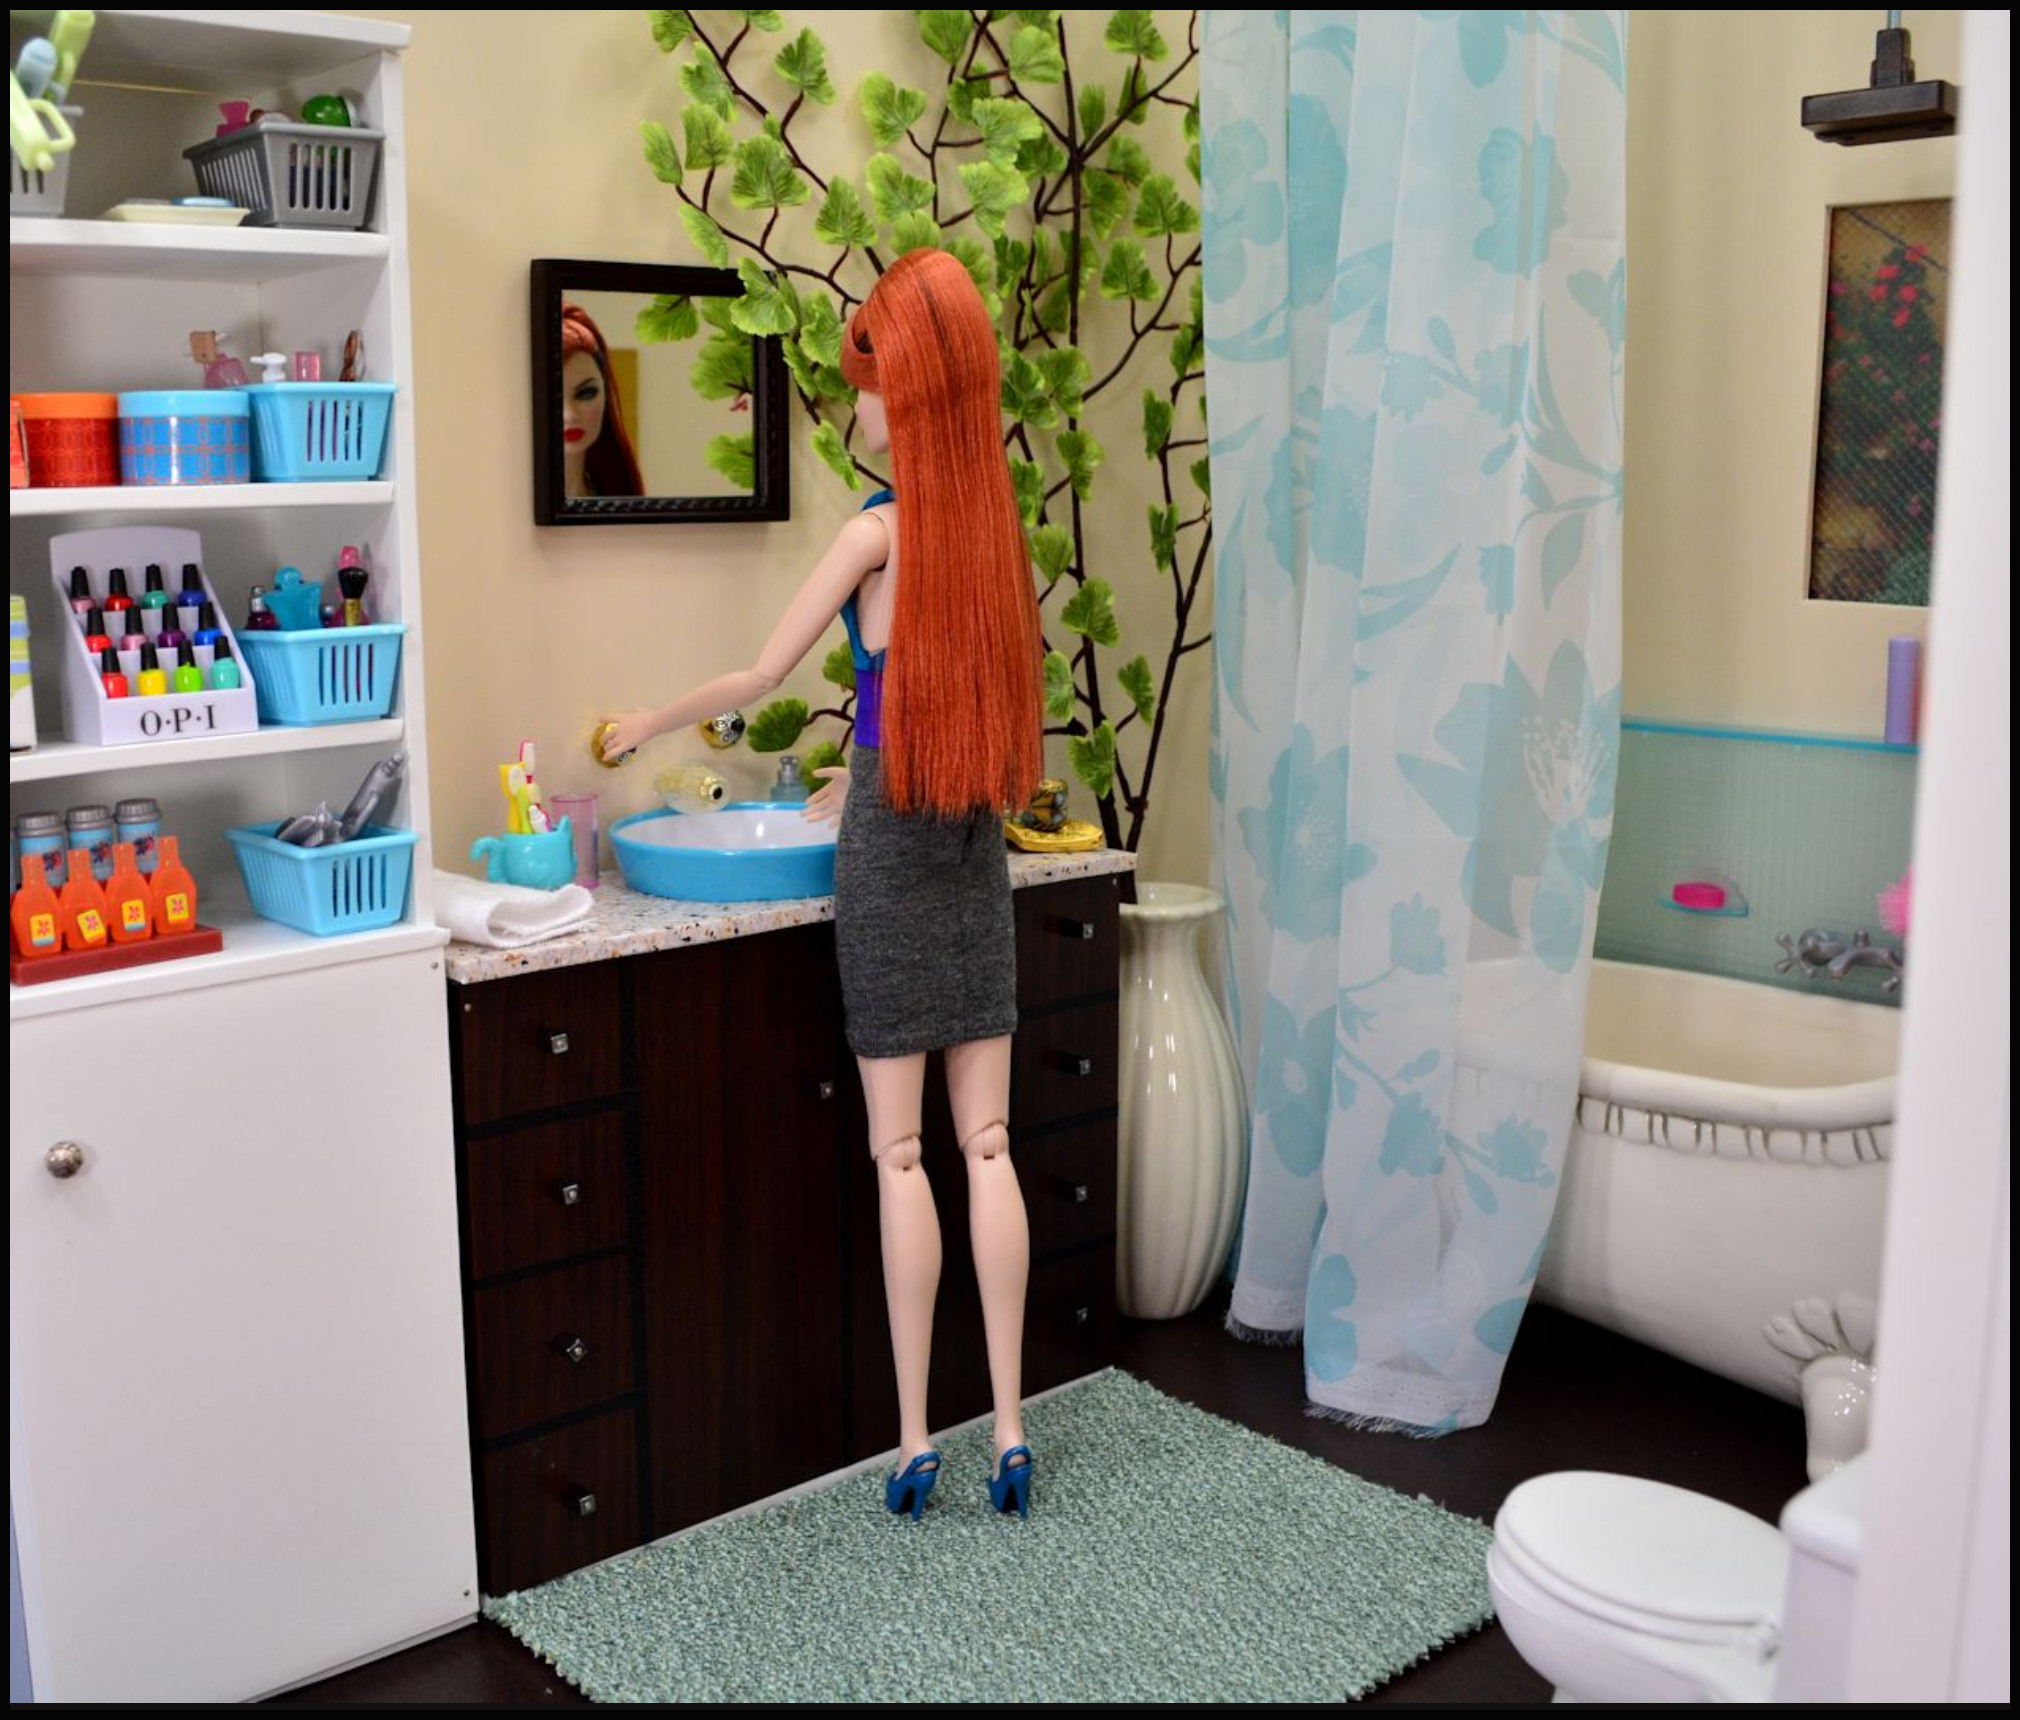
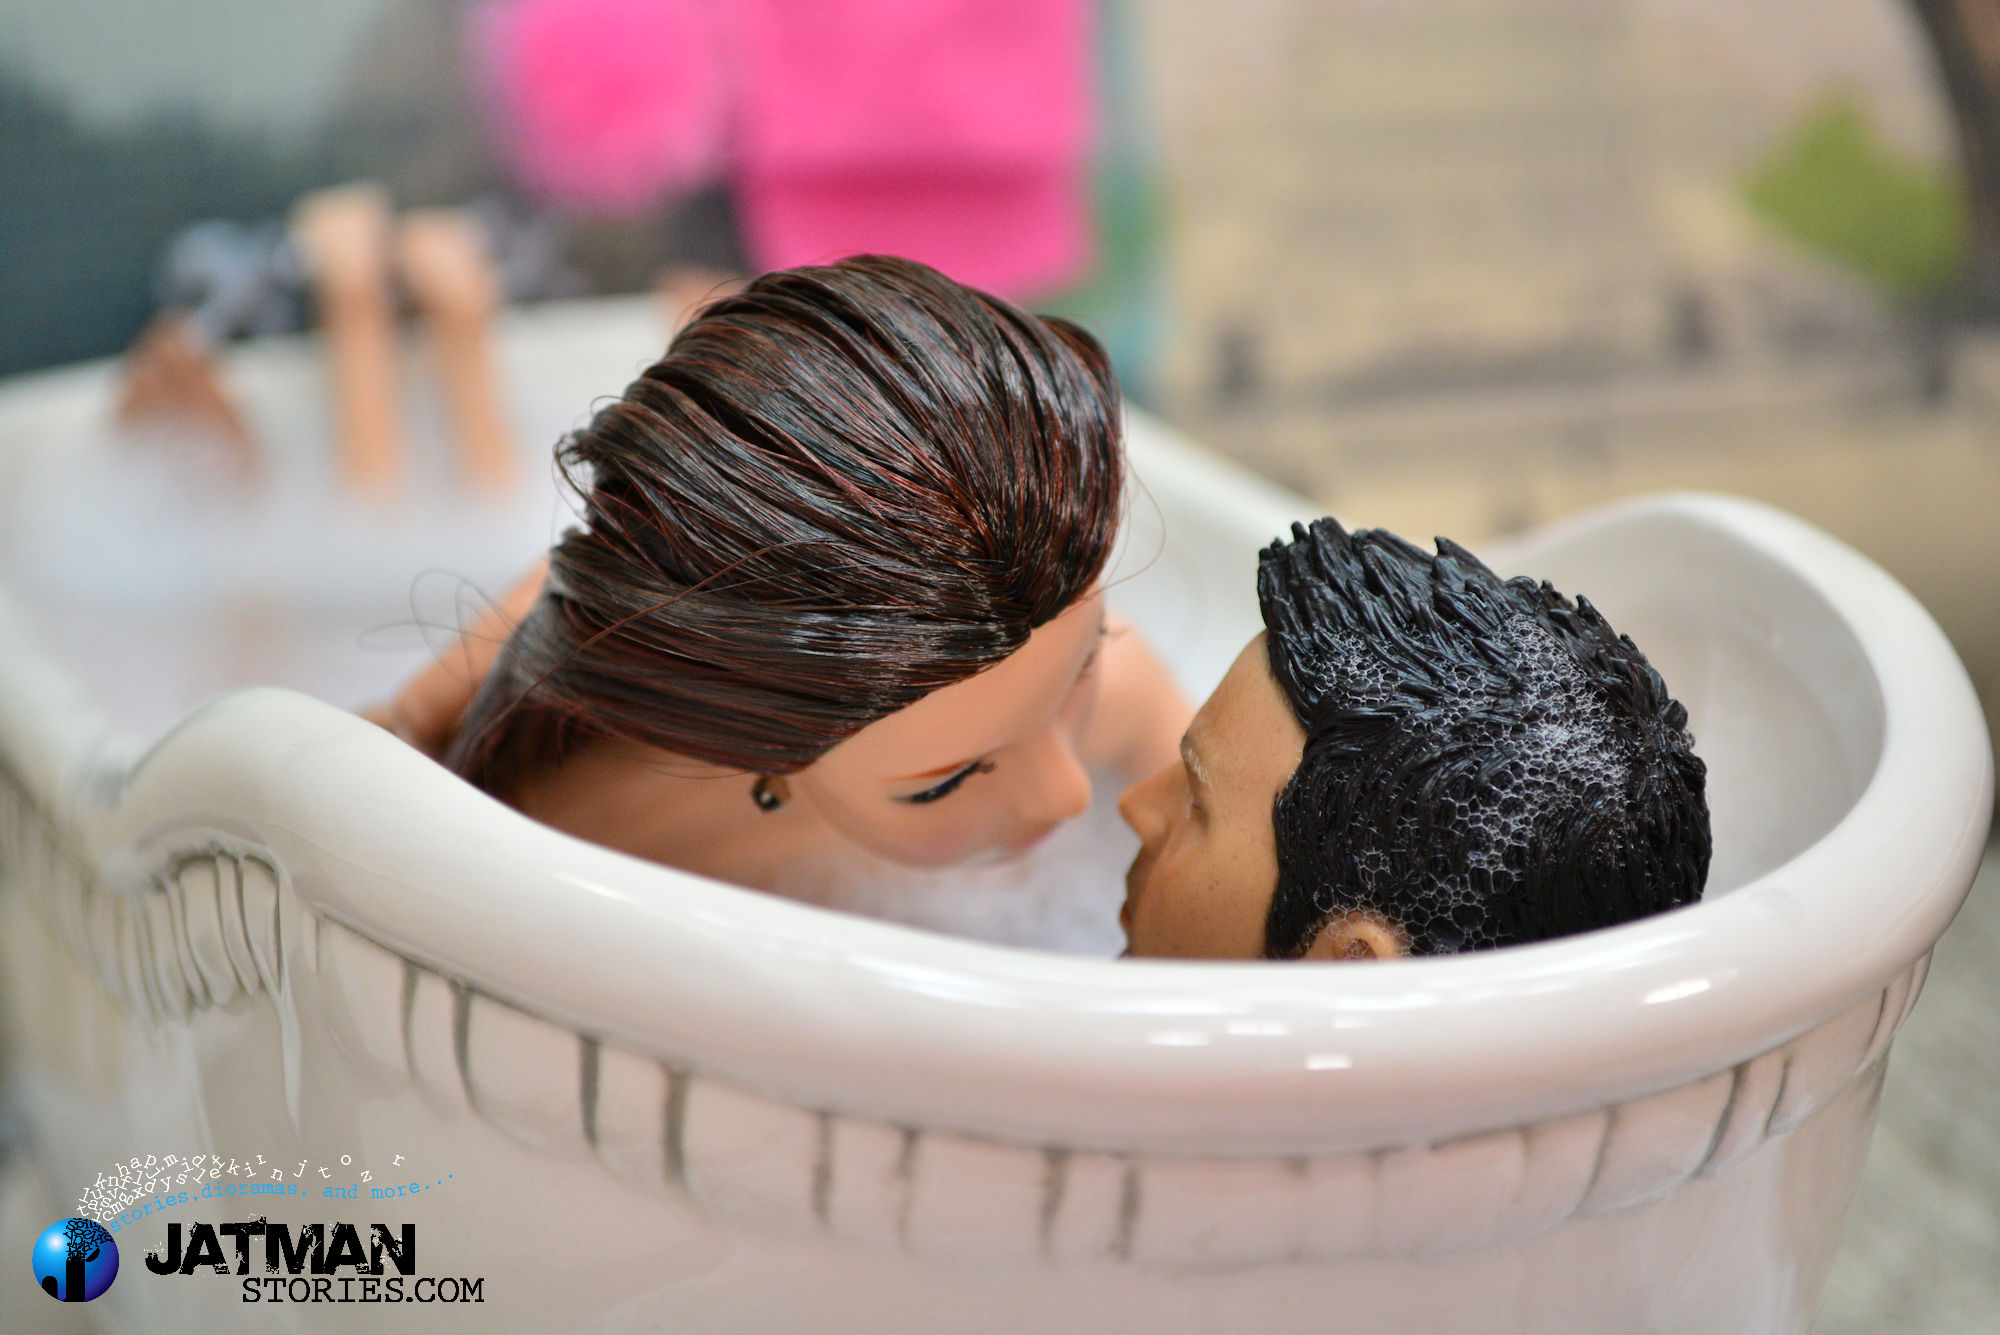
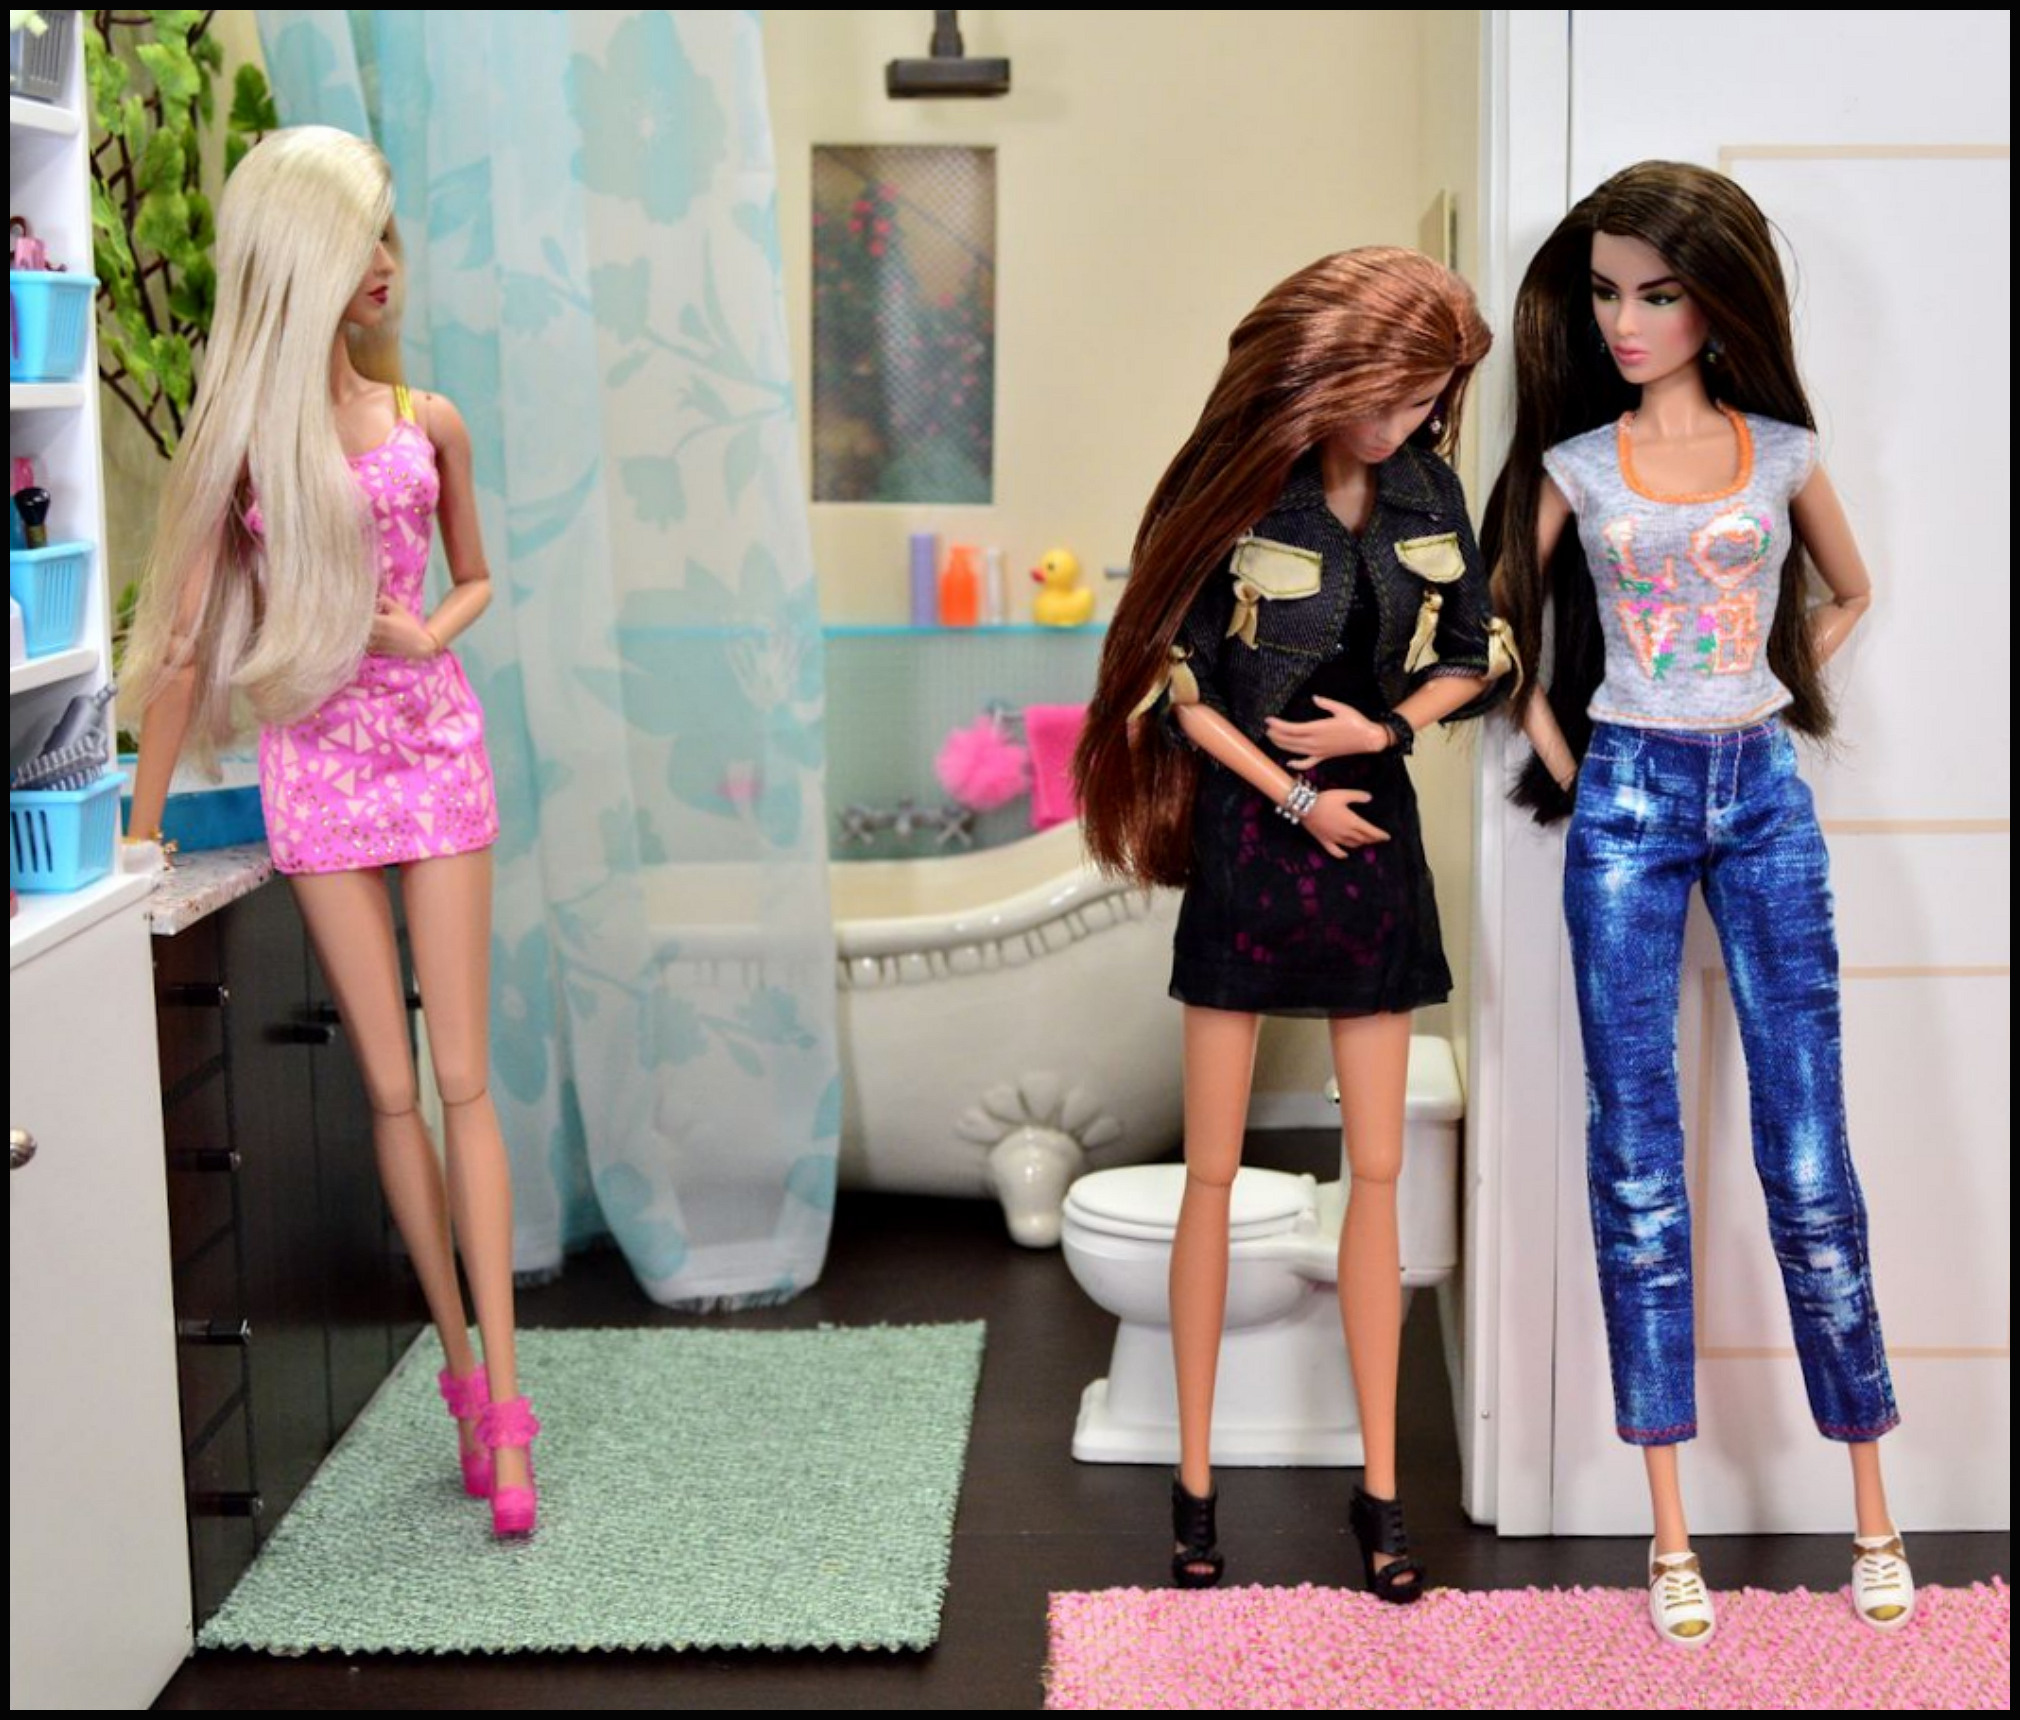
HOW THESE BATHROOMS LOOK IN STORIES:
(CLICK ON 1ST PHOTO BELOW TO START SLIDE SHOW)
HOW THE DIORAMA LOOKS IN USE IN STORIES
Absolutely love and adore your dioramas. I’ve been following your dioramas for a little over a year. I recently started a bath and body business making bubble bath, bath soaks, etc… . I host home parties, and do craft shows. I’d like to build a diorama for my table presentation (because I know people buy with their eyes first and foremost). Just wanted to let you know you are such an inspiration. Keep up the good work as you truly have an amazing gift.
Thank you Lesia. There’s more dioramas to come. I’m finally at at a point where I can finish a kitchen I’ve been working on for a while. I’ll write a tutorial for it as well. Thanks again for the lovely post.
JATMAN
Again, I’m impressed with how real you make things look. And I just love miniatures. You’ve made me a follower for sure.
You Rock Christine! I love miniatures too. I’ll keep doing my best to keep it close to looking like the real thing. JATMAN
thank you so much for sharing how to do this! your work is an inspiration and I love your scenes! 🙂
Thanks so much Amy!
Hello there! Your sets are absolutely amazing. Thank you for your tutorials! I do have a question – the tiles used are incredible, but I can’t find any that are that small. All the ones I see are as big as my hand (one square, that is), whereas yours are the size of a Barbie hand. How did you find them so small (or perhaps they don’t make them anymore)? Thanks so much, and keep up the good work!
Home Depot or Lowes has a lot of sheets of tiny bathroom tiles that I used for my bathrooms, and have also used for flooring. Used this in ‘Blood Red Roses’ for the patio outside the door: http://www.homedepot.com/p/Instant-Mosaic-Peel-and-Stick-Metal-Wall-Tile-3-in-x-6-in-Tile-Sample-SAMPLE03-104/206585400. Sheets like this are perfect for walls: http://www.homedepot.com/p/MS-International-Pacific-Dunes-12-in-x-12-in-x-8-mm-Glass-Mesh-Mounted-Mosaic-Tile-GLSB-CR-PD8MM/202814263?MERCH=RV-_-OD_NavPLP_rr-_-202814277-_-202814263-_-N. The flatter the sheet of tiles, the better. I hope that helps! JATMAN
I love your work! If become a fan of using foam board and contact paper lol. You’ve inspired me to make a dollhouse for my daughter. So far I’ve only used pins because I have a hard time glueing together two pieces of foam board when they are covered with contact paper, they just separate at the slightest pull. I tried e6000, tacky glue…. What do you use? Thanks a lot!
Thanks so much, Maria! I use both glue first, then pin the boards together, you need both to make it more permanent. I use superglue, tacky glue and gorilla glue depending on what works with each material. I hope that helps. JATMAN
Thank you!!
Bathrooms are the hardest to improvise, I swear. I have been gleaning parts of doll houses—of course this would be too short for your dolls. I do find I add bases to many pieces to make them seem more in scale. I will have to try your techniques for some showers though…Thanks again!