DIORAMA BASICS - START HERE
DIORAMA TECHNIQUES & MATERIALS USED IN ALL MY DIORAMAS EXPLAINED IN DETAIL HERE
FOAM BOARD USAGE
WALLS & WINDOWS
FLOORING & CEILINGS
SHOPPING FOR BUILDLING SUPPLIES
MATERIALS COMMONLY PURCHASED
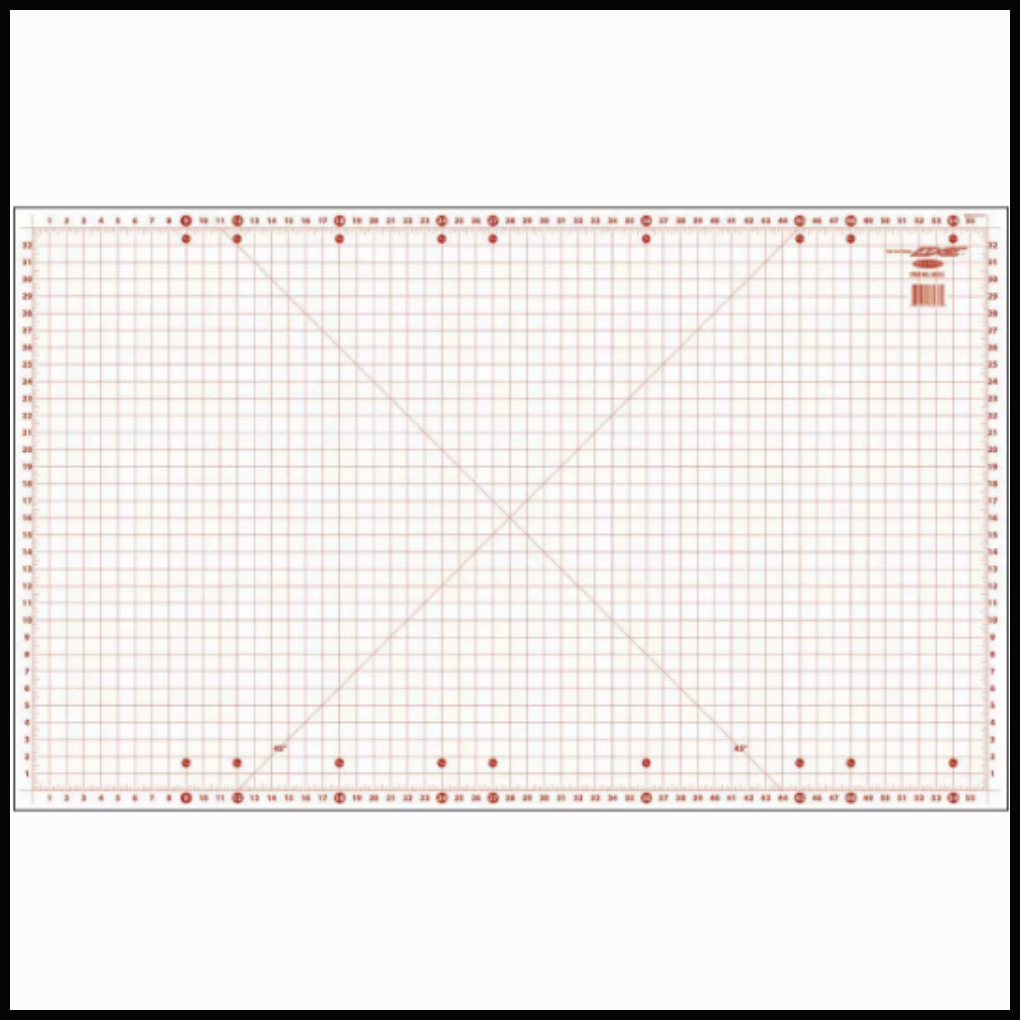
Cutting Board
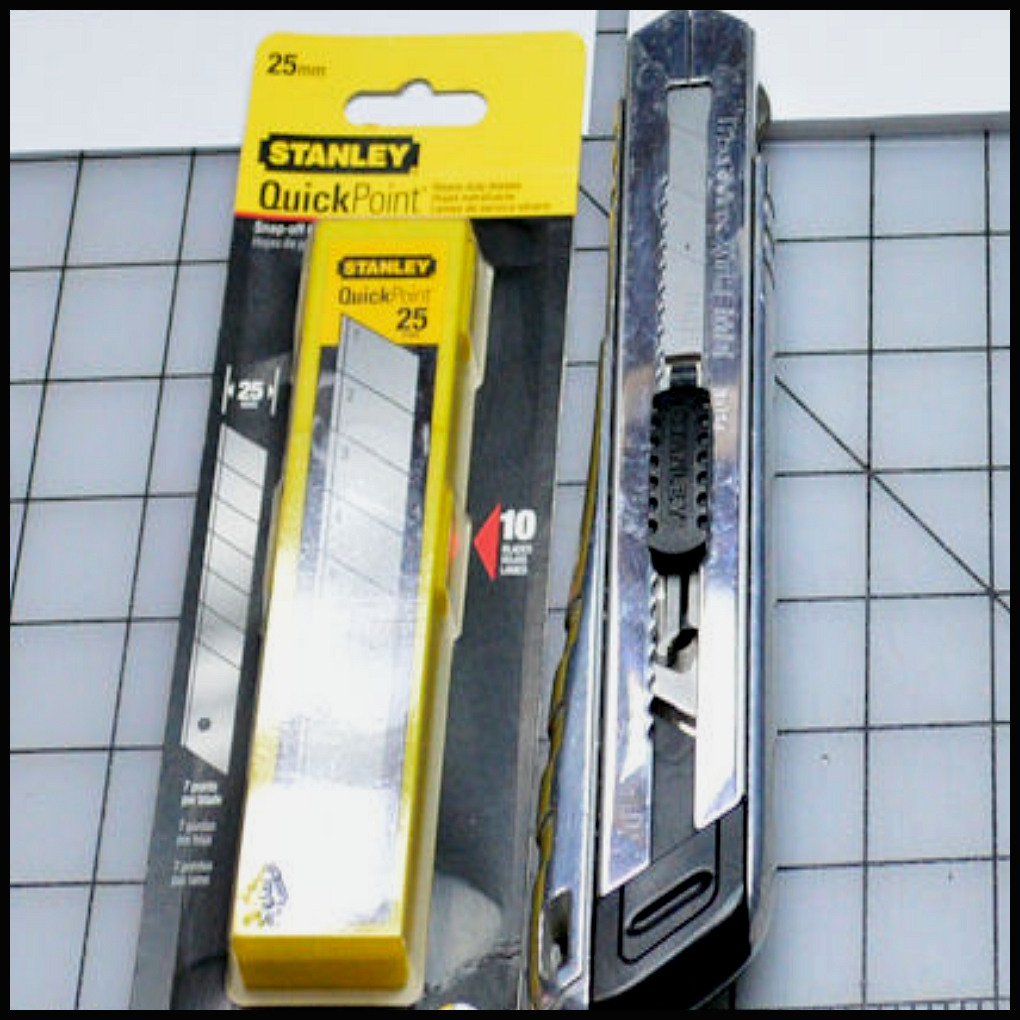
Cutting Tool

Hair Clip
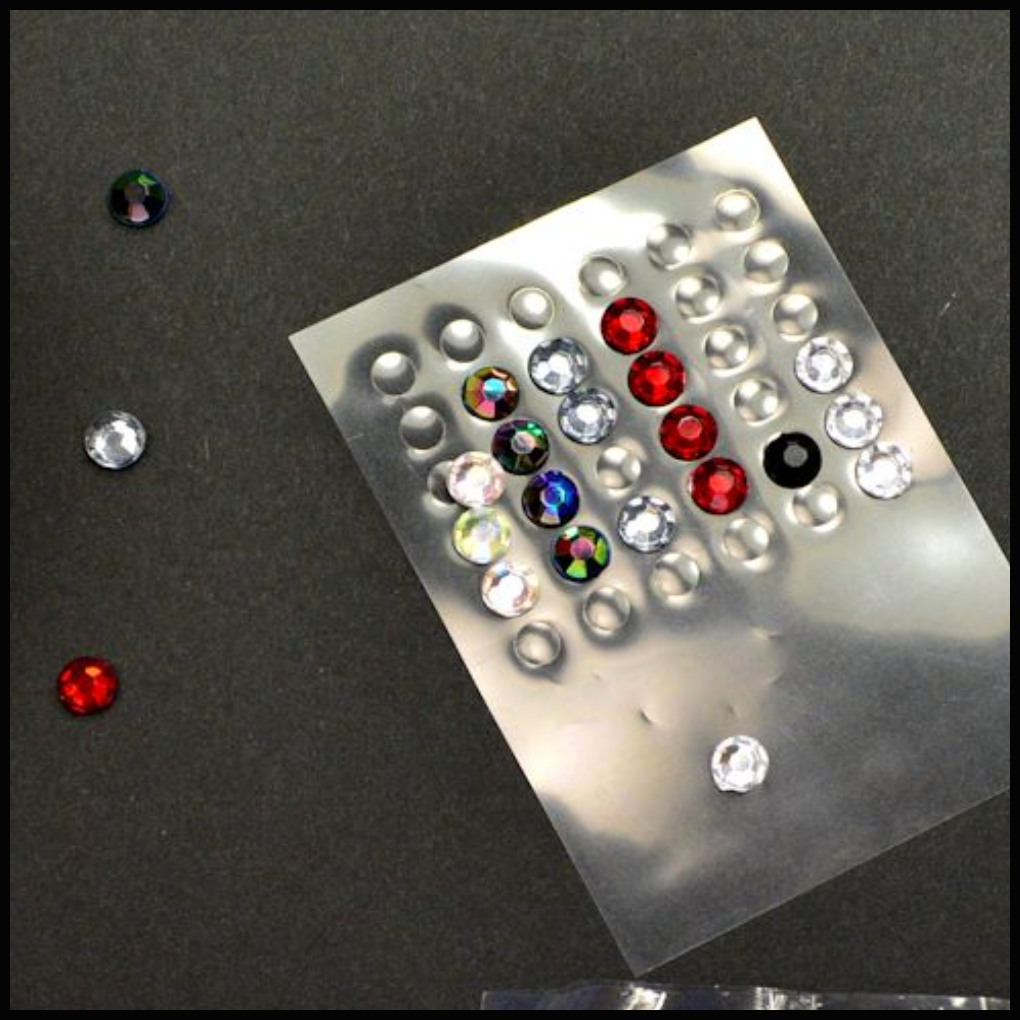
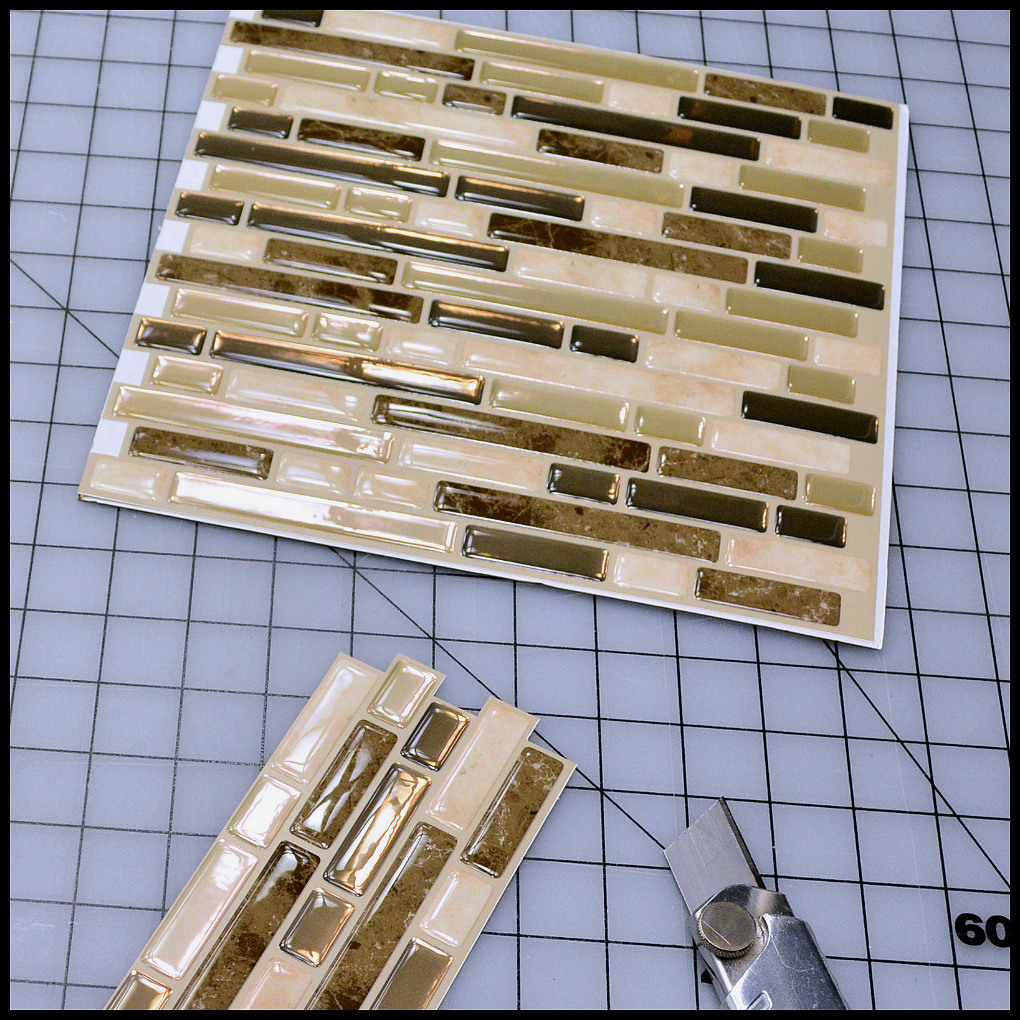
3-D Stickers
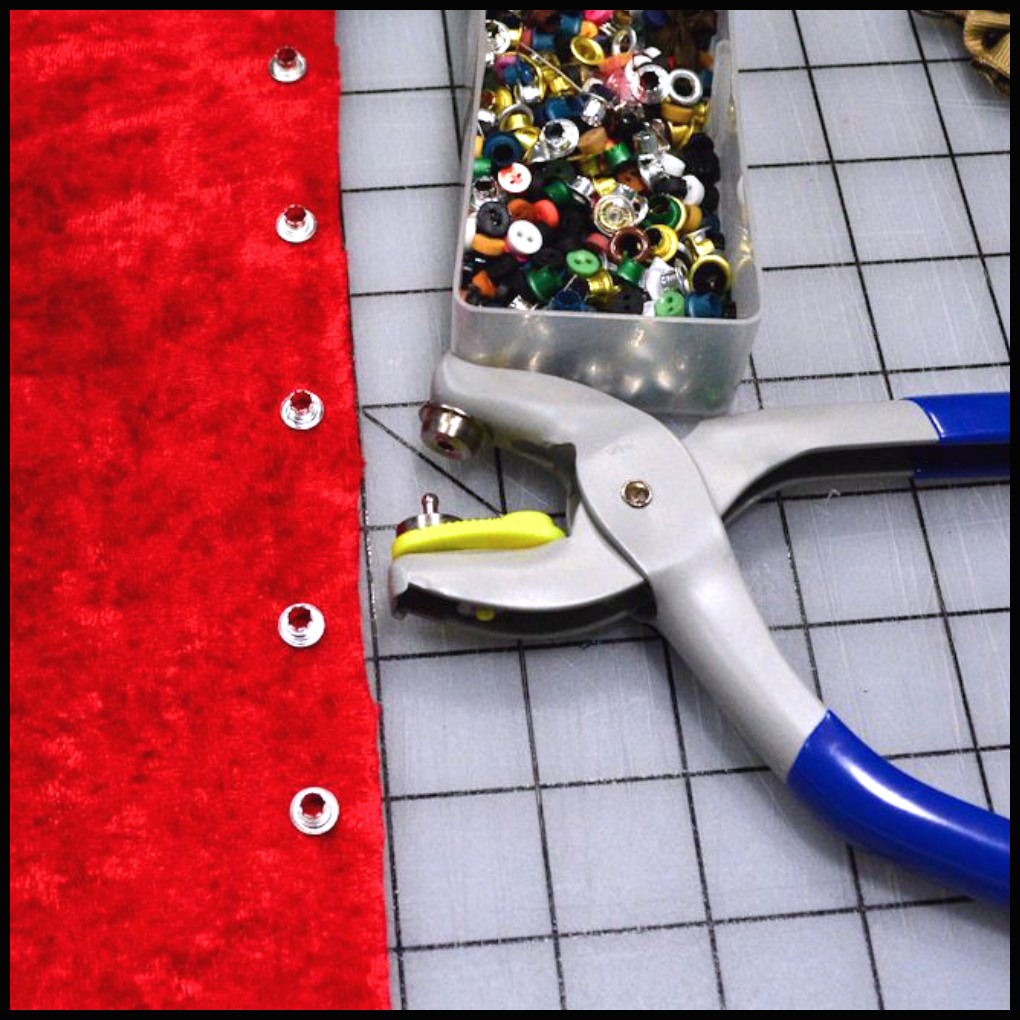
Grommet Tools
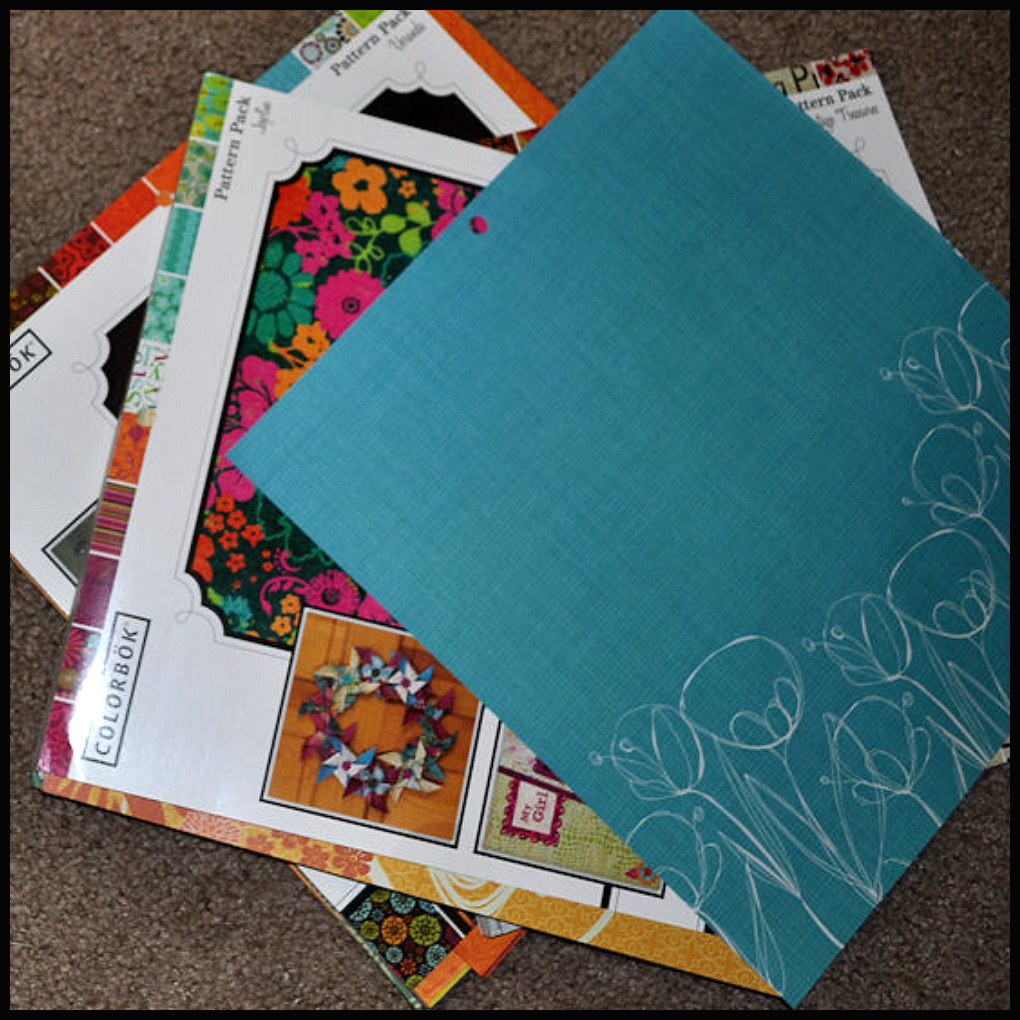
Scapbook Paper
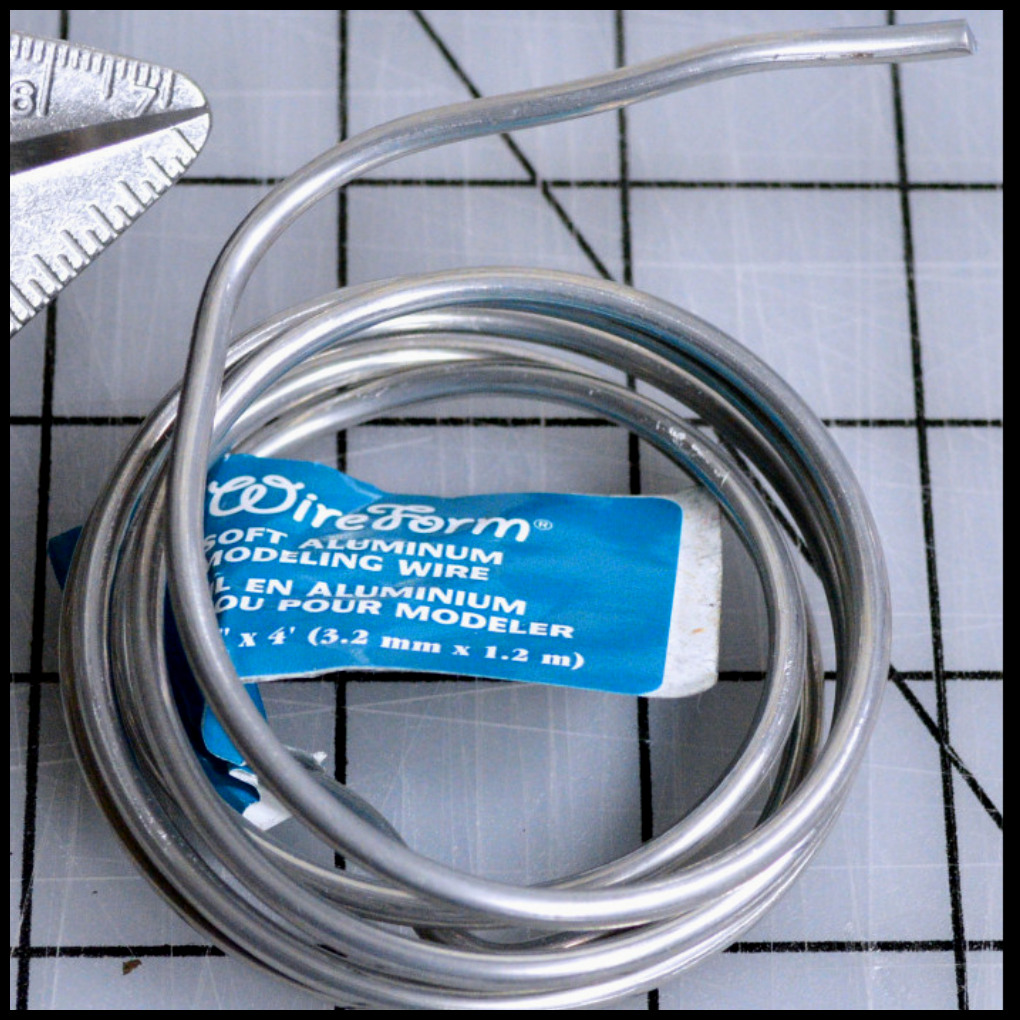
Wire - Thick Flexible
Windows Playscale
Project Board 3-Panel

Cutting Tool - Heavy Duty
Hair Ties
Foam Board 1/4"
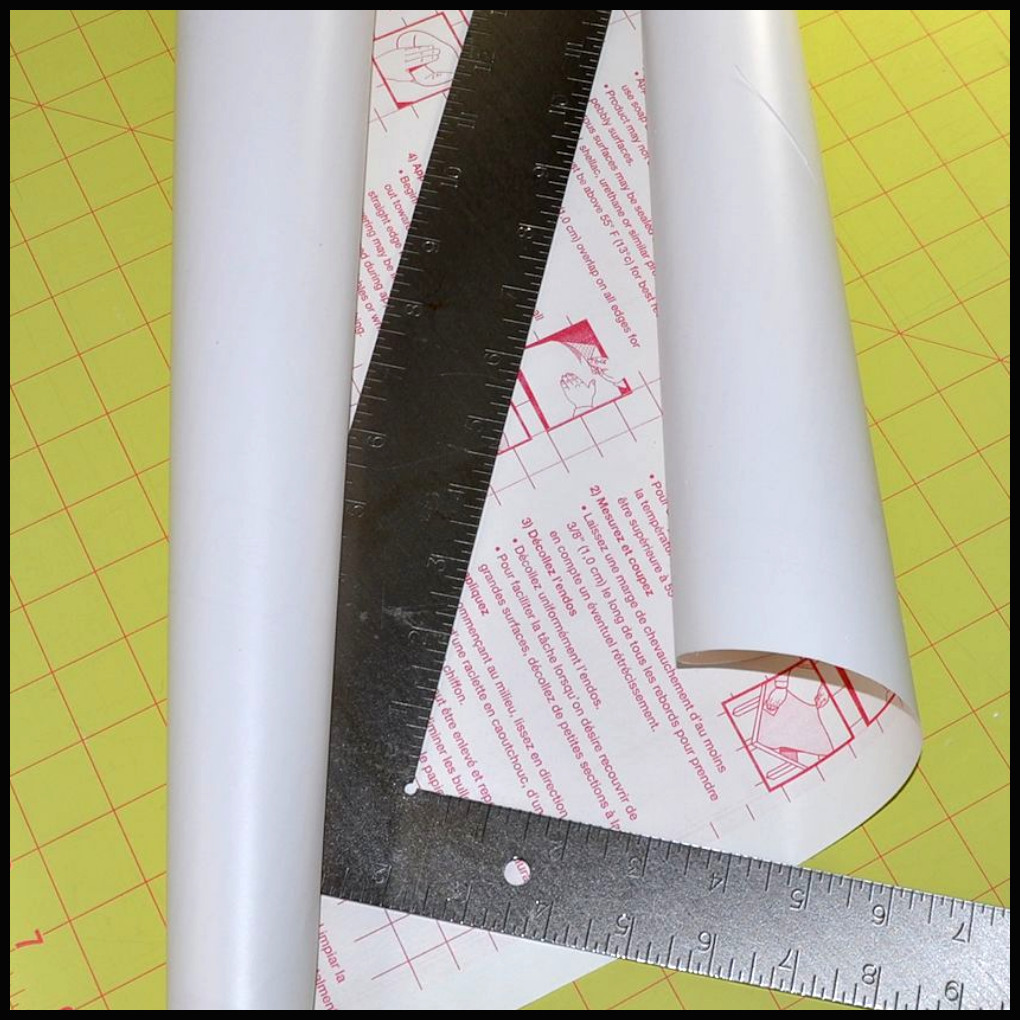
Contact Paper
Masking Tape
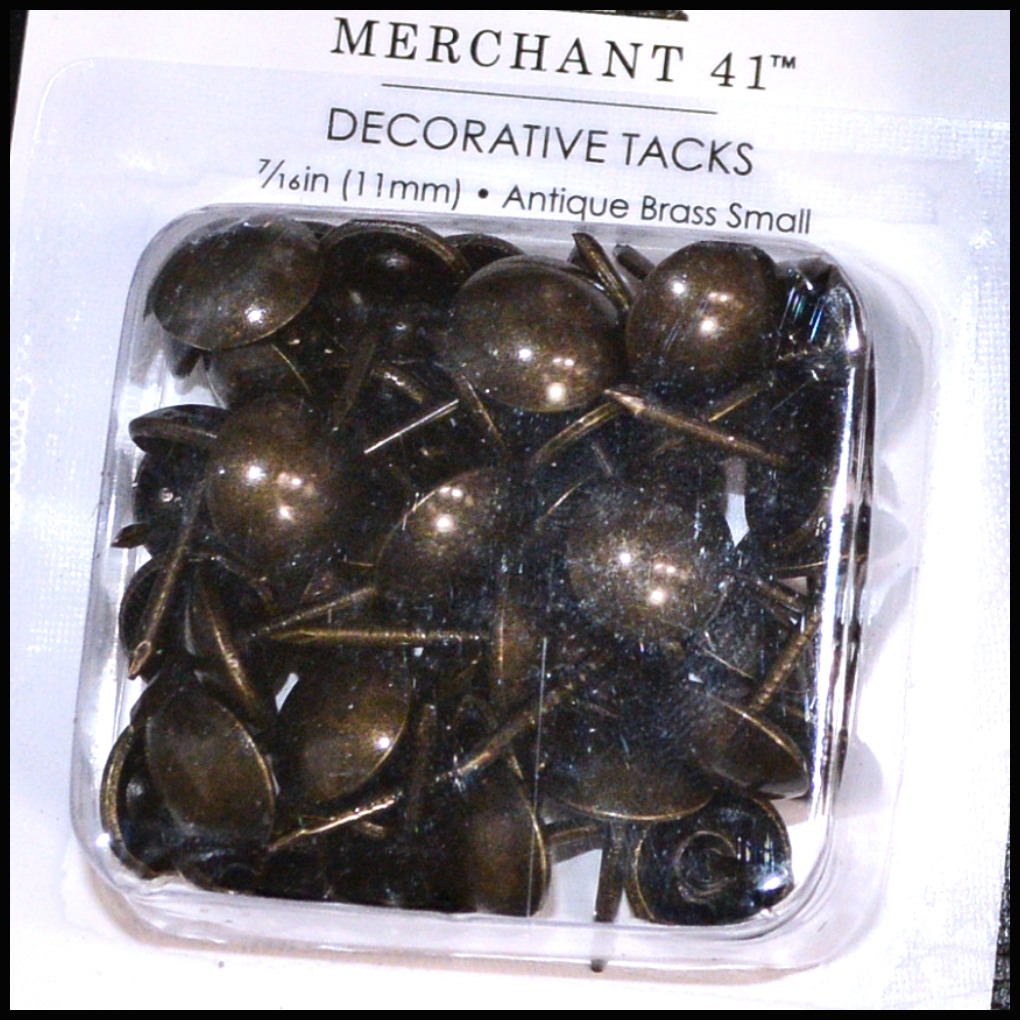
Decorative Tacks

Dowel - Balsa Wood Strips
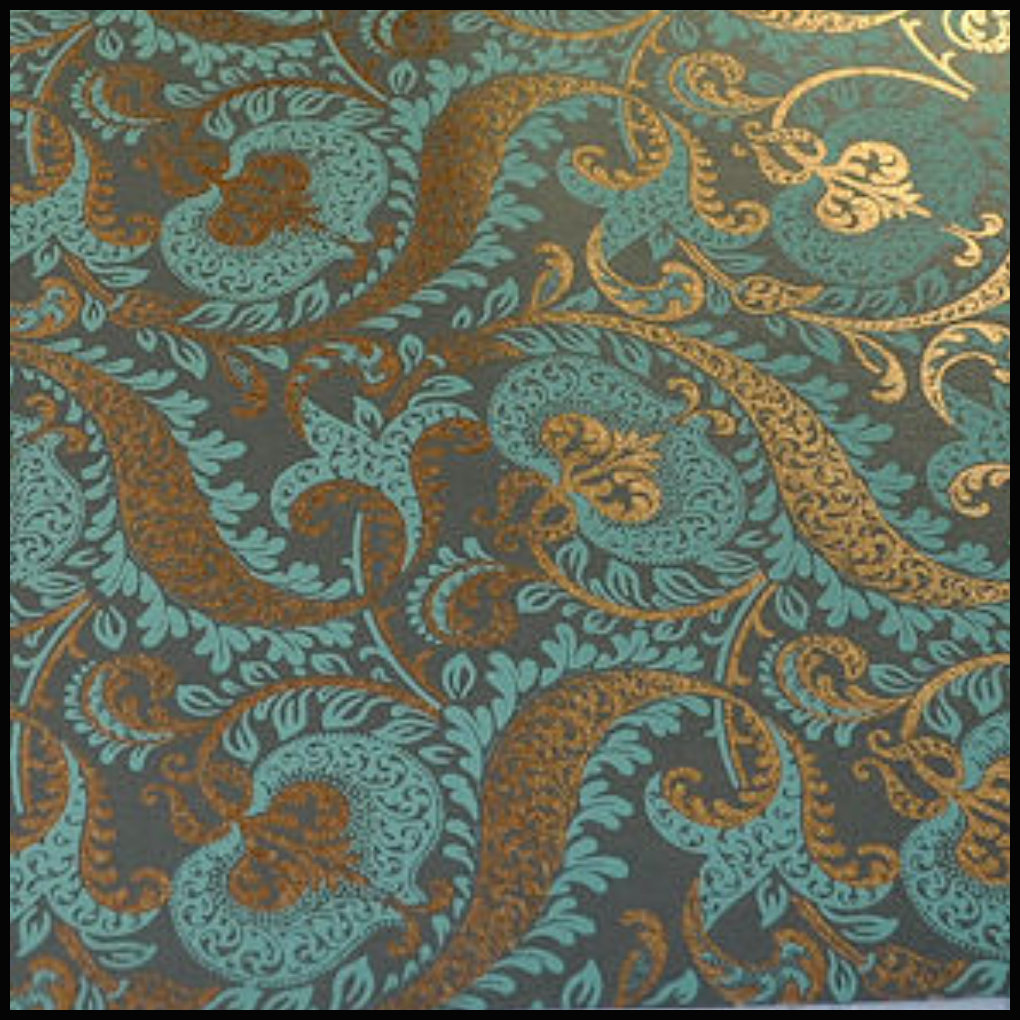
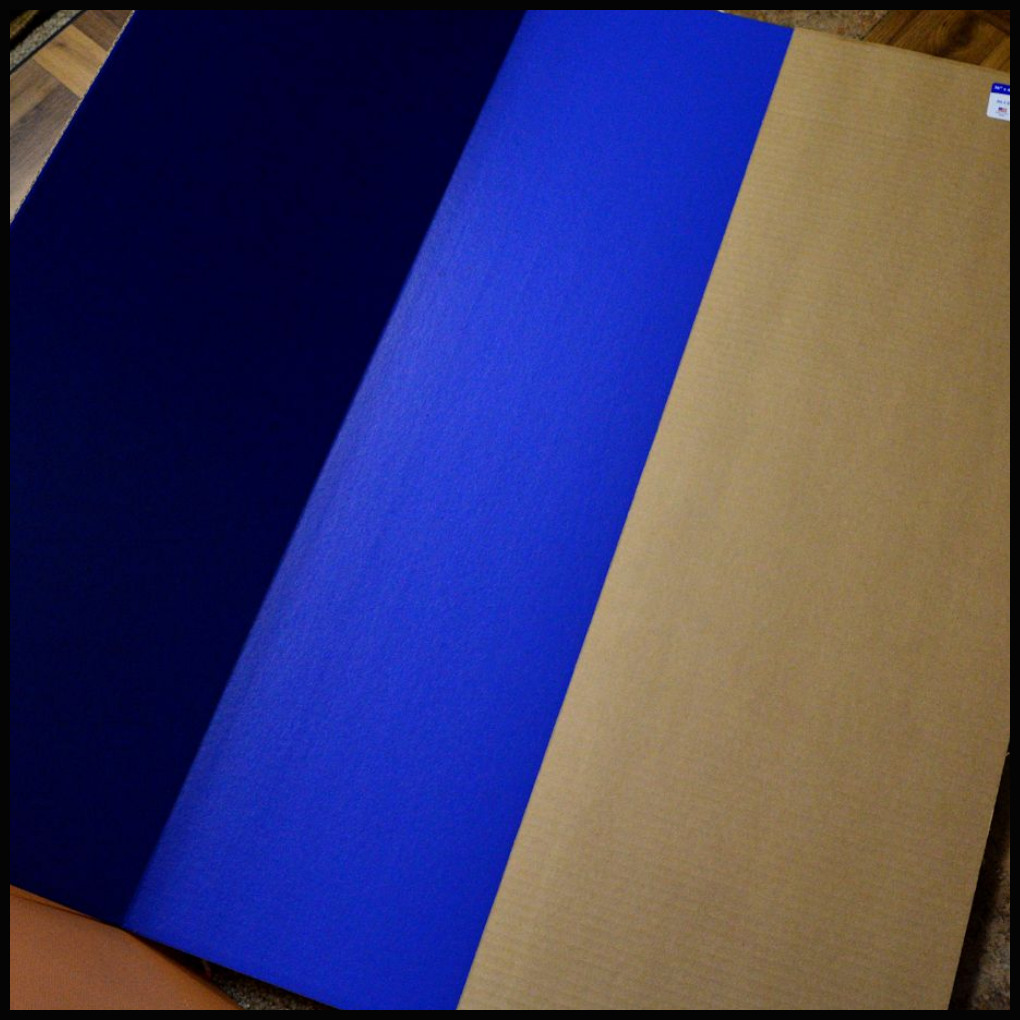
Decorative Paper
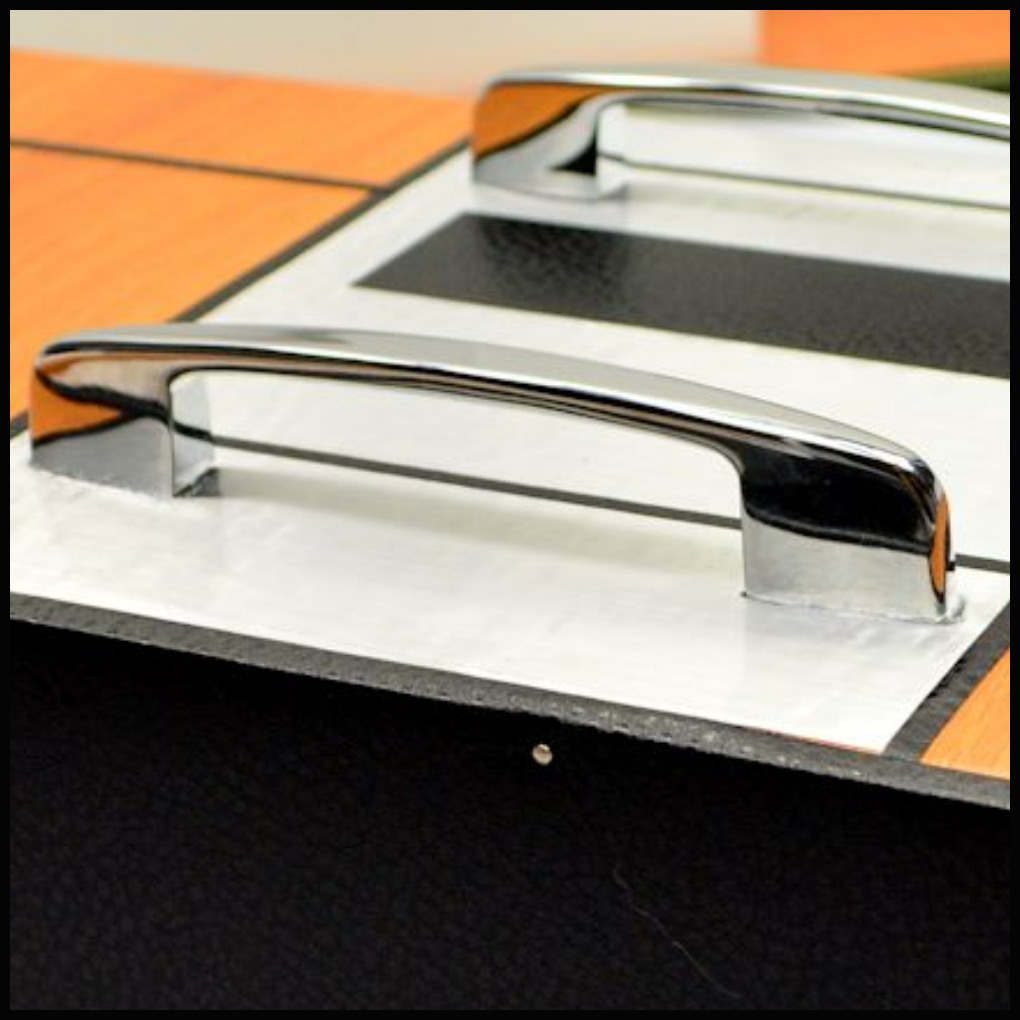
Drawer Pull
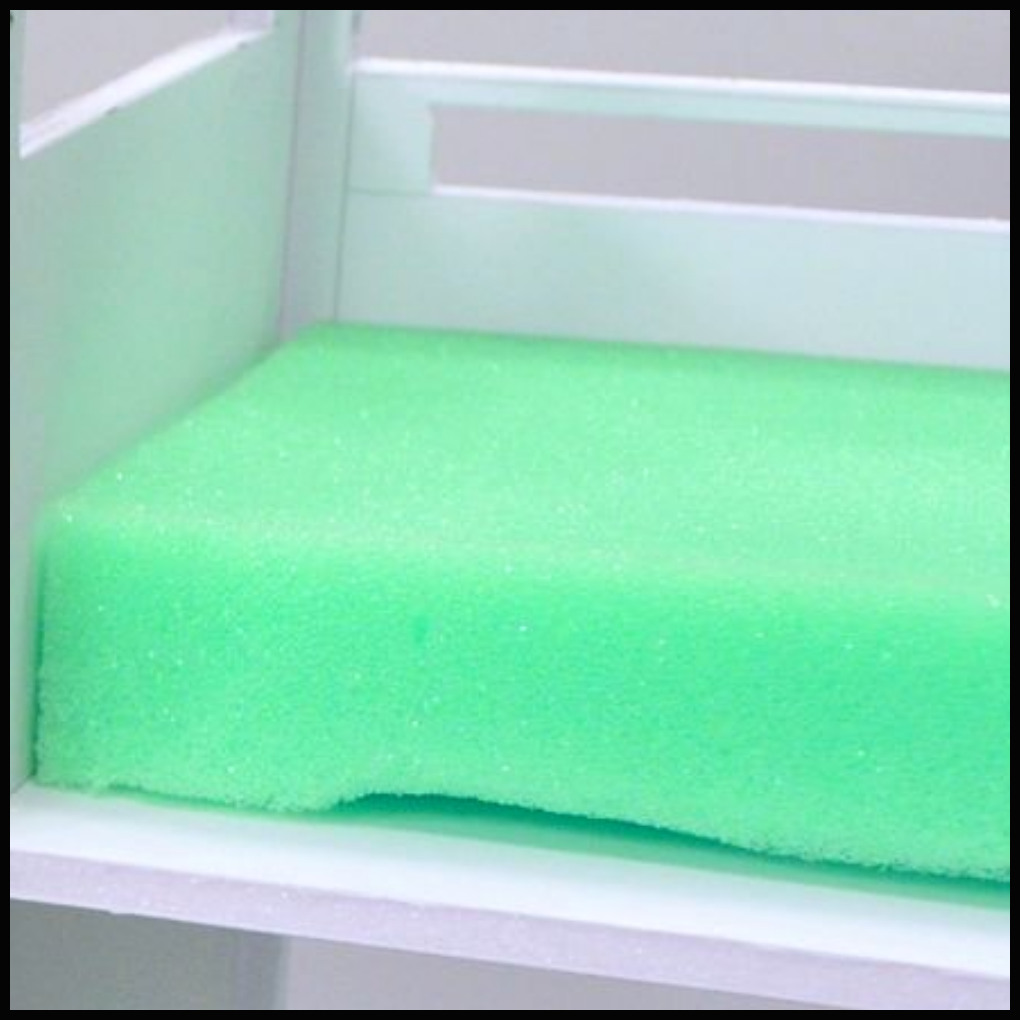
Foam
Floor Tile
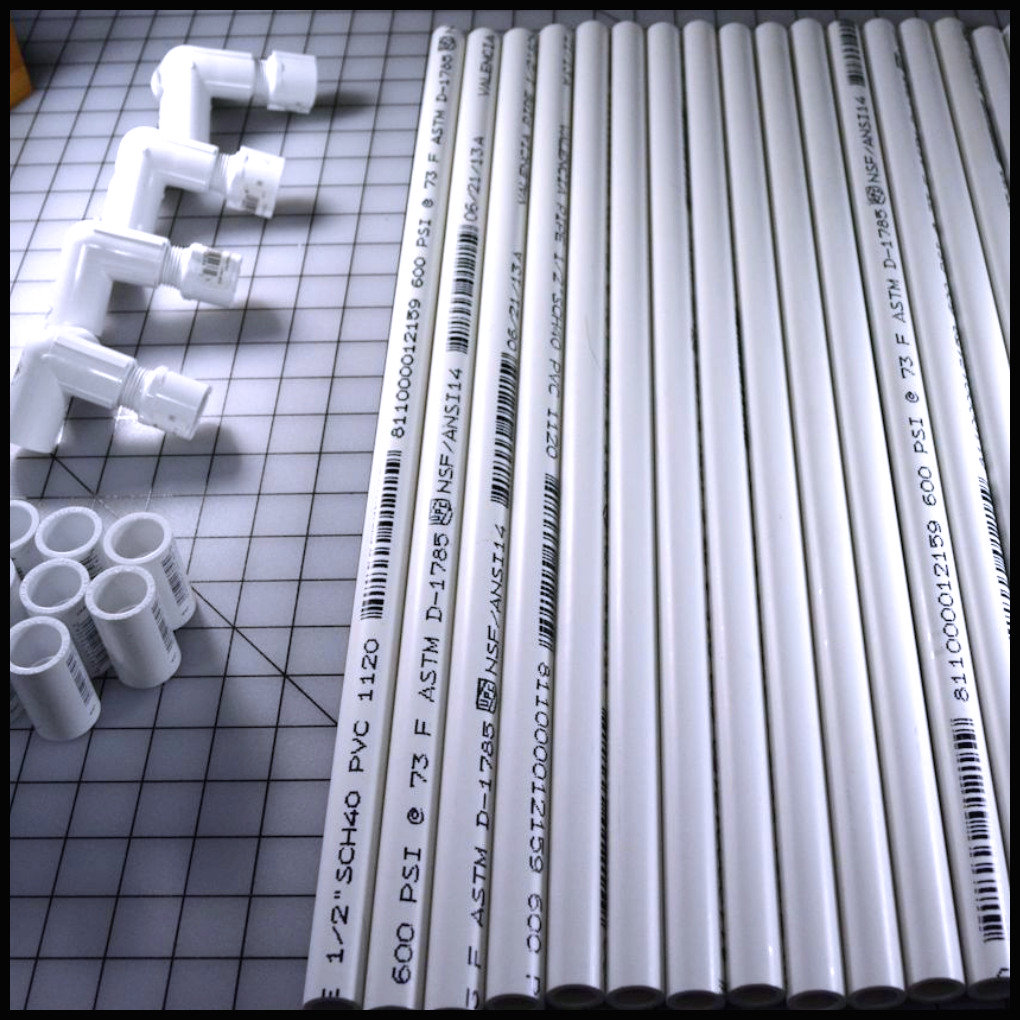
PVC Plumbing Pipes
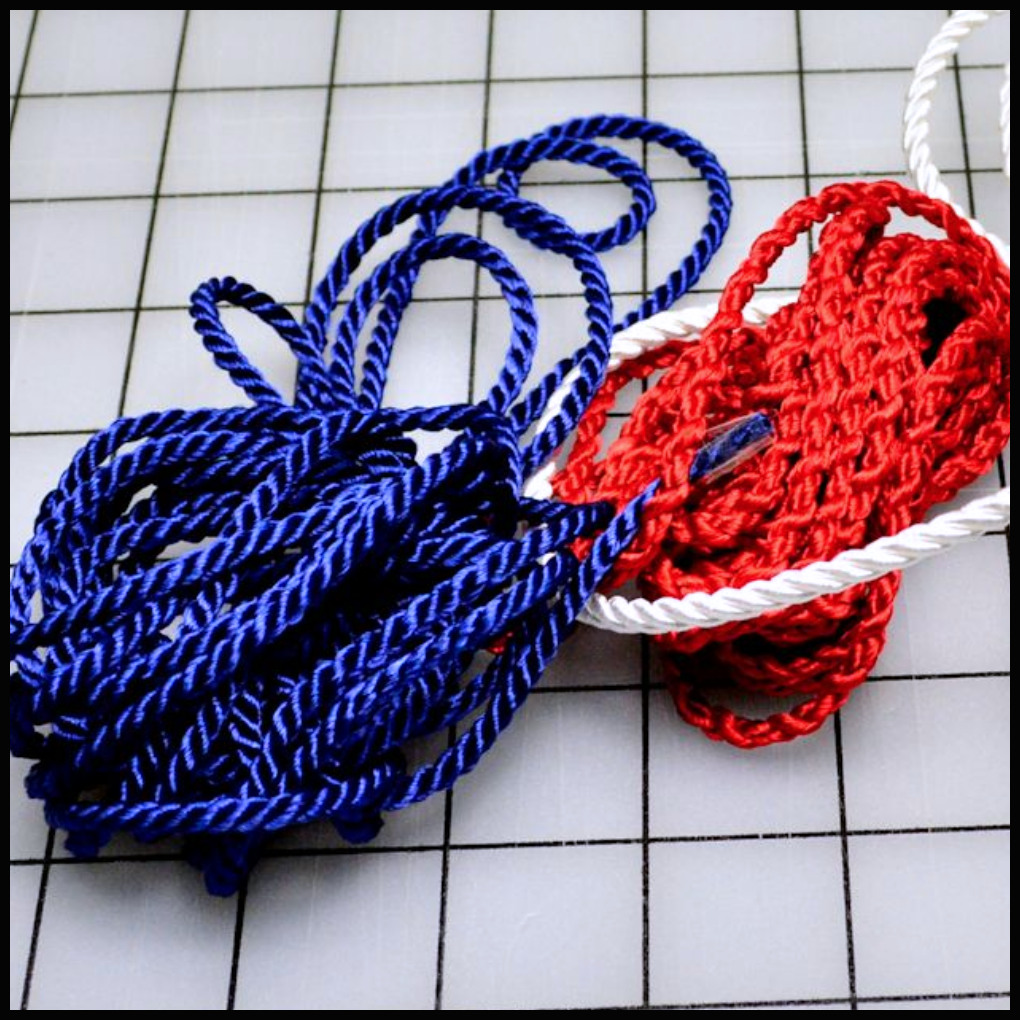
Rope
Foam Board 1/2"

Sewing Pins - Ball Head
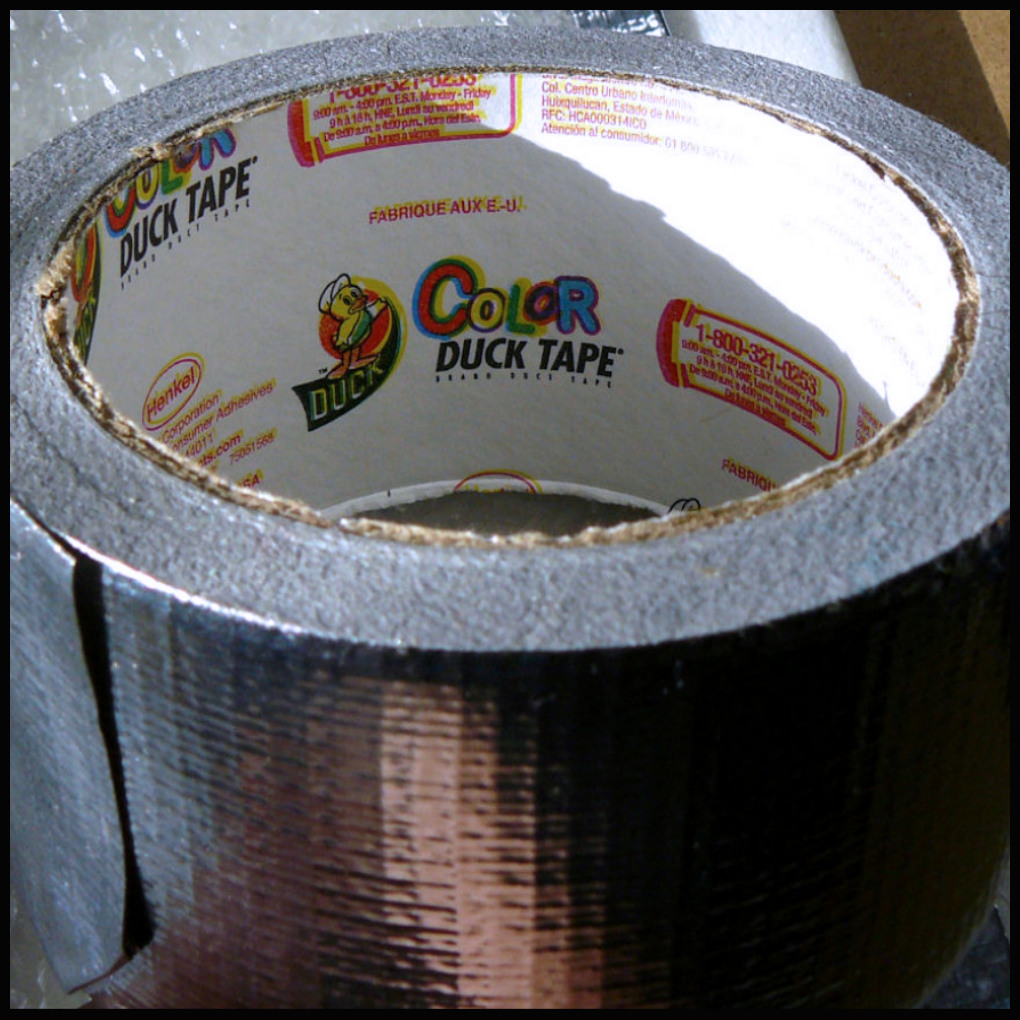
Duck Tape
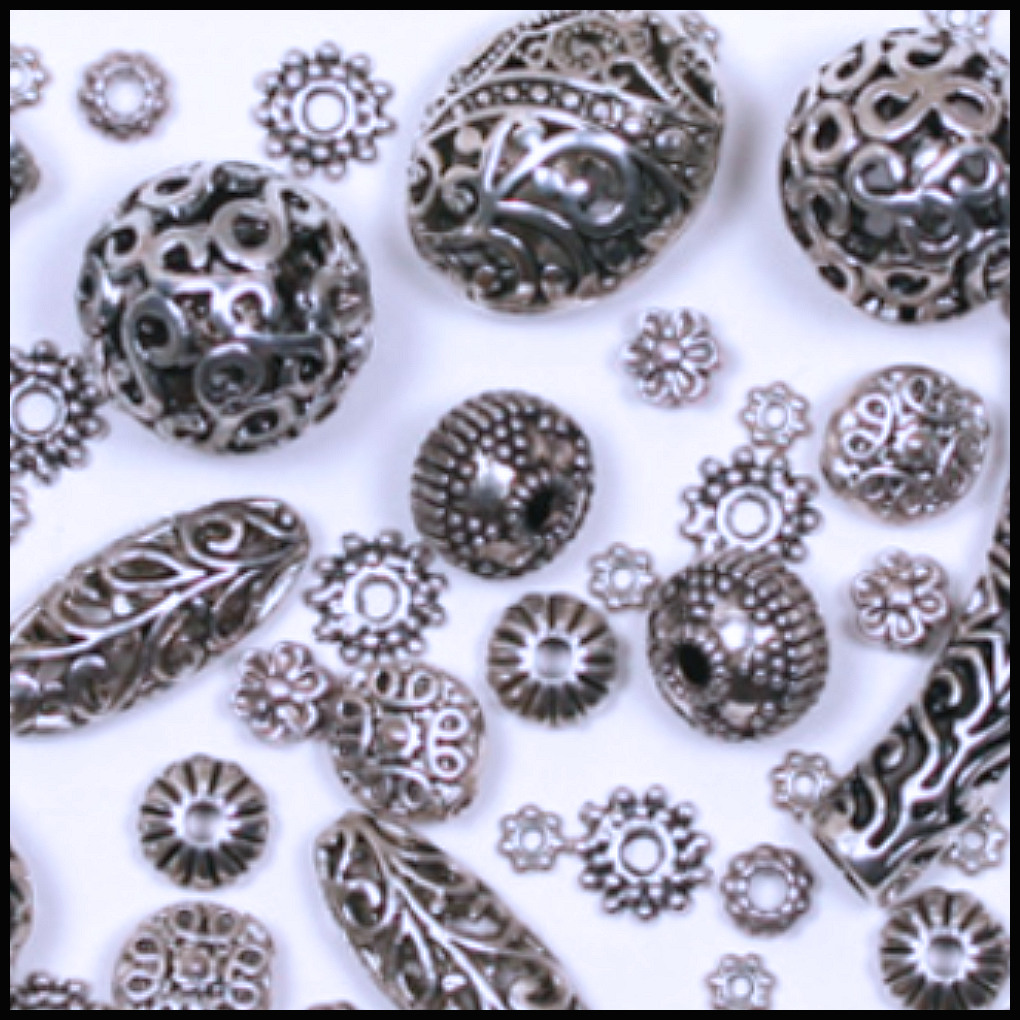
Jewelry Beads
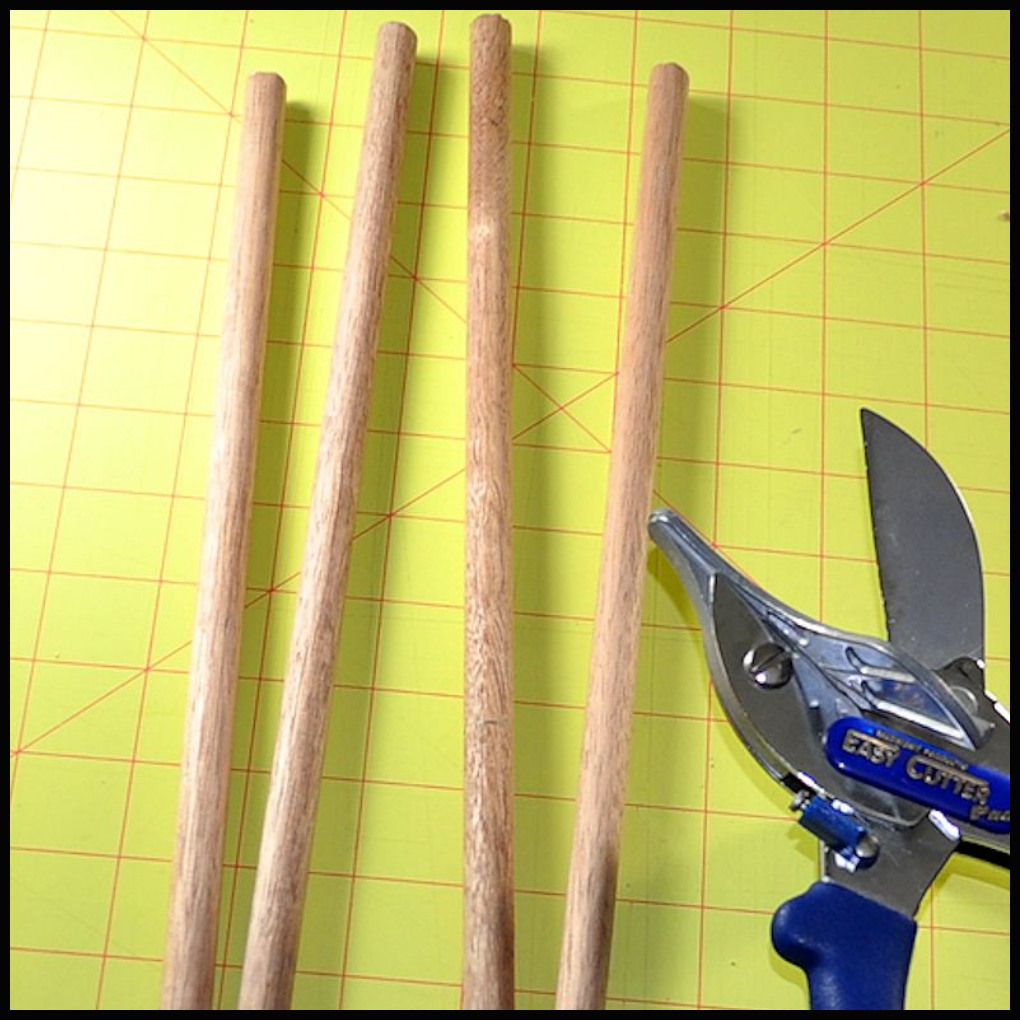
Dowel - wooden
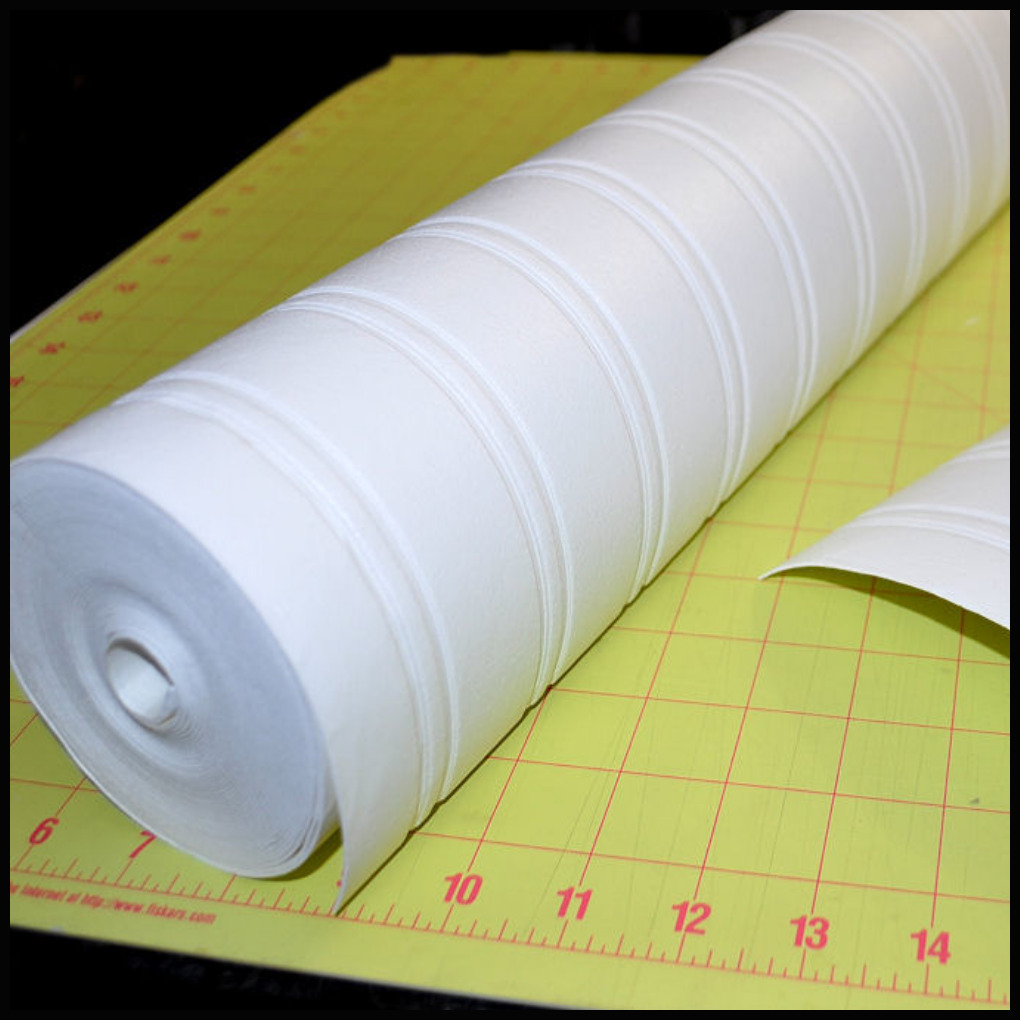
Wallpaper Wainscotting
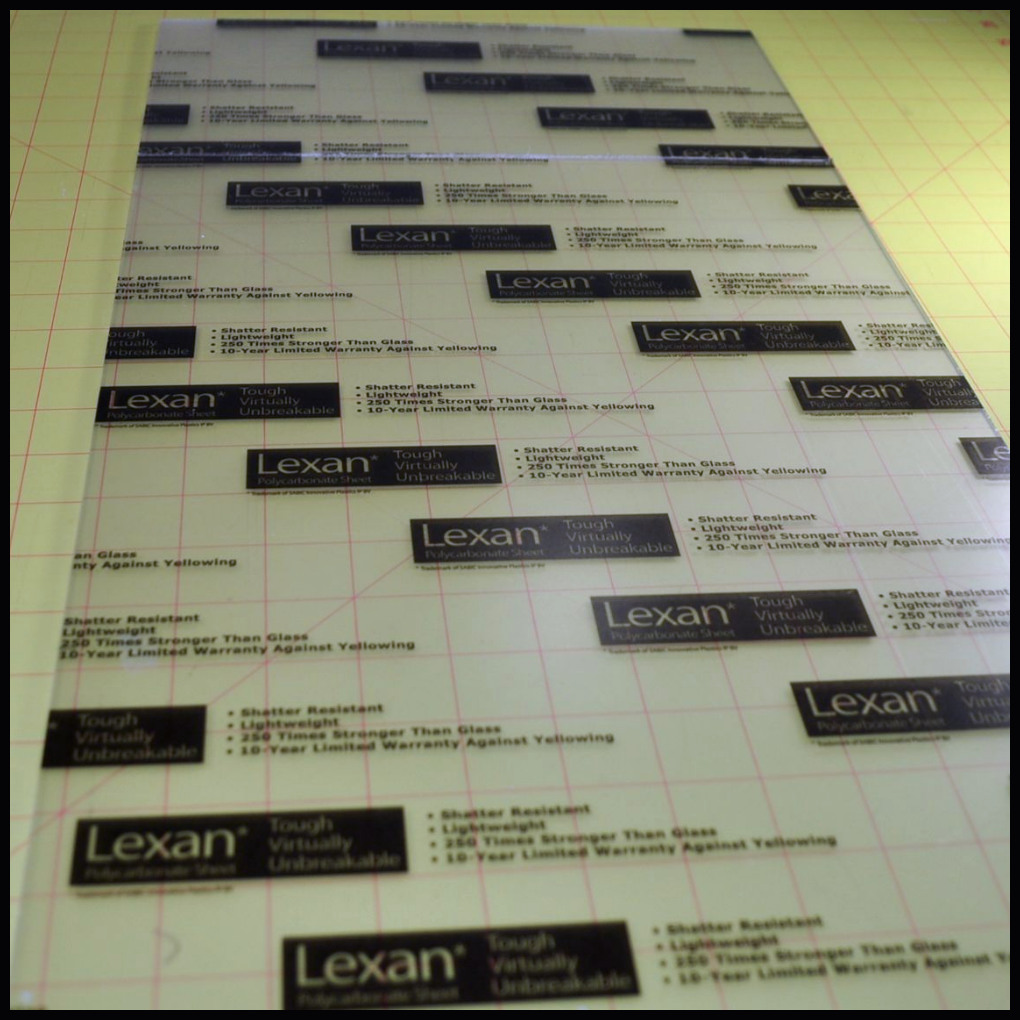
Plexiglass

Sewing Machine
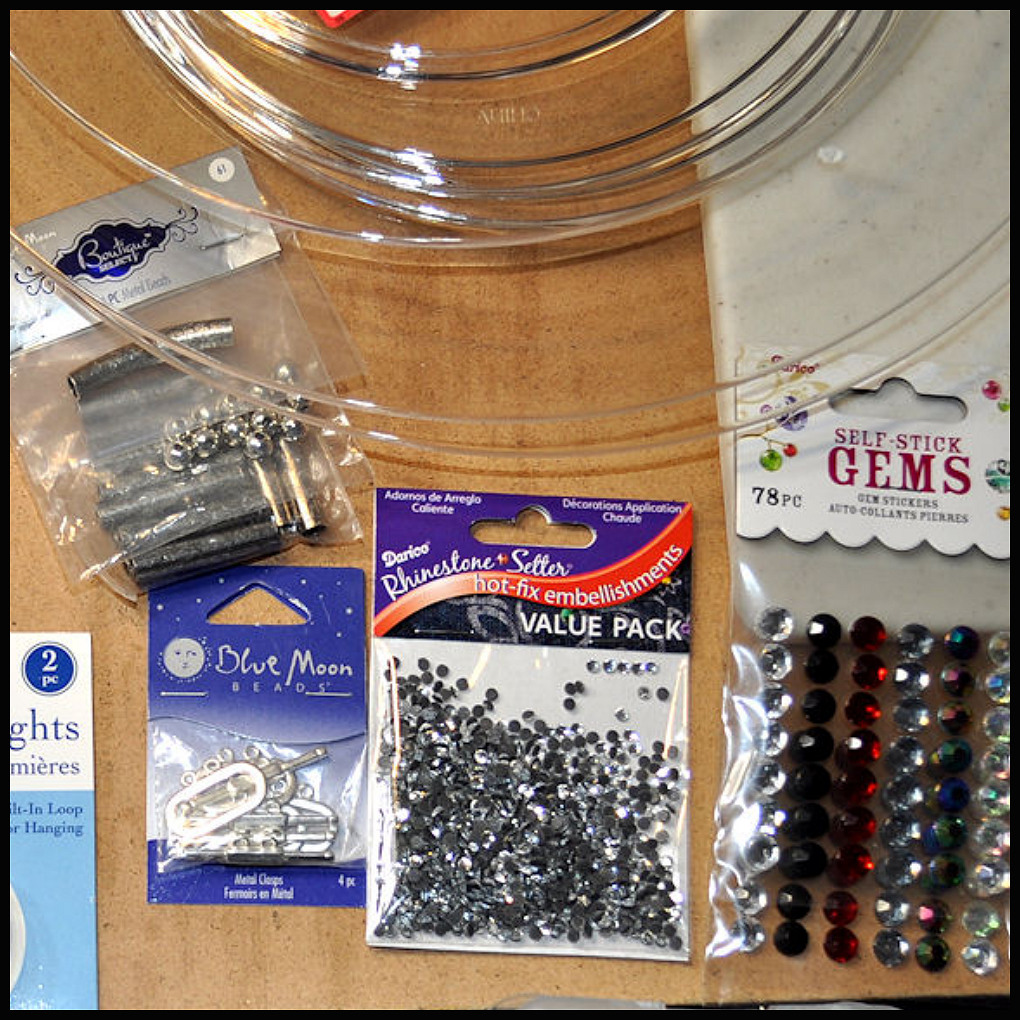
Jewelry Making Supplies
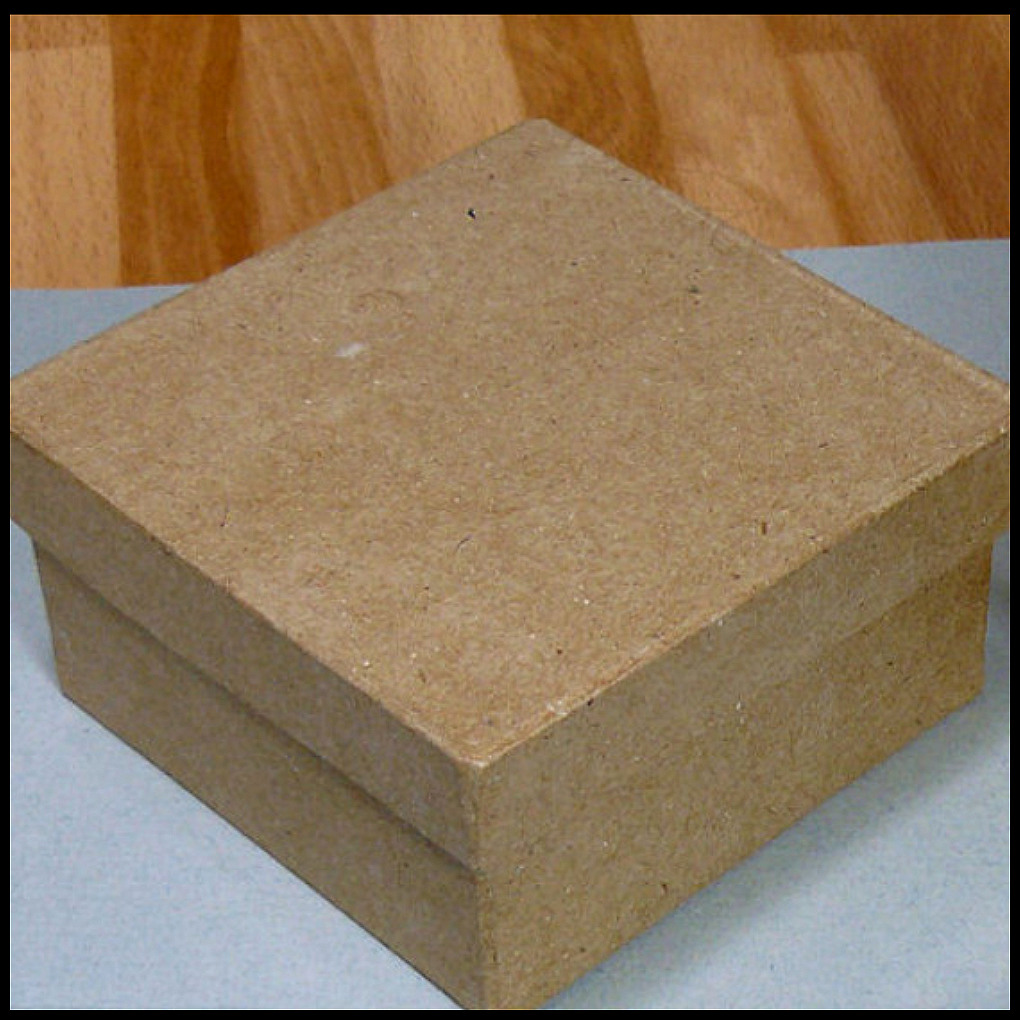
Cardboard Box
Ruler - L-Shaped
Sewing Pins - Flat Head
Glue

Jewelry Tools
Cutting Tool - Medium Duty
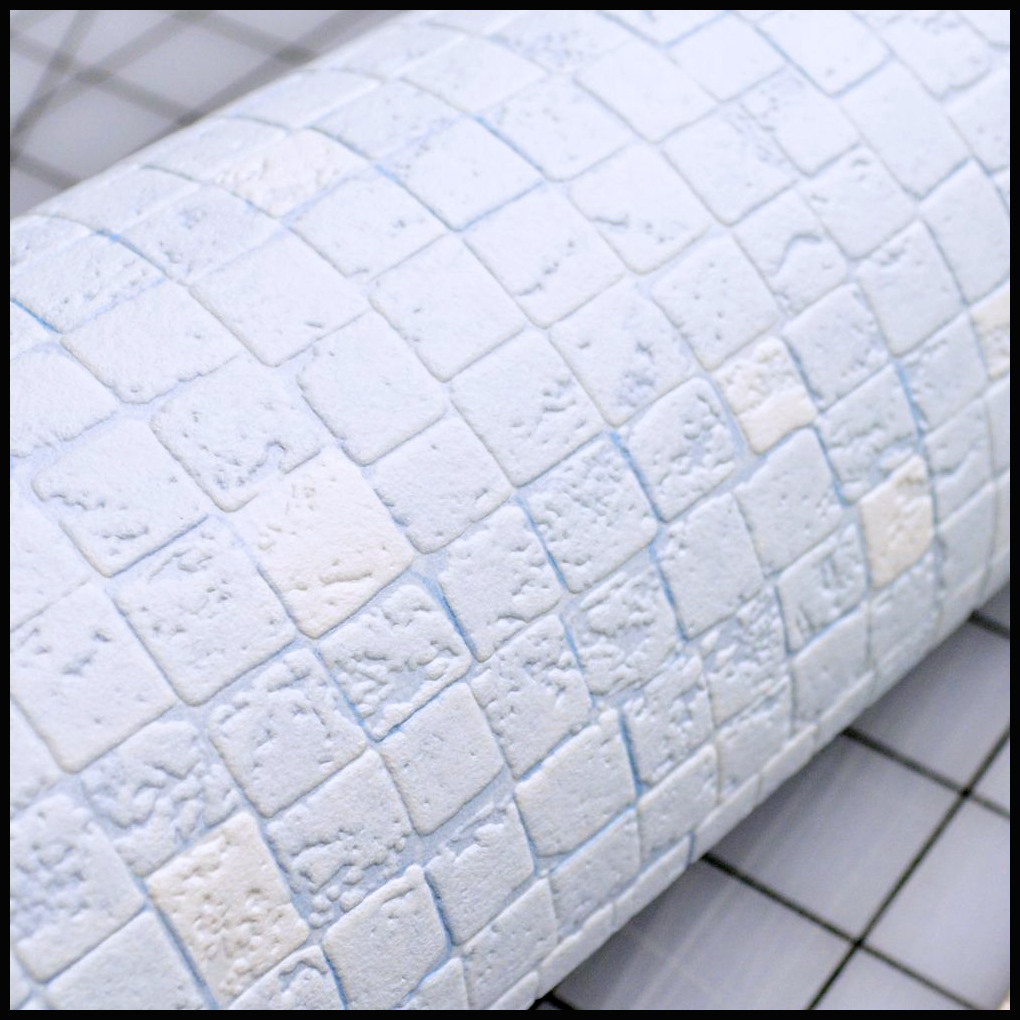
Wallpaper Textured
Bath/Kitchen Tiles
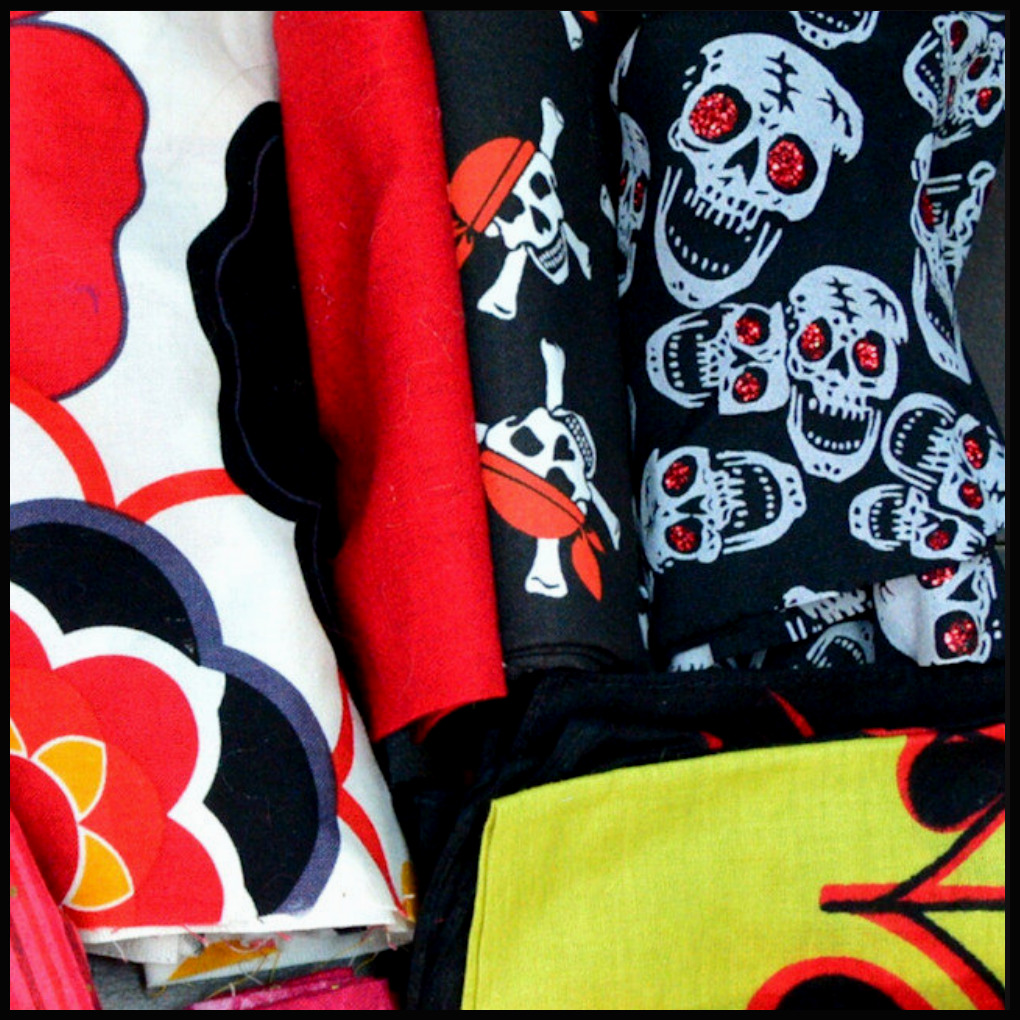
Fabric
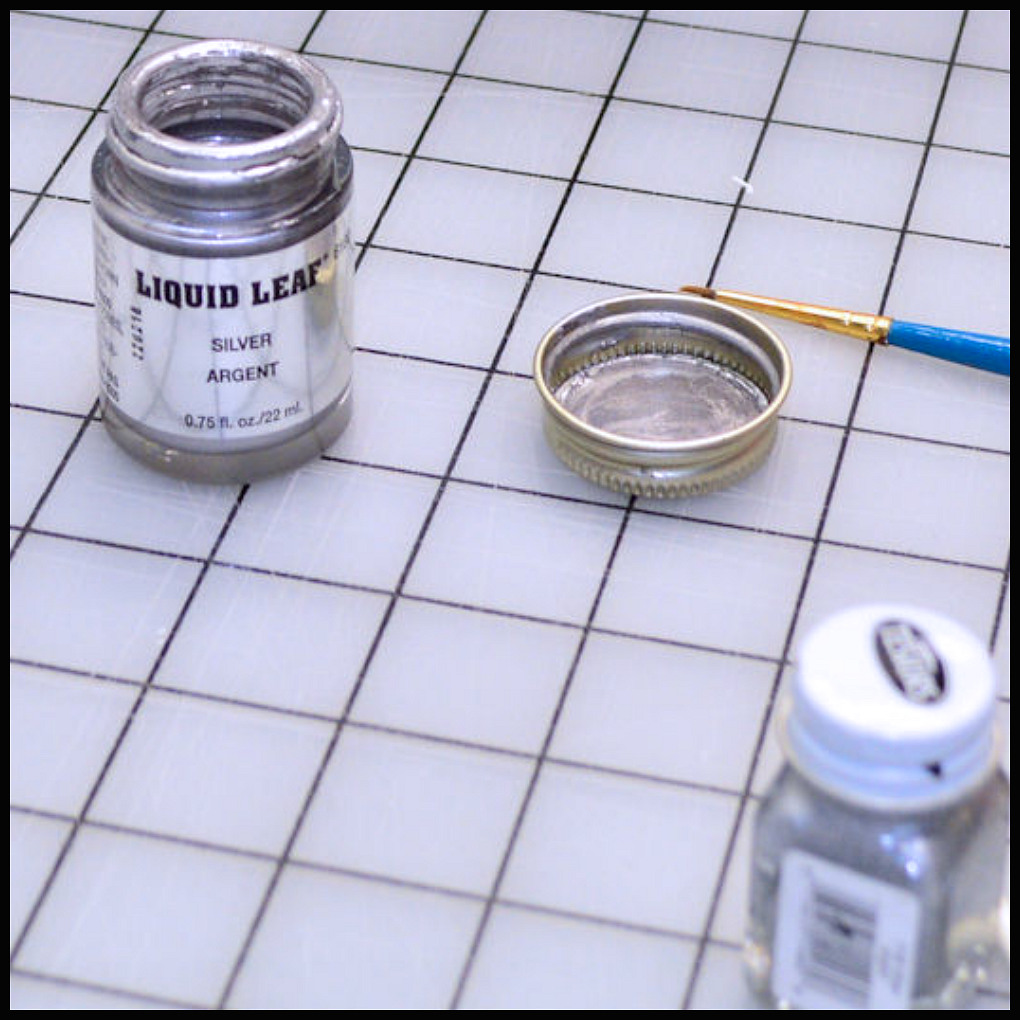
Acrylic Paint
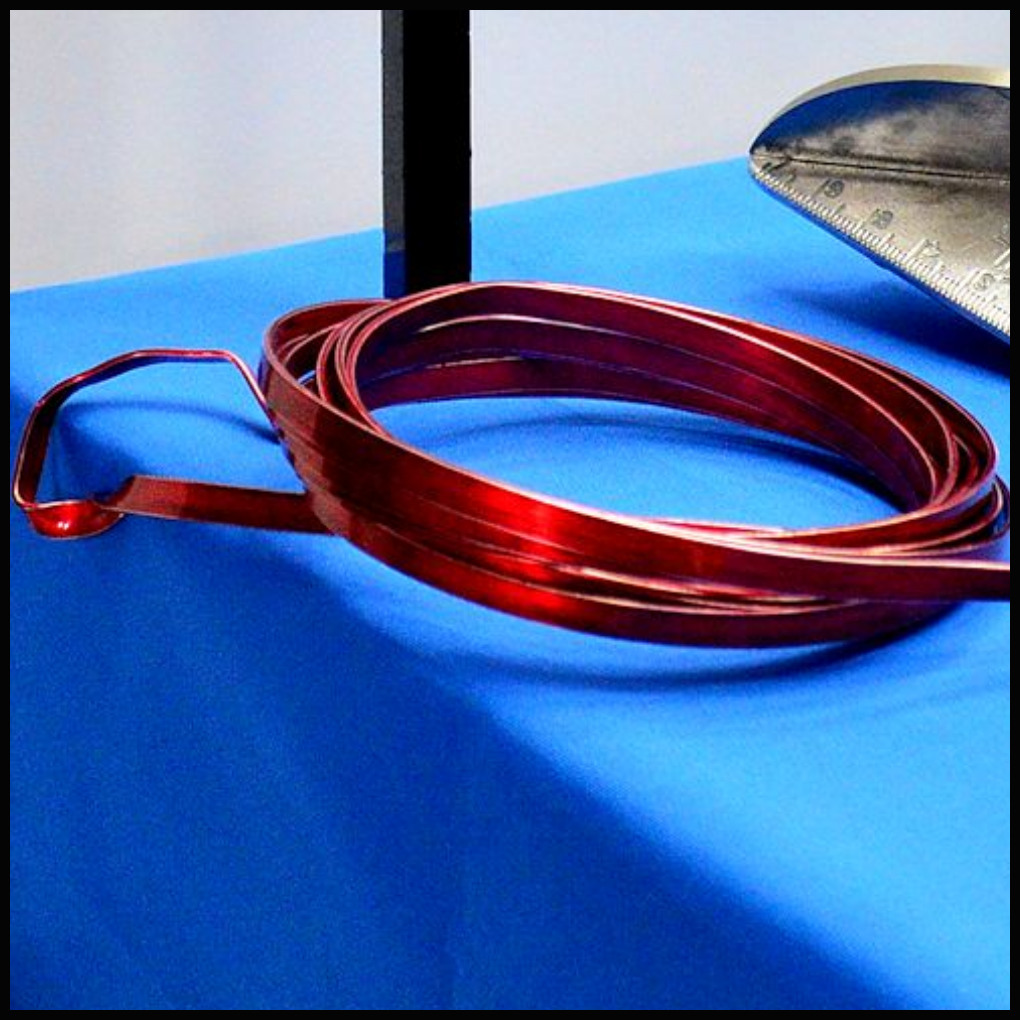
Wire - Flat Flexible
FOAM BOARD
TEMPORARY ROOMS
I build dioramas for a single purpose: to photograph 1:6 scale scenes to tell a story. For that reason, I use materials and building techniques that are more like a temporary movie set and not a permanent home to be lived in.
Foam board can build everything from walls, floors, showers, kitchen counters and more. The rooms are put and taken down in short weeks, and everything stores flat and compact.
Working with foam board doesn’t take artistic or handy skills as woodworking would. The tools needed are a shortlist of inexpensive items that anyone can buy and have in their home. Whereas woodworking requires a garage, one or two workbenches and very expensive (not to mention dangerous cause I’m accident prone) equipment. Foam board rooms are never going to look as good as well crafted wood room boxes and furniture. So you do get what you pay for. However, for the stories I’m telling, my rooms do the job needed.
I hope any part of my diorama tutorials can inspire or help you with whatever materials you plan to use for your projects.
1/4" White
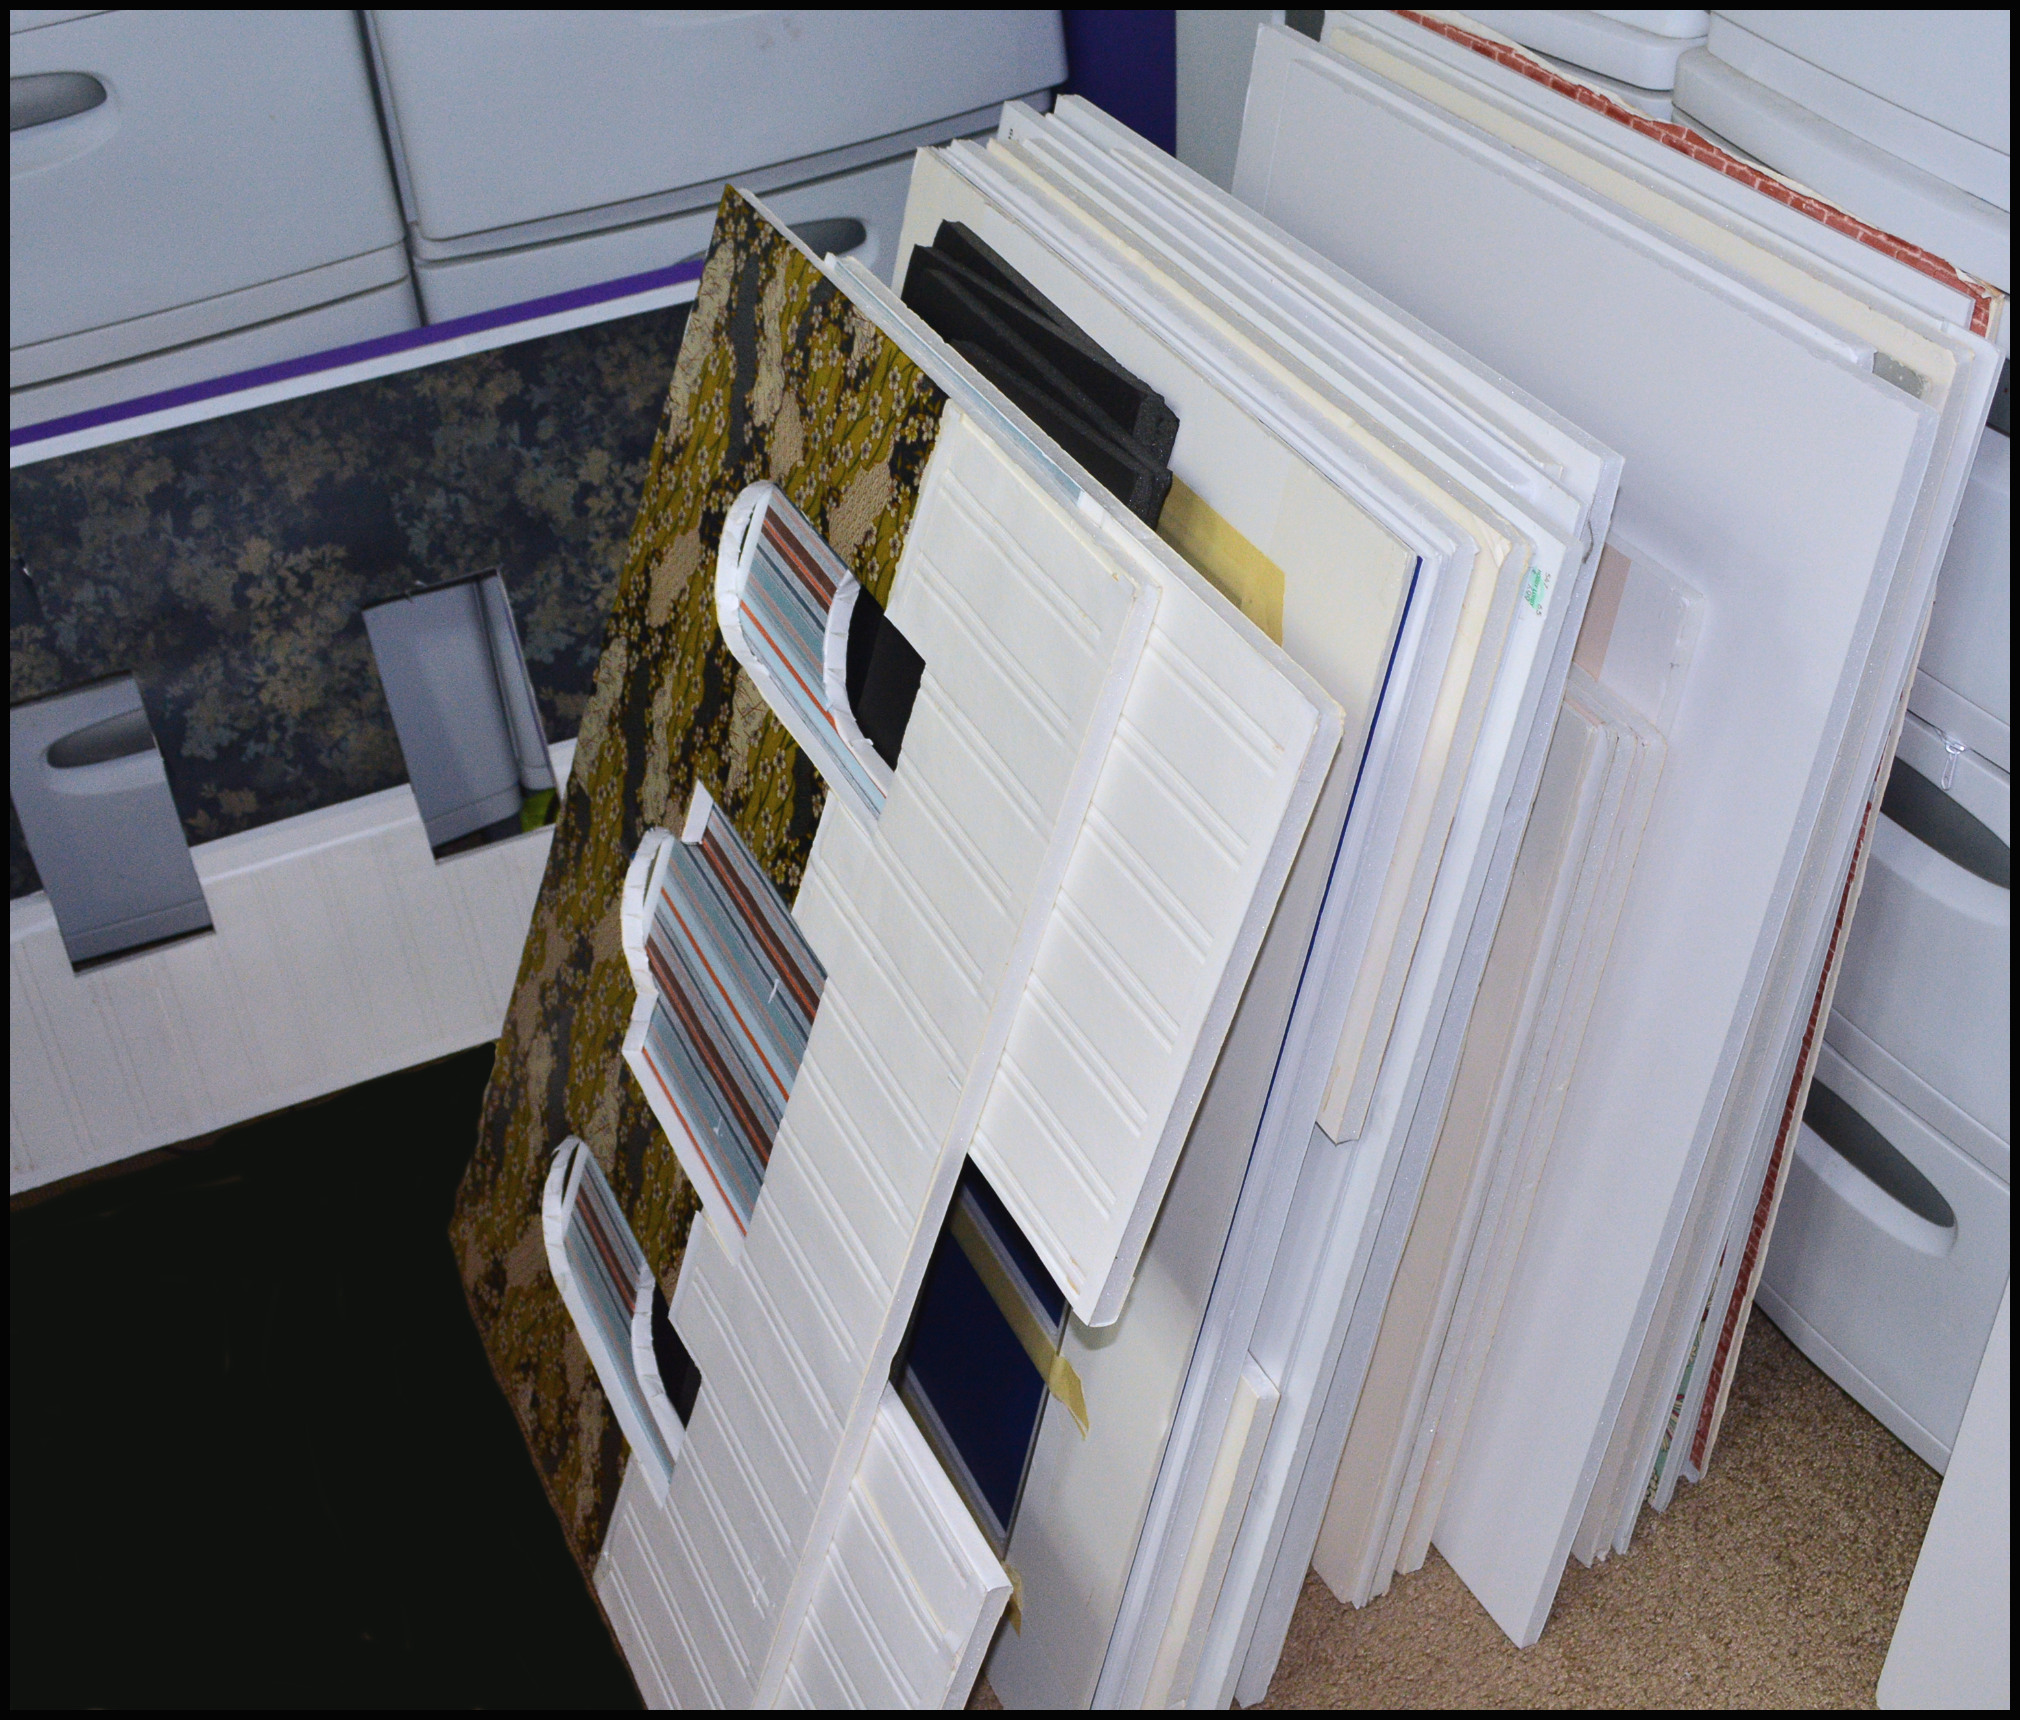
erfect for building any type of diorama item, kitchens, tables, counters, etc. They come in many sizes, the most commonly found is the 20″ x 30″ board. They make a 40″ x 60″ thin board, but it tends to warp or bend, so I usually get 1/2″ thick for anything over 20″x 30″ . I can reuse the wall boards if stored correctly for up to 5 years. Keep them stacked together flat, or on top of each other in a dry
1/2" White
This thicker board is best for cutting out holes for windows and doors. the 40″x 60″ board is wonderful for two story builds, or just a room with really high ceilings. I’ve recently started using this thickness for my flooring, covering it with wood grain or other contact paper. Drawback is that foam board is soft, you can’t put too much weight or pressure on it without denting it. So, floors can be tricky.
1/2" & 1/4" Black
Black board is always more expensive that white, so I use this in moderation and only when needed. Black board’s surface is softer and more fragile than the white boards. It smudges easily from hand contact or other materials against it. Painter’s masking tape can’t be used on it more than once as it removes a top layer of the board.
1/4" Multi Colors
Premade color boards only come in thinner 1/4″ thickness at the 20″x 30″ size. They’re usually one color on one side and white on the other. They’re often a glossier finish and can take the painter’s masking tape several times before it starts peeling off the surface. Pinning them to other boards can make white holes on the darker color side, so pin them on their sides through the other board to avoid that.
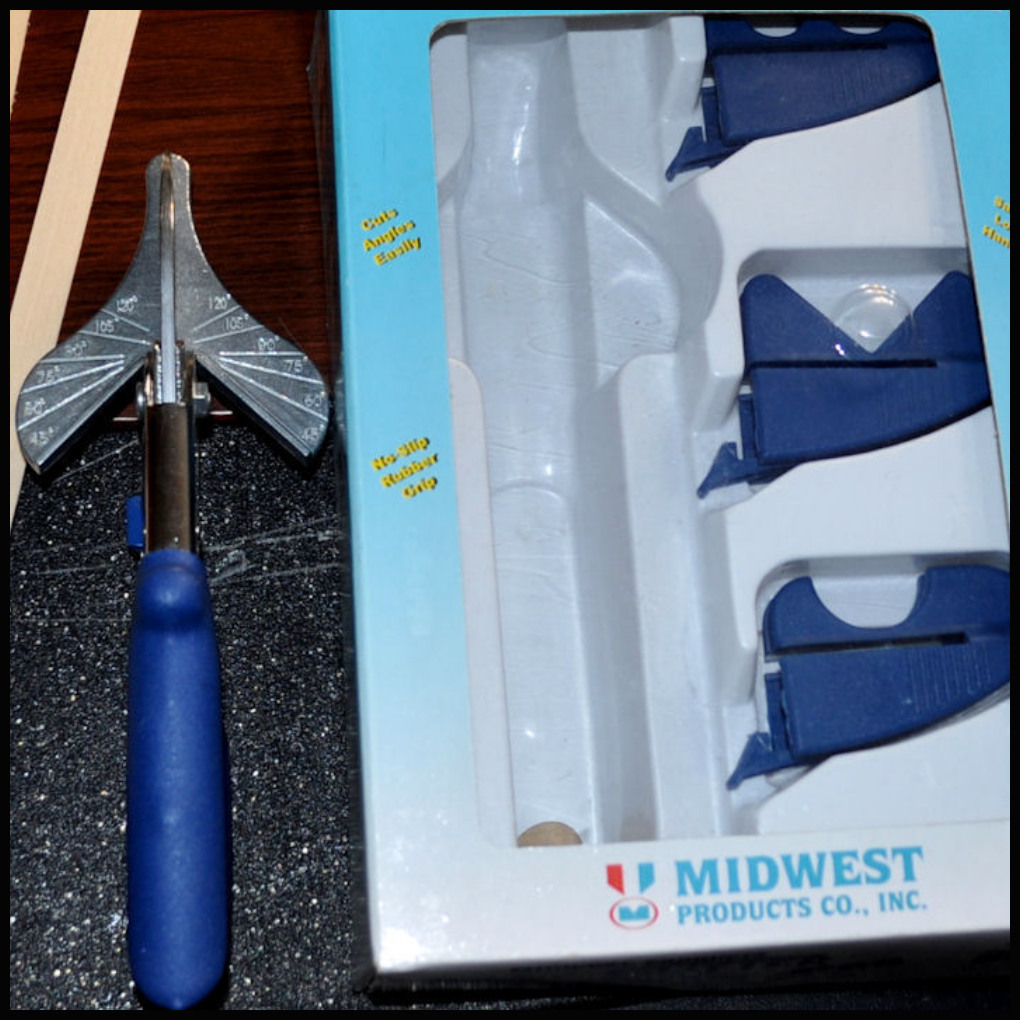
Cutting Tool
Always use sharp blades to cut foam board. Break off dull blades with pliers to make sure your cuts are clean and the interior of the board doesn’t fray
L-Shaped or T-Shaped Ruler
With a large 30″ board, it’s extremely difficult to keep your lines straight without having a ruler that can also follows the edge of two sides of the board. I highly recommend a metal ruler for two reasons (1) plastic rulers can be sliced into changing how straight their lines can be (2) the heavier weight helps when holding down the ruler to make long cuts
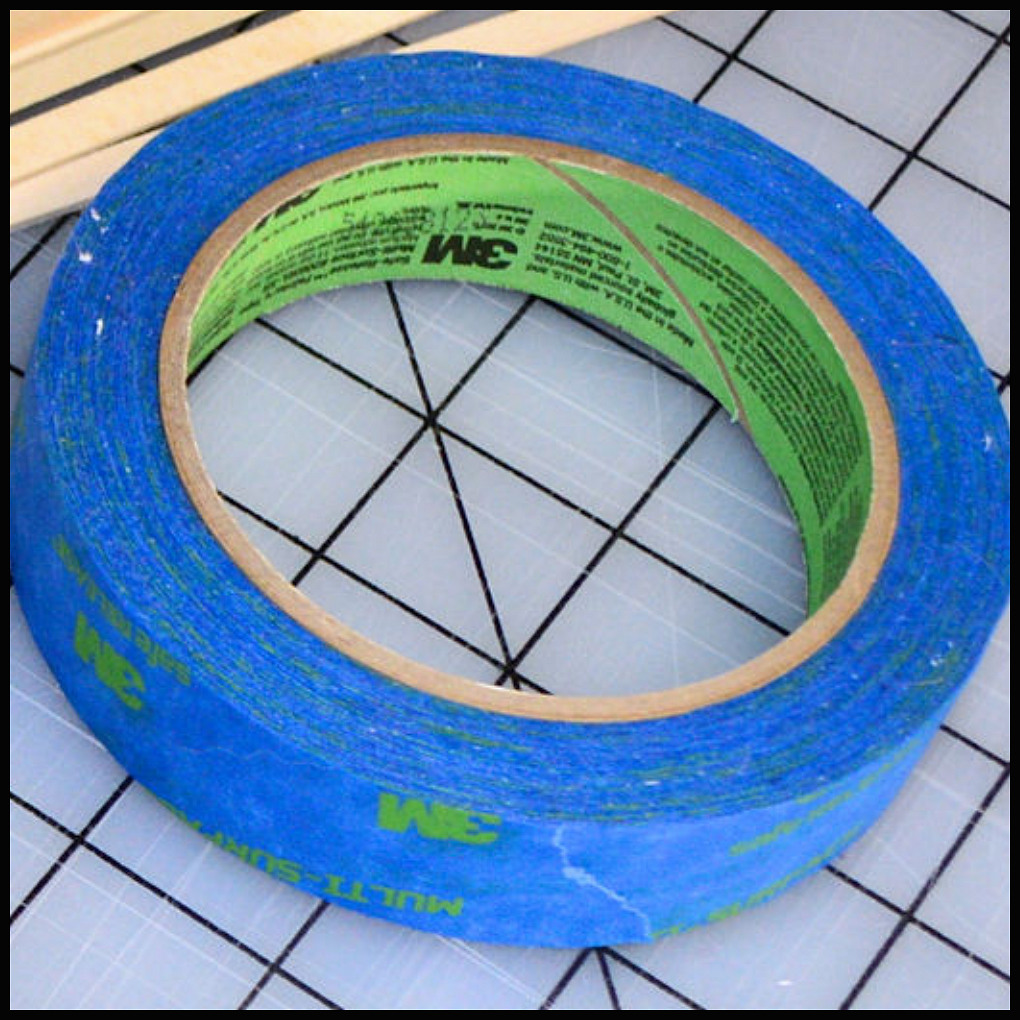
Masking Tape
Only use Painter’s Masking tape that’s supposed to not remove wall paint when used. The beige masking tape is much stickier and will damage the surface of any type of foam board. The glossier the surface of the foam board, the easier the masking tape will come off without damaging the surface. Black board is the most fragile surface and damages easiest with masking tape.
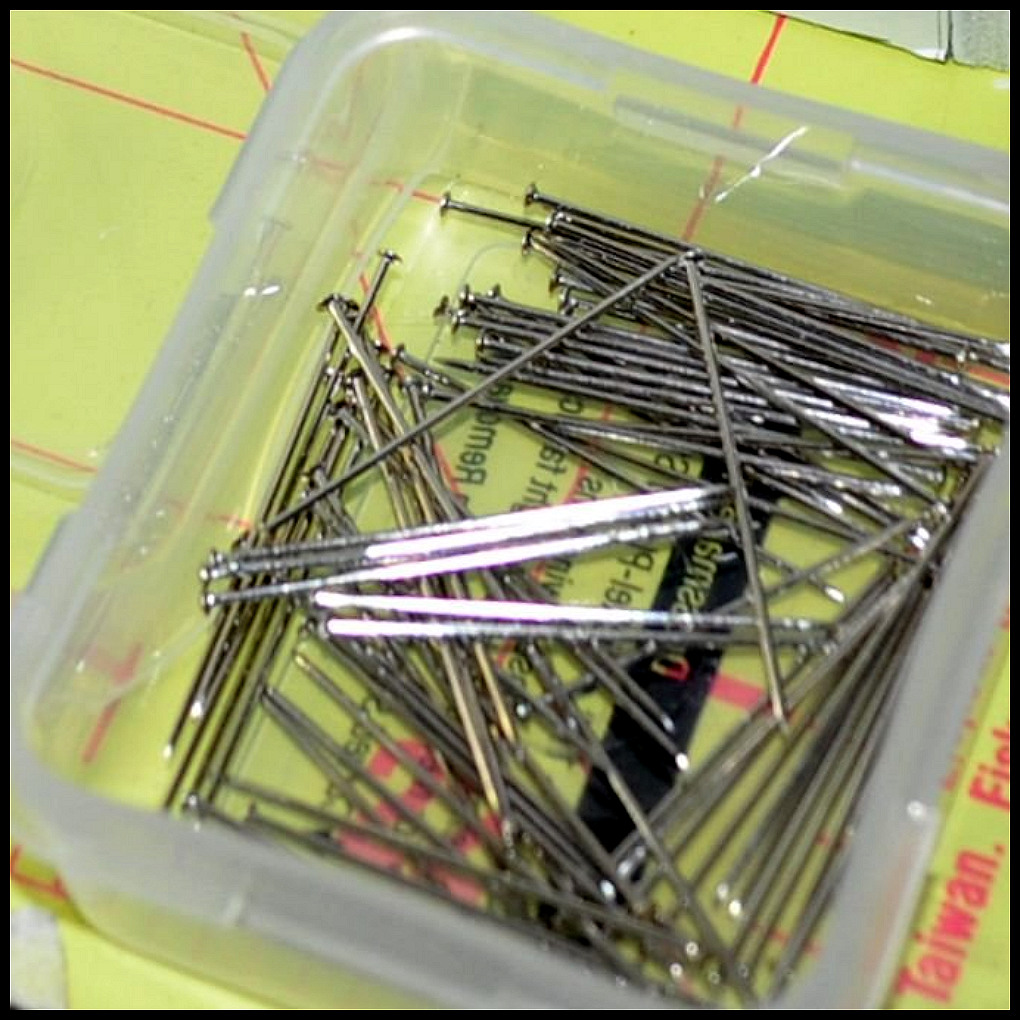
Sewing Pins
Ball headed pins work best for pinning 2 boards together to make back and side walls. I always try to keep the pins in the back, out of sight of the room that’s being photographed. If I have to pin a wall that’s in view, I use a Flat head pin that’s less visible. The Ball headed pins are usually longer and thicker and fabulous temporary nails for walls. The Flat headed pins are great as nails for smaller projects such as kitchen counters, or staircases. Glue + pins makes a more permanent item.
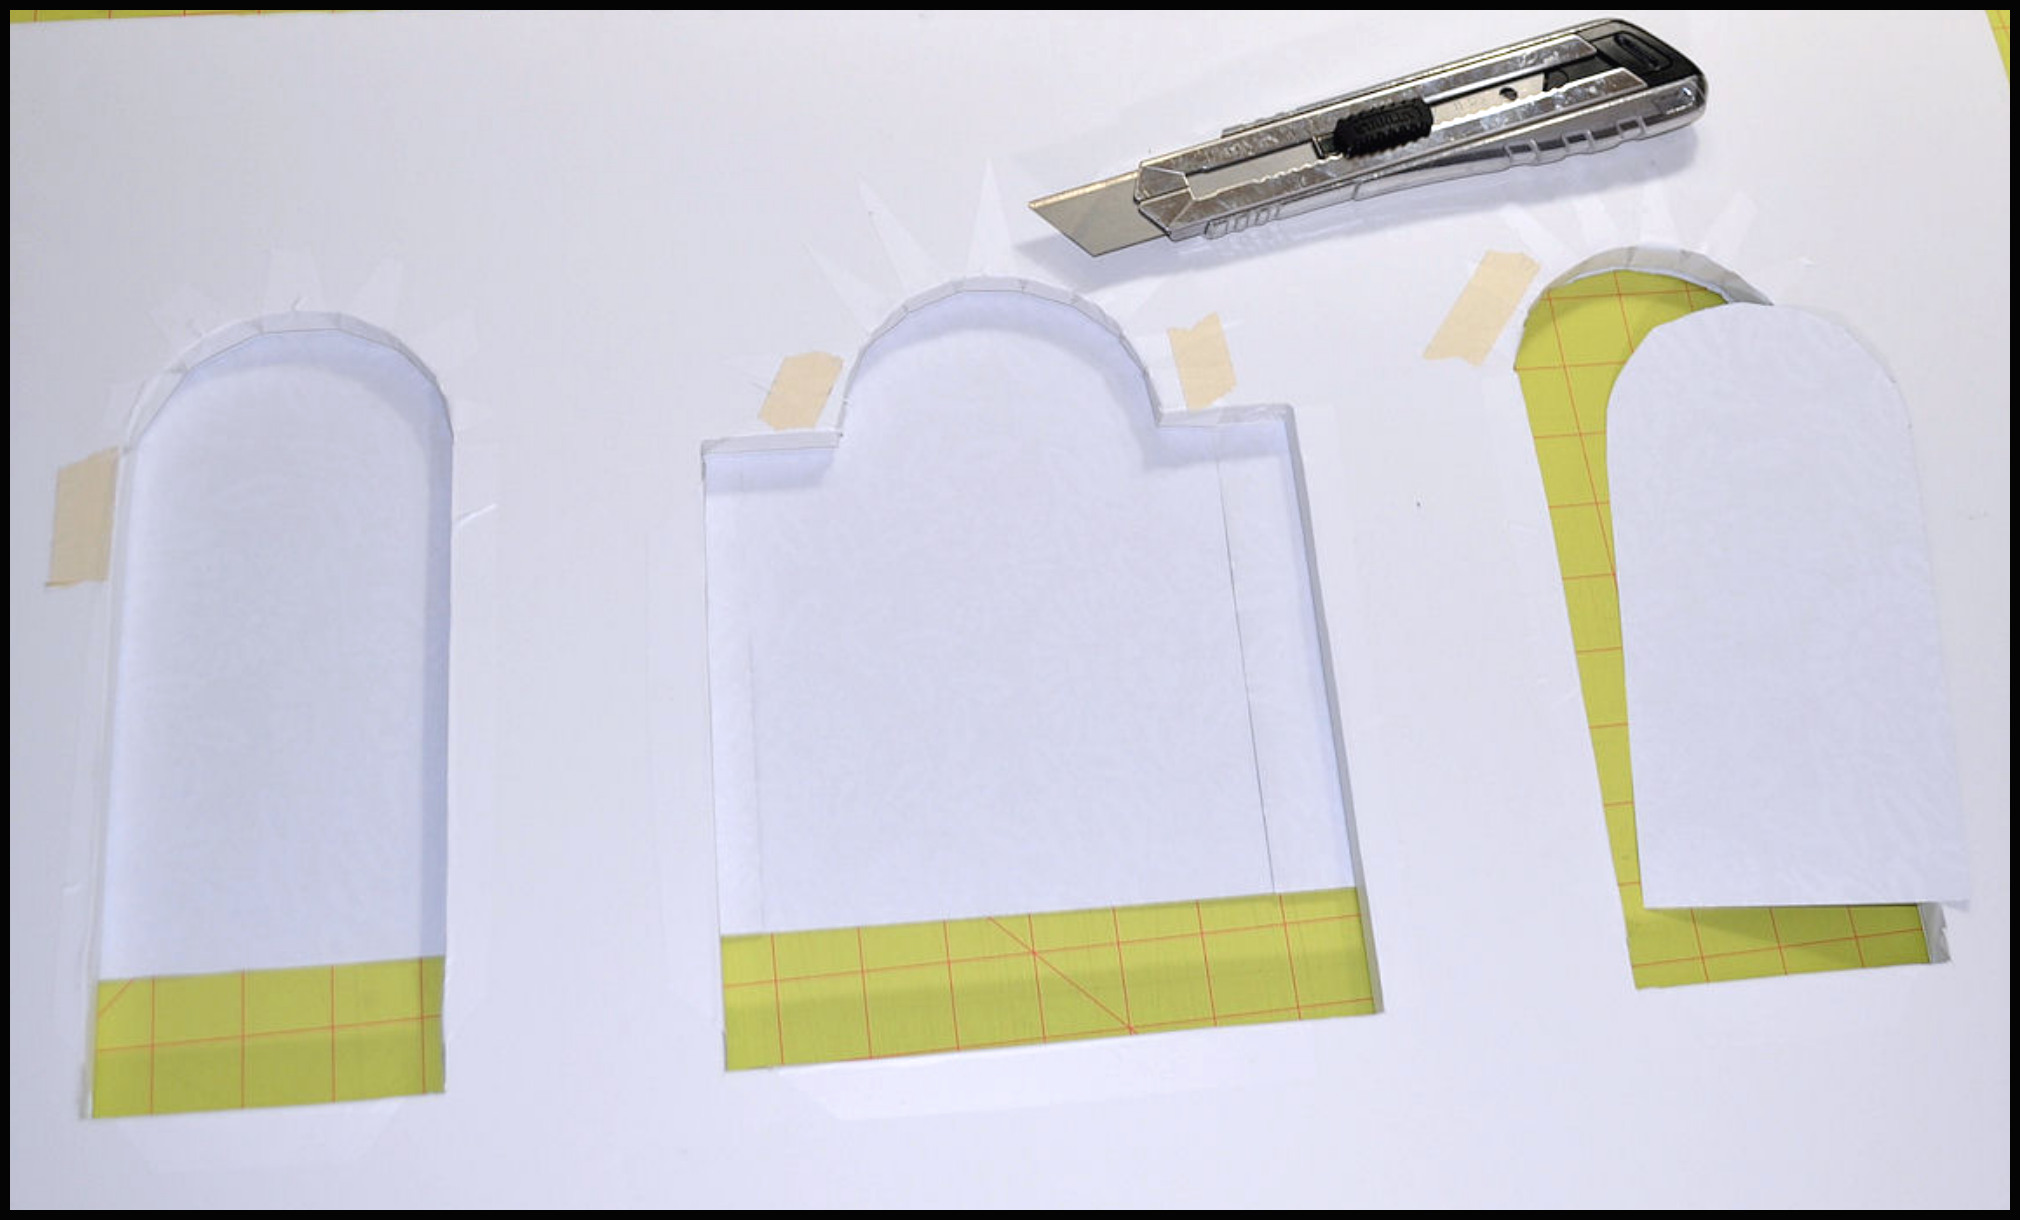
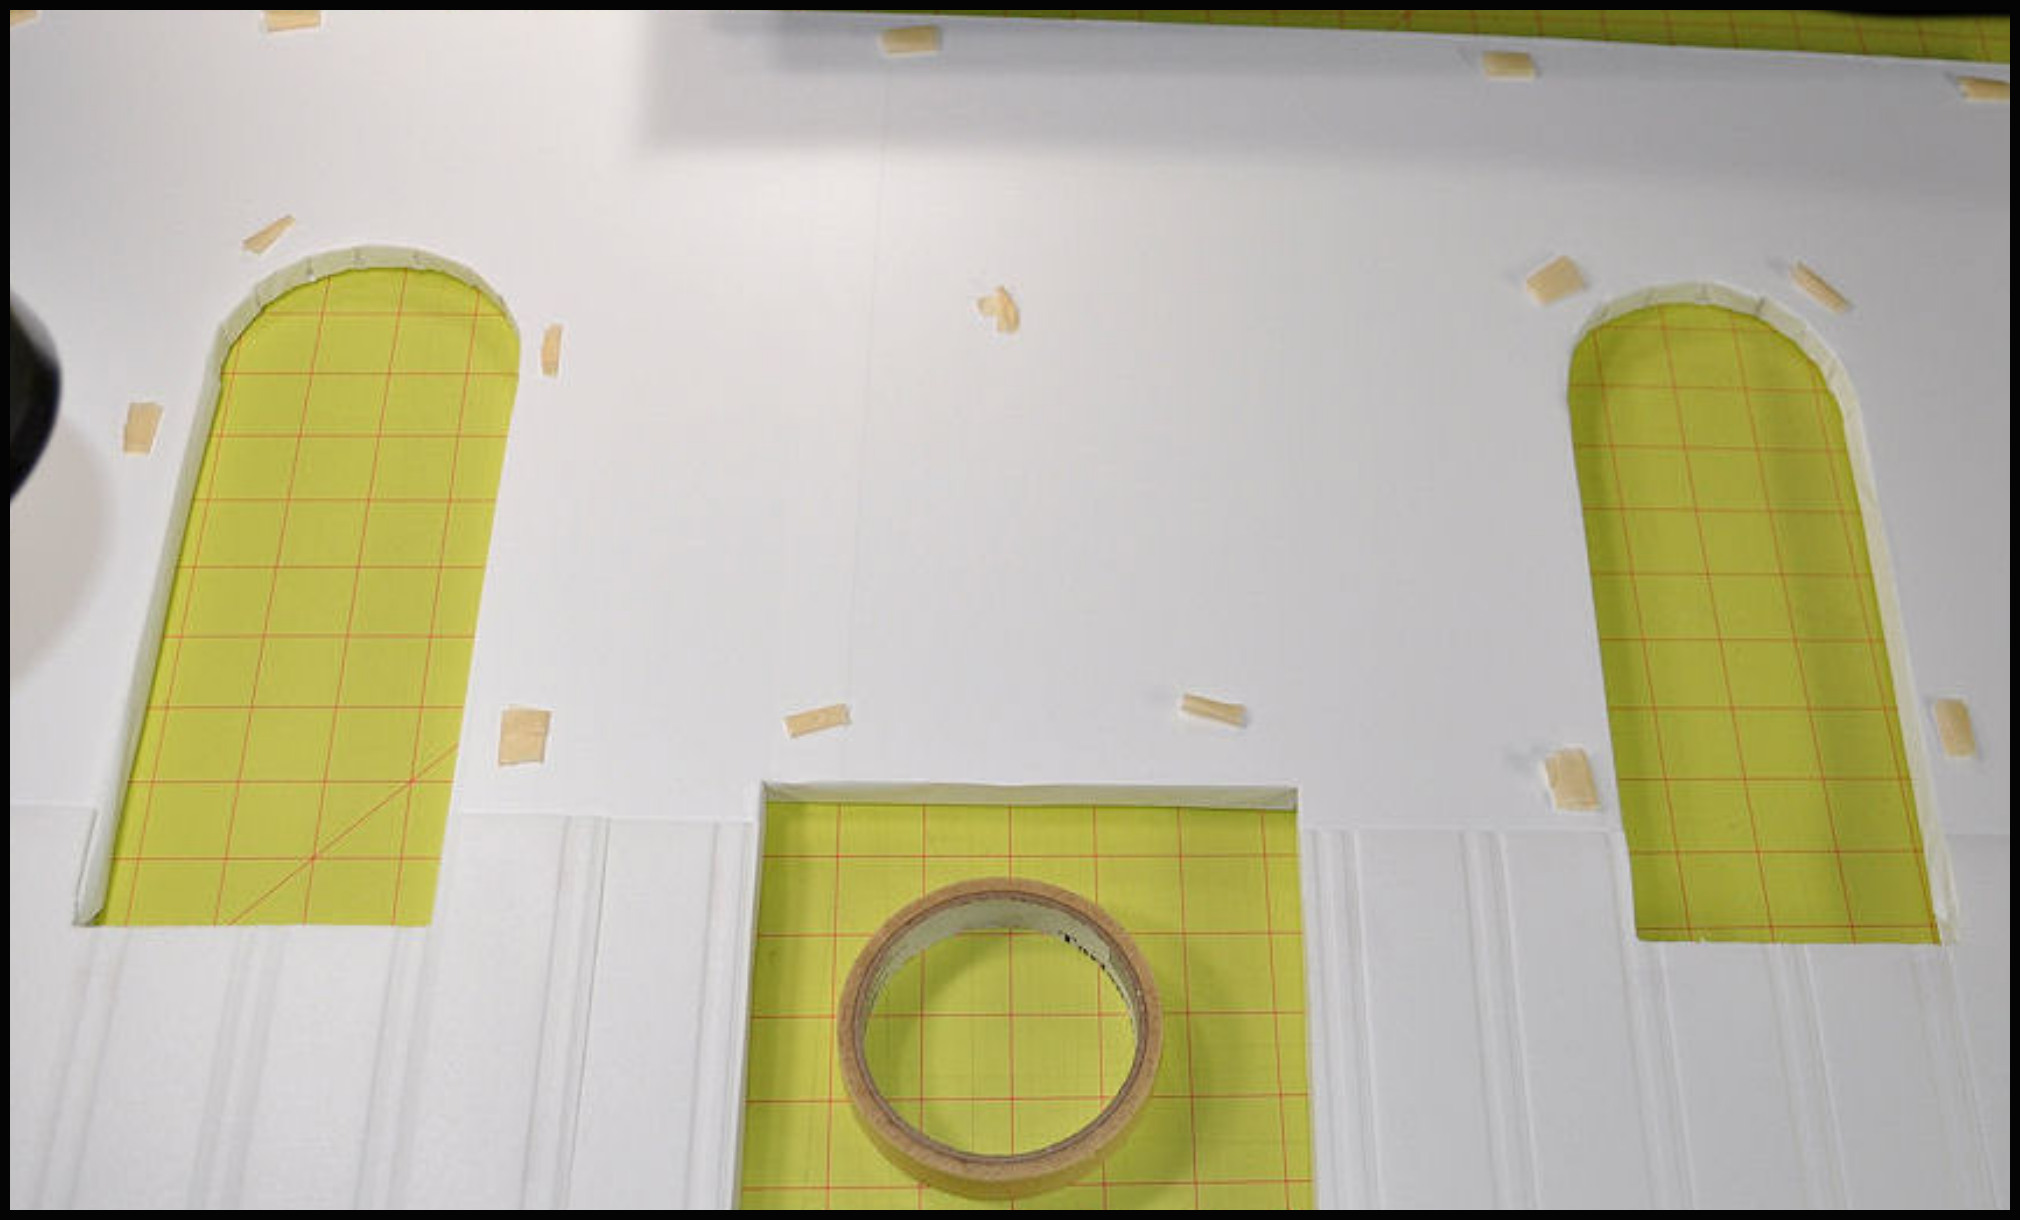
Below are several photos of pre-made windows for 1:6 Playscale dollhouses, or doors for 1:10 dollhouses that are big enough to work as windows. I place them atop the board, use a pencil to draw the outline of the inside of the window well that will be pushed into the hold you cut into the board. Then use the metal ruler to make a cleaner, straight drawing of the lines, then press the metal ruler down on the board and cut.
To cover the fraying board effect inside the window well, I use white contact paper. Balsa wood flat strips can also be used to make window ledges, but I don’t usually mix them with pre-made windows.
For my own ‘home-made’ windows, I’ll use the Balsa wood strips (painted white, or wrapped in contact paper, or natural) and use Plexiglass pre-cut squares/rectangles, etc. Or no window at all.
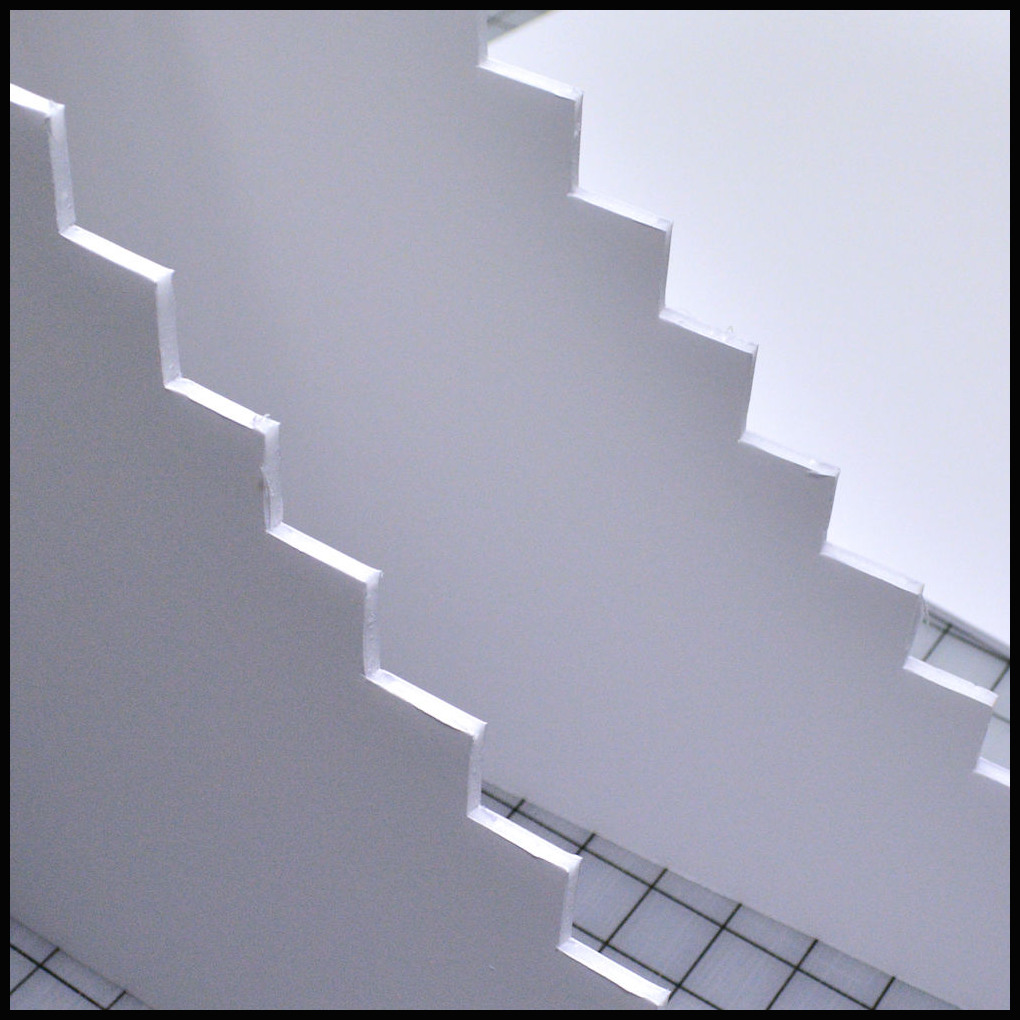
CUTTING DOOS & WINDOWS IN 1/2″ BOARD

CONTACT PAPER
Where do I get all the different colors and styles of sticky-back contact paper? Mostly the internet. I used to purchase it from Home Depot near the kitchen appliance isle, but they usually carry the same 6 or 7 rolls that I have plenty of. They carry the stainless steel one that I used for all my 1:6 appliances, LOVE that roll. They also carry a really nice and cheap white, cream and black roll that are extremely useful.
But for the many wood grain rolls, or various tiles or other patterns, I turn to eBay or Amazon and just search for ‘Contact Paper’ or ‘Self-Adhesive Wallpaper’ and I find a plethora of choices. Since I’m not really covering an entire human sized wall, I only need 1 or 2 rolls depending on how much is on that roll. I need it to at least cover a 20″x 30″ board if that’s what I’m using it for.
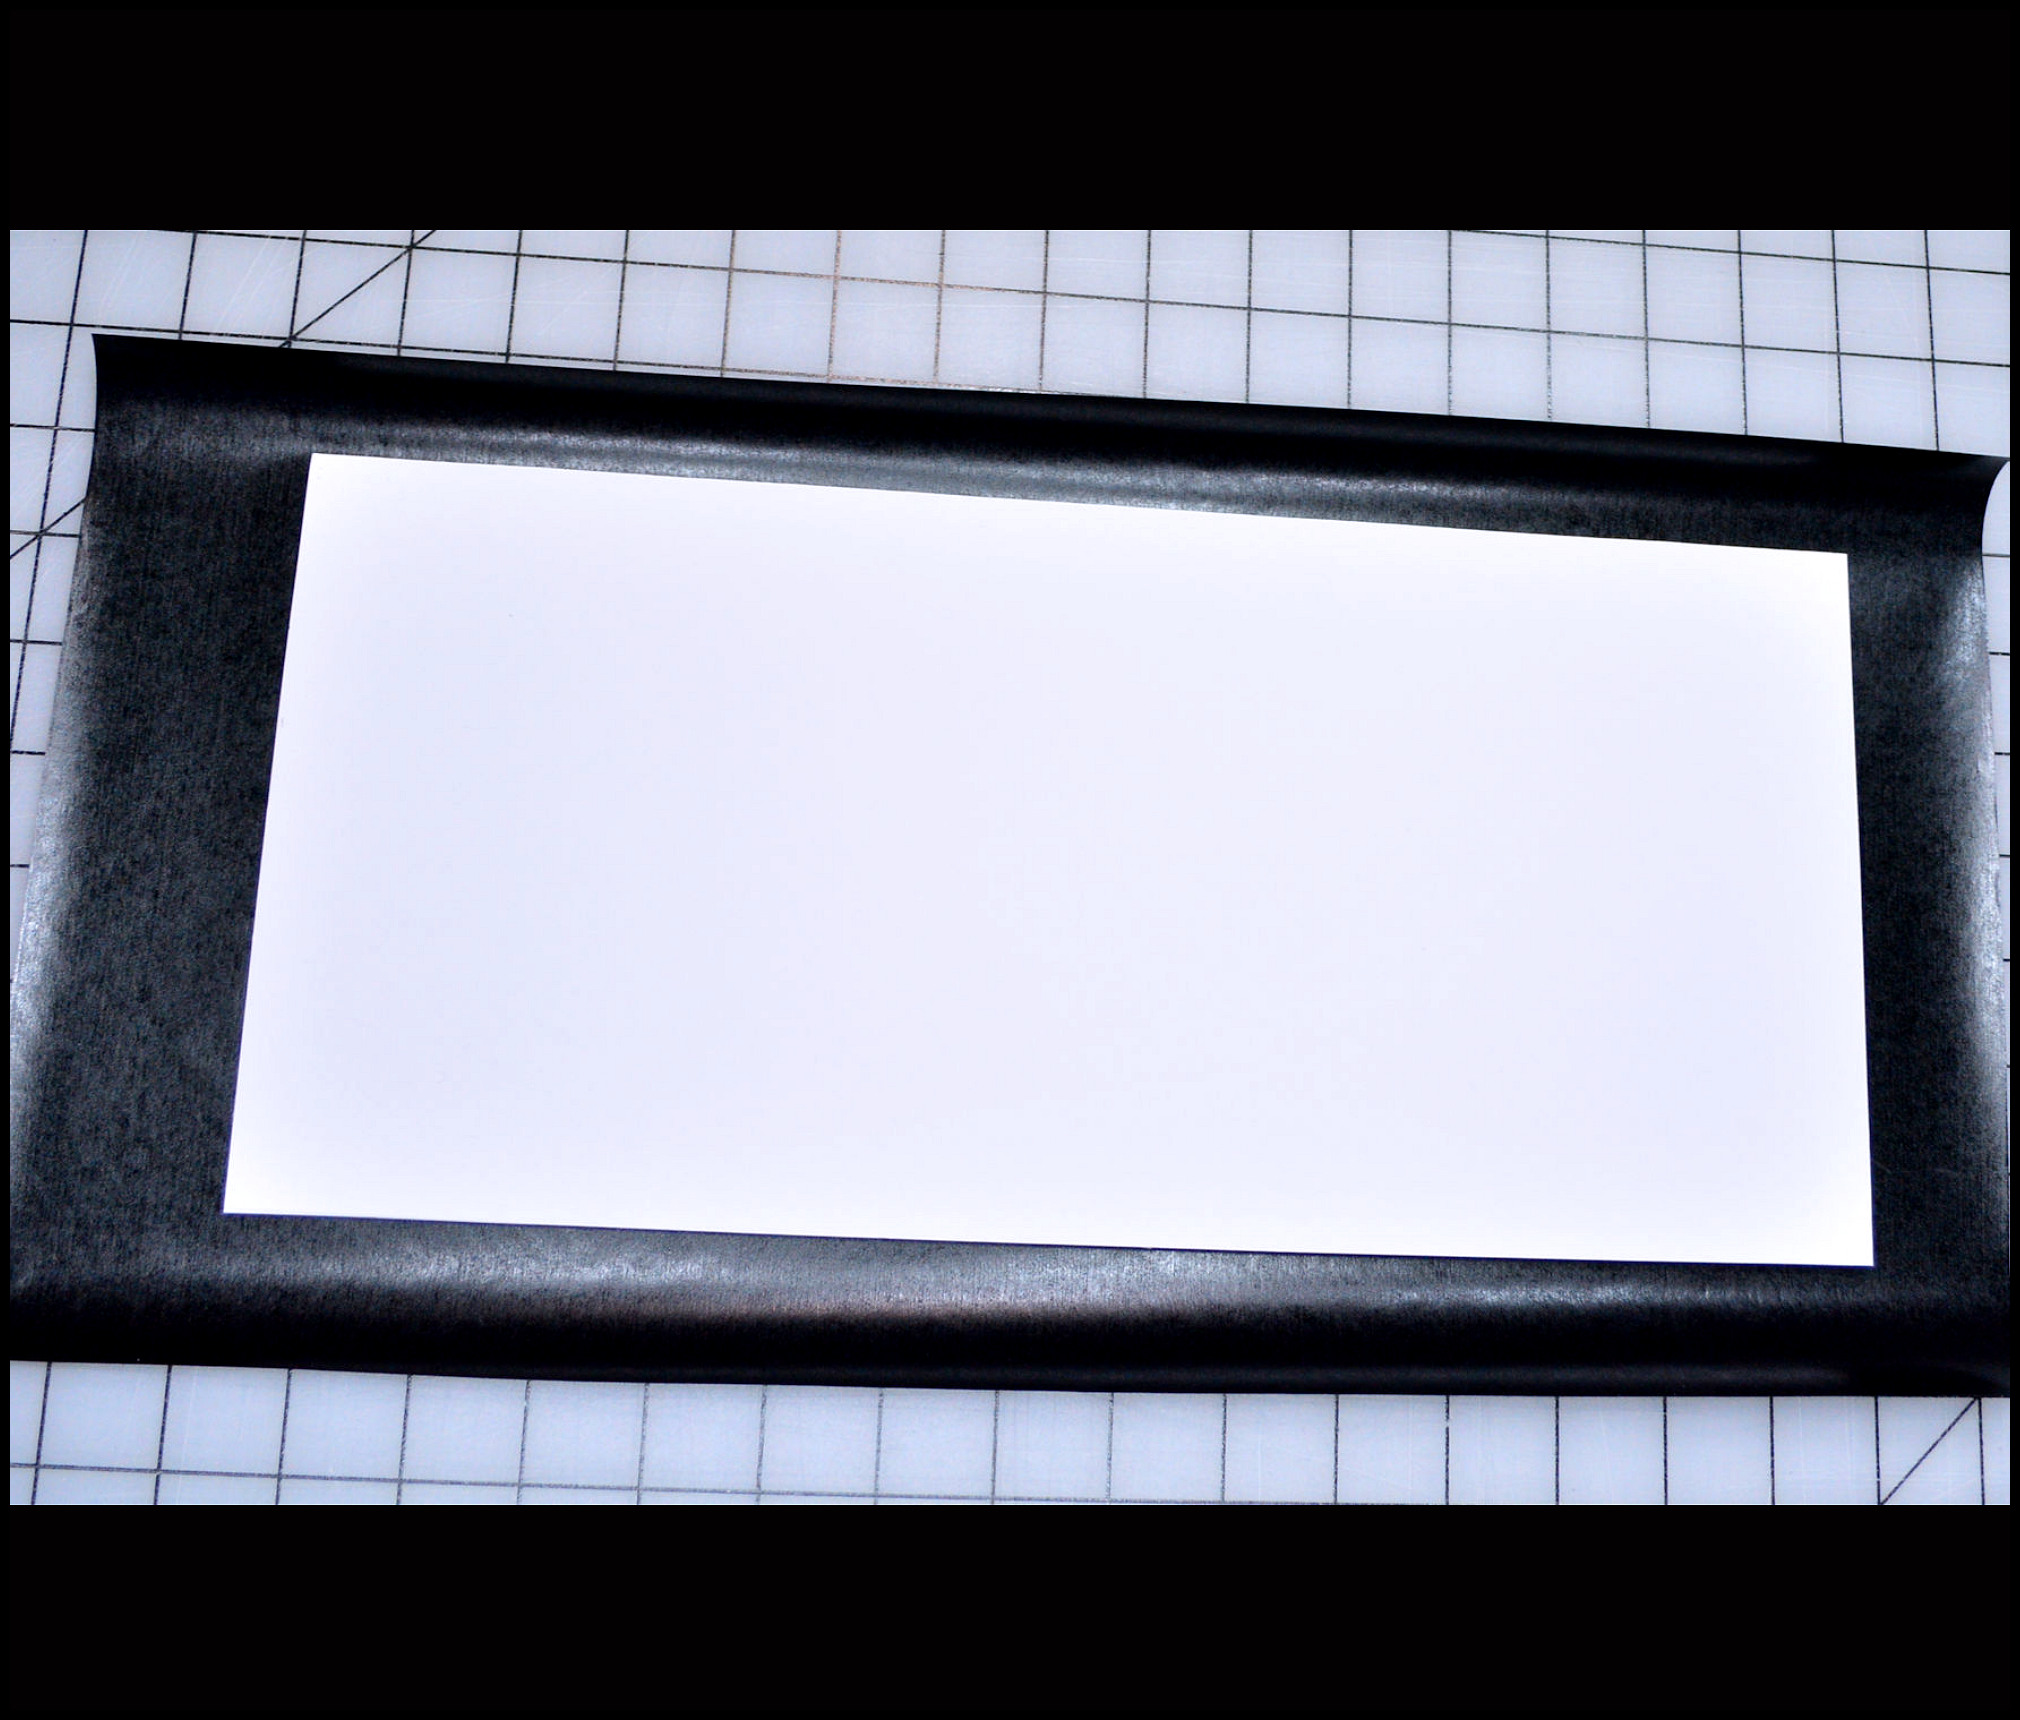
For rectangular or straight shaped pieces of foam board, I usually cut the contact paper so it’s got at least an inch boarder on all sides of the board piece. Then I remove the paper from the back of the contact paper, exposing the sticky part up. I place the foam board piece smack in the middle of it.

I then flip it over on the foam board side and use my hand to smooth over any air bubbles, making sure the contact paper is completely smooth and stuck to the board. If you notice the contact paper ‘breath’ and lift back up off the board… DO NO USE, the glue no longer works and you’ll waste hours of your time trying to make it stick, but it never will. It will make ugly varicose veins of air pockets that will make you cry, learn from pain, you’re welcome.
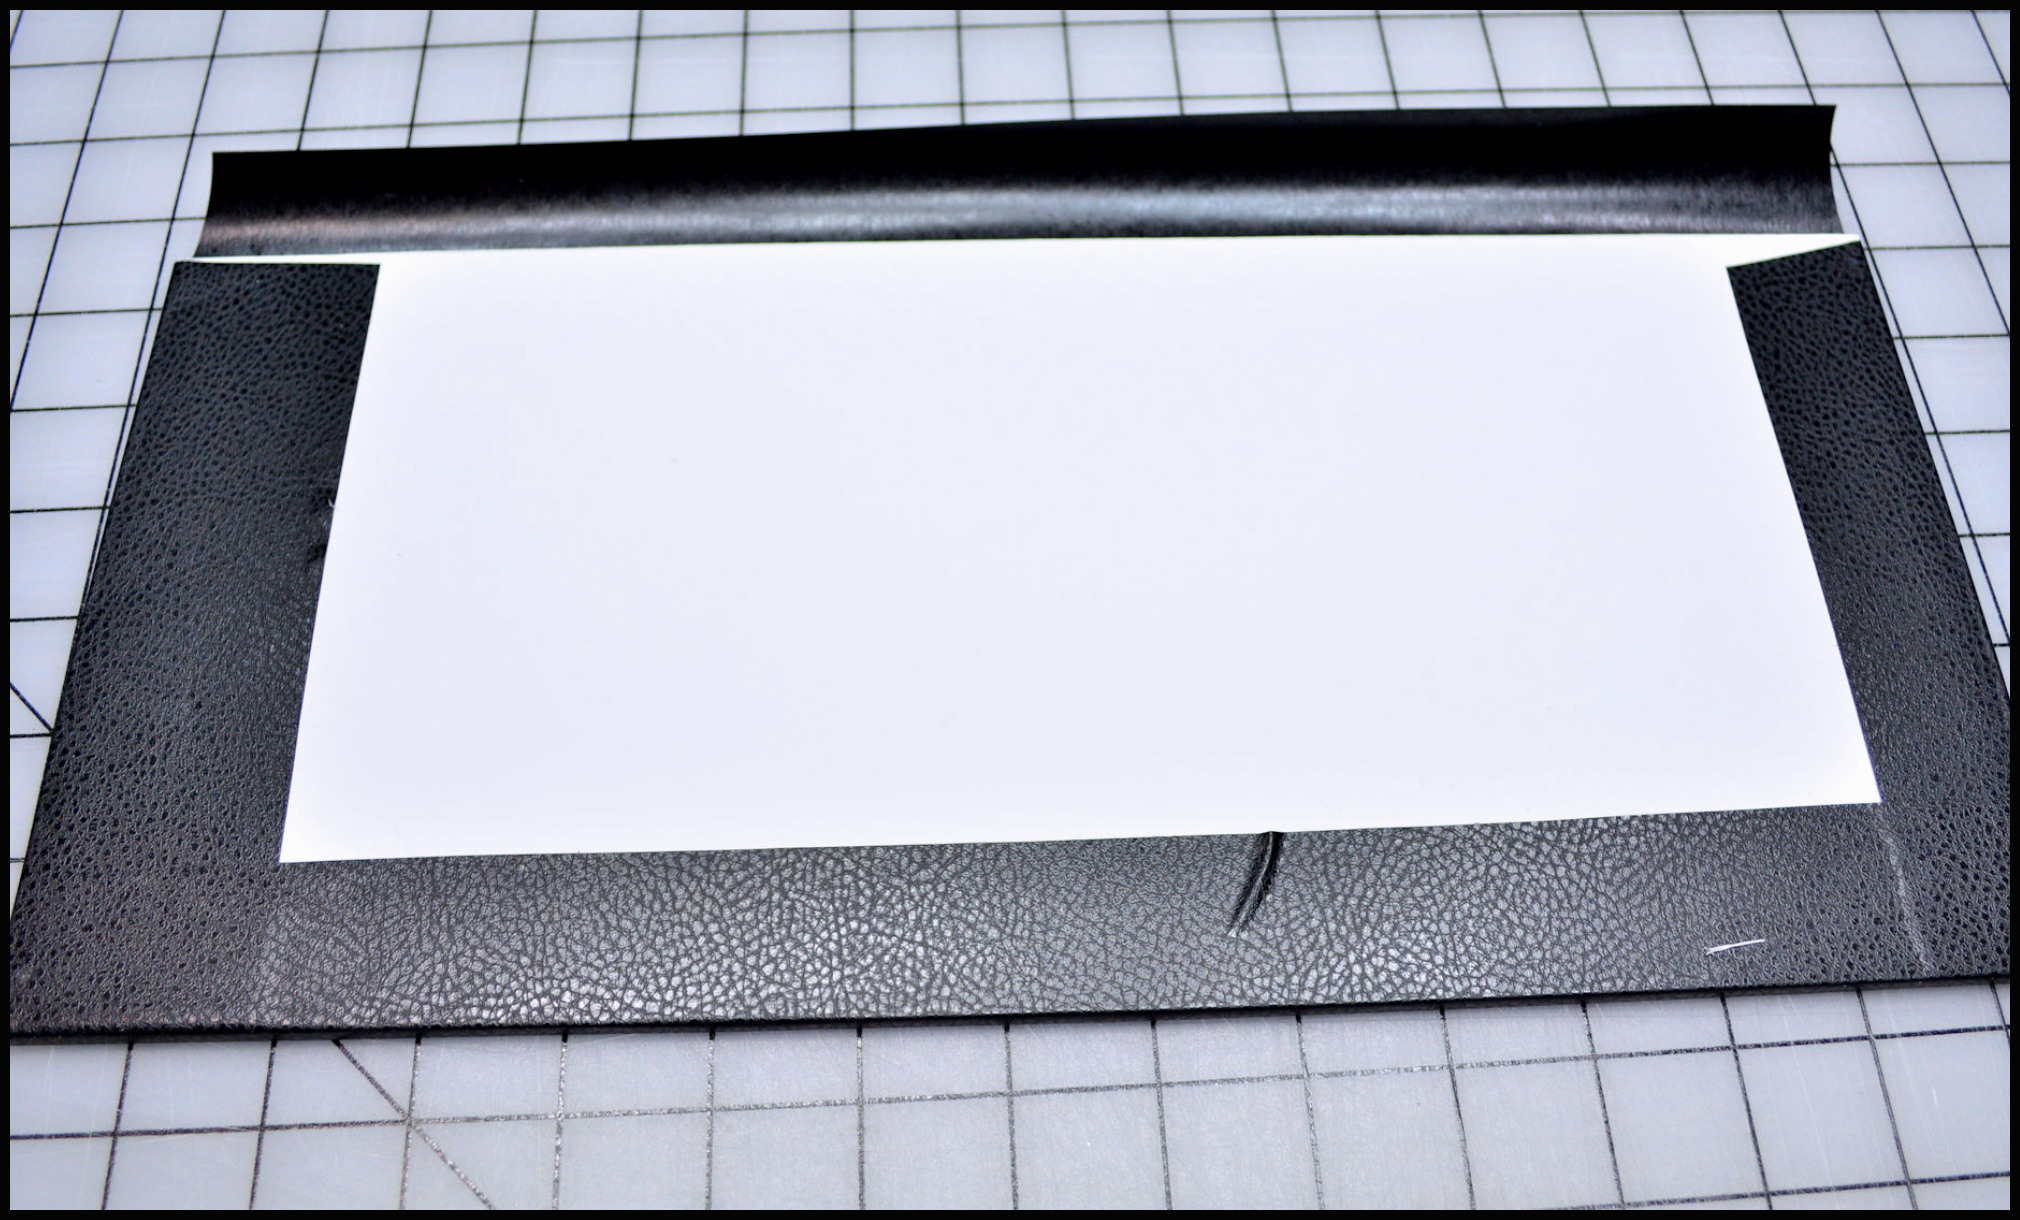
Now take each tab, pull as tight as possible and wrap it around the backside, again, making sure to smooth out all the air bubbles. If lines get made on the back, no worries, this side won’t be seen. I’ve never made a double sided object with contact paper that had to be perfect on both sides AND wrap around the edges before. I’m not sure that’s possible without exposing the line edges of the paper.
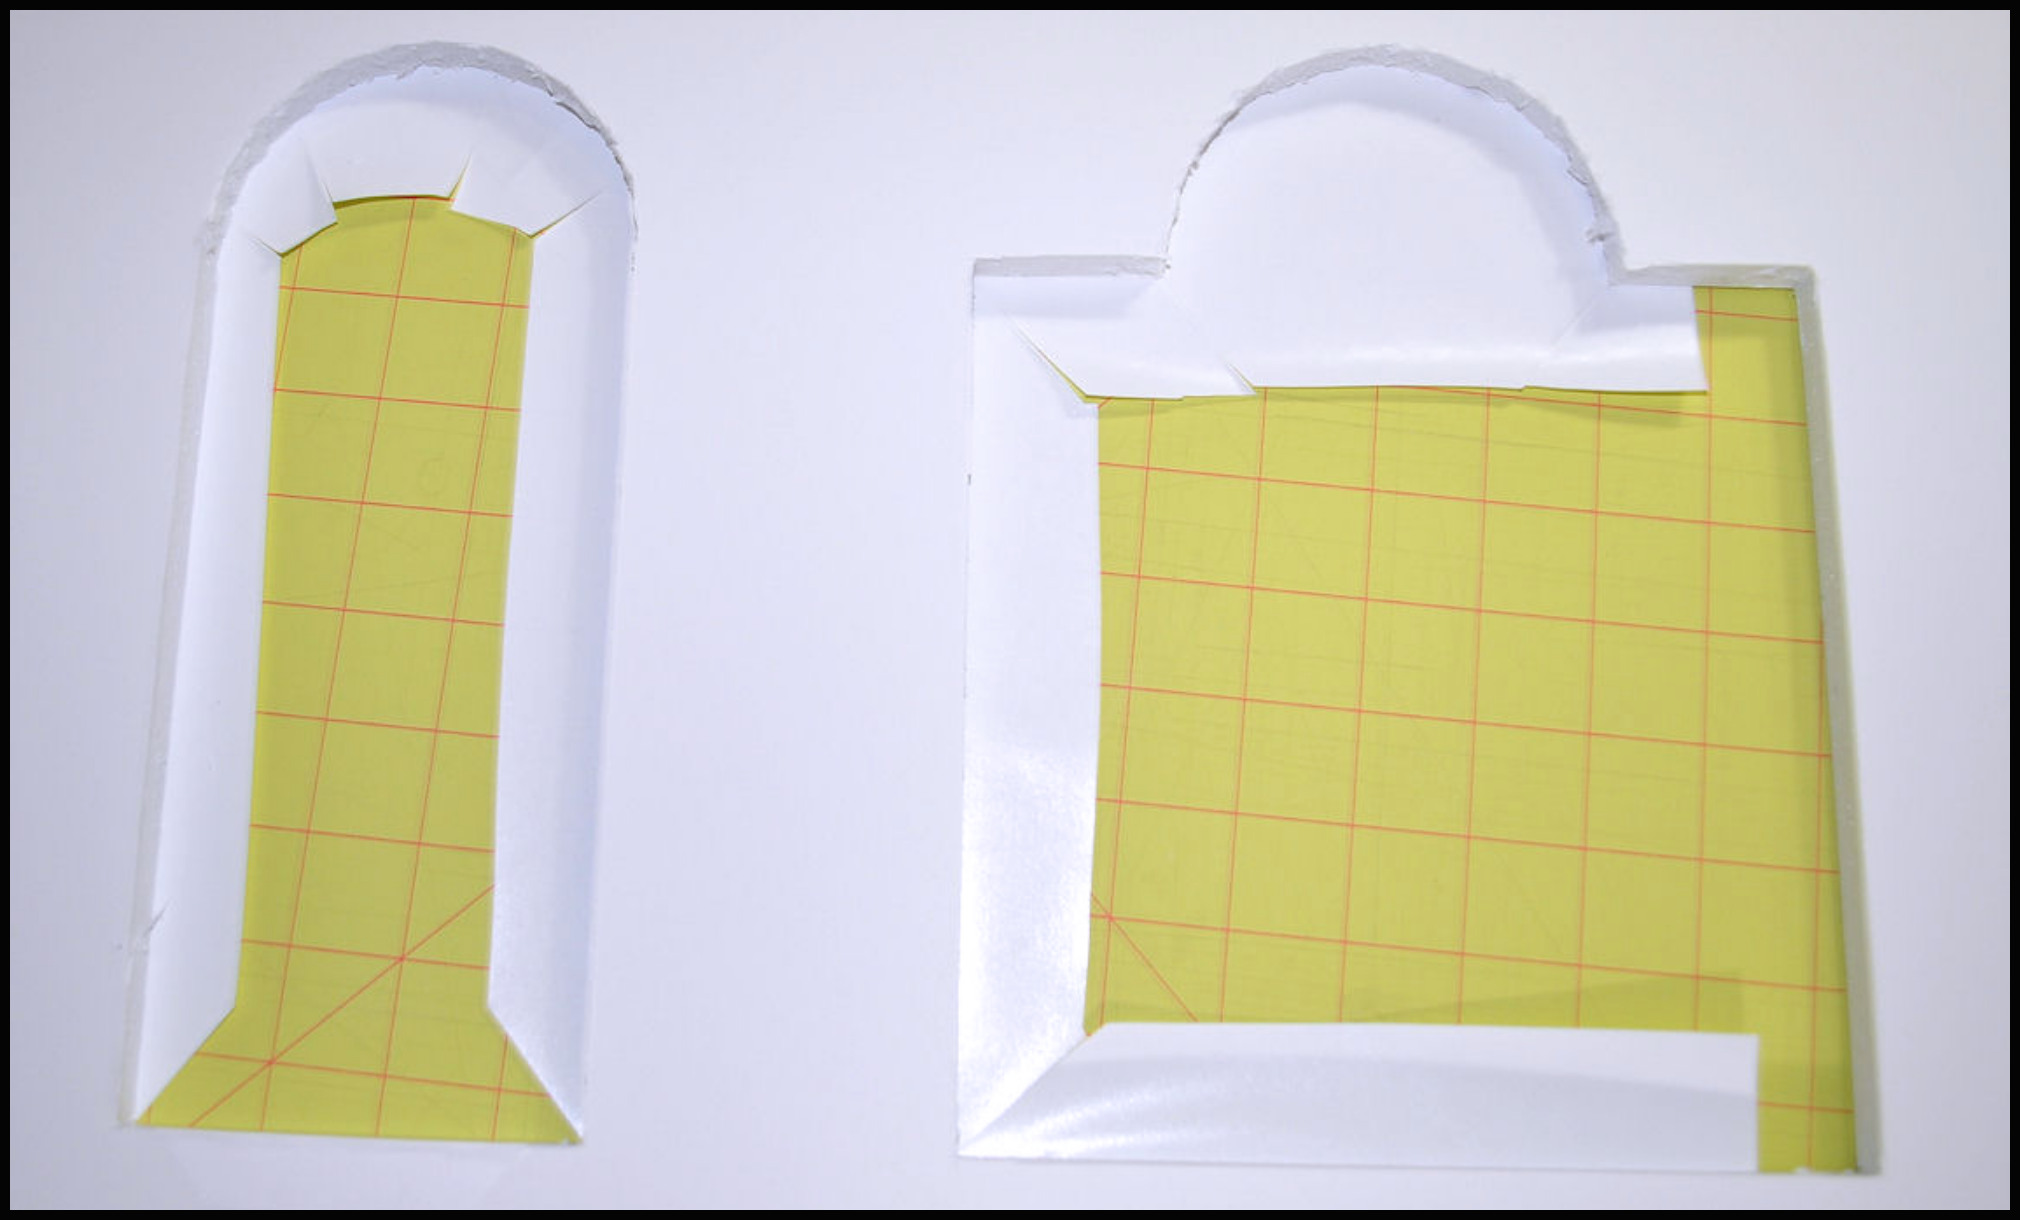
For rounded, or circular edges, cut smaller strips of the contact paper in diagonal pattern that follows the edge of the object (see top of window in photo above), then fold back each sliced cut over the foam board.
For corners inside a hole in the foam board, cut diagonal slices, then wrap them around the edges (see bottom of both windows in photo above).
DOORS
TO OPEN OR NOT TO OPEN
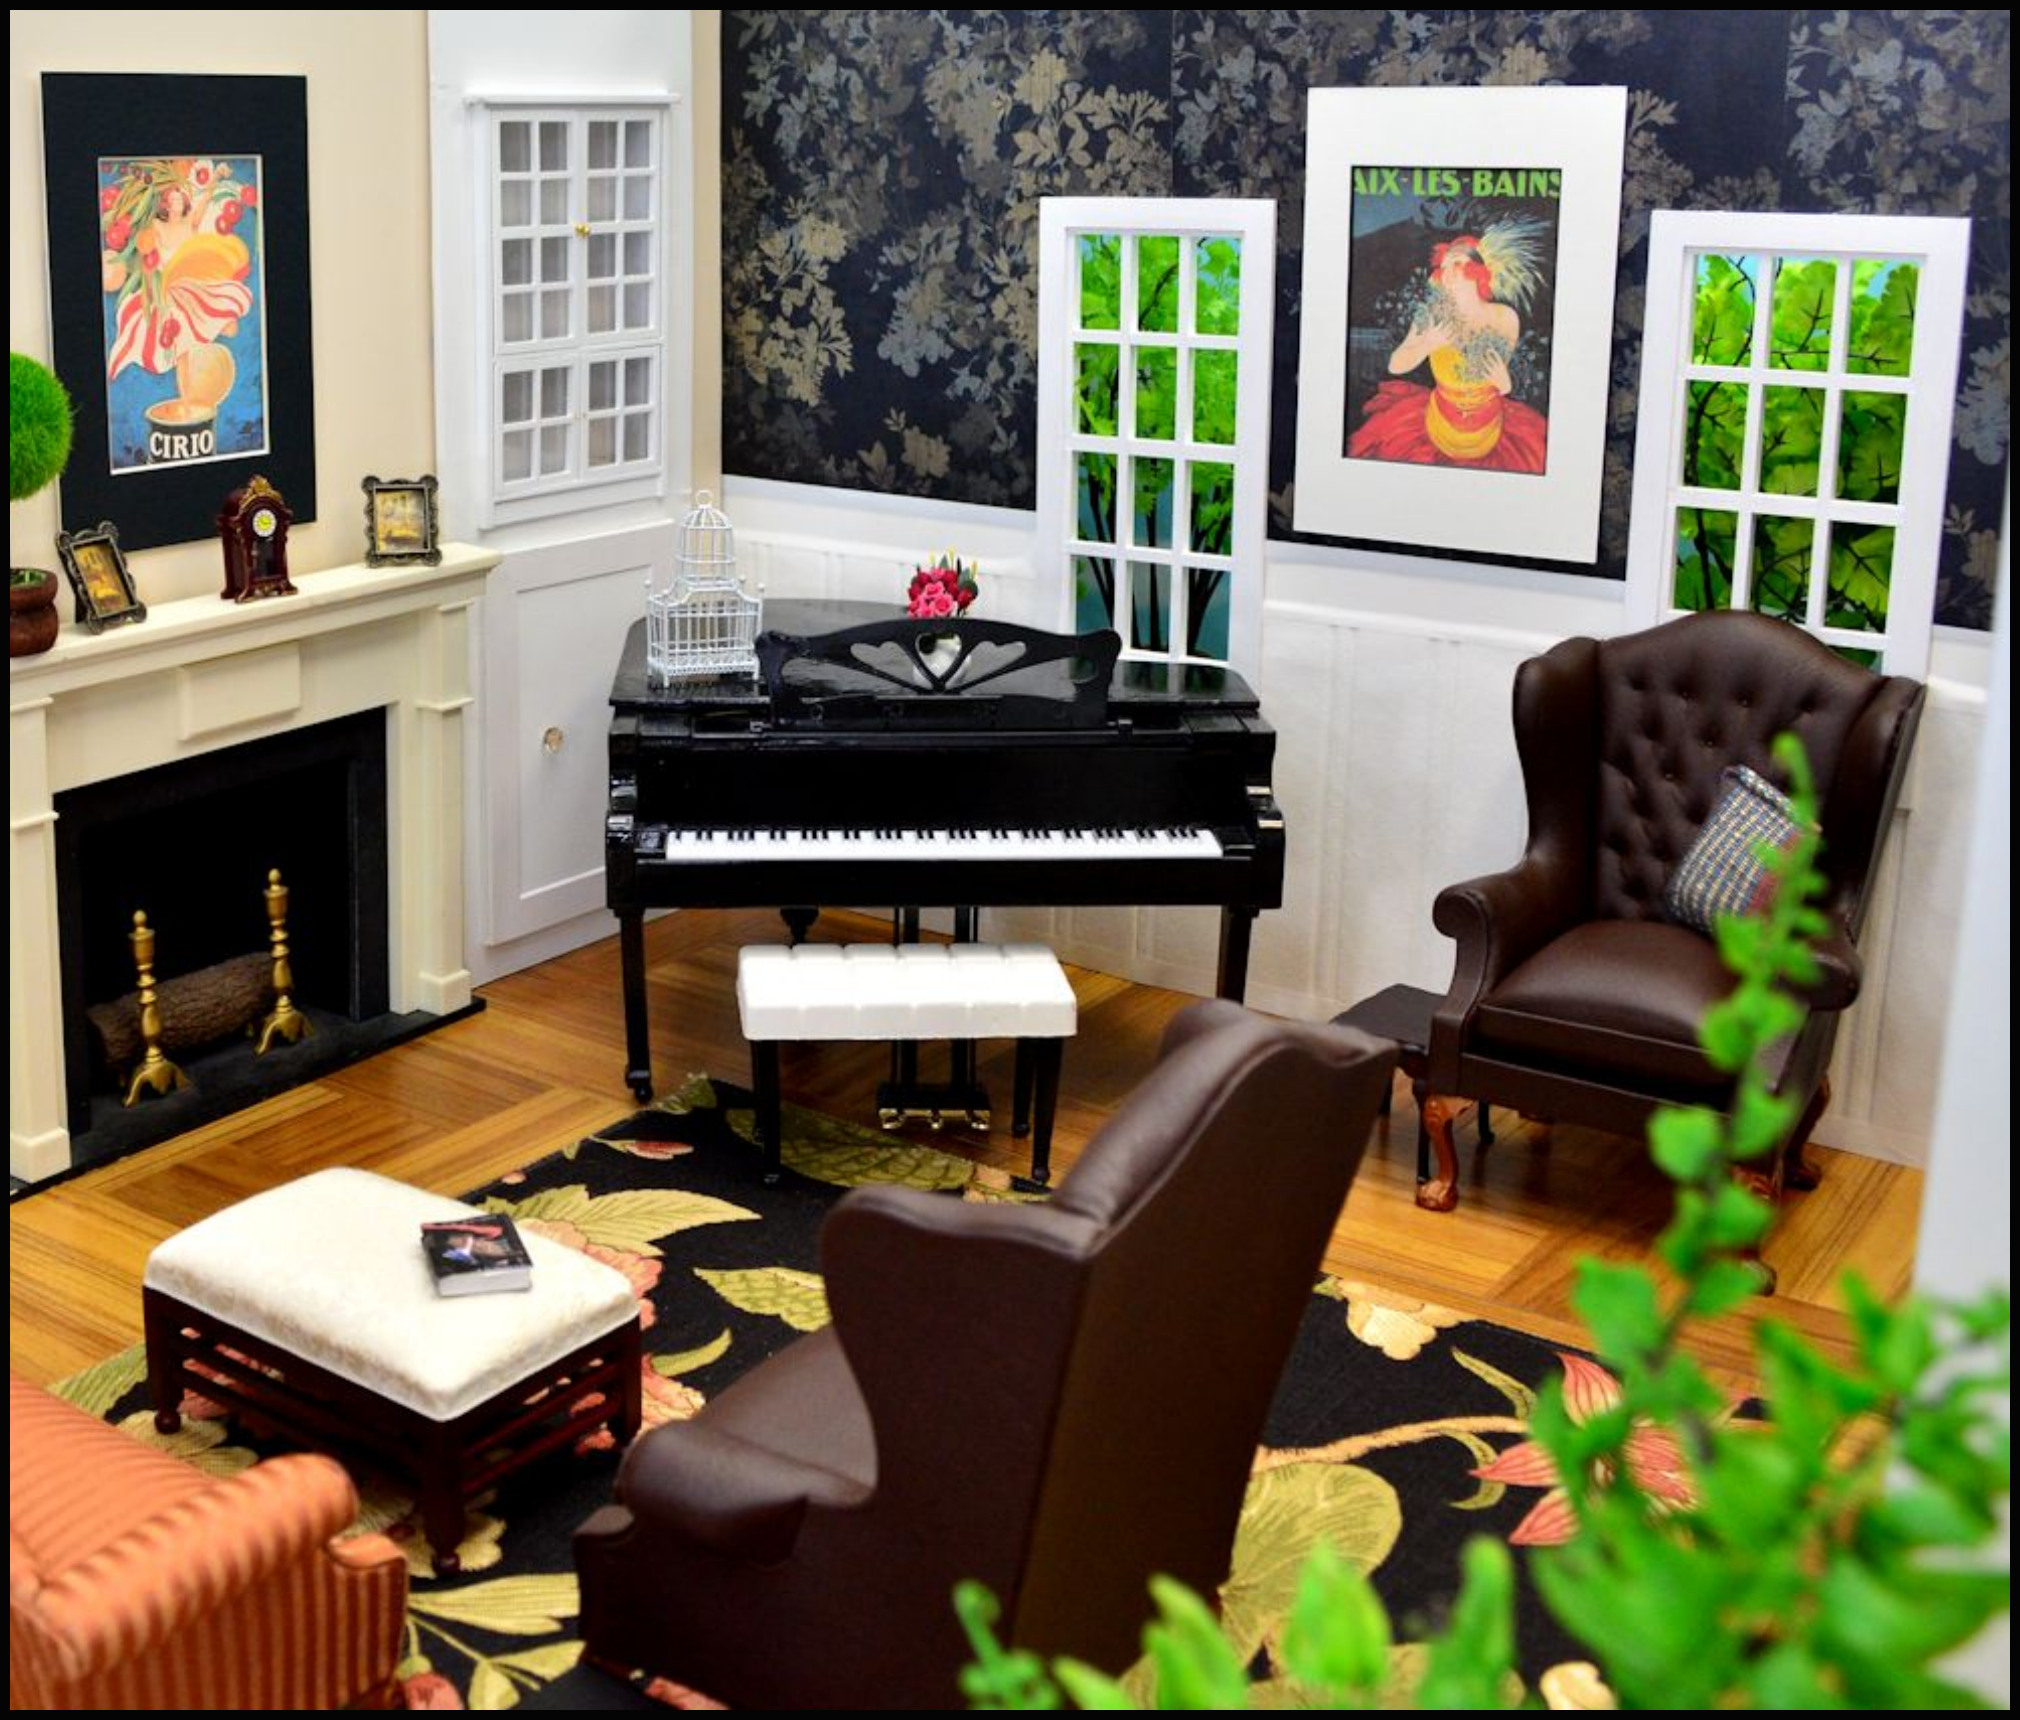
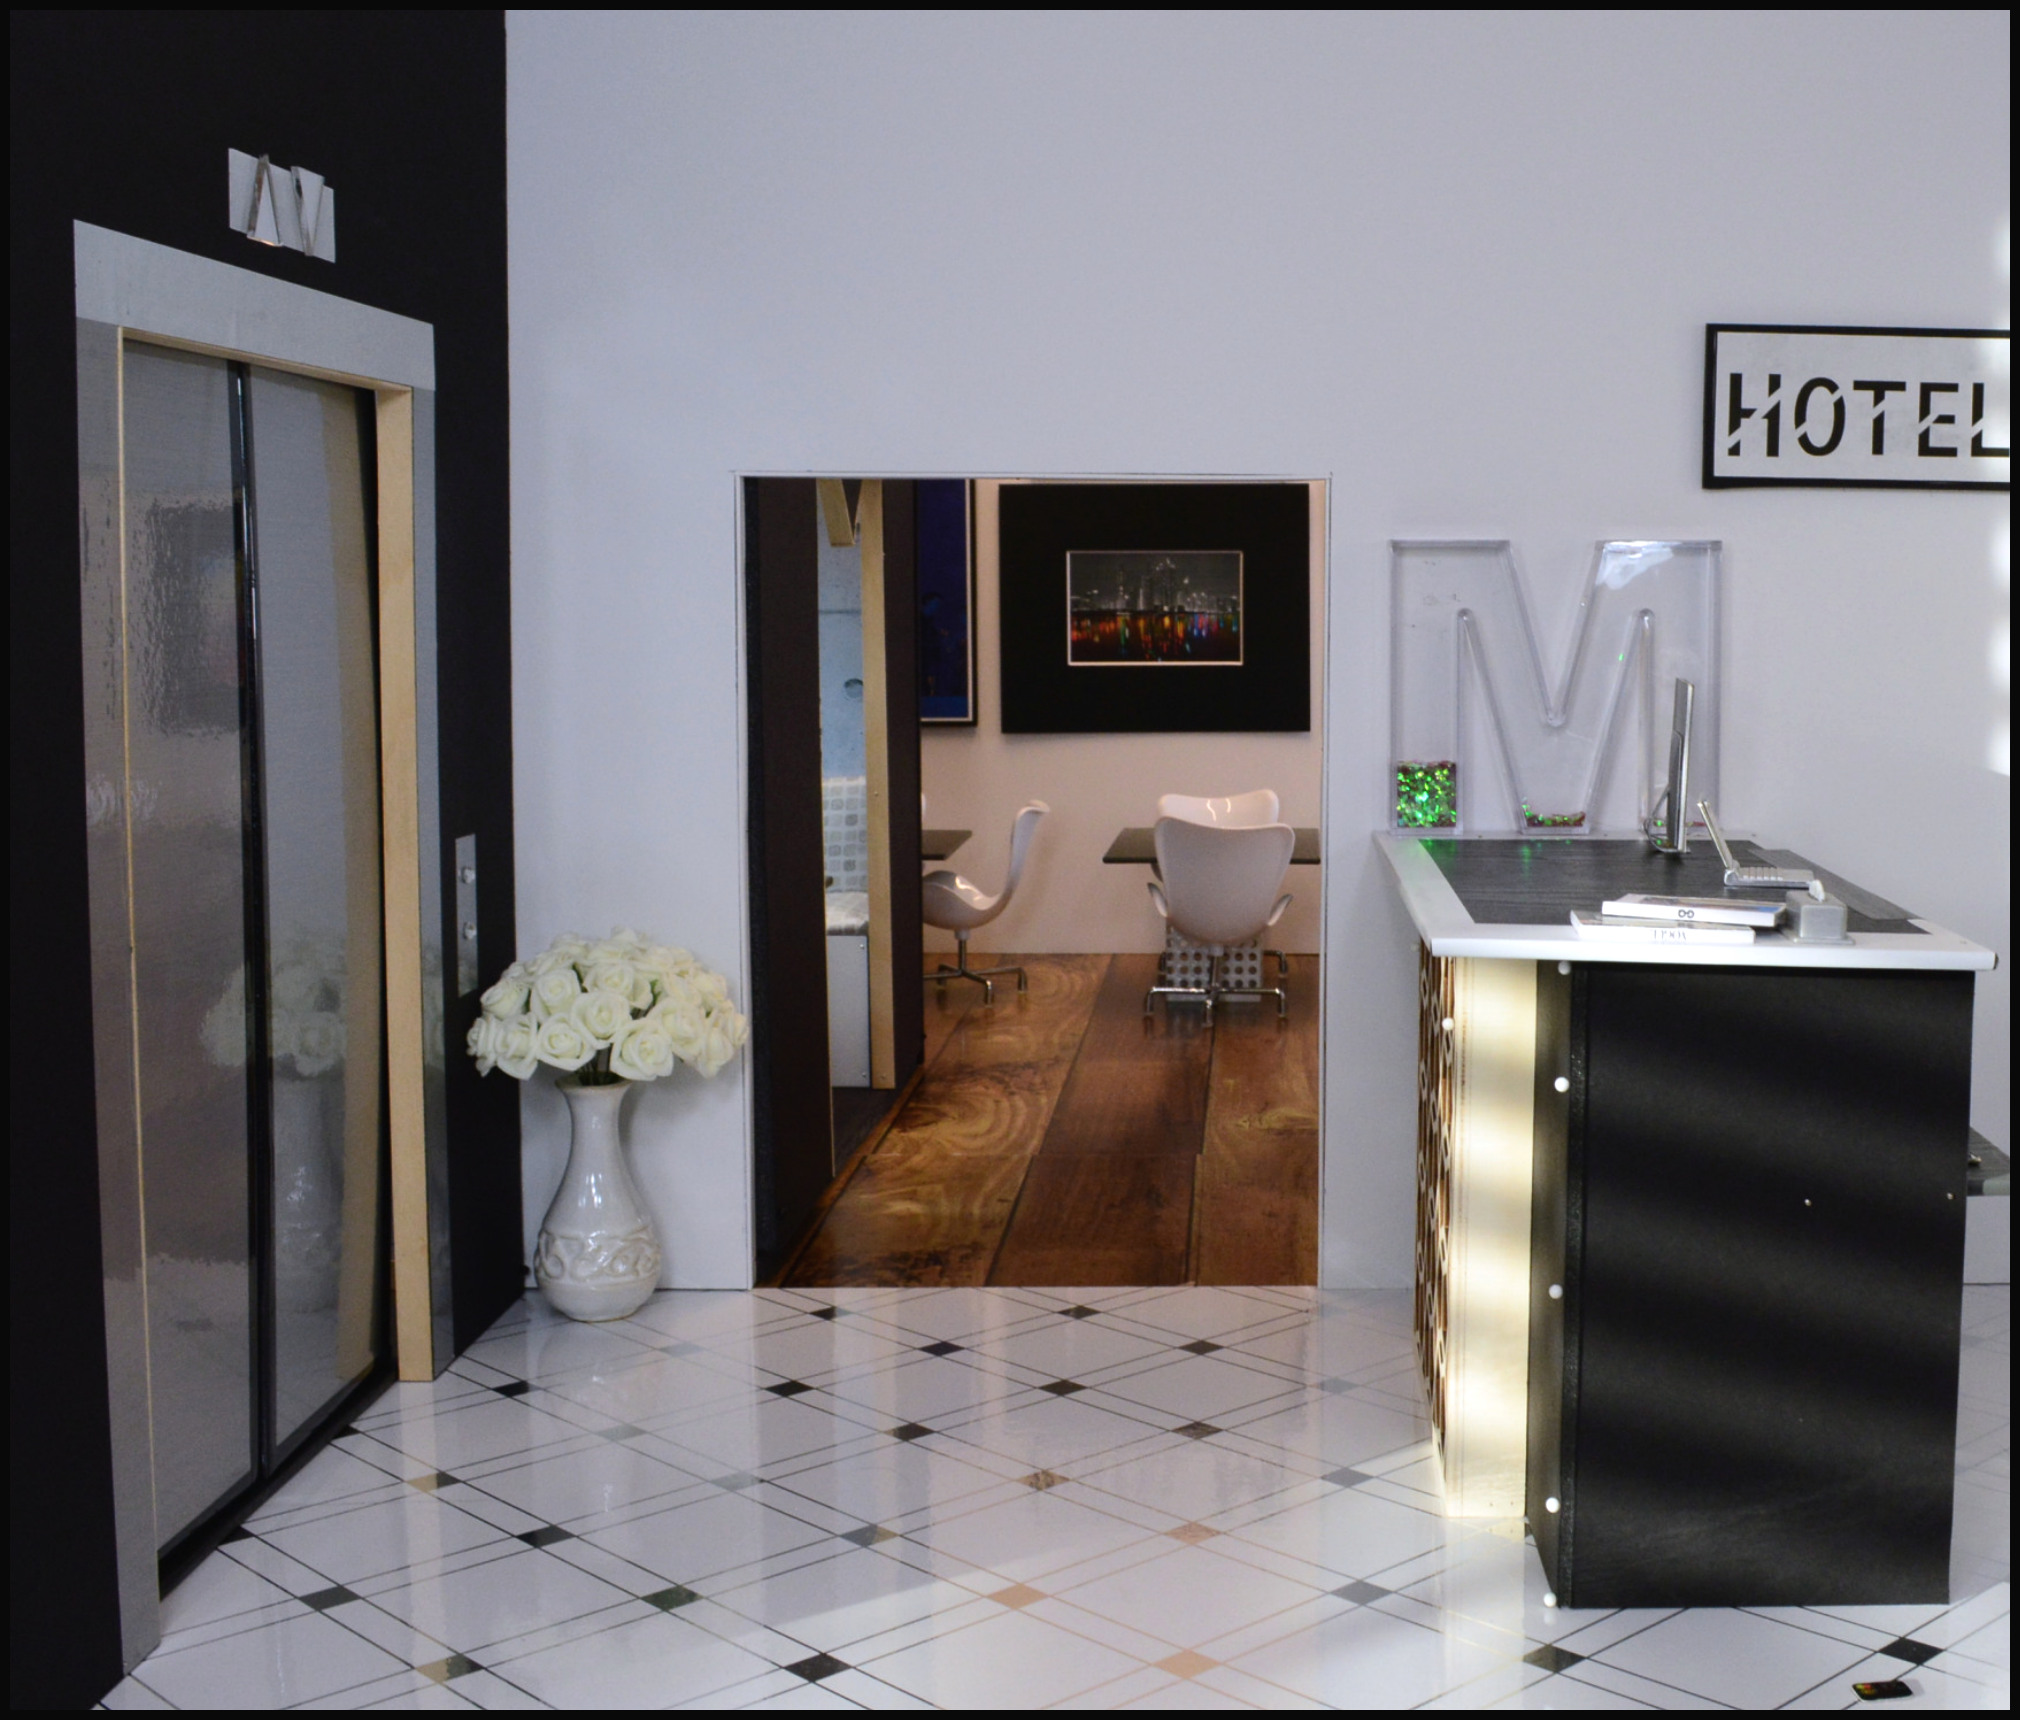
Doors and Windows have similar challenges in a 1:6 diorama: What’s behind them? If you’re going to have an open door it needs to either lead to another room, or have hall or intermediate room that gives it a 3-D feel that there’s more space past the door for realism.
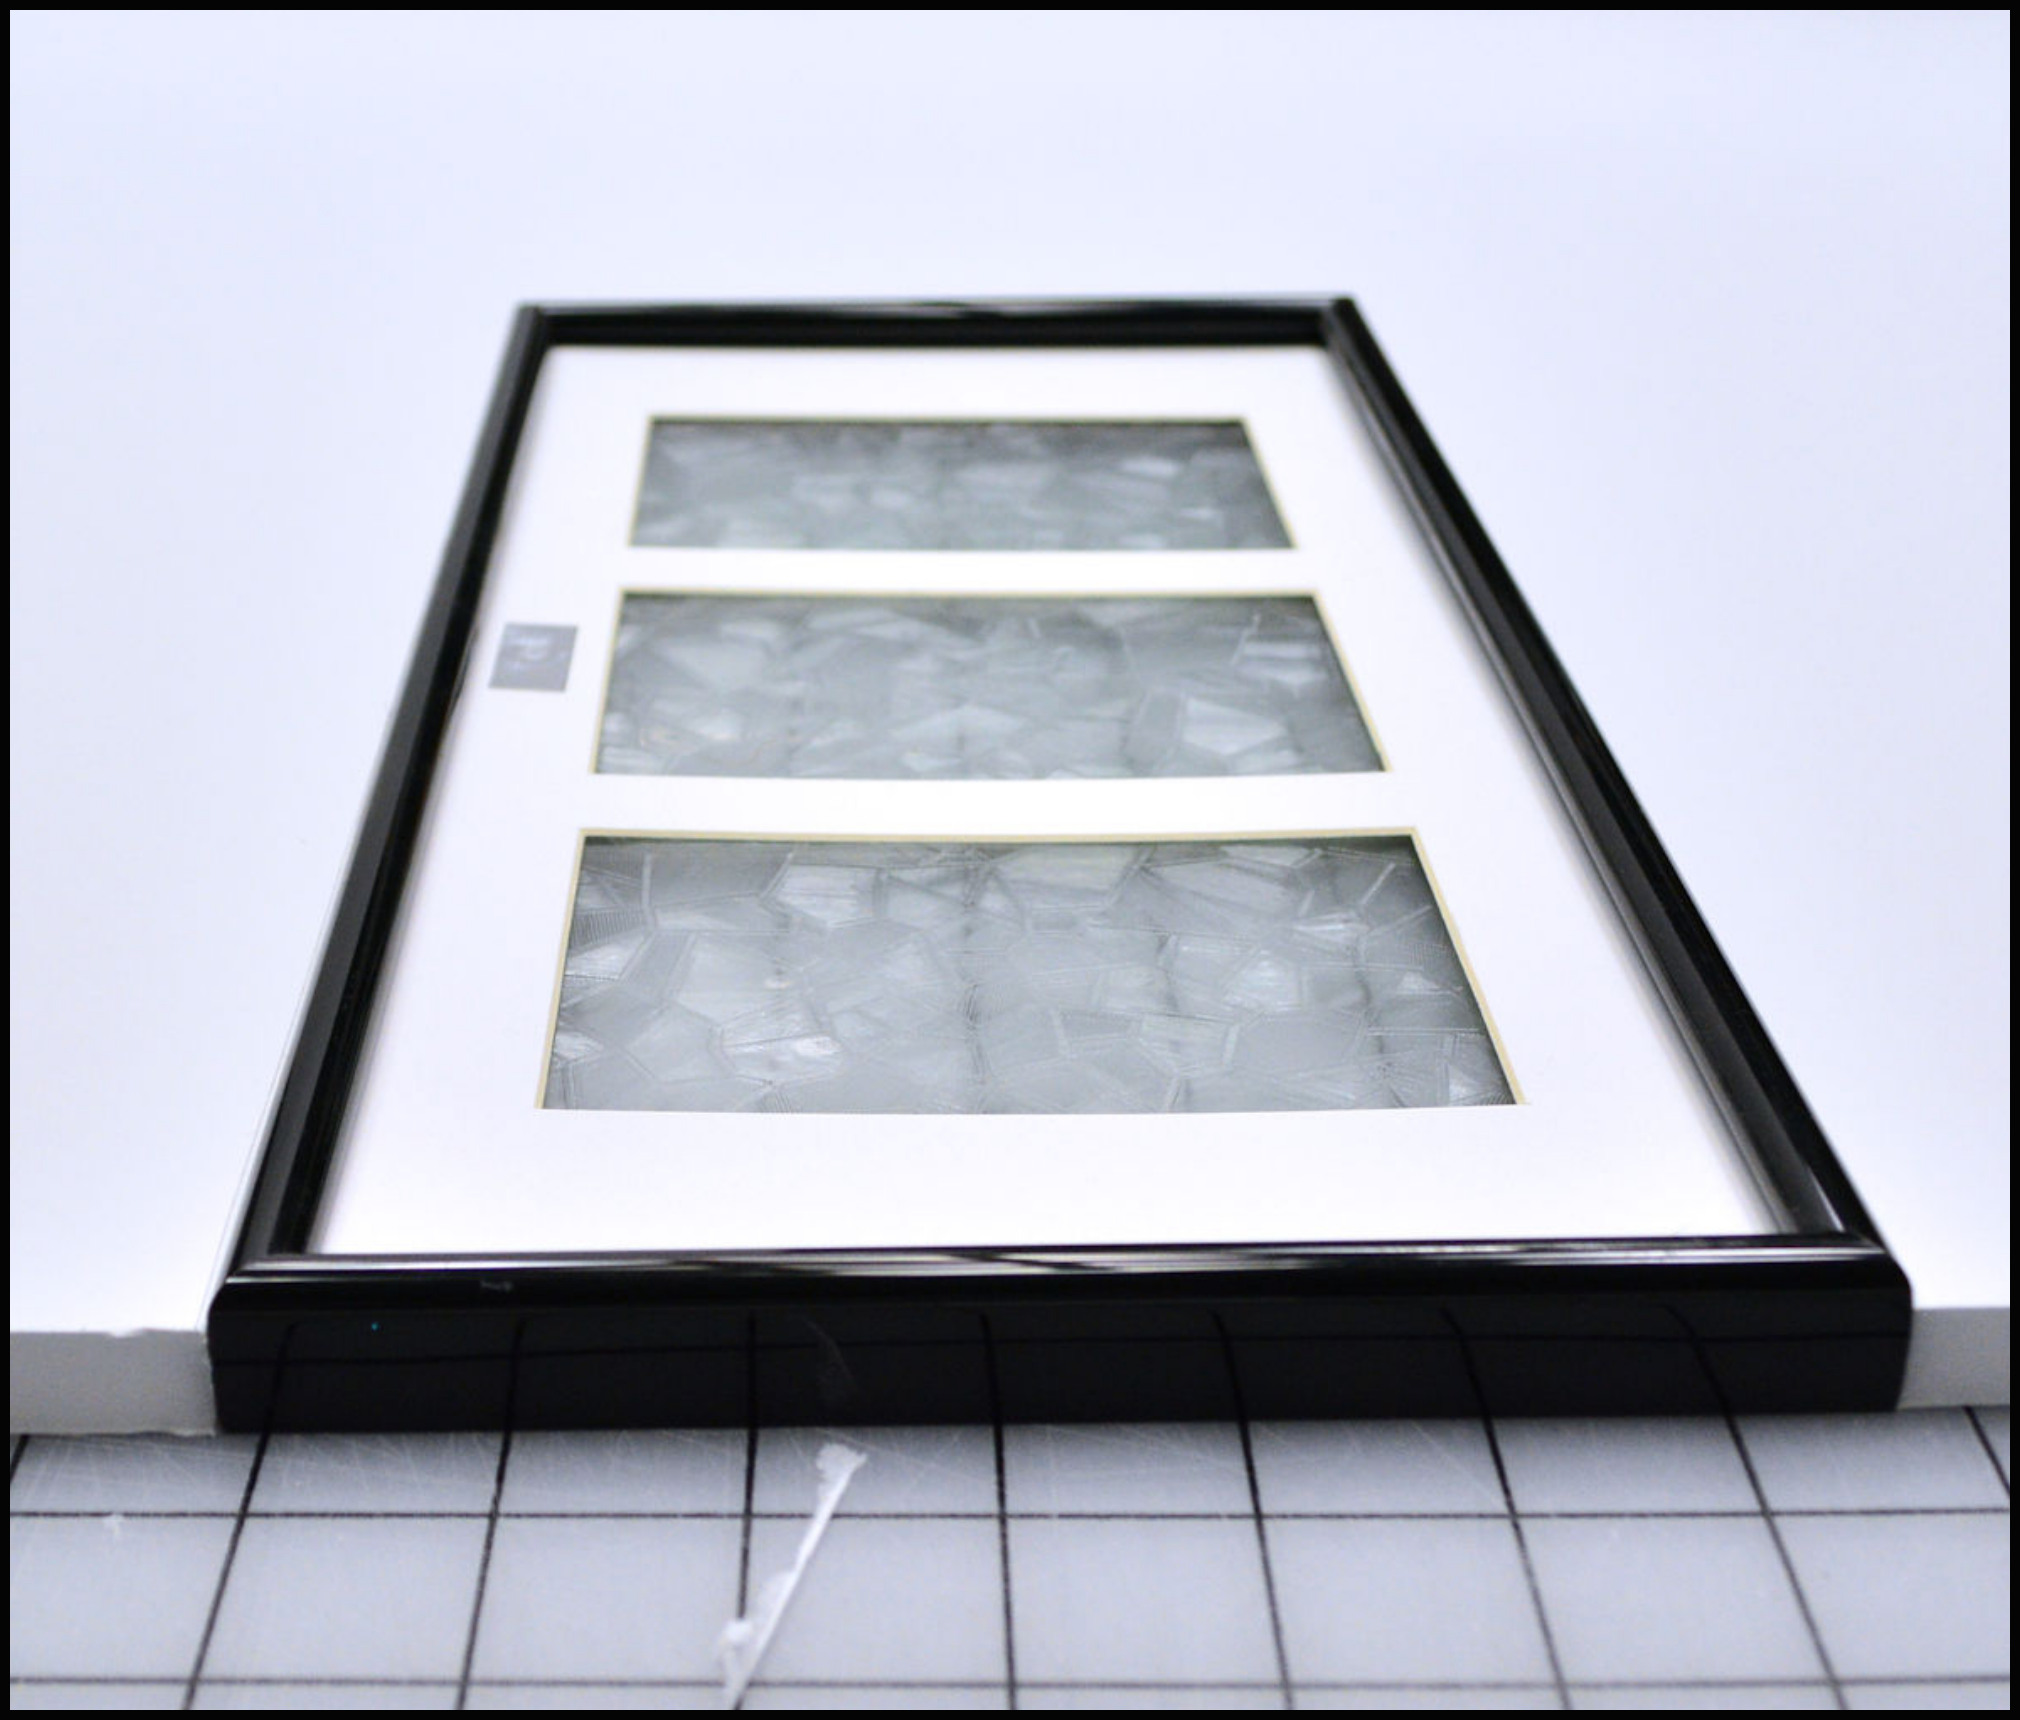
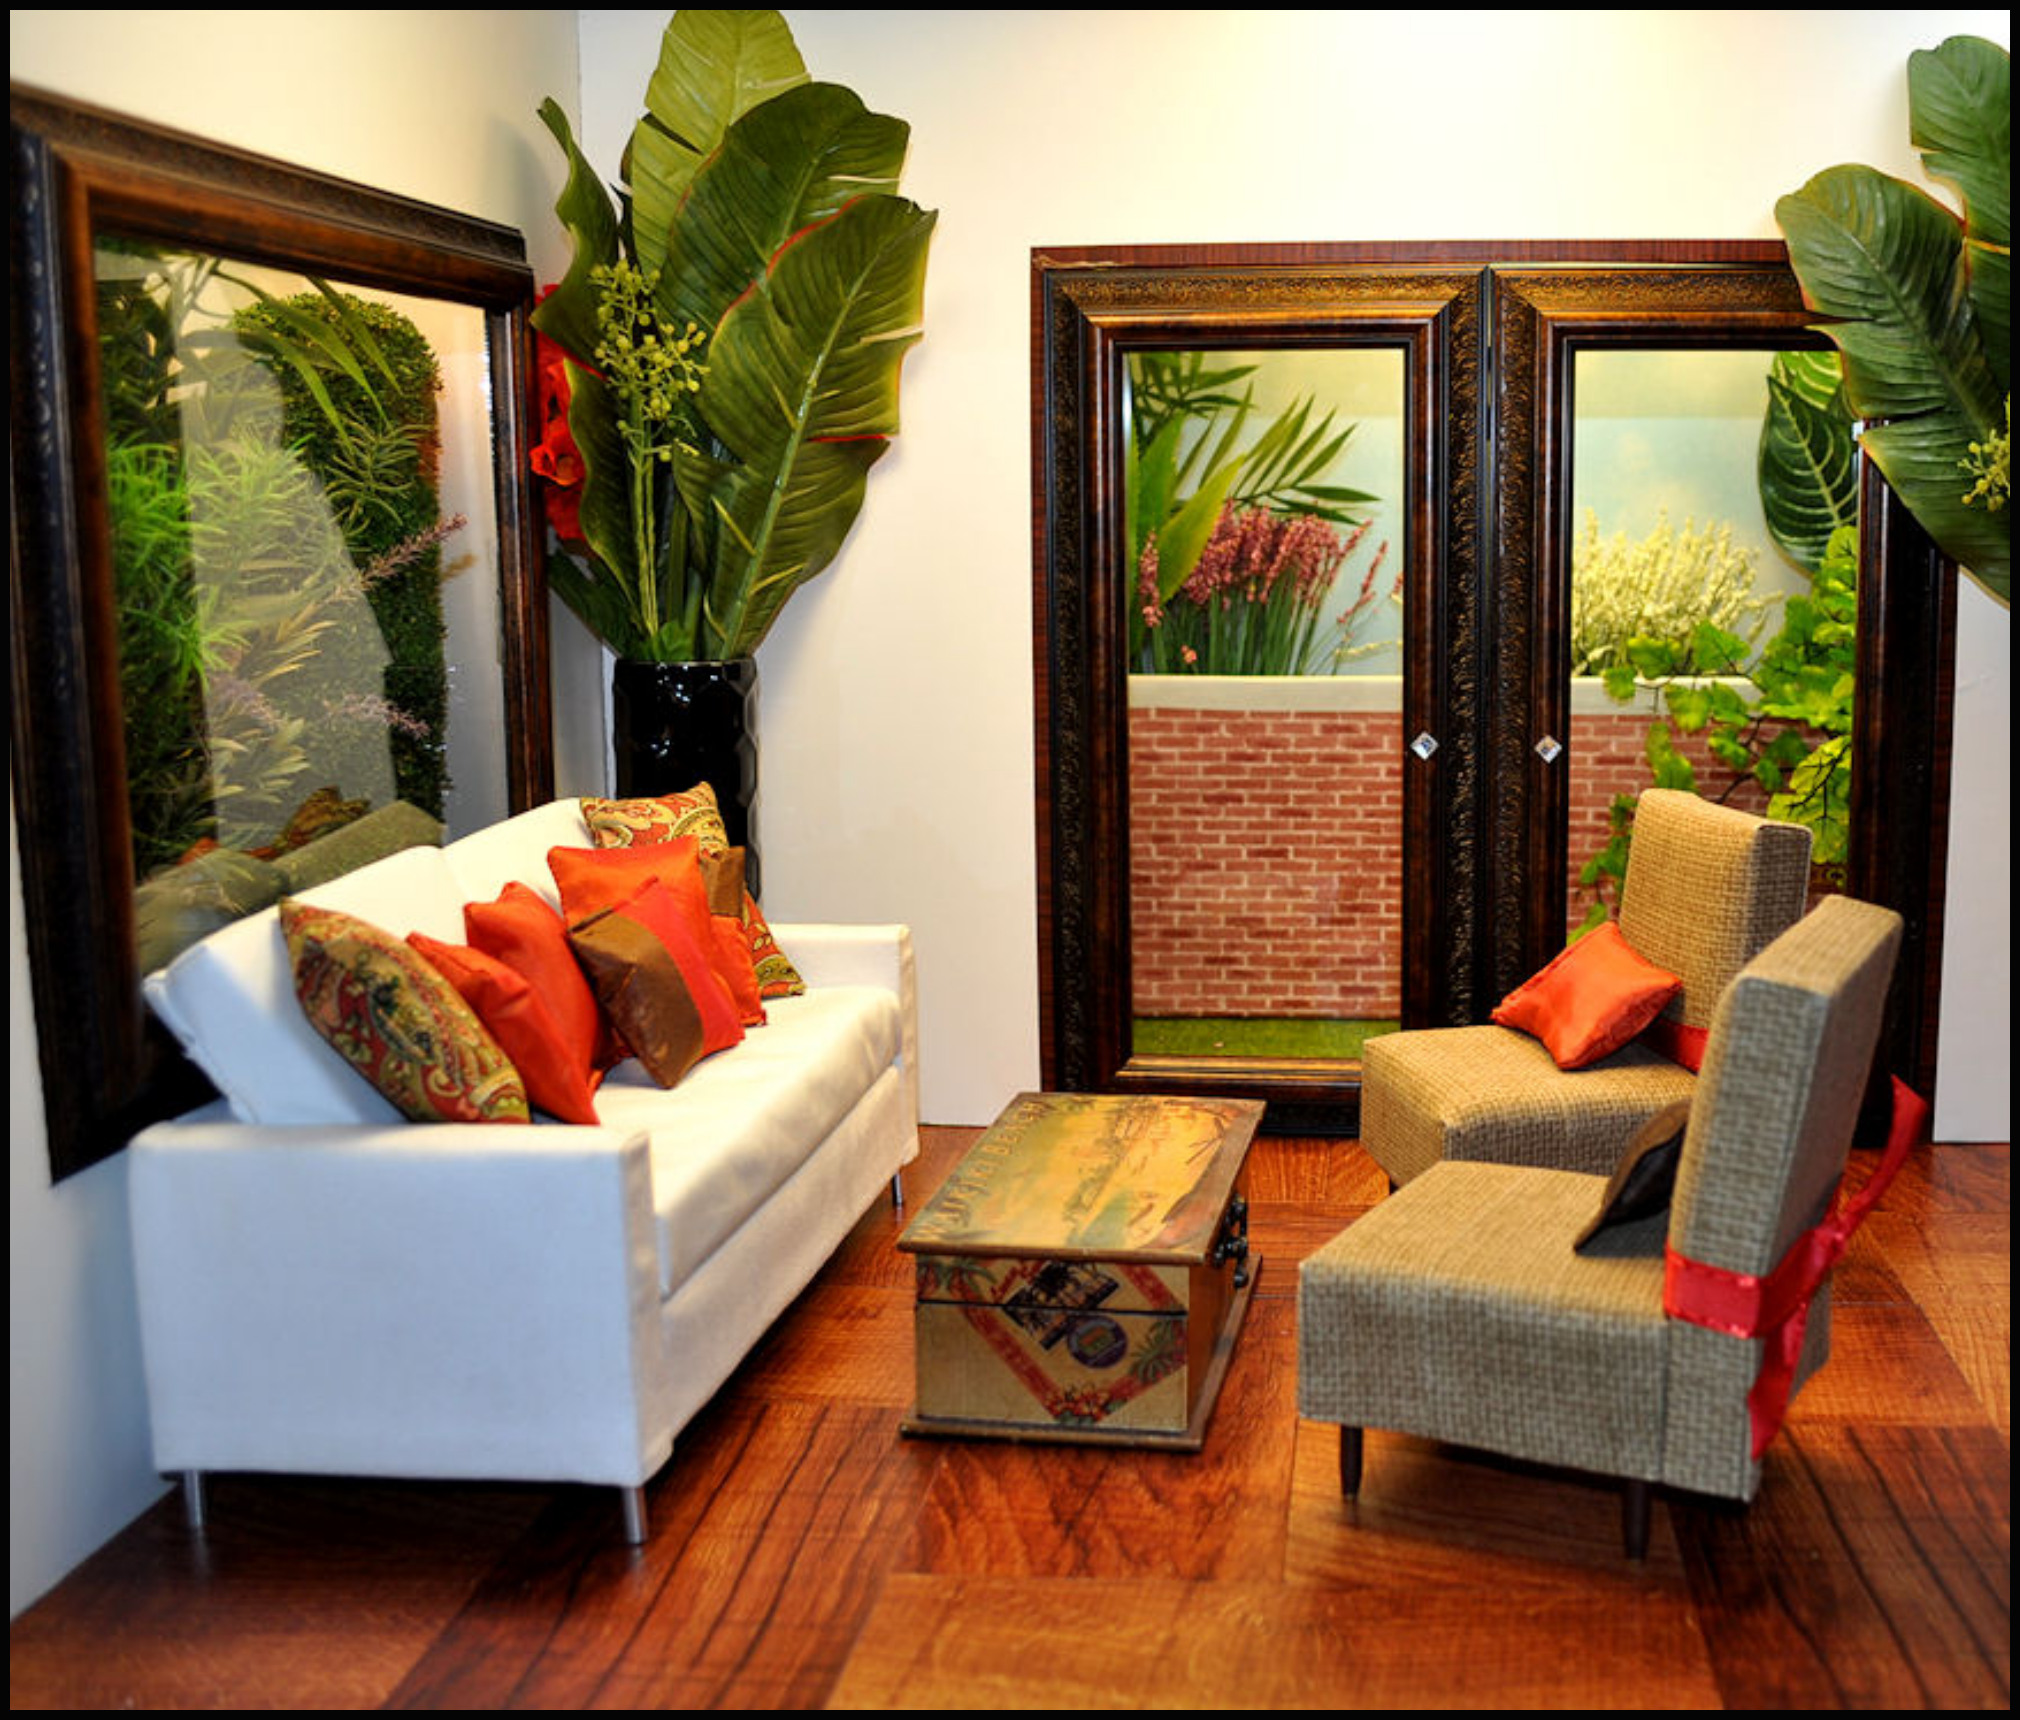
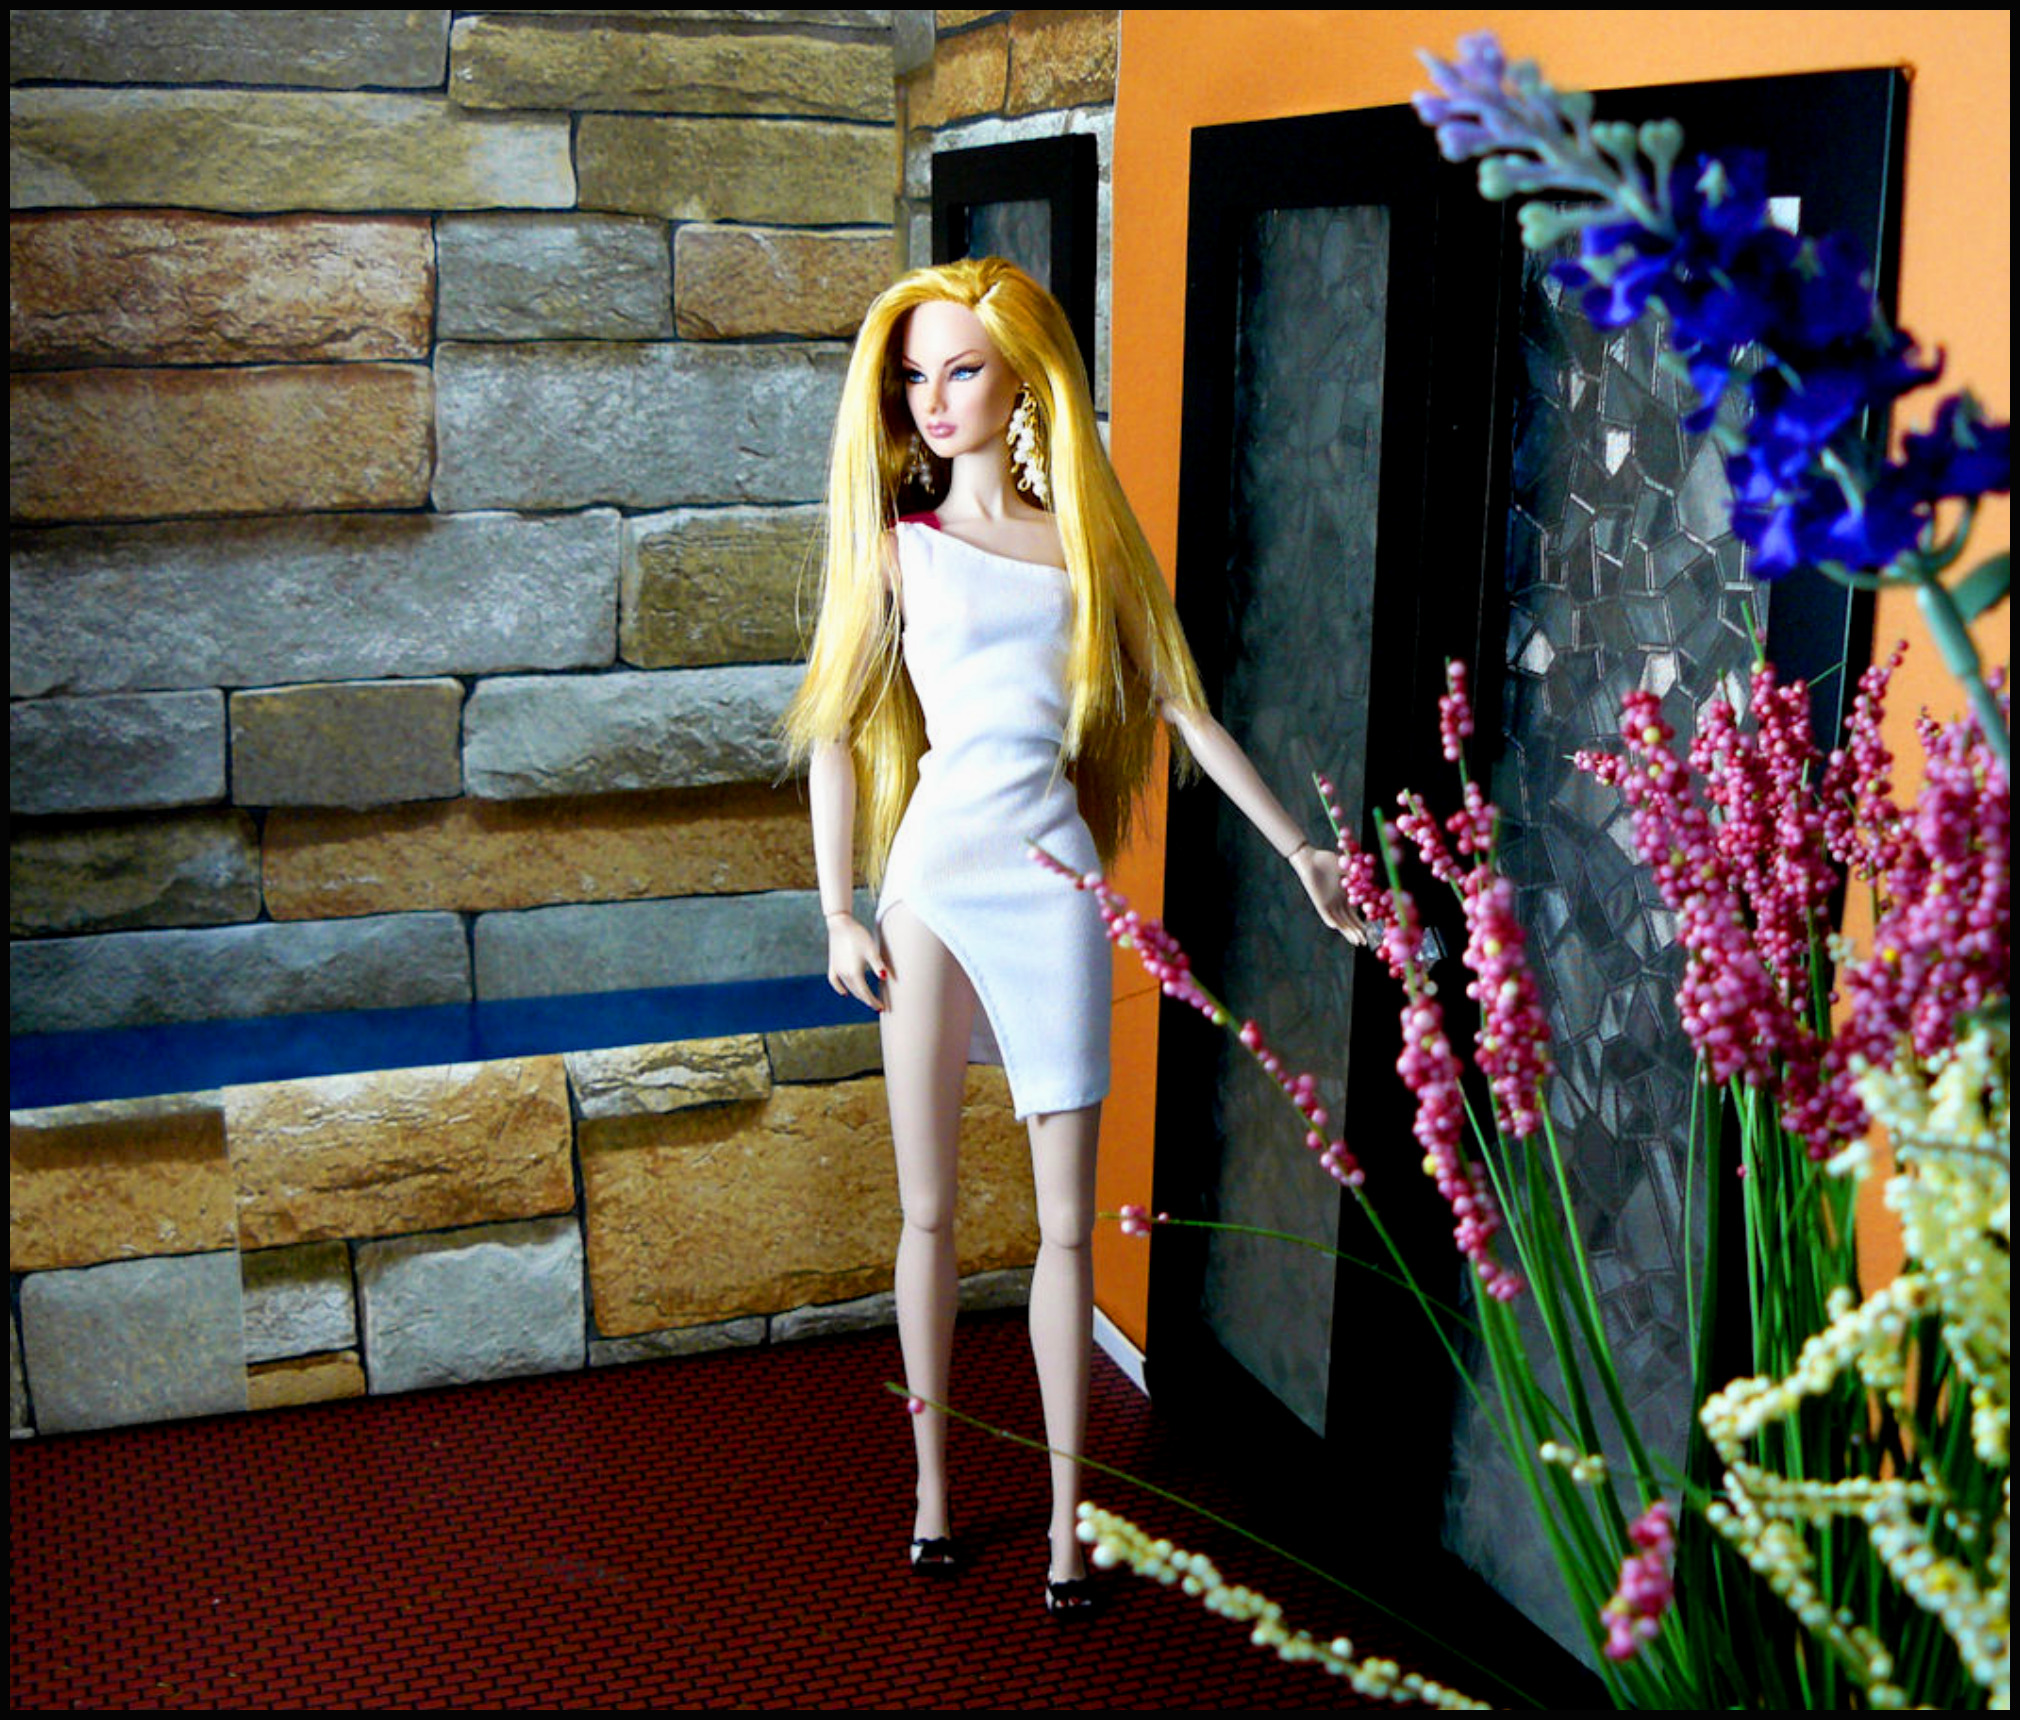
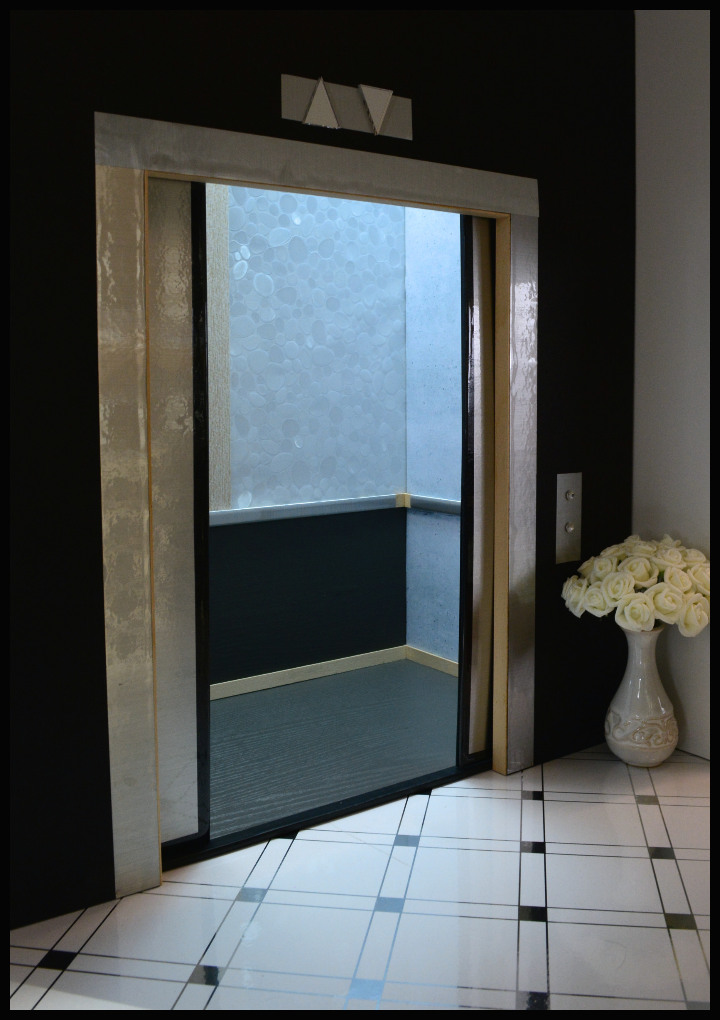
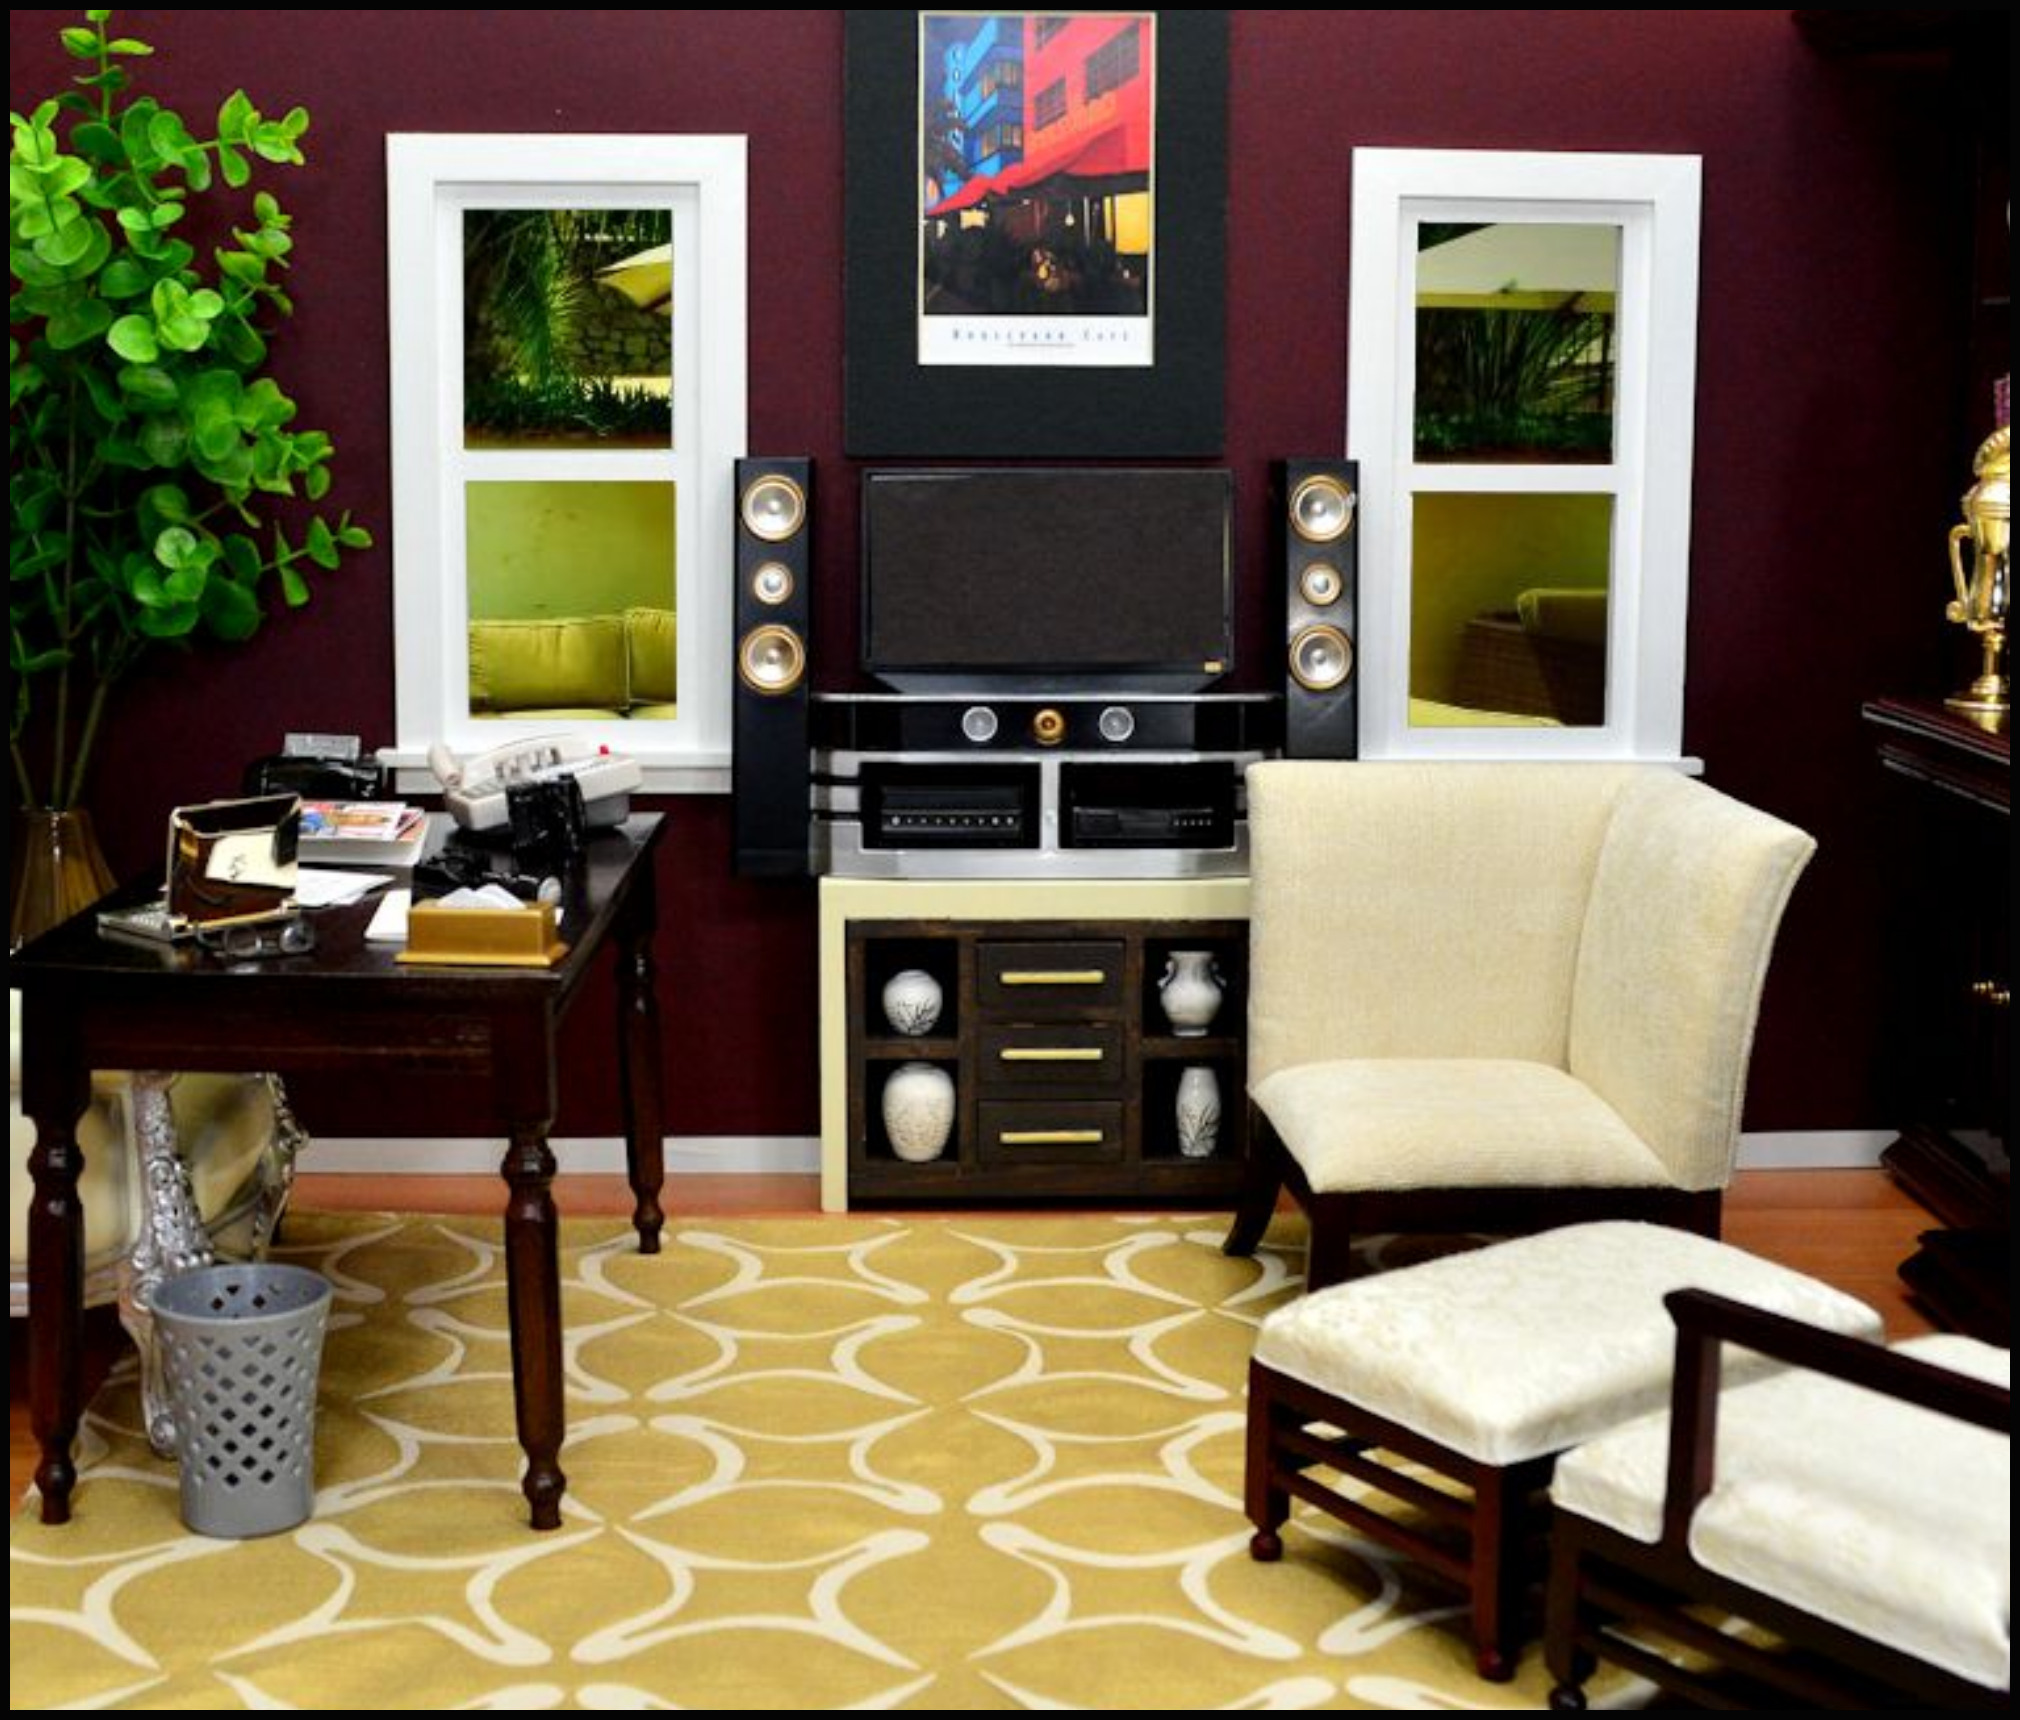
Which is why the majority of my doors in my stories don’t open or close. I also as rule try not to use transparent window-doors like the one in the photo to the right (that was my first and last usage of these particular photo frames turned into windows and double doors).
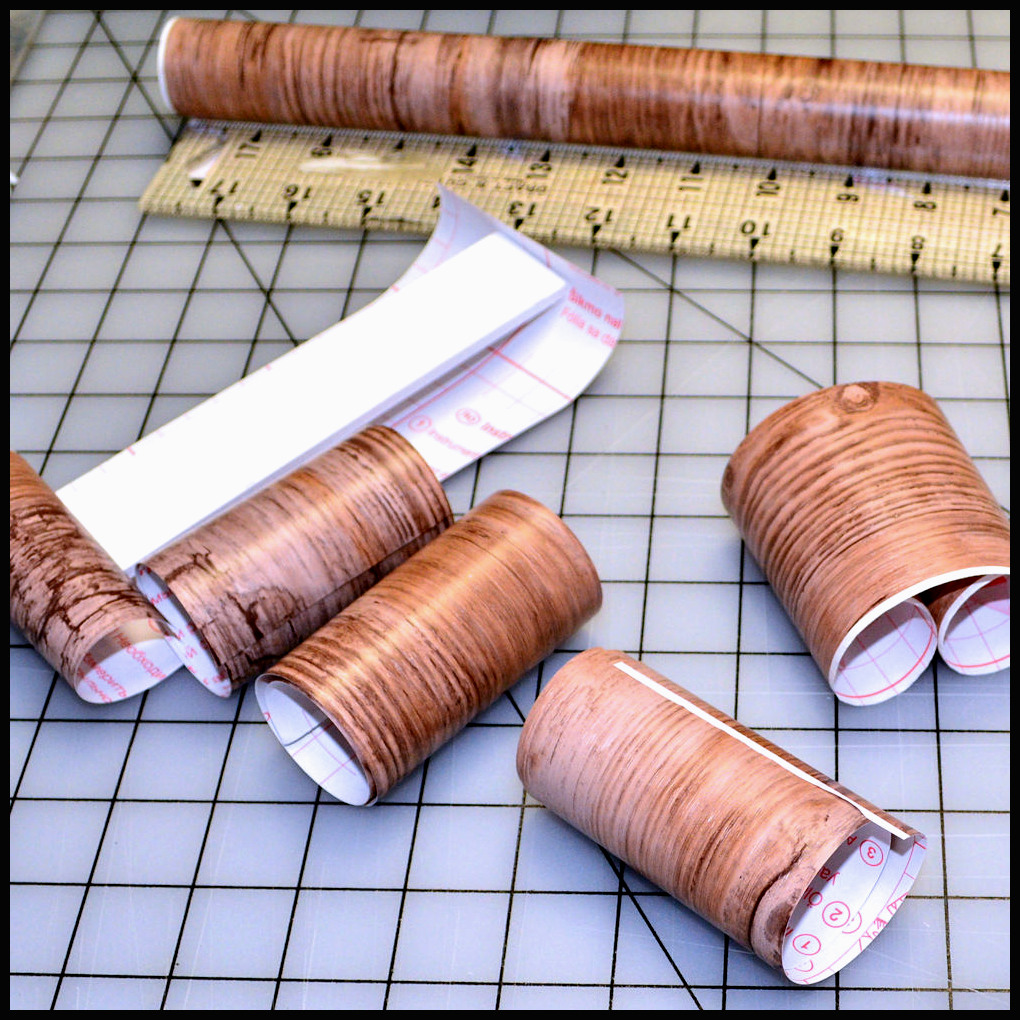
I usually make my own 14″ tall doors and door frames from foam board so I can wrap them in many shades of wood contact paper for variety.
I’ve used many photo frames for doors, but now cover the glass with glass film that provides light in, but doesn’t show what’s outside since I don’t want to have to build outside.
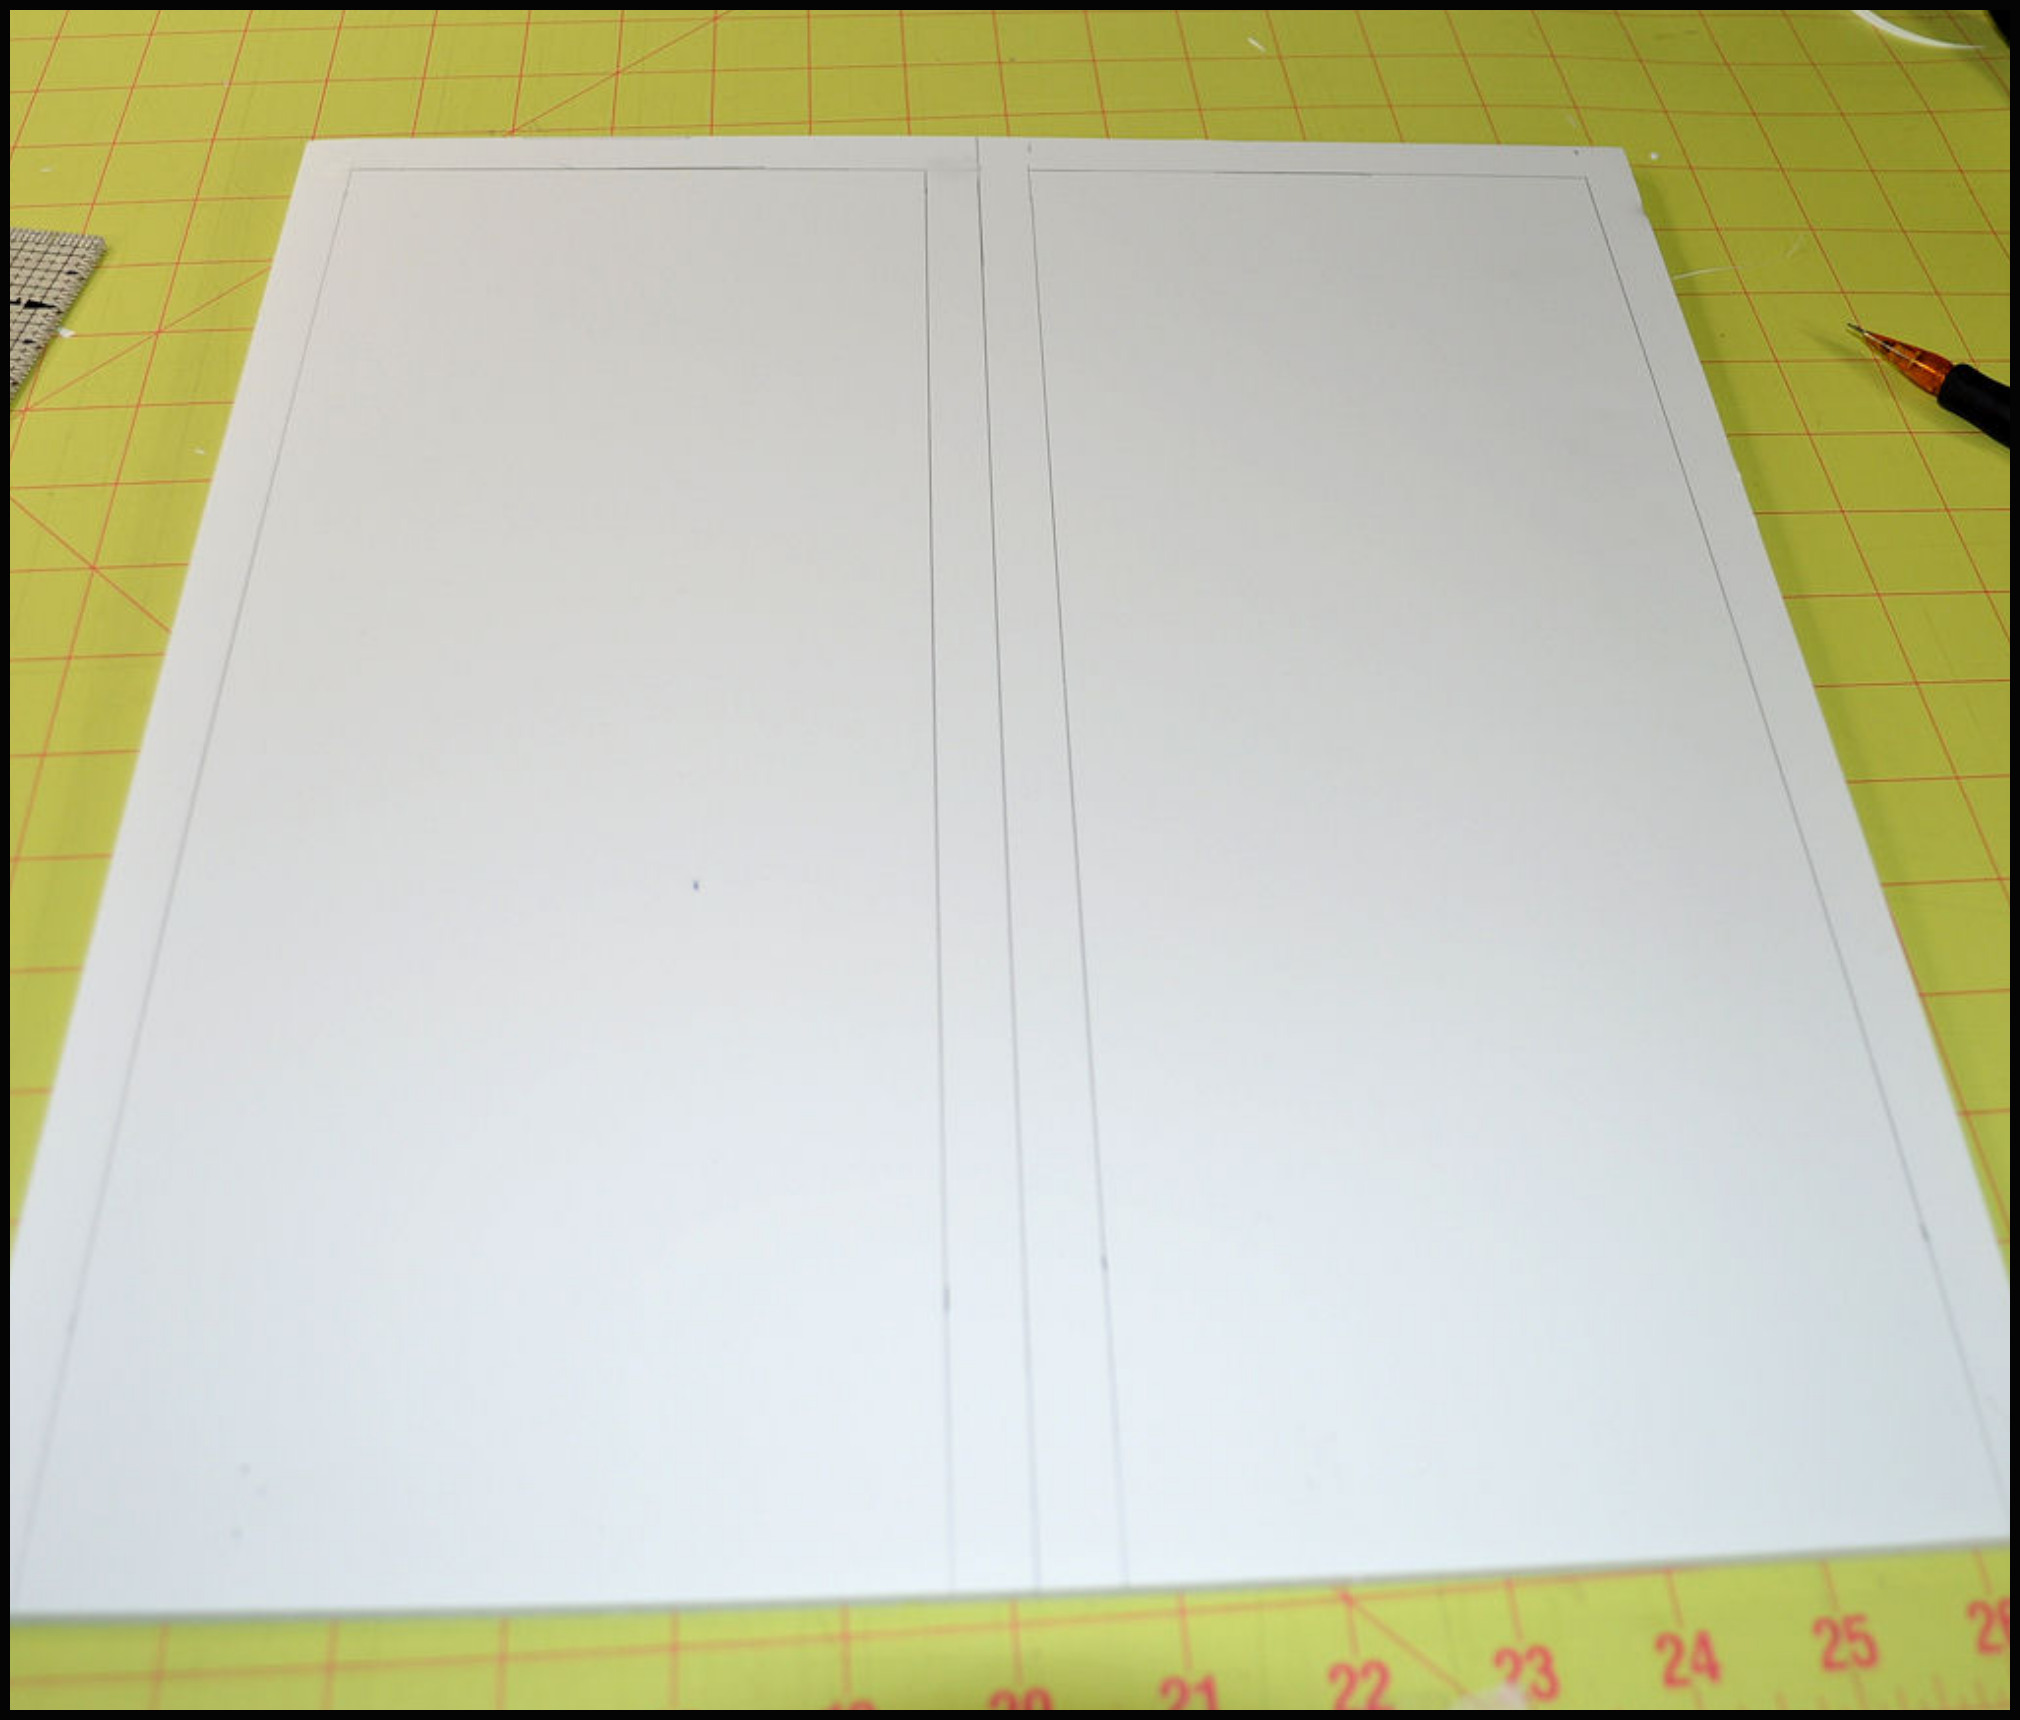
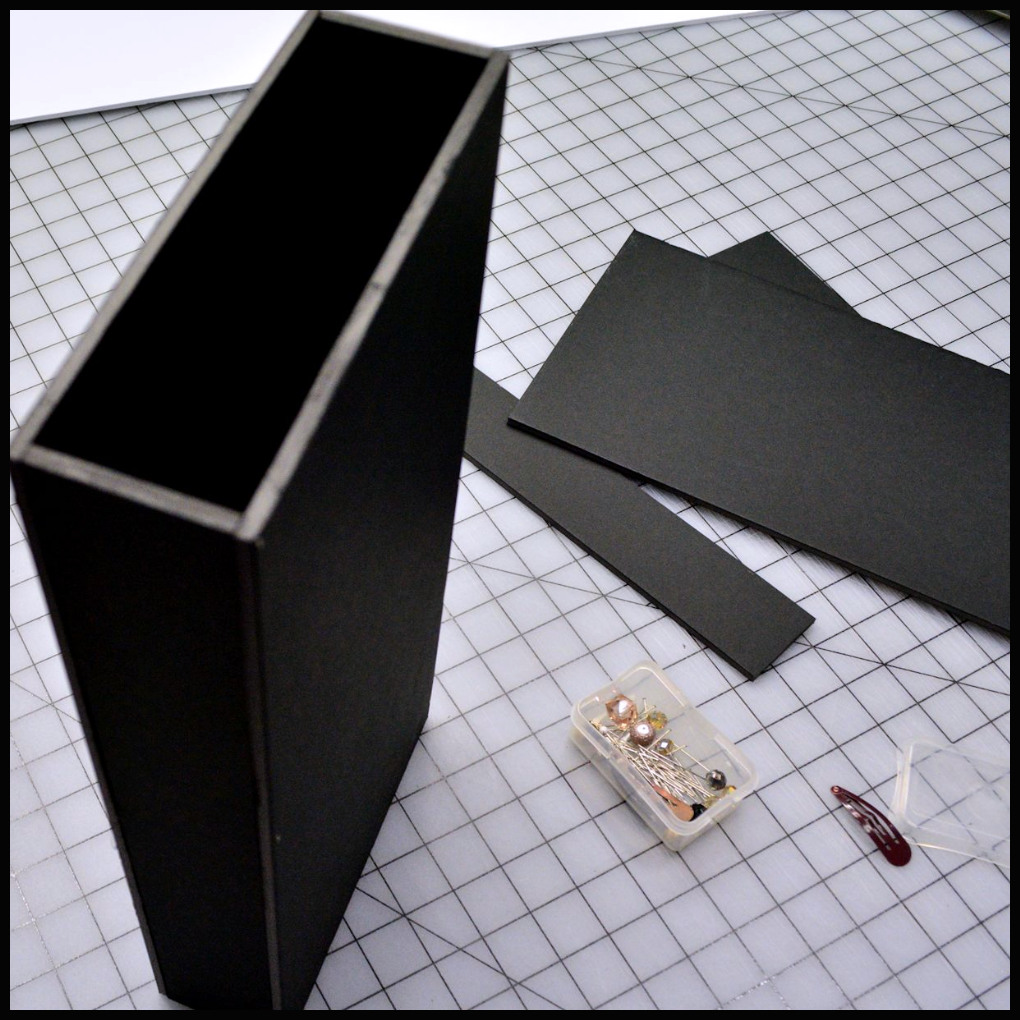
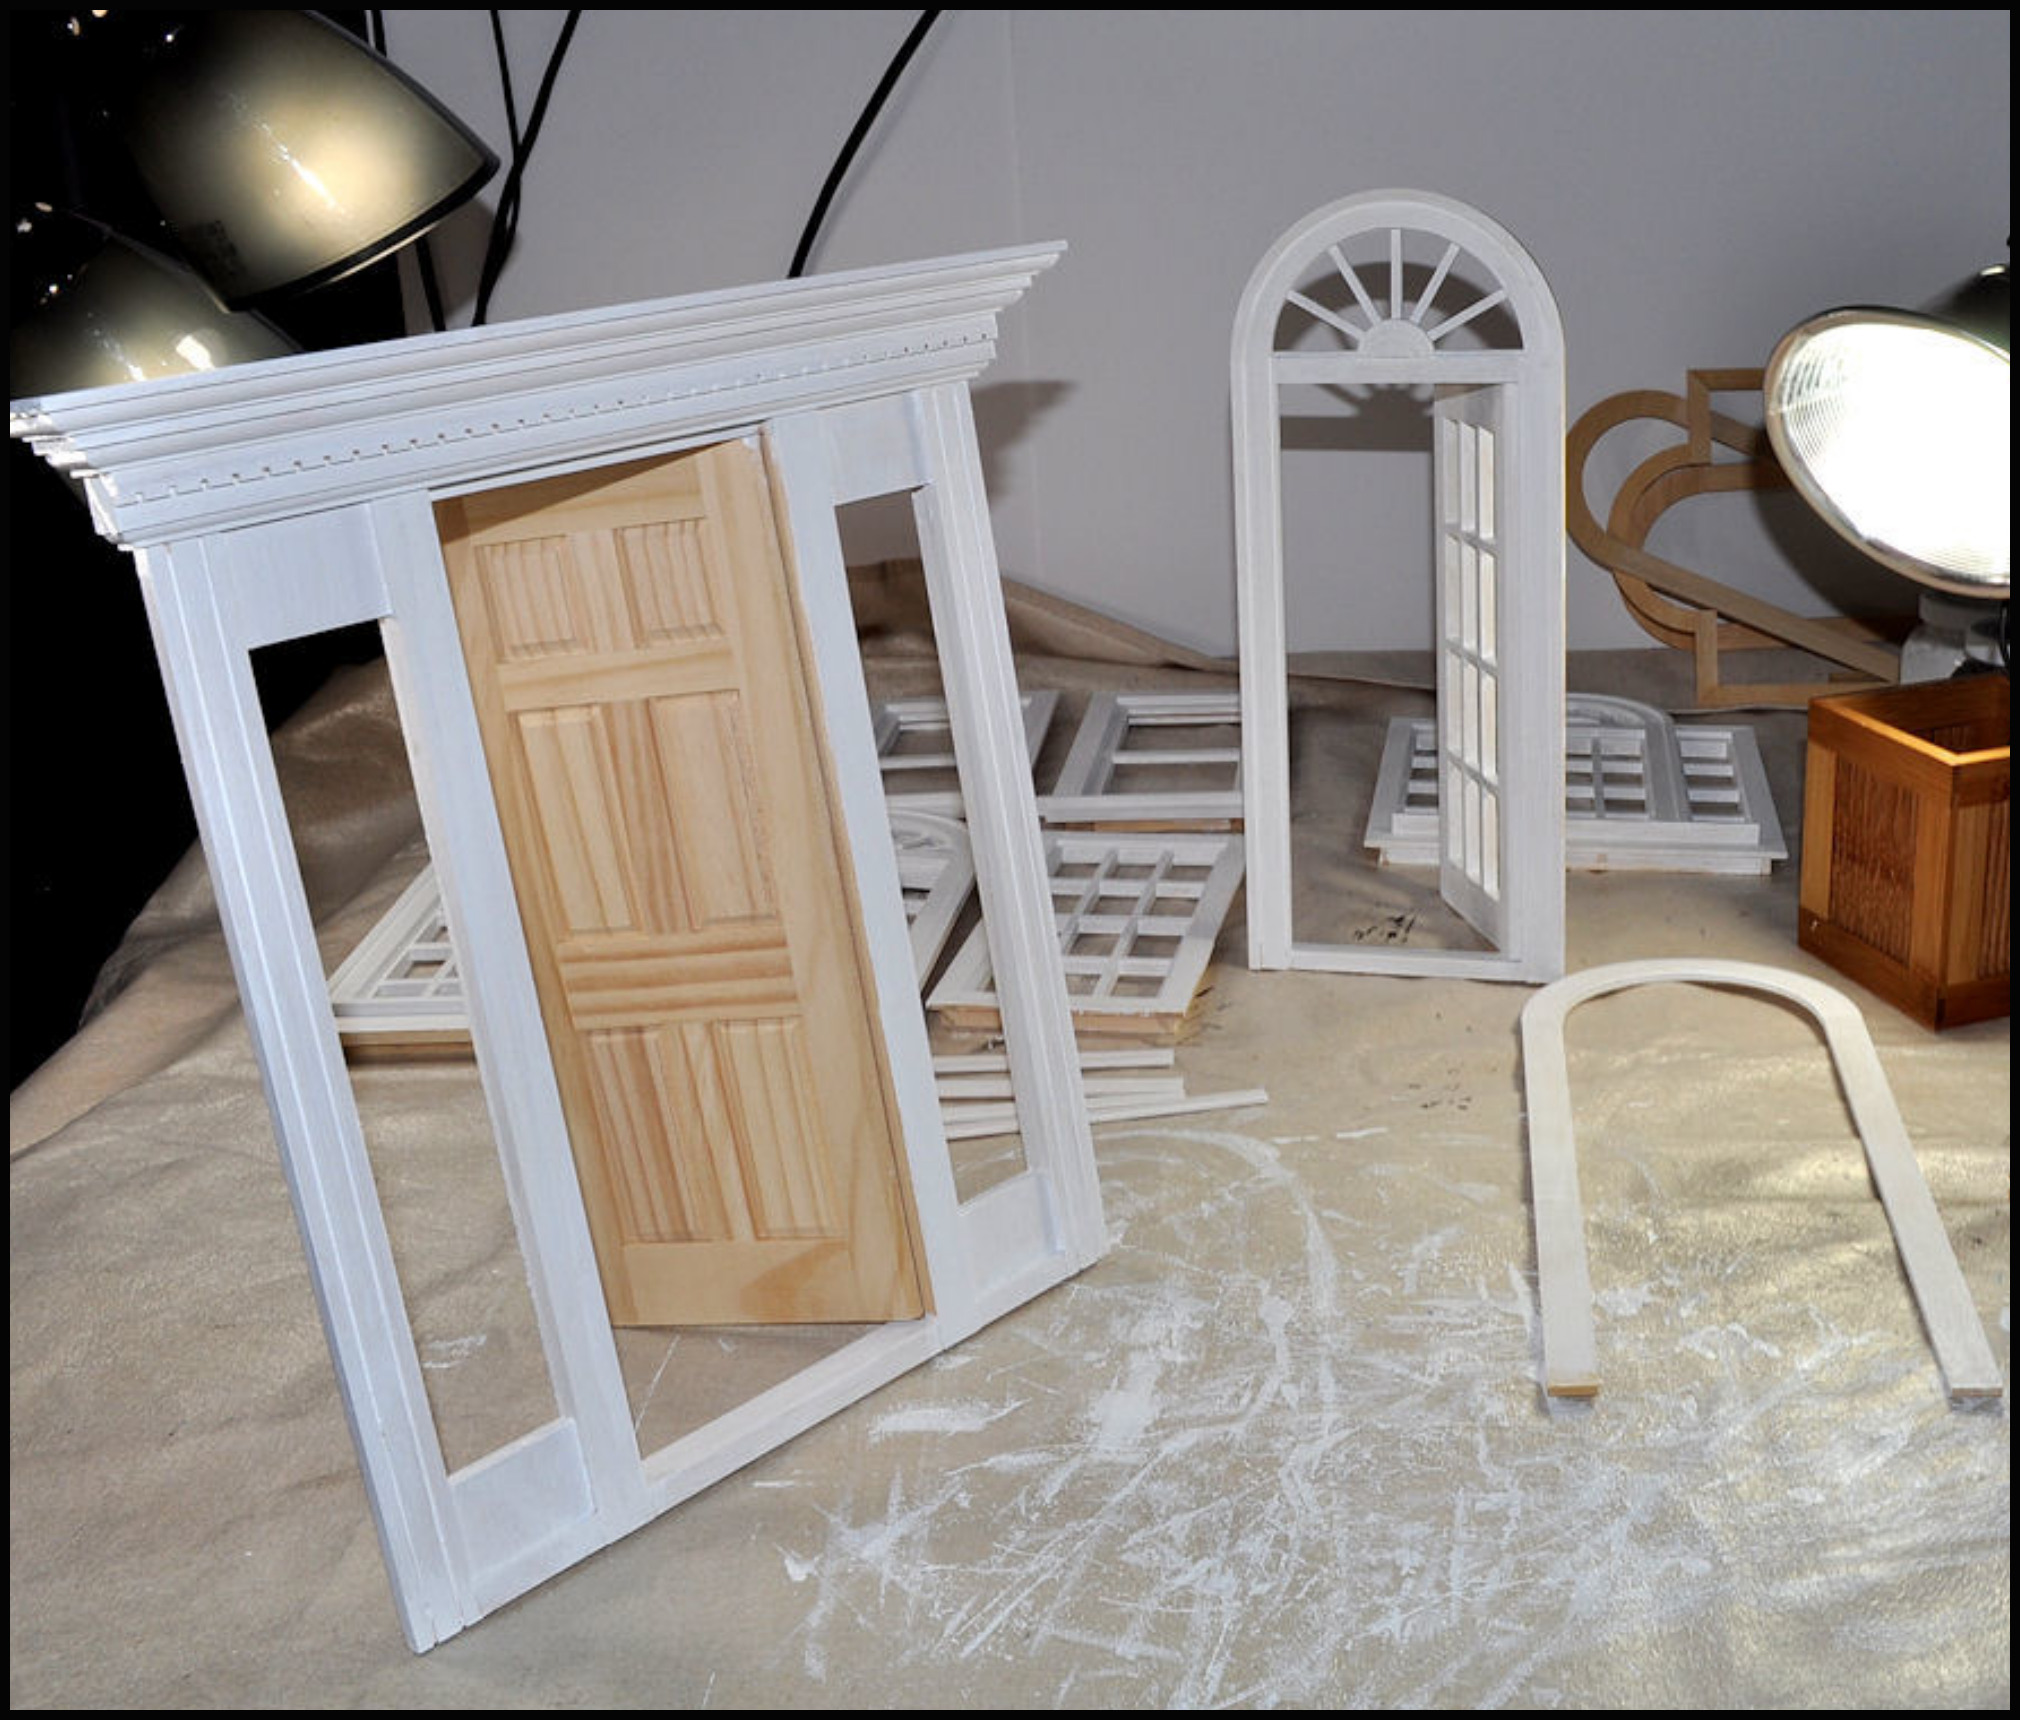
This is my standard door frame + door 14″ tall and 7″ wide for each door, I’m cutting two doors in the photo above.
I tend not to cover the door frame in any contact paper since it’s so thin and there’s no way to wrap it without it looking strange. I leave it white, so I have to be very careful not to leave it with pencil marks or bad cutting fray edges.
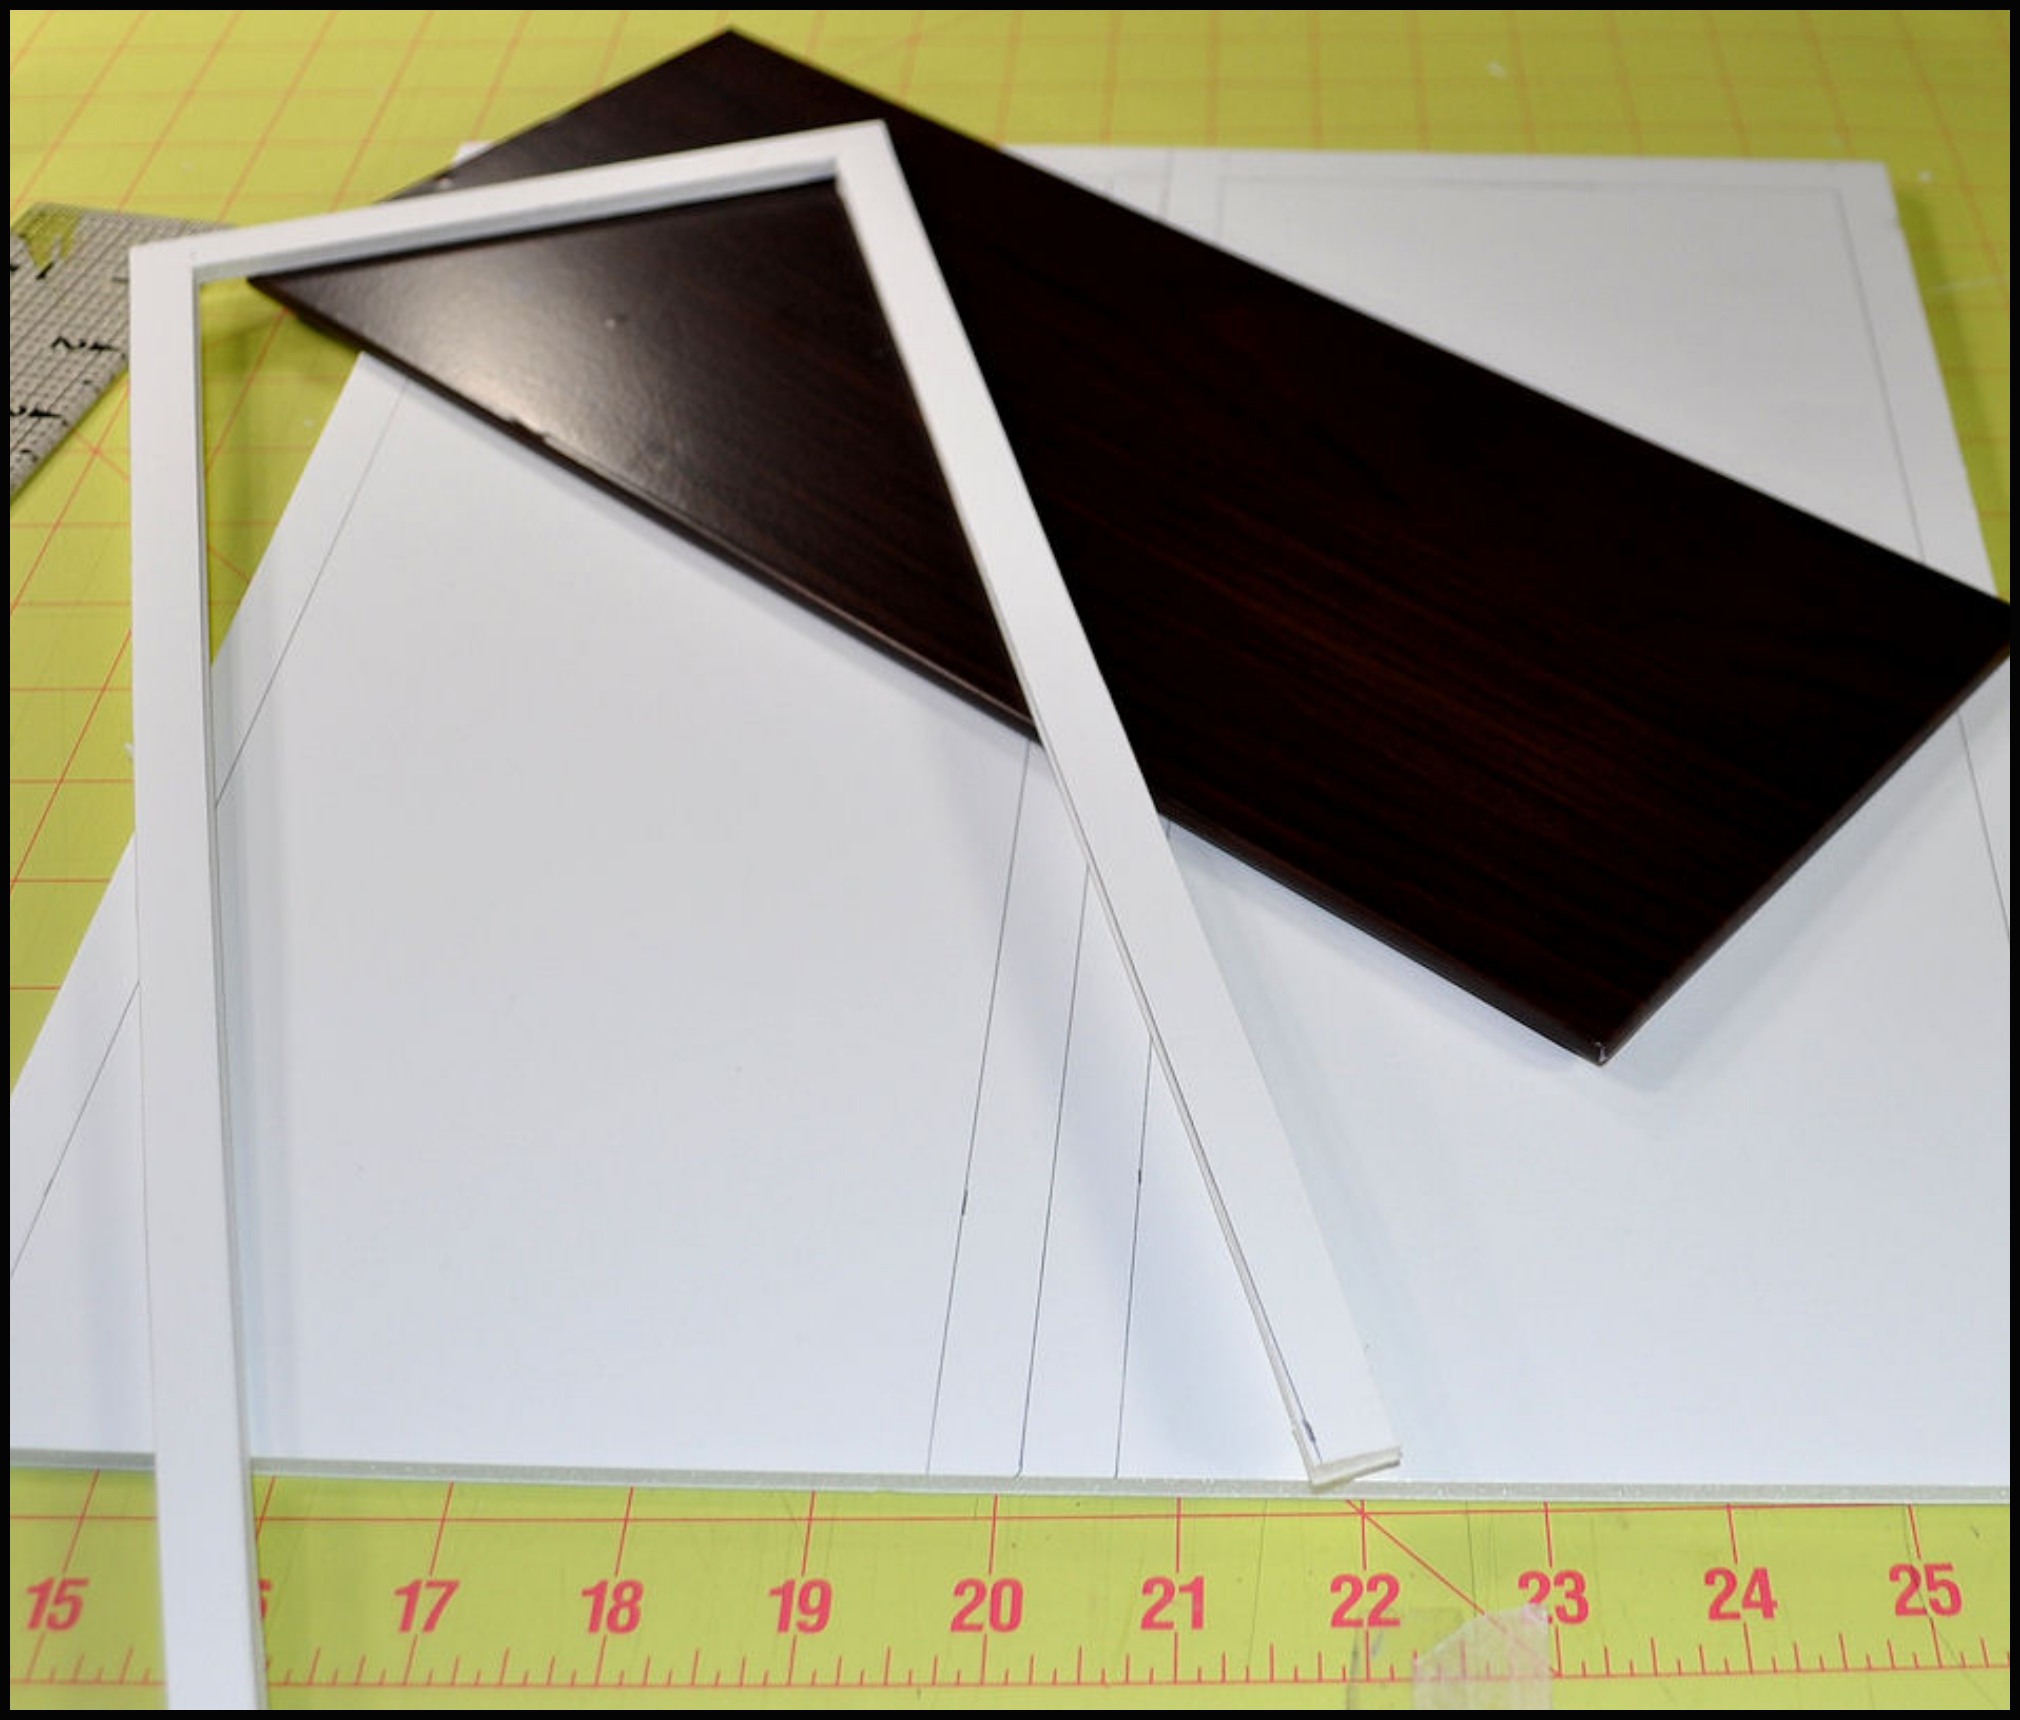
Above is a photo of one door finished and wrapped in contact paper and the door frame that has been left white and uncovered.
I usually then use masking tape on the back or the door to tape it to the frame, then roll up masking tape to stick it to a foam board wall for a room, then remove it later.
Door knobs can be 3-D stickers (the metallic circle ones are a favorite), or decorative tacks can be stuck into the foam board. For picture frame doors you can only use 3-D stickers without damaging the wood on the frame.
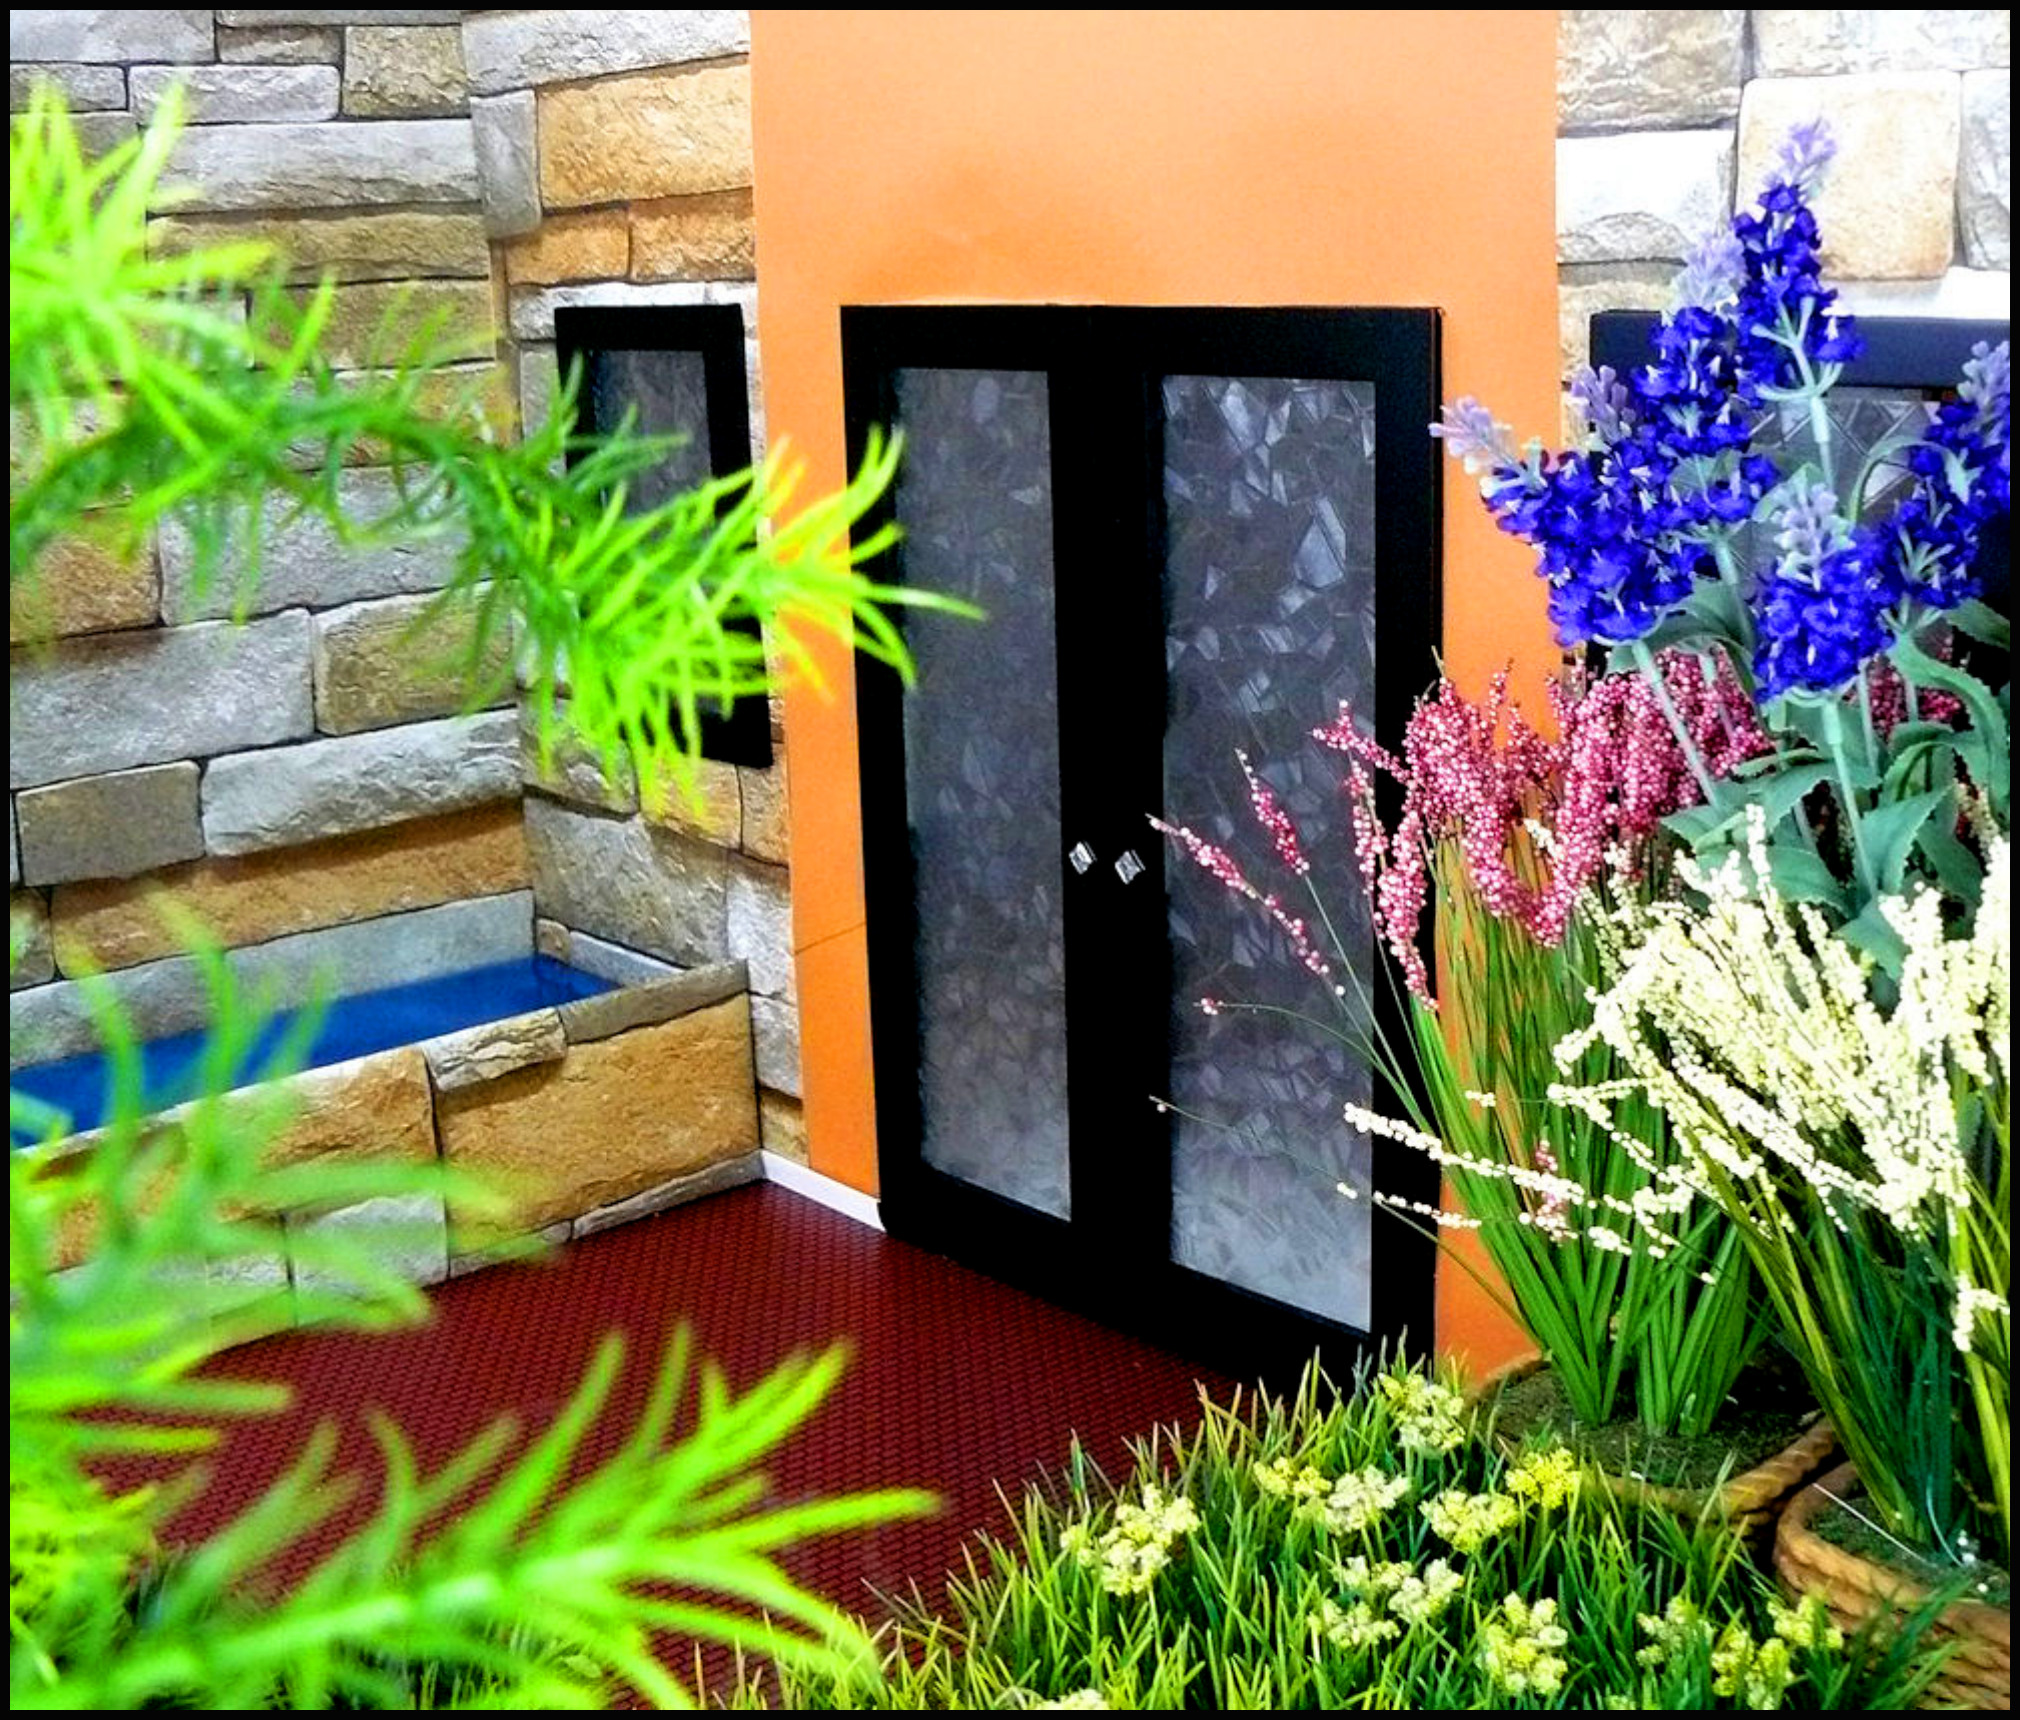
Photo frames were used for the doors and windows above. The glass was covered with privacy window film, and the height is 14″, but thin photo frames like this are hard to find and can be expensive. I’ve used 3-D gem stickers for the door knobs.
These can open or close (with no hinges) so you’re posing the doll moving through the door as it stays in one position.
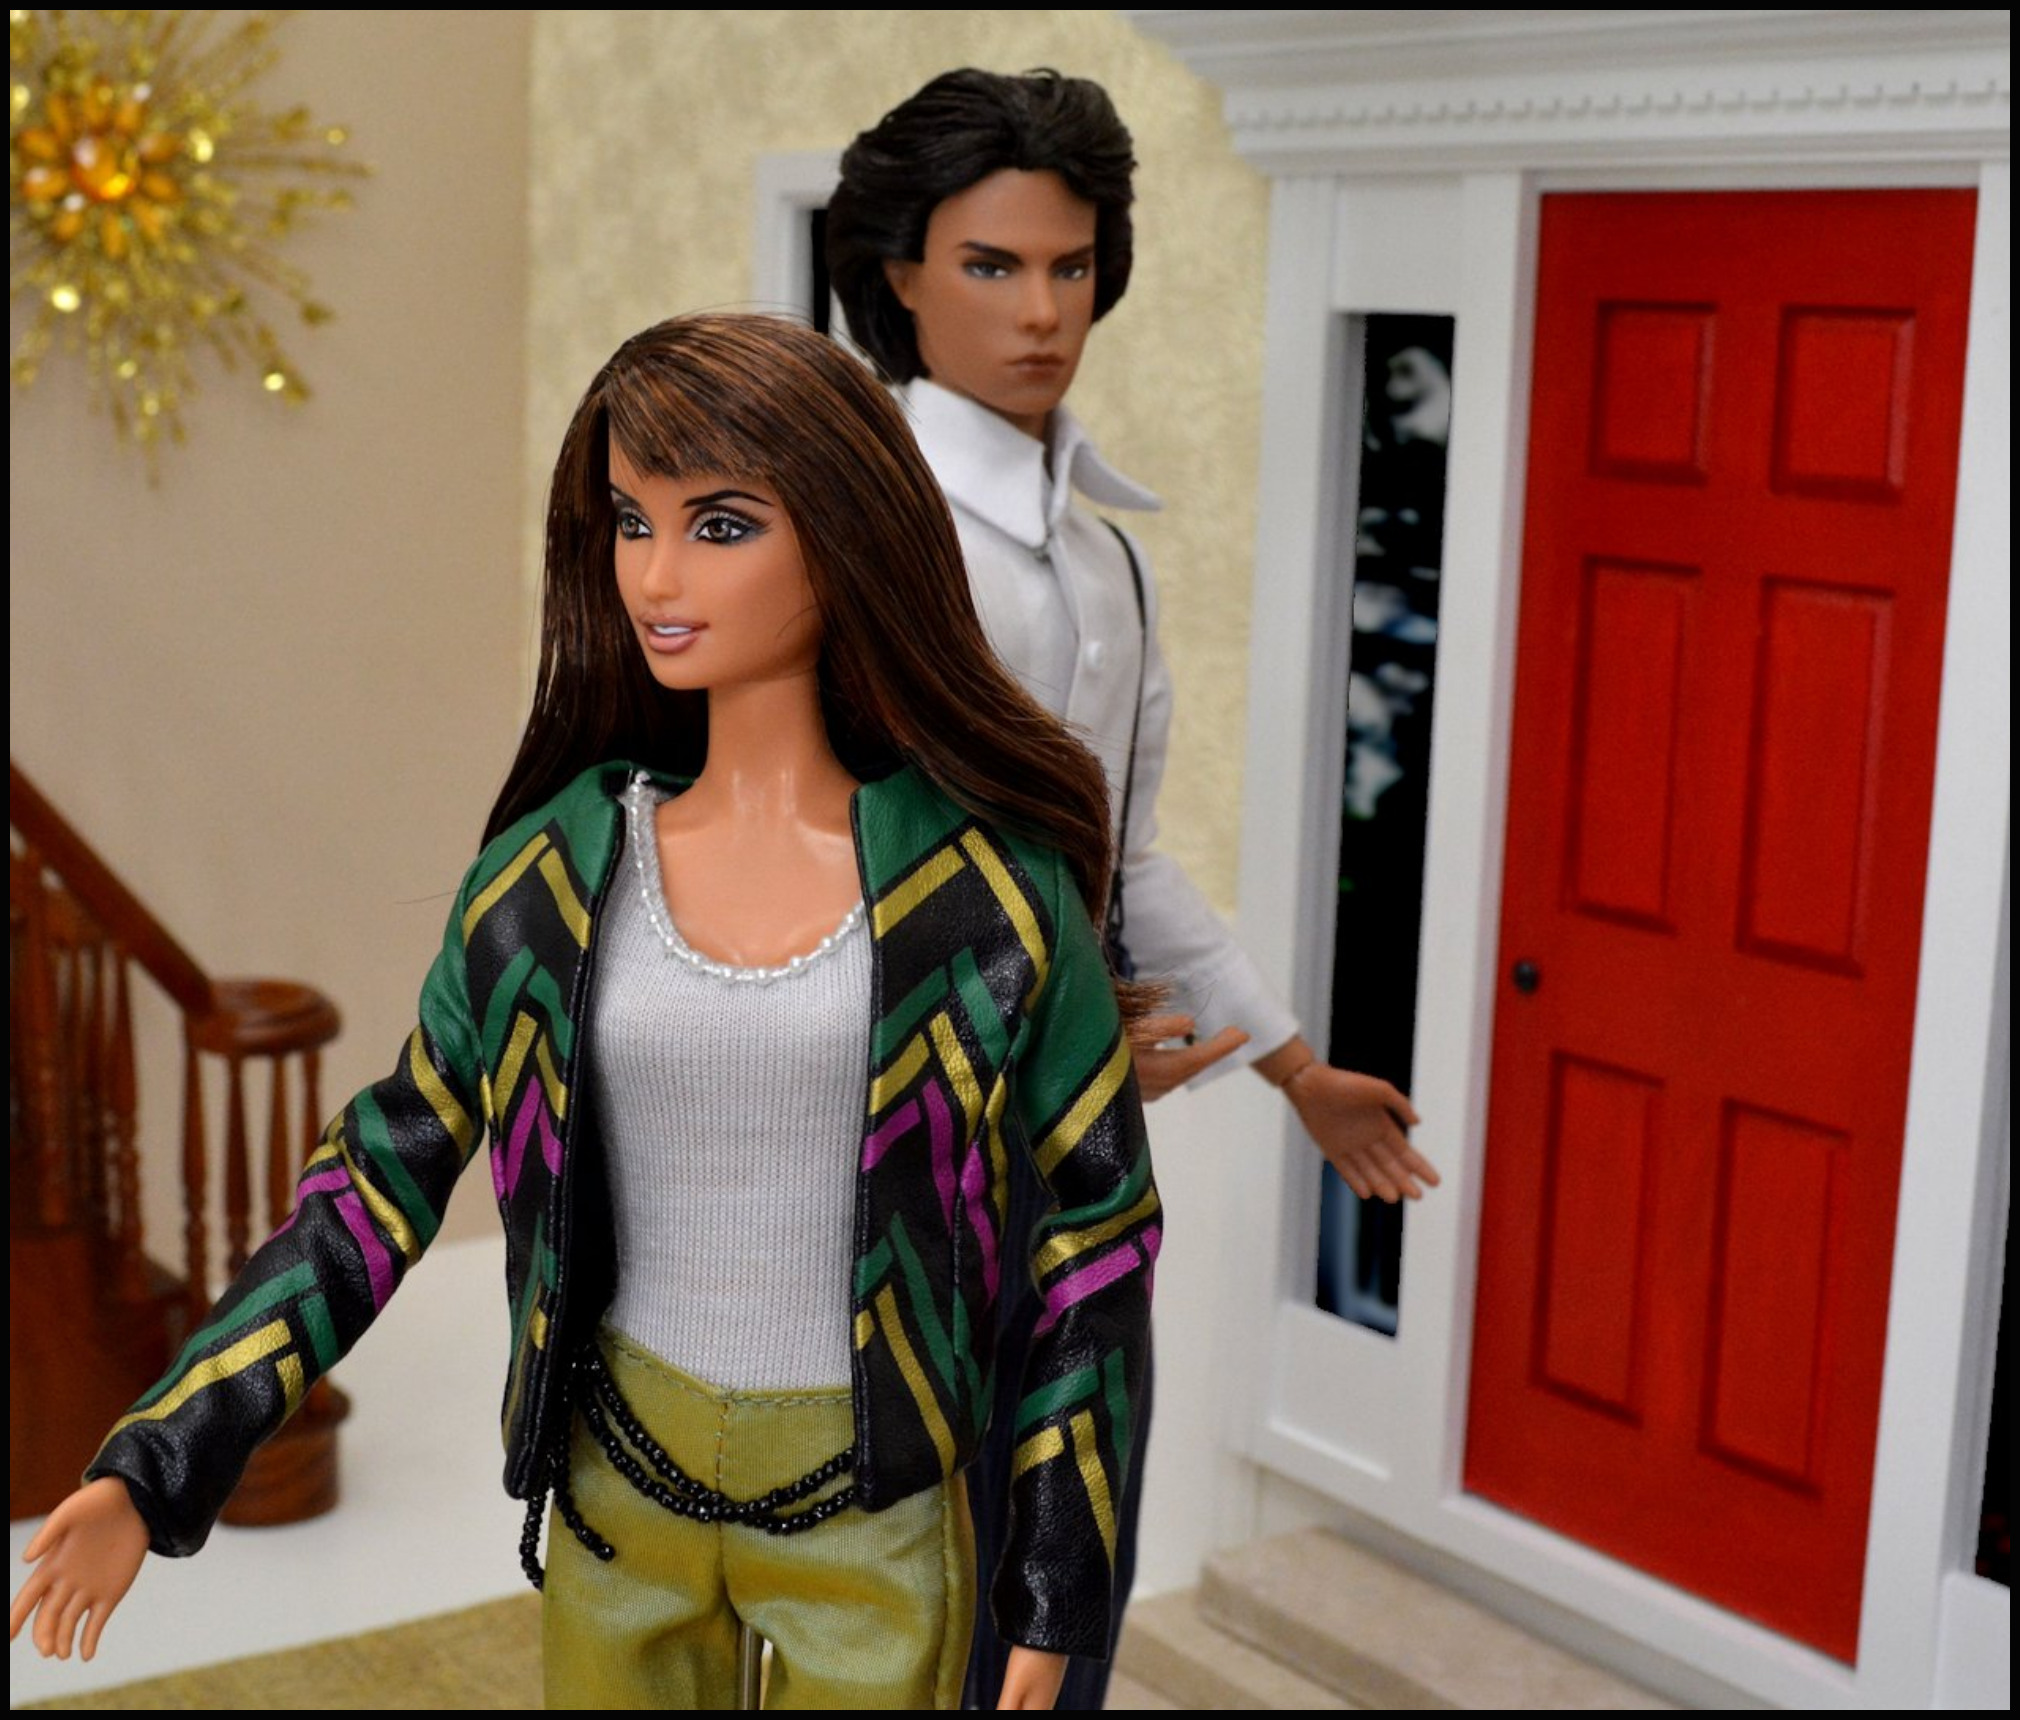
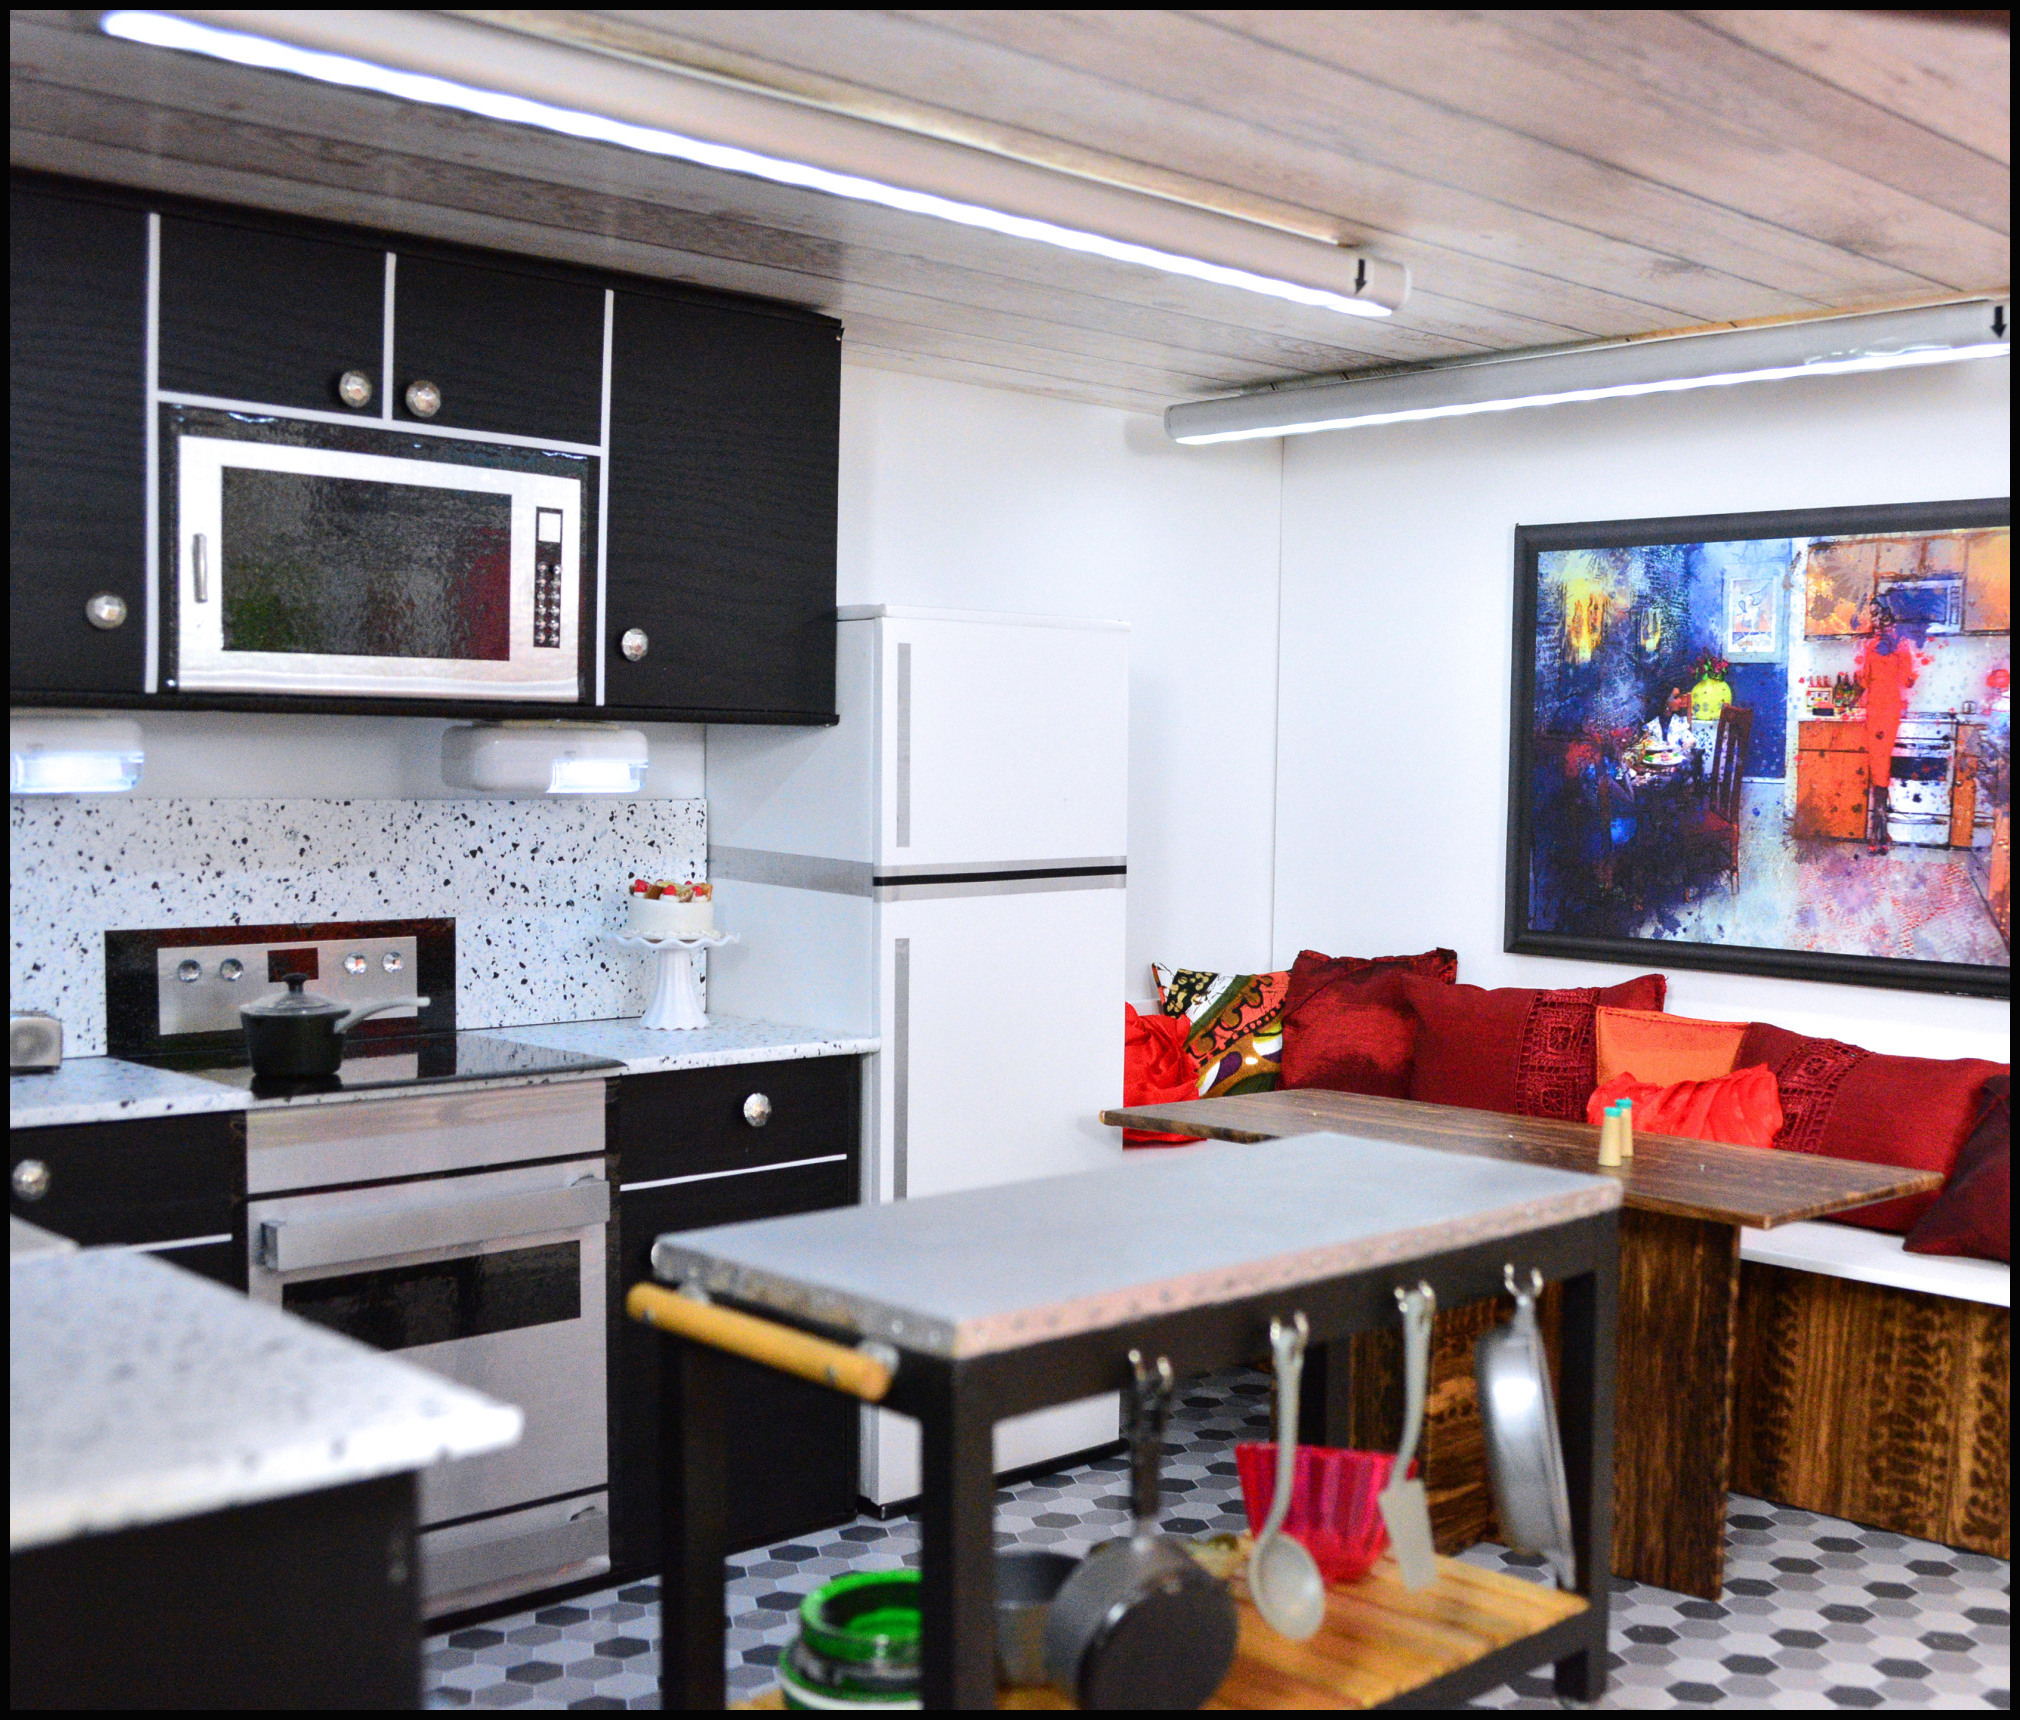
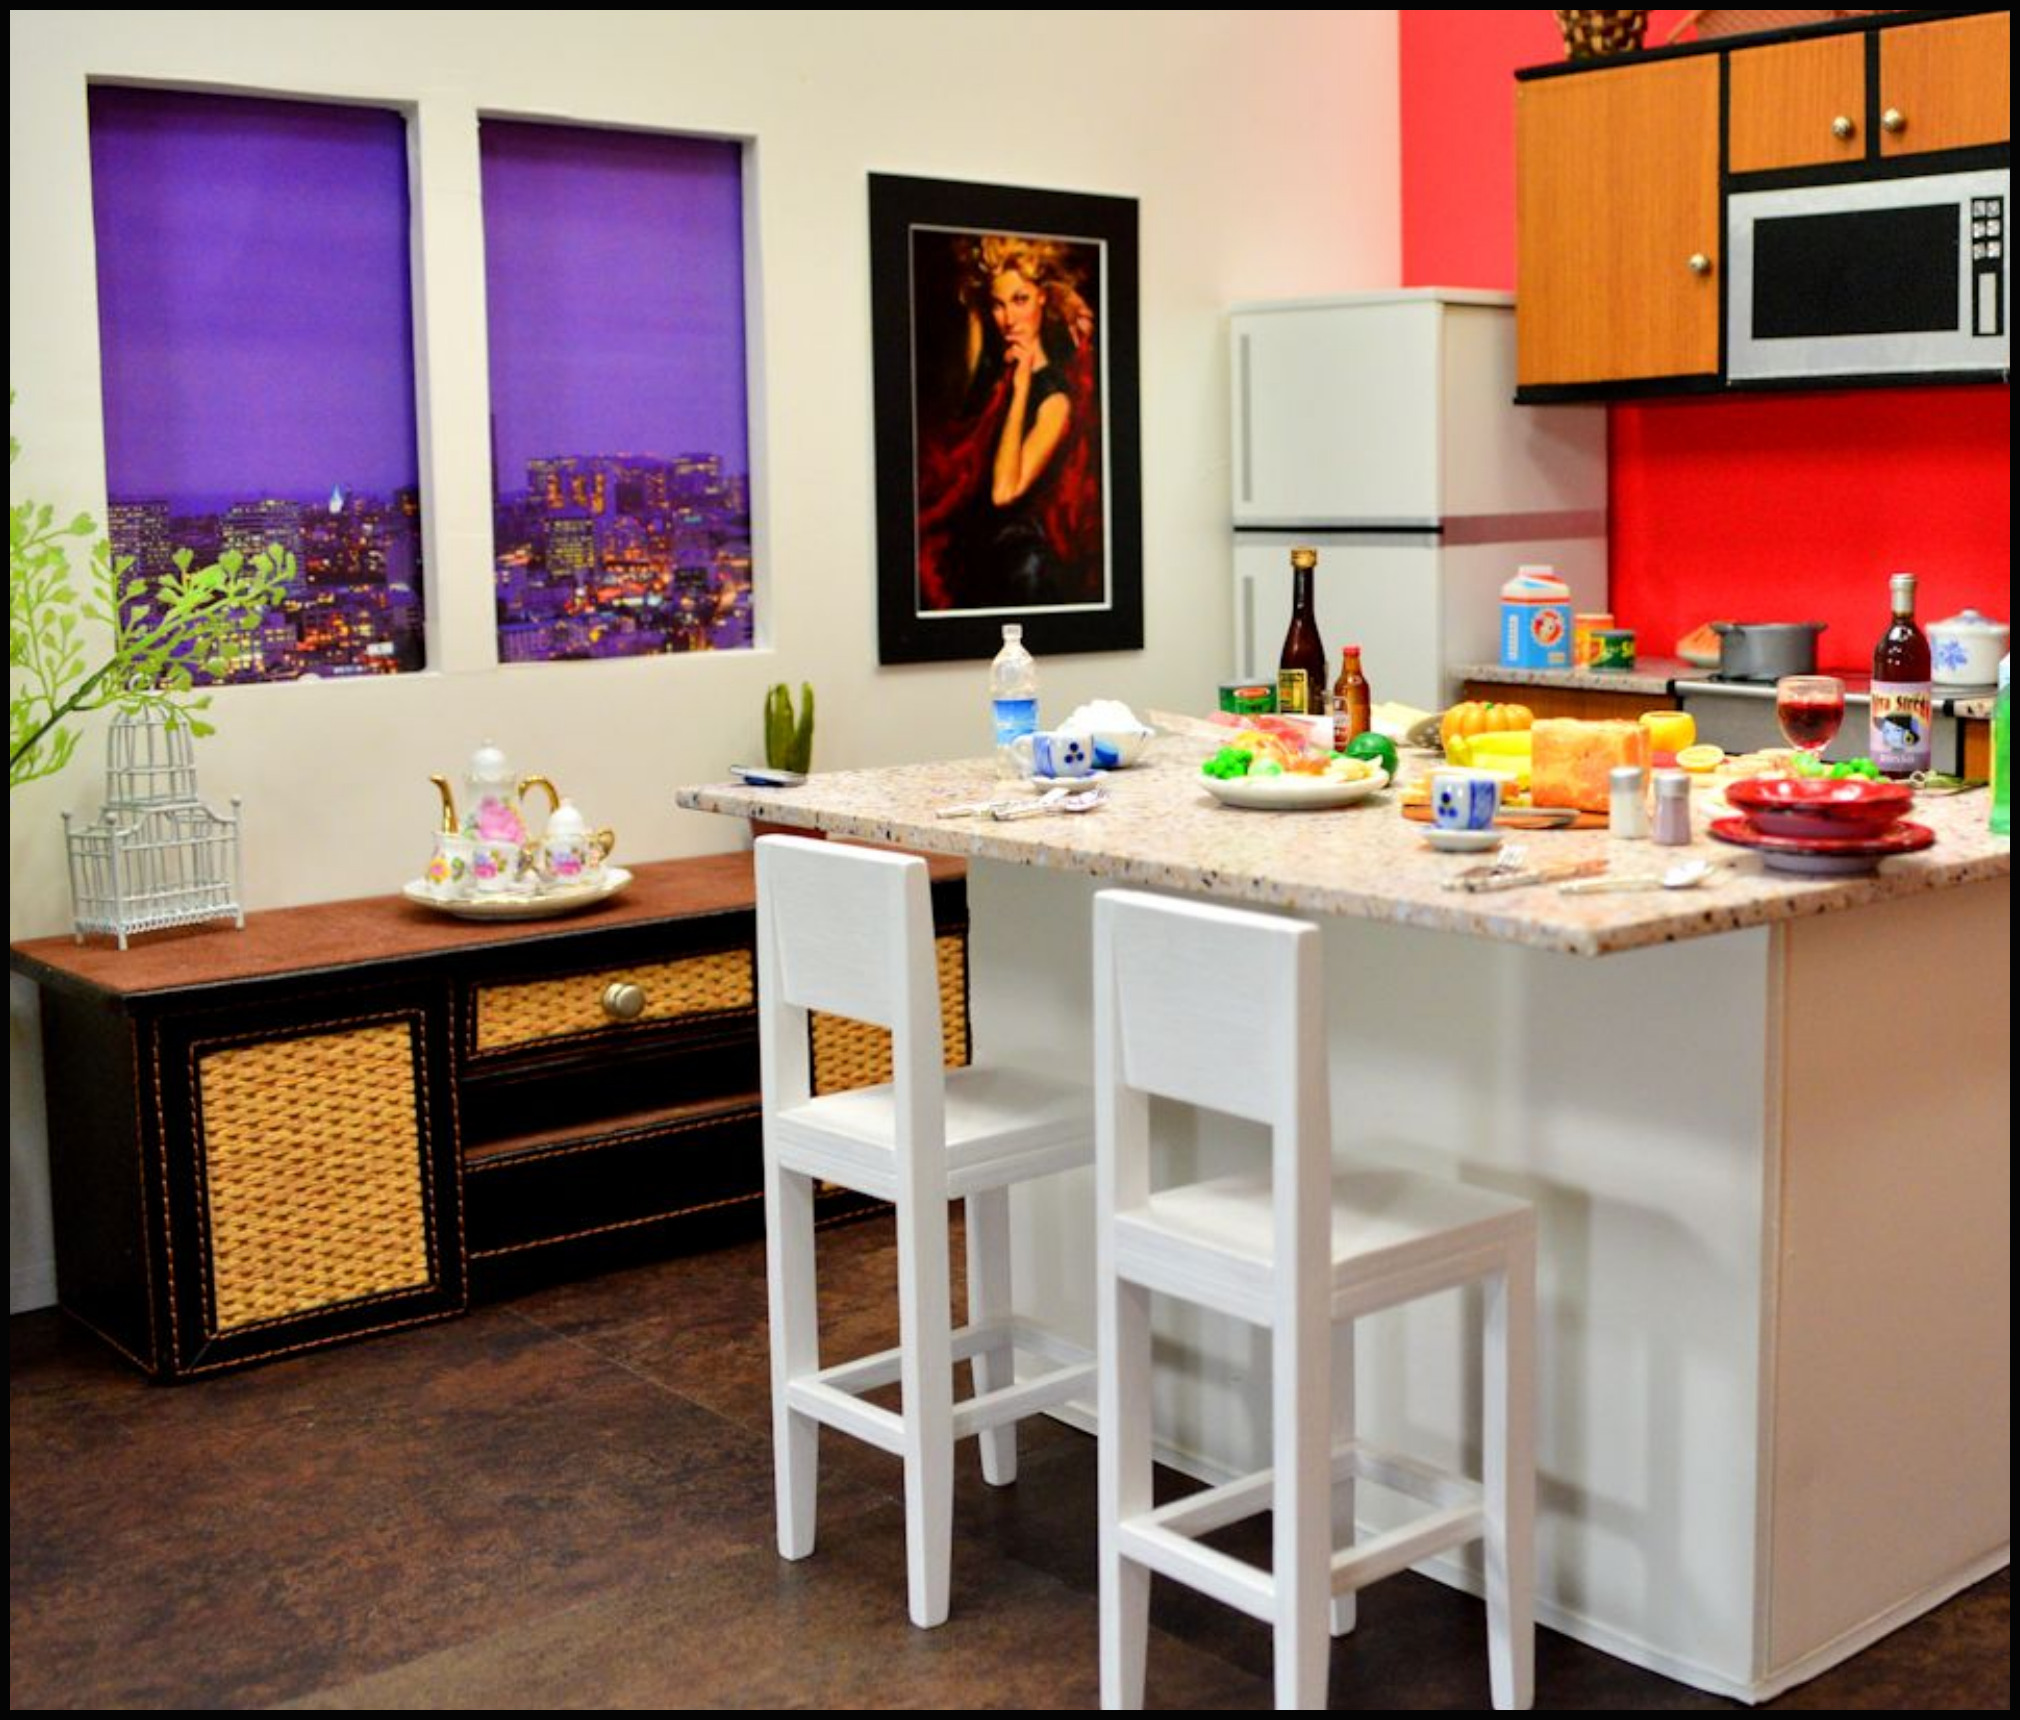
Above is a Playscale front and side doors for a Barbie doll house. With the door frame around it, neither is tall enough for my Integrity Fashion Royalty dolls which can reach 12.5″ to 13″. They look great in the background, but I can’t actually have my dolls walking through these doors as they’ll have to duck down. Even my action figures look large next to them. In the photo below I lifted the door several inches up, put stairs under it to make it it look taller. These doors actually have hinge-type system and will open and close easily.
Open doorways look best with either door frames around them, and well cut inside edges with no fraying (photo above).
Or with balsa wood strips covering the inside edges of the doorway either painted, wrapped in contact paper, or the raw wood like the photo to the right. This will cover all cutting flaws or frays in the foam board, plus it looks more realistic to have some type of frame around all your doors.
WINDOWS
Dollhouse 1:10 scale french doors can also be used for windows in this scale. They also have a hinge system and swing open (see photo below).
PRE-MADE VS. HOME MADE
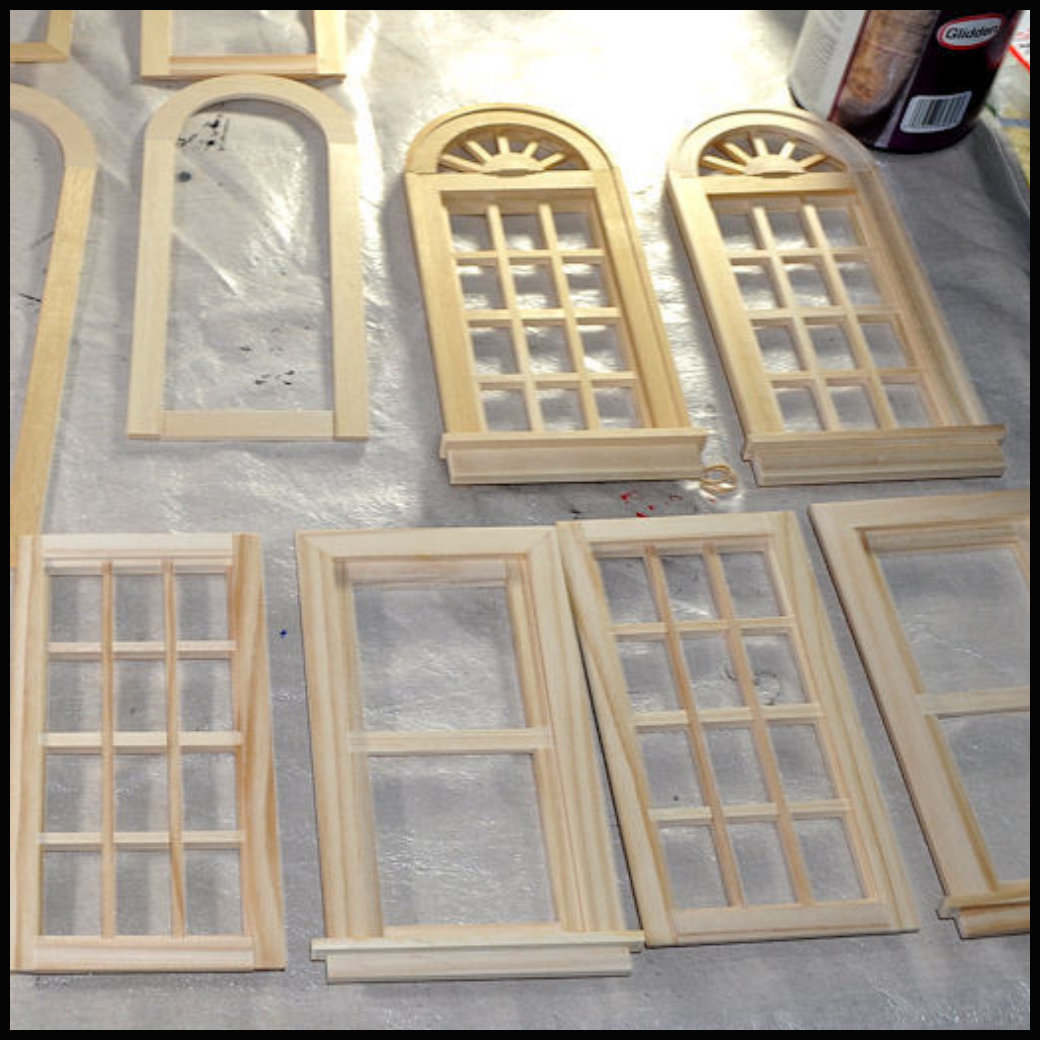
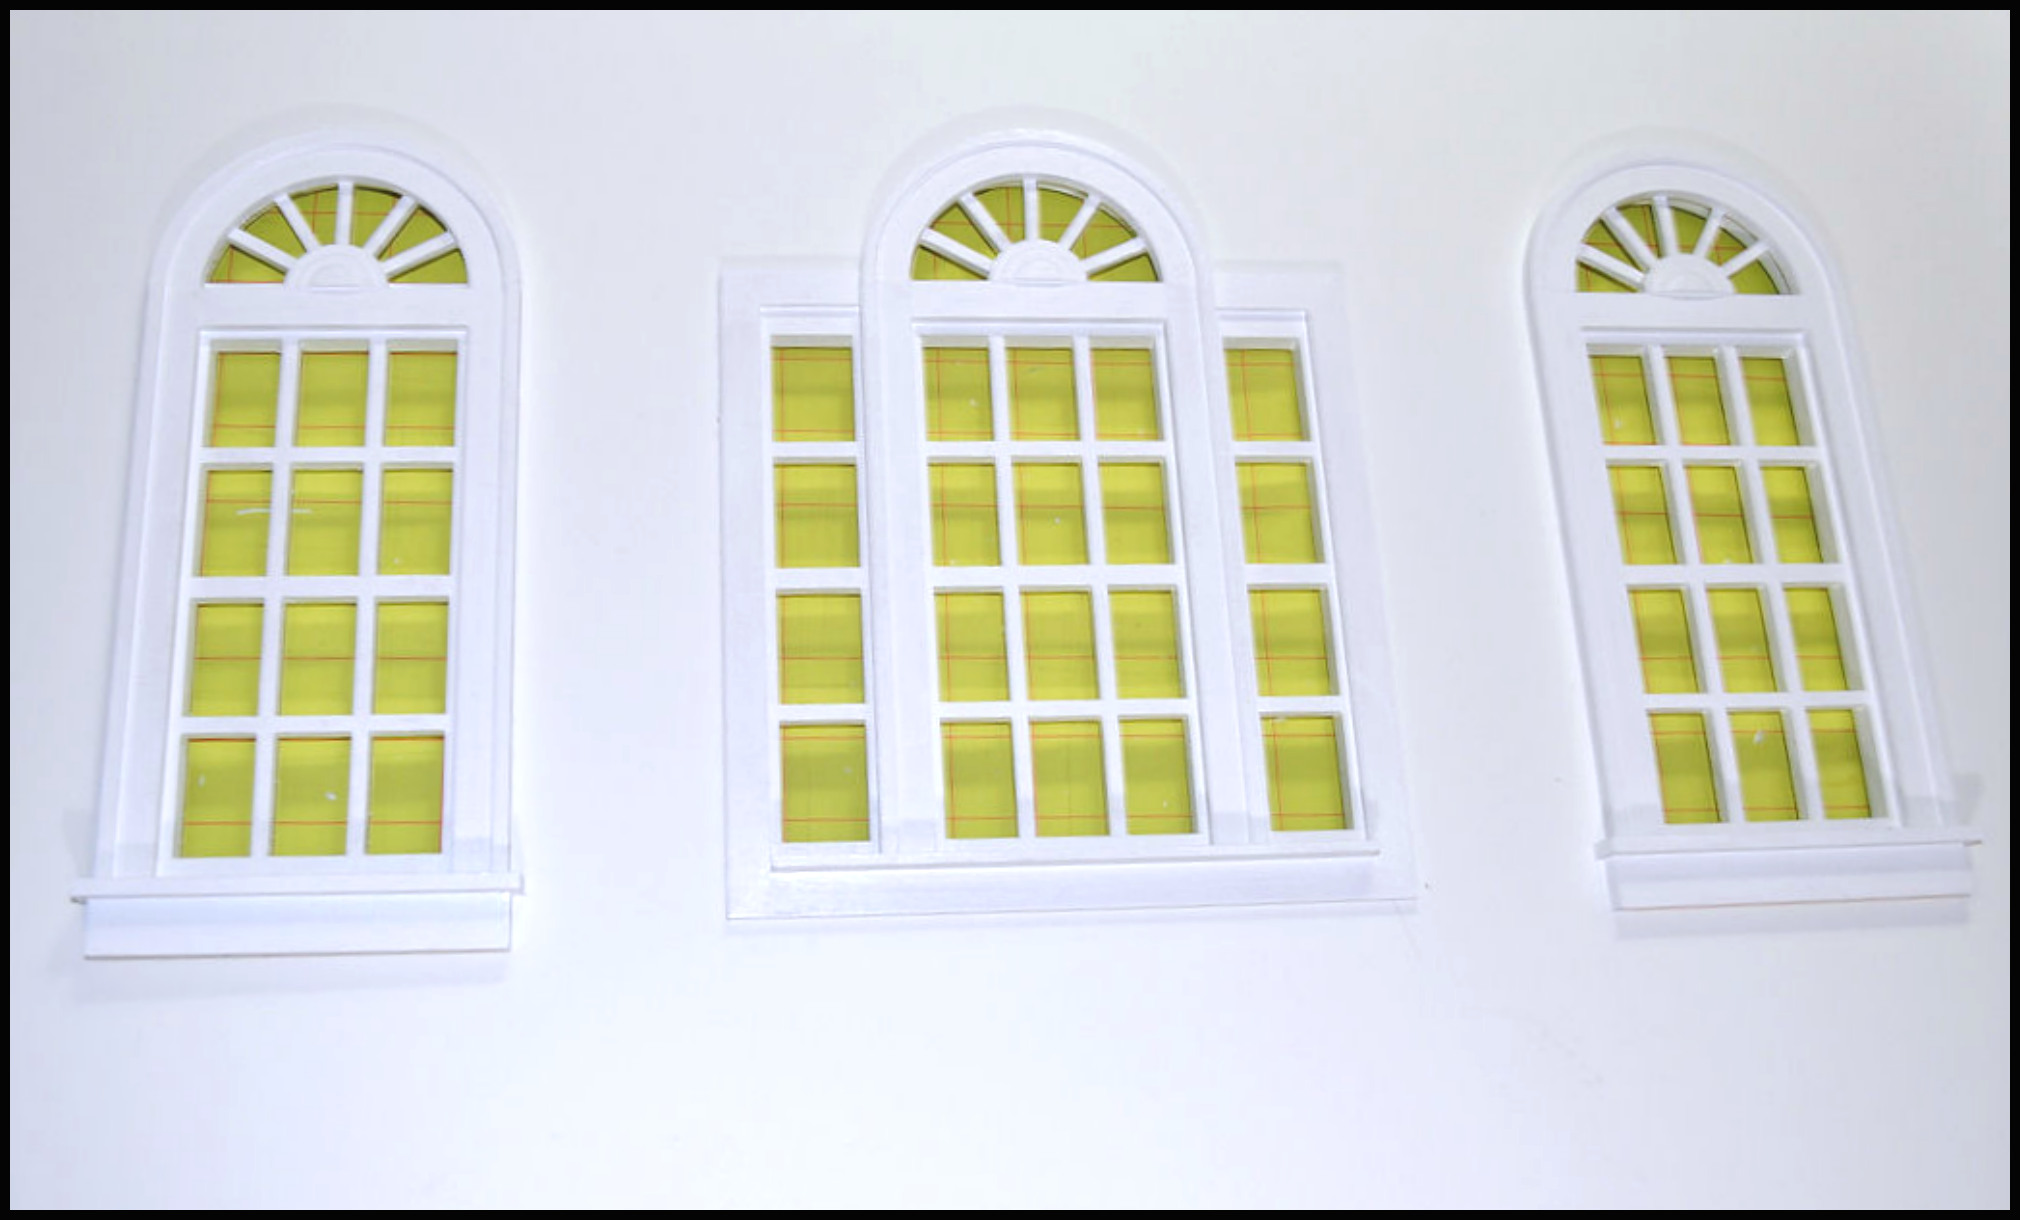
Unlike Playscale doors which are too short for my 1:6 scale figures, I adore the Playscale windows. They’re sturdy, made of wood, can be painted any color you like, and can be reused indefinitely in any type of configuration imaginable as long as you cut the hole in the 1/2″ thick foam board to fit them in.
They don’t have a lot of styles of windows available, the two rounded top ones in the photo to the left and rectangular two pane and several pane ones shown below.

WOOD DOLLHOUSE WINDOWS (PLAYSCALE & 1/10 SCALE)
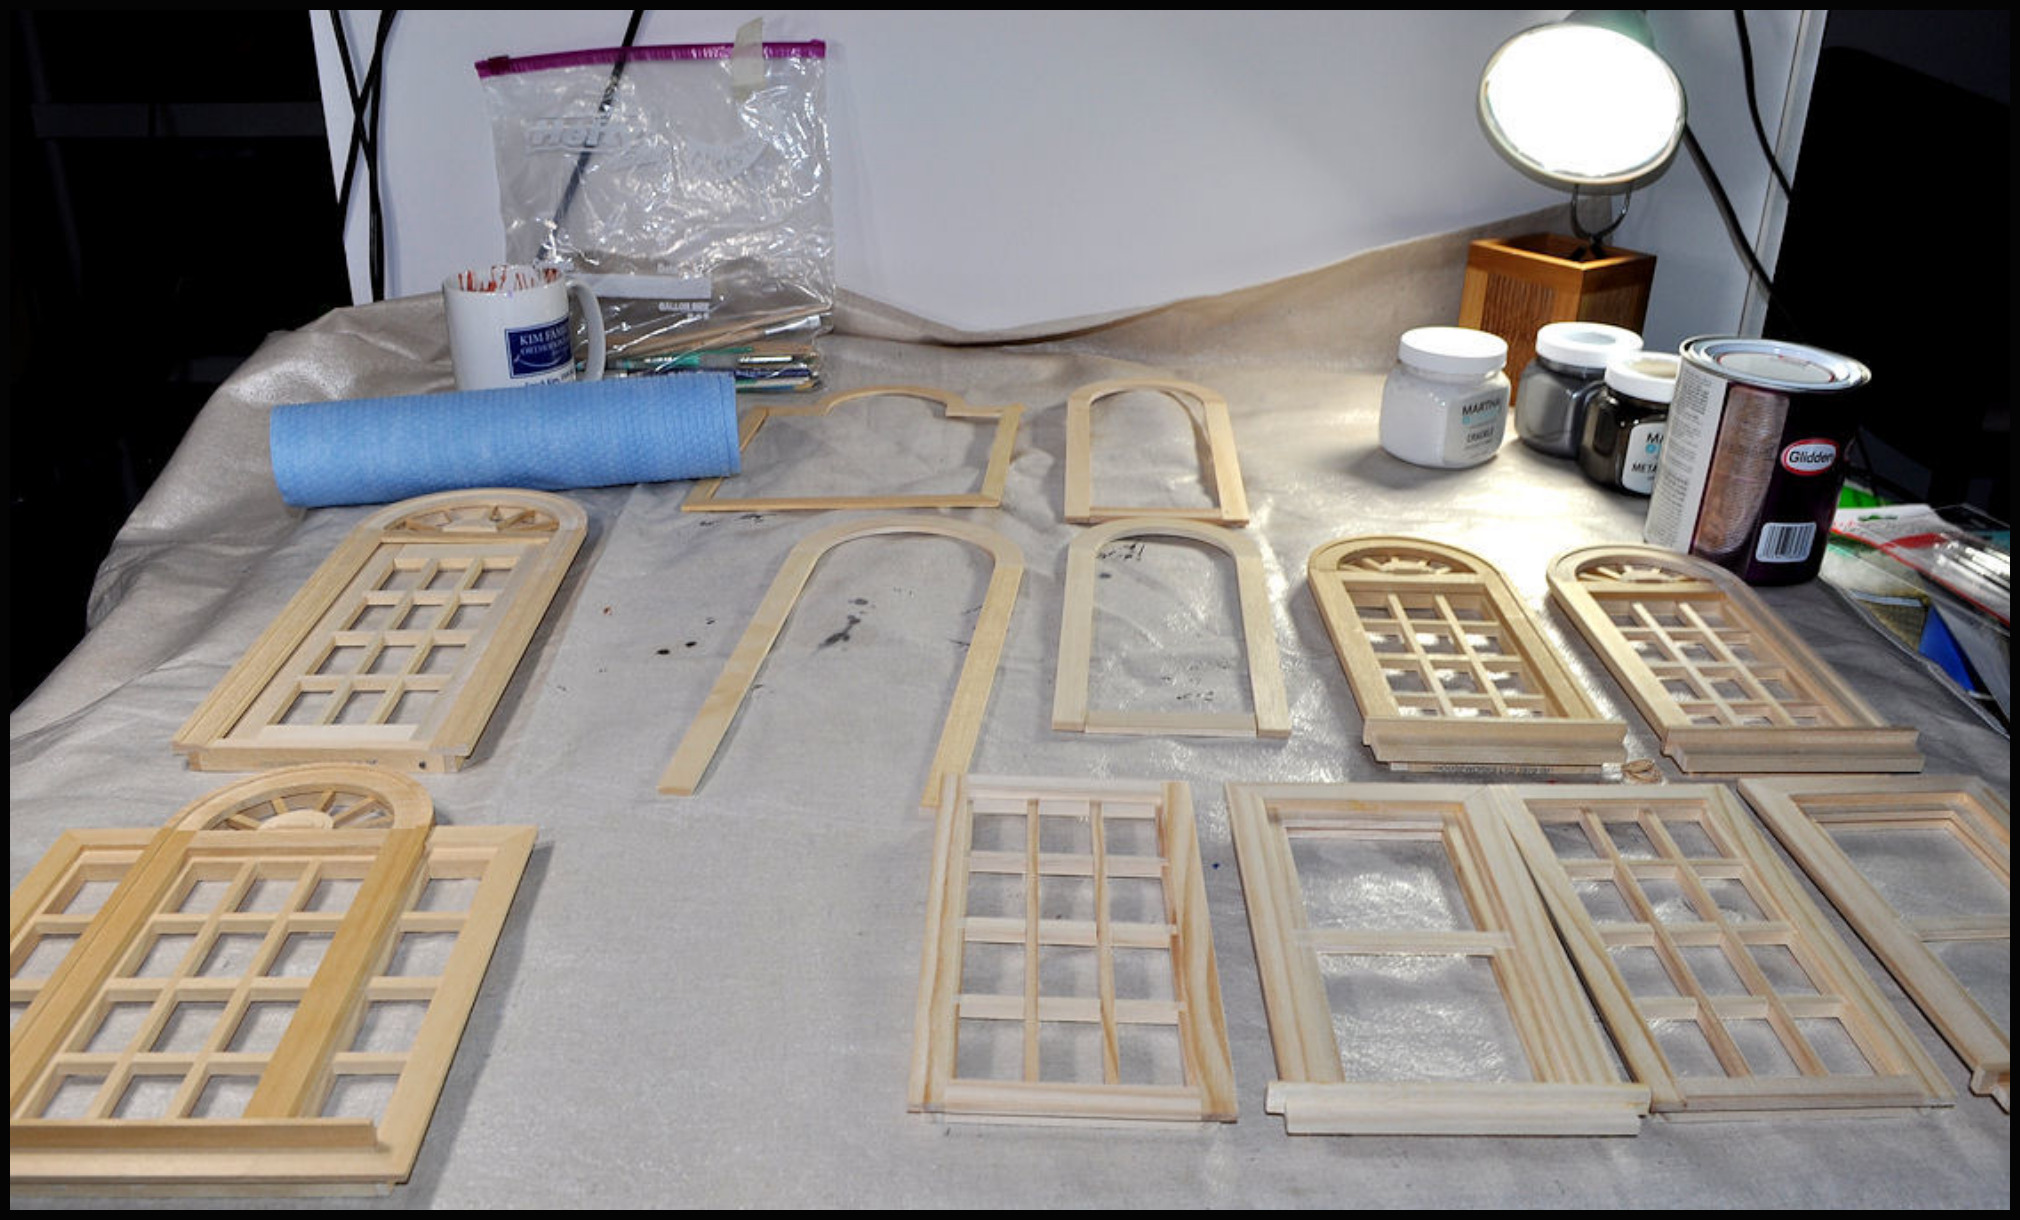

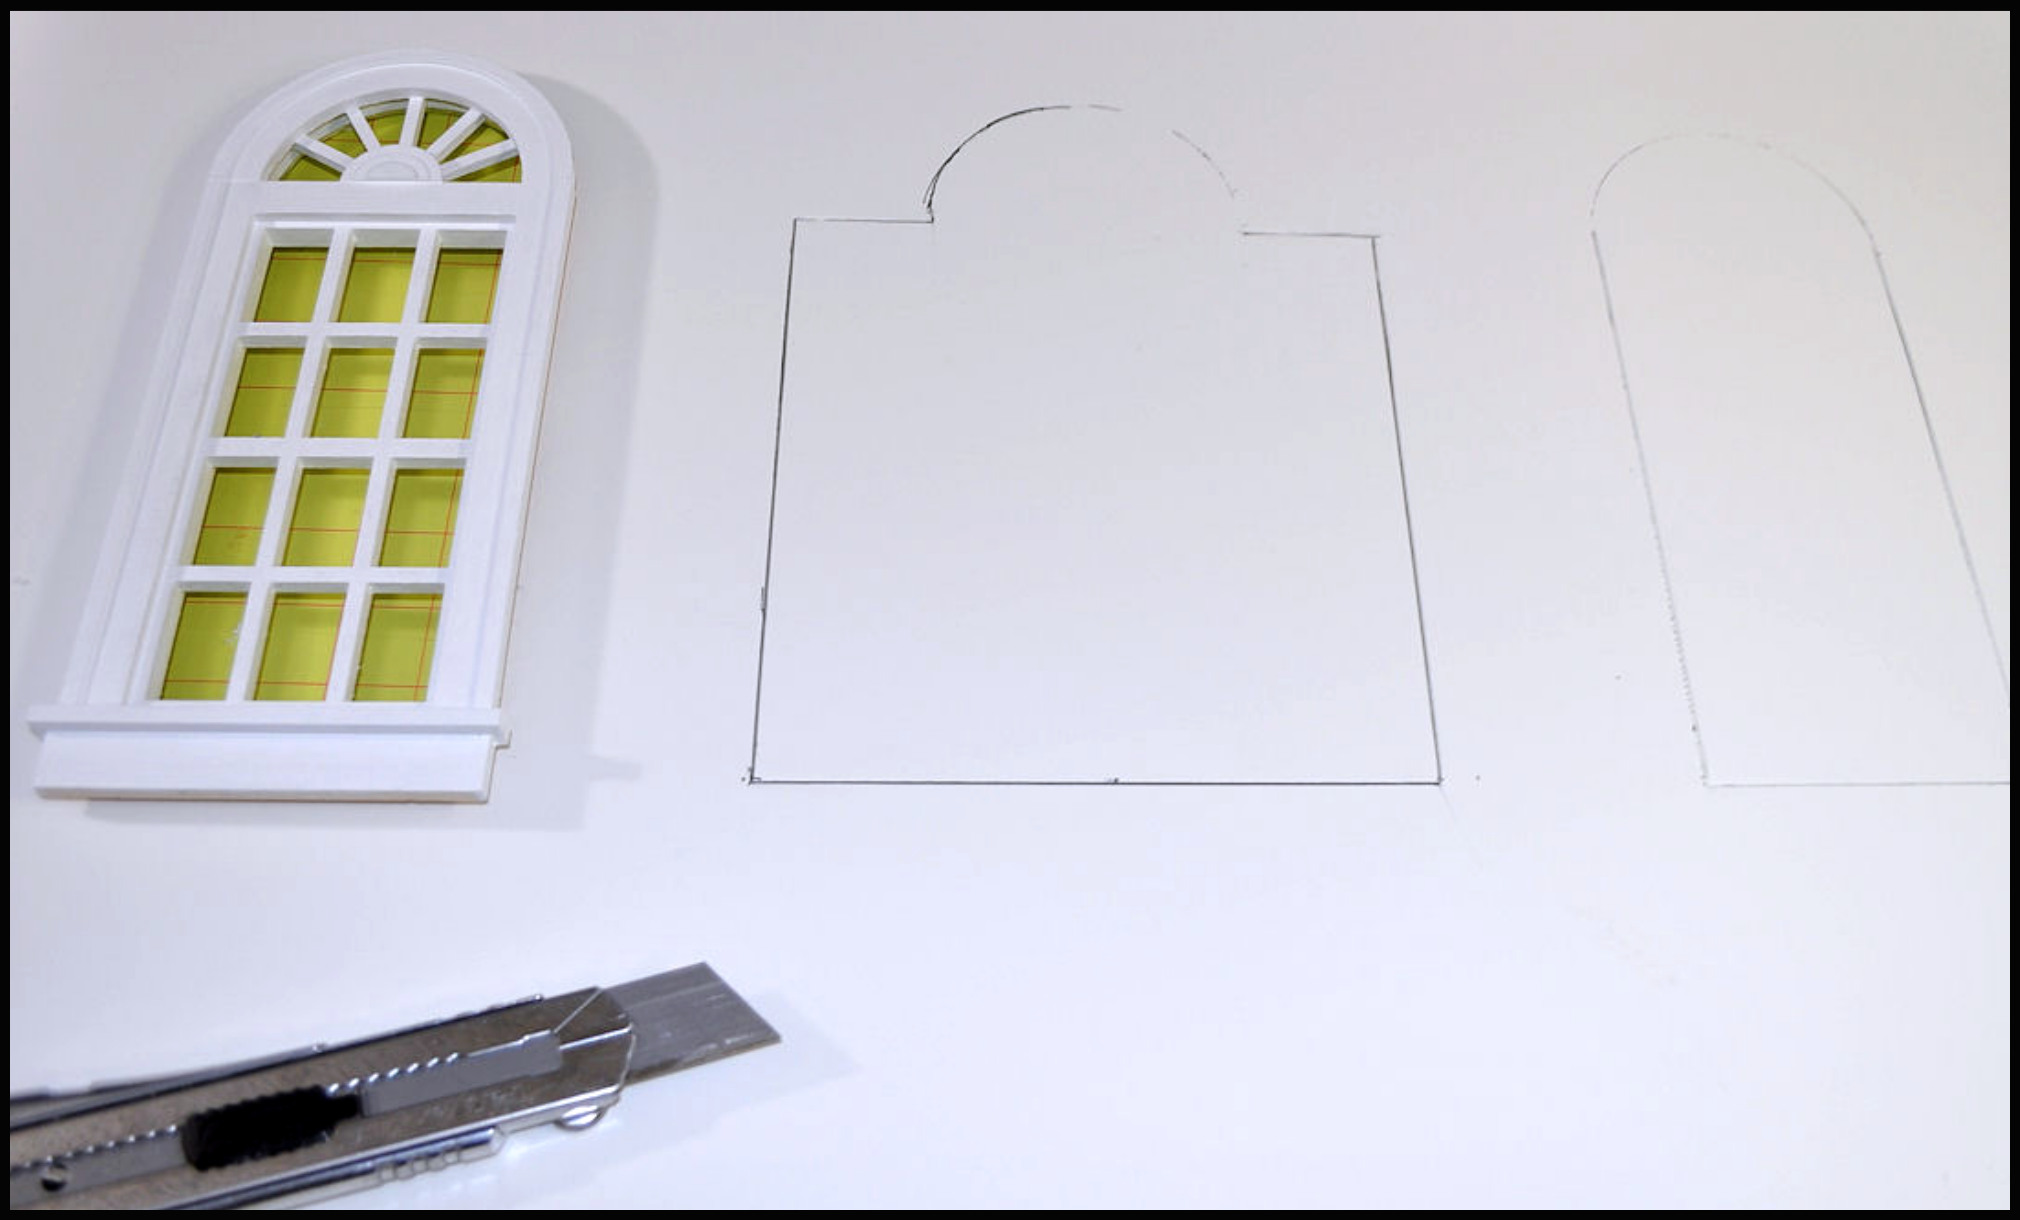
Making my own windows when I want larger windows, I either:
(1) Cut around a piece of pre-cut Plexiglass that will fit inside the windowsill (Photo above).
(2) Cut a windowsill with no window in it any size or shape (photo to the right).
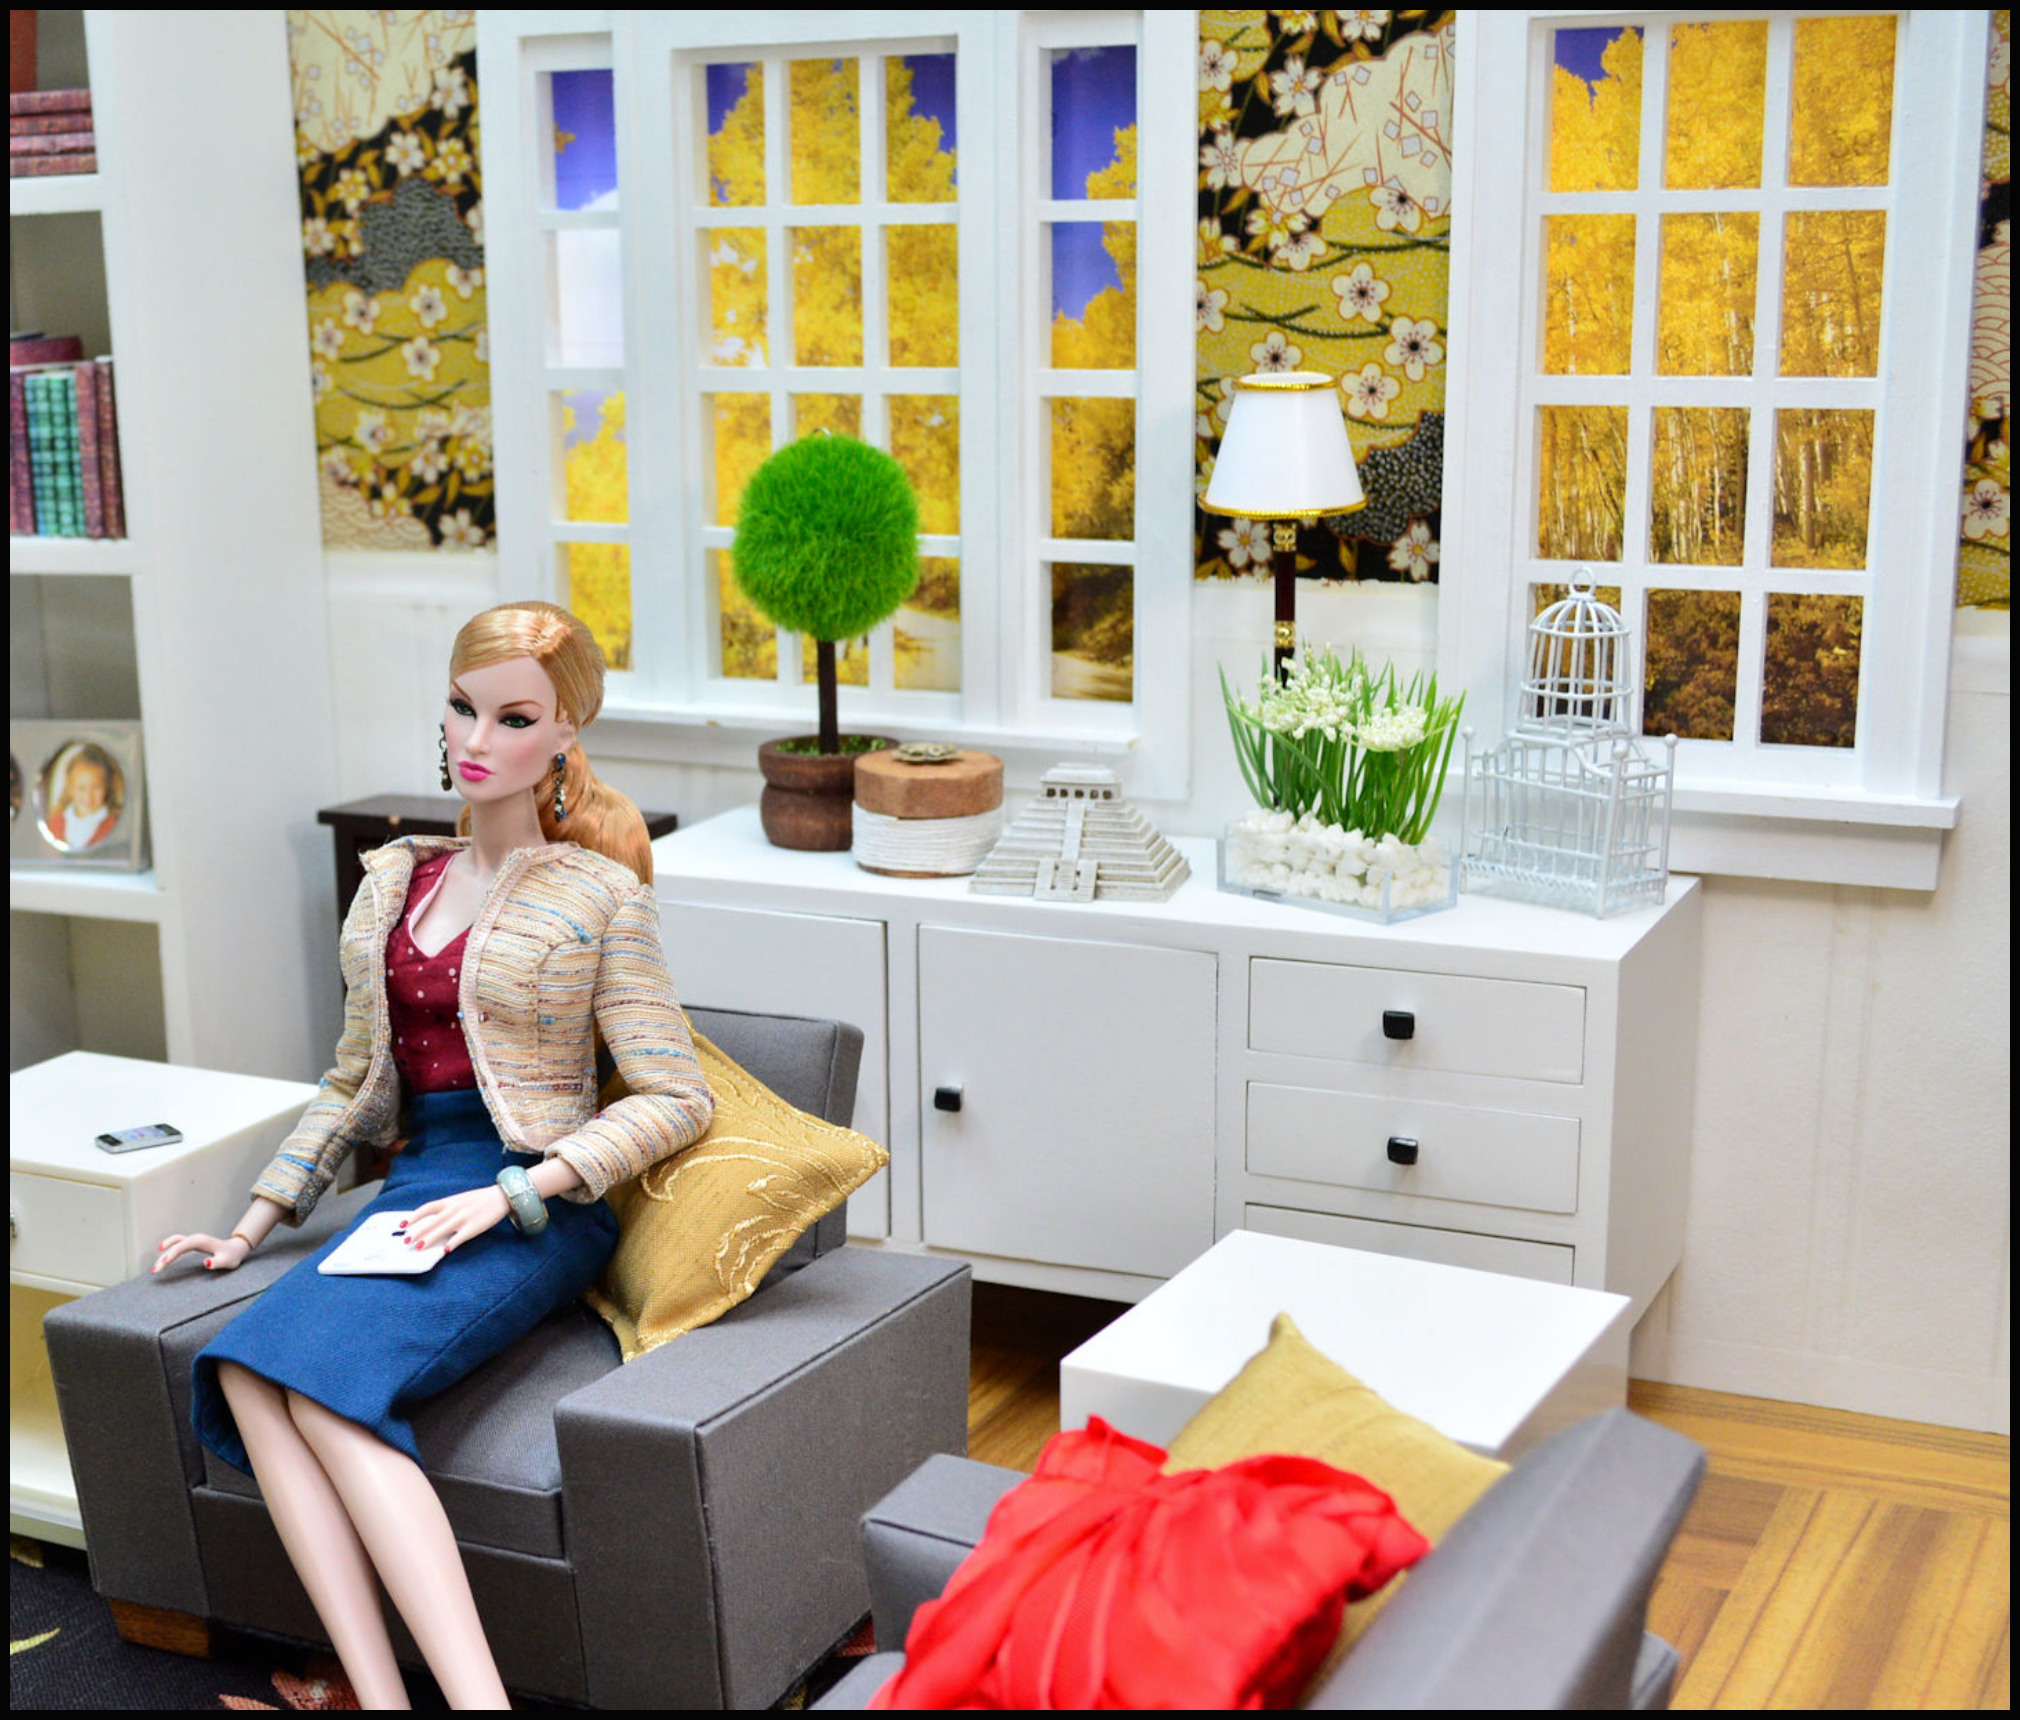
The size and shape of the window also is dependent on what will be seen through it from the room. If I’m planning on putting a photo up against the back of the wall and covering the window hole with the photo so it has a view, then I cut the window to the size of the photos I have. I use both Calendar photos and I go to Kinko’s and print out color photos of scenic views I get off the internet.
The most time consuming way to put a view through the windows is the green-screen the window area, then post production, photoshop a layered photo behind the diorama photo after you cut out the area inside the window, then merge them together. I try not to use this method very often because of the amount of hours it takes to do process my photos for one scene.
Easiest window: Filmed so you get light but can’t see through them. It’s cheating, but it works.
If you are lucky enough to have a great window you can push your diorama window up against to get a free, real view outside and sun light, DO IT!!!! I wish I had that.
FLOORS
LOTS OF CHOICES FOR FLOORING
I’ve tried many different types of materials to make flooring for my diorama rooms:
(1) Wall Shelving Boards in several different wood grain colors have been laid across my diorama table, I can fit 5 boards that make a 4′ x 5′ area. Then multiple diorama rooms will have the same flooring. I then pulled the boards out and switch them with different wood grains. Cons: if they get even slightly moist, they warp and wrinkle permanently. They get easily scratched, so be gentle when placing 1:6 scale furniture on them. Don’t drag items across them, pick them up and replace them.
(2) 3-Panel Project Board with human sized square floor tiles adhered to them (see photo to the right, the left criss/cross wood are tiles on cardboard. Pro: looks fantastic, Con: makes the board itself HEAVY, like 15-20 pounds heavy and awkward to lift, move, store, etc. Lifting it to get it on my diorama table is always a chore, and sometimes if bends and the a square tile pops off the board and has to be glued back on.
(3) Contact paper placed over cardboard project board, or 1/2″ thick foam board. This is the lightest and
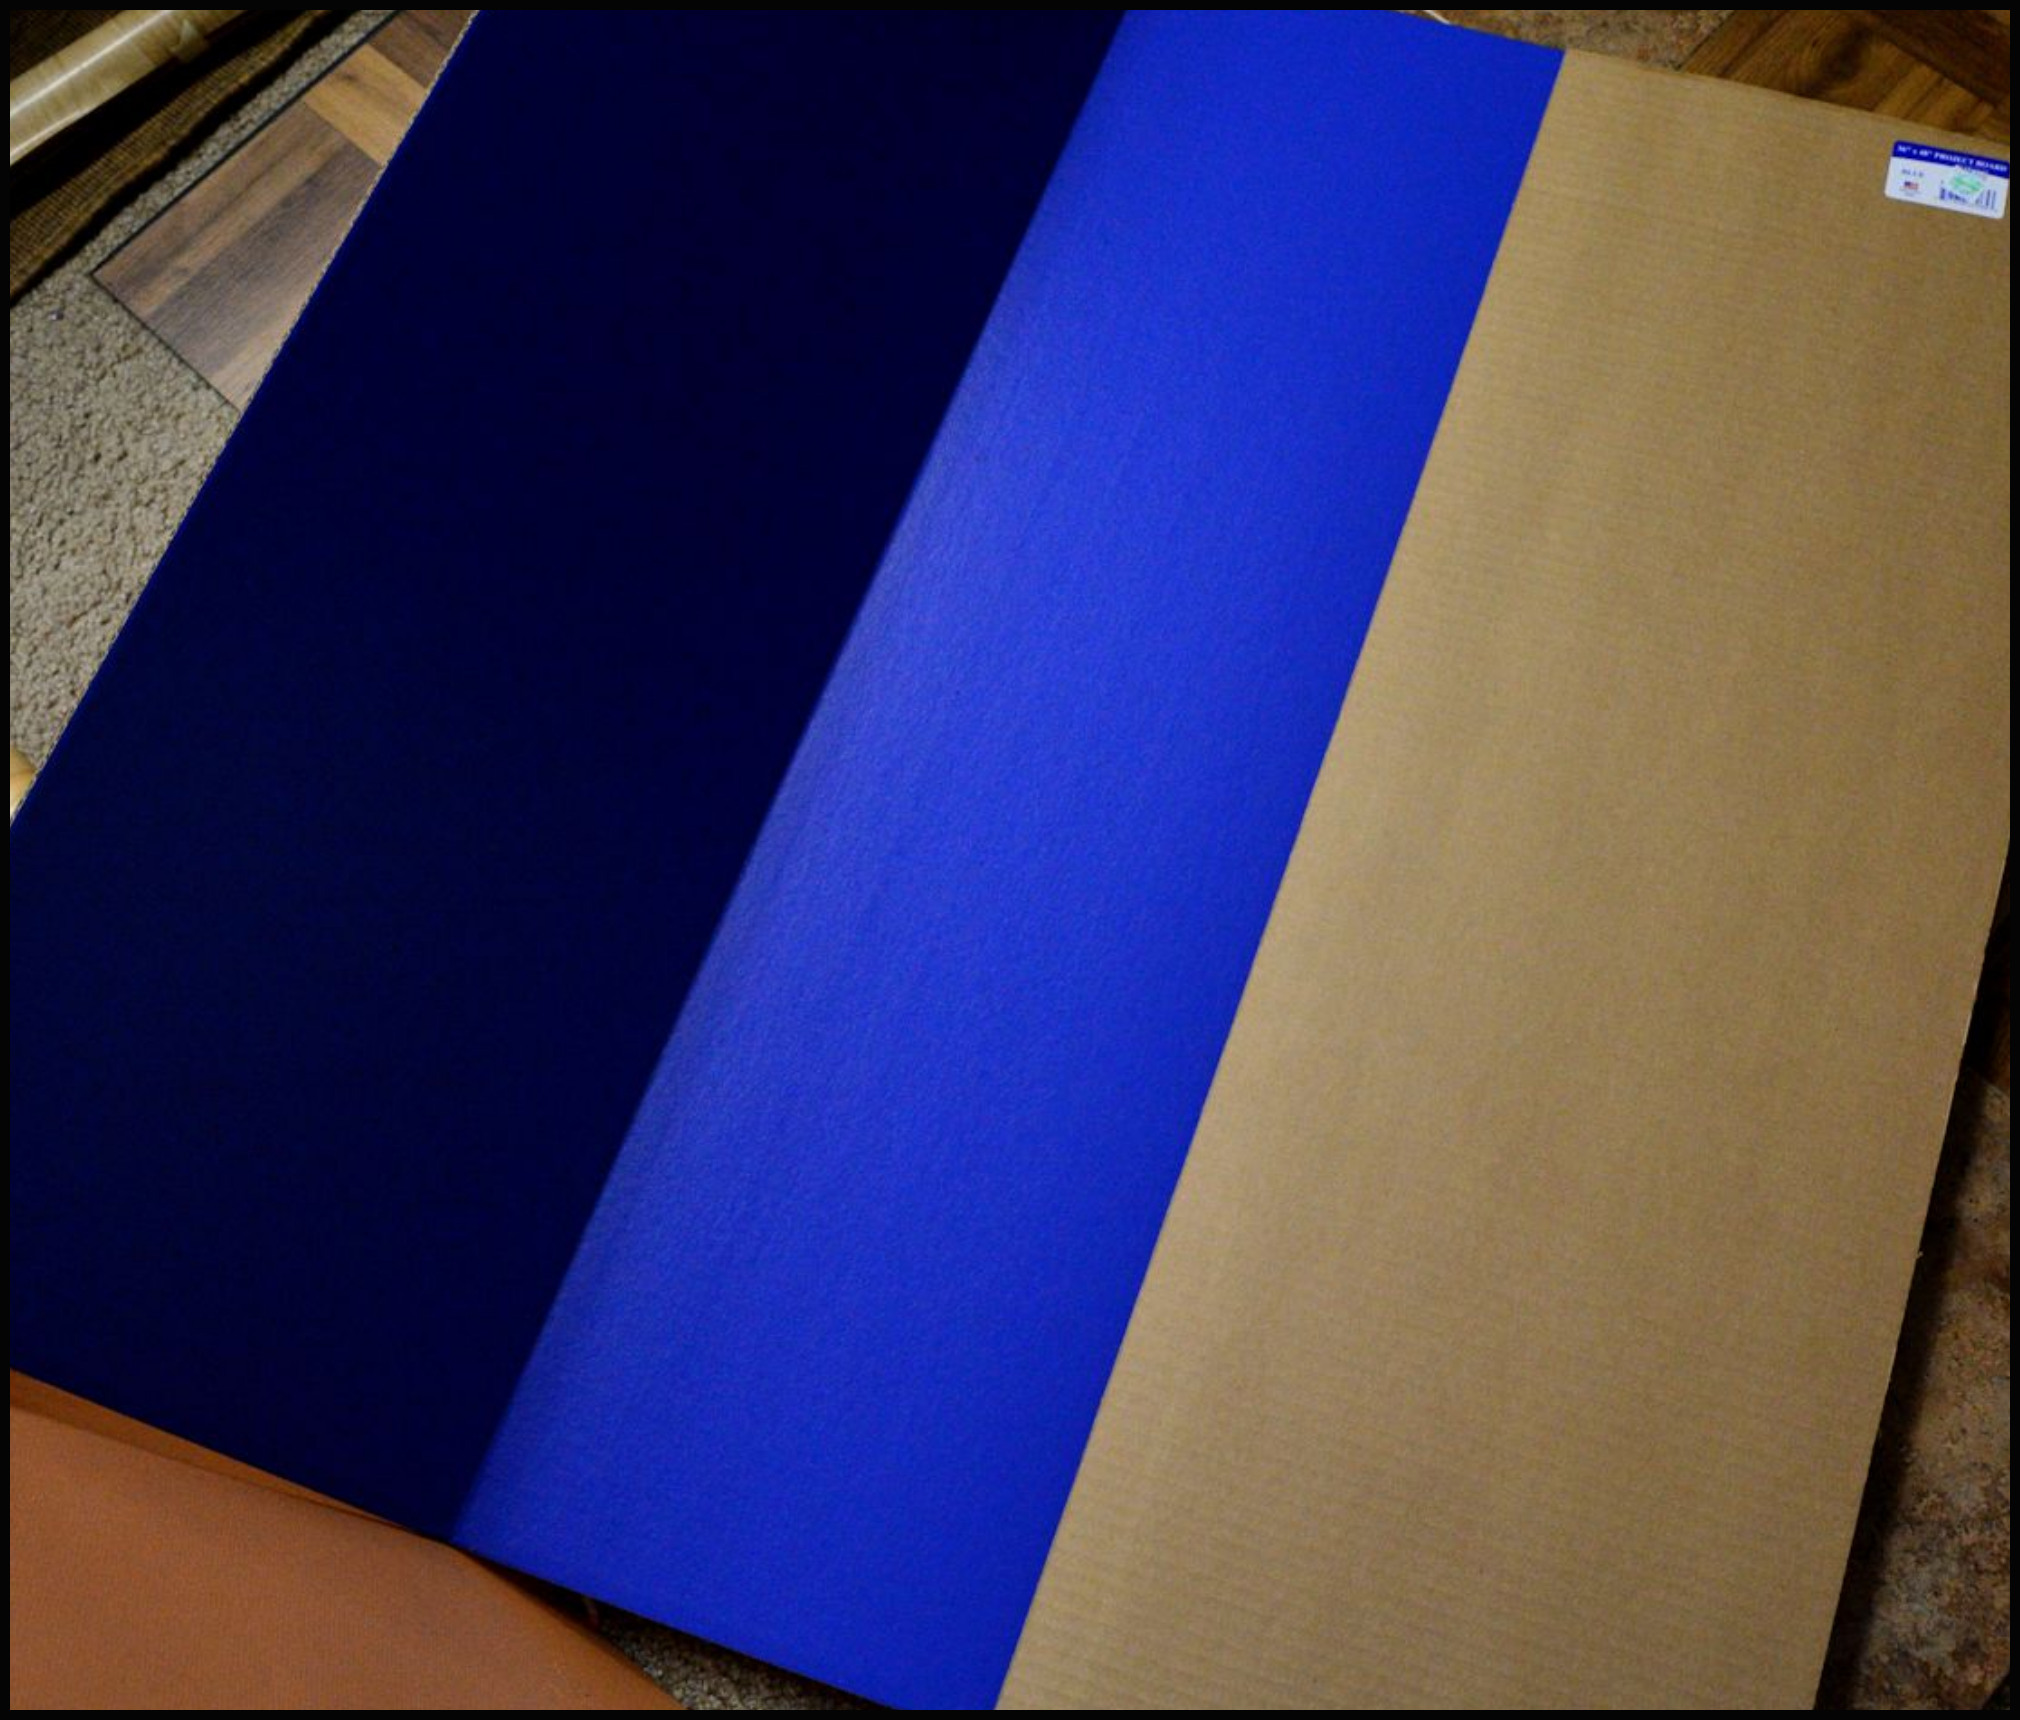
3-Panel 36″ x 48″ cardboard project board
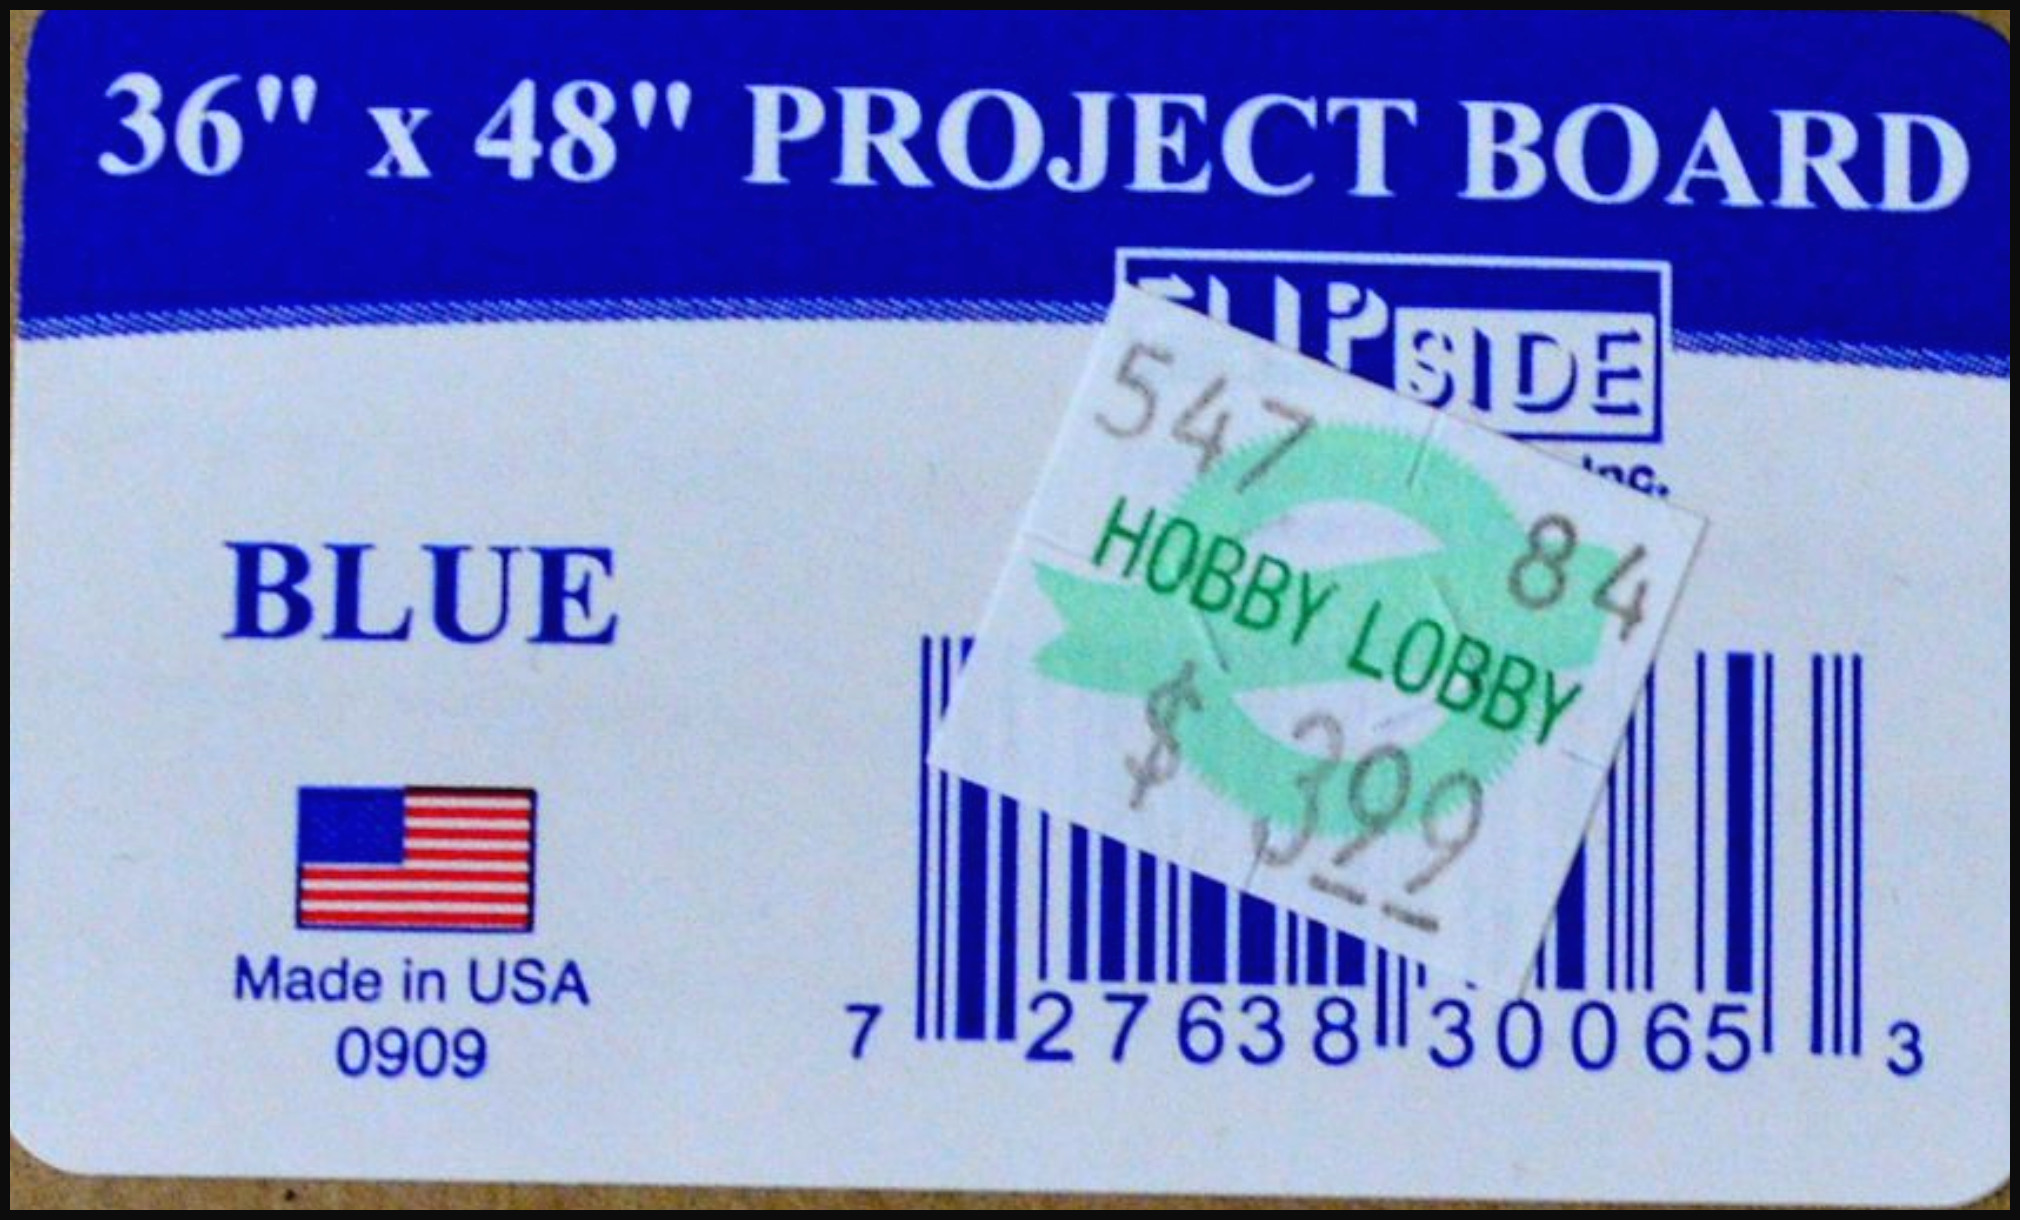
3-Panel 36″ x 48″ cardboard project board label
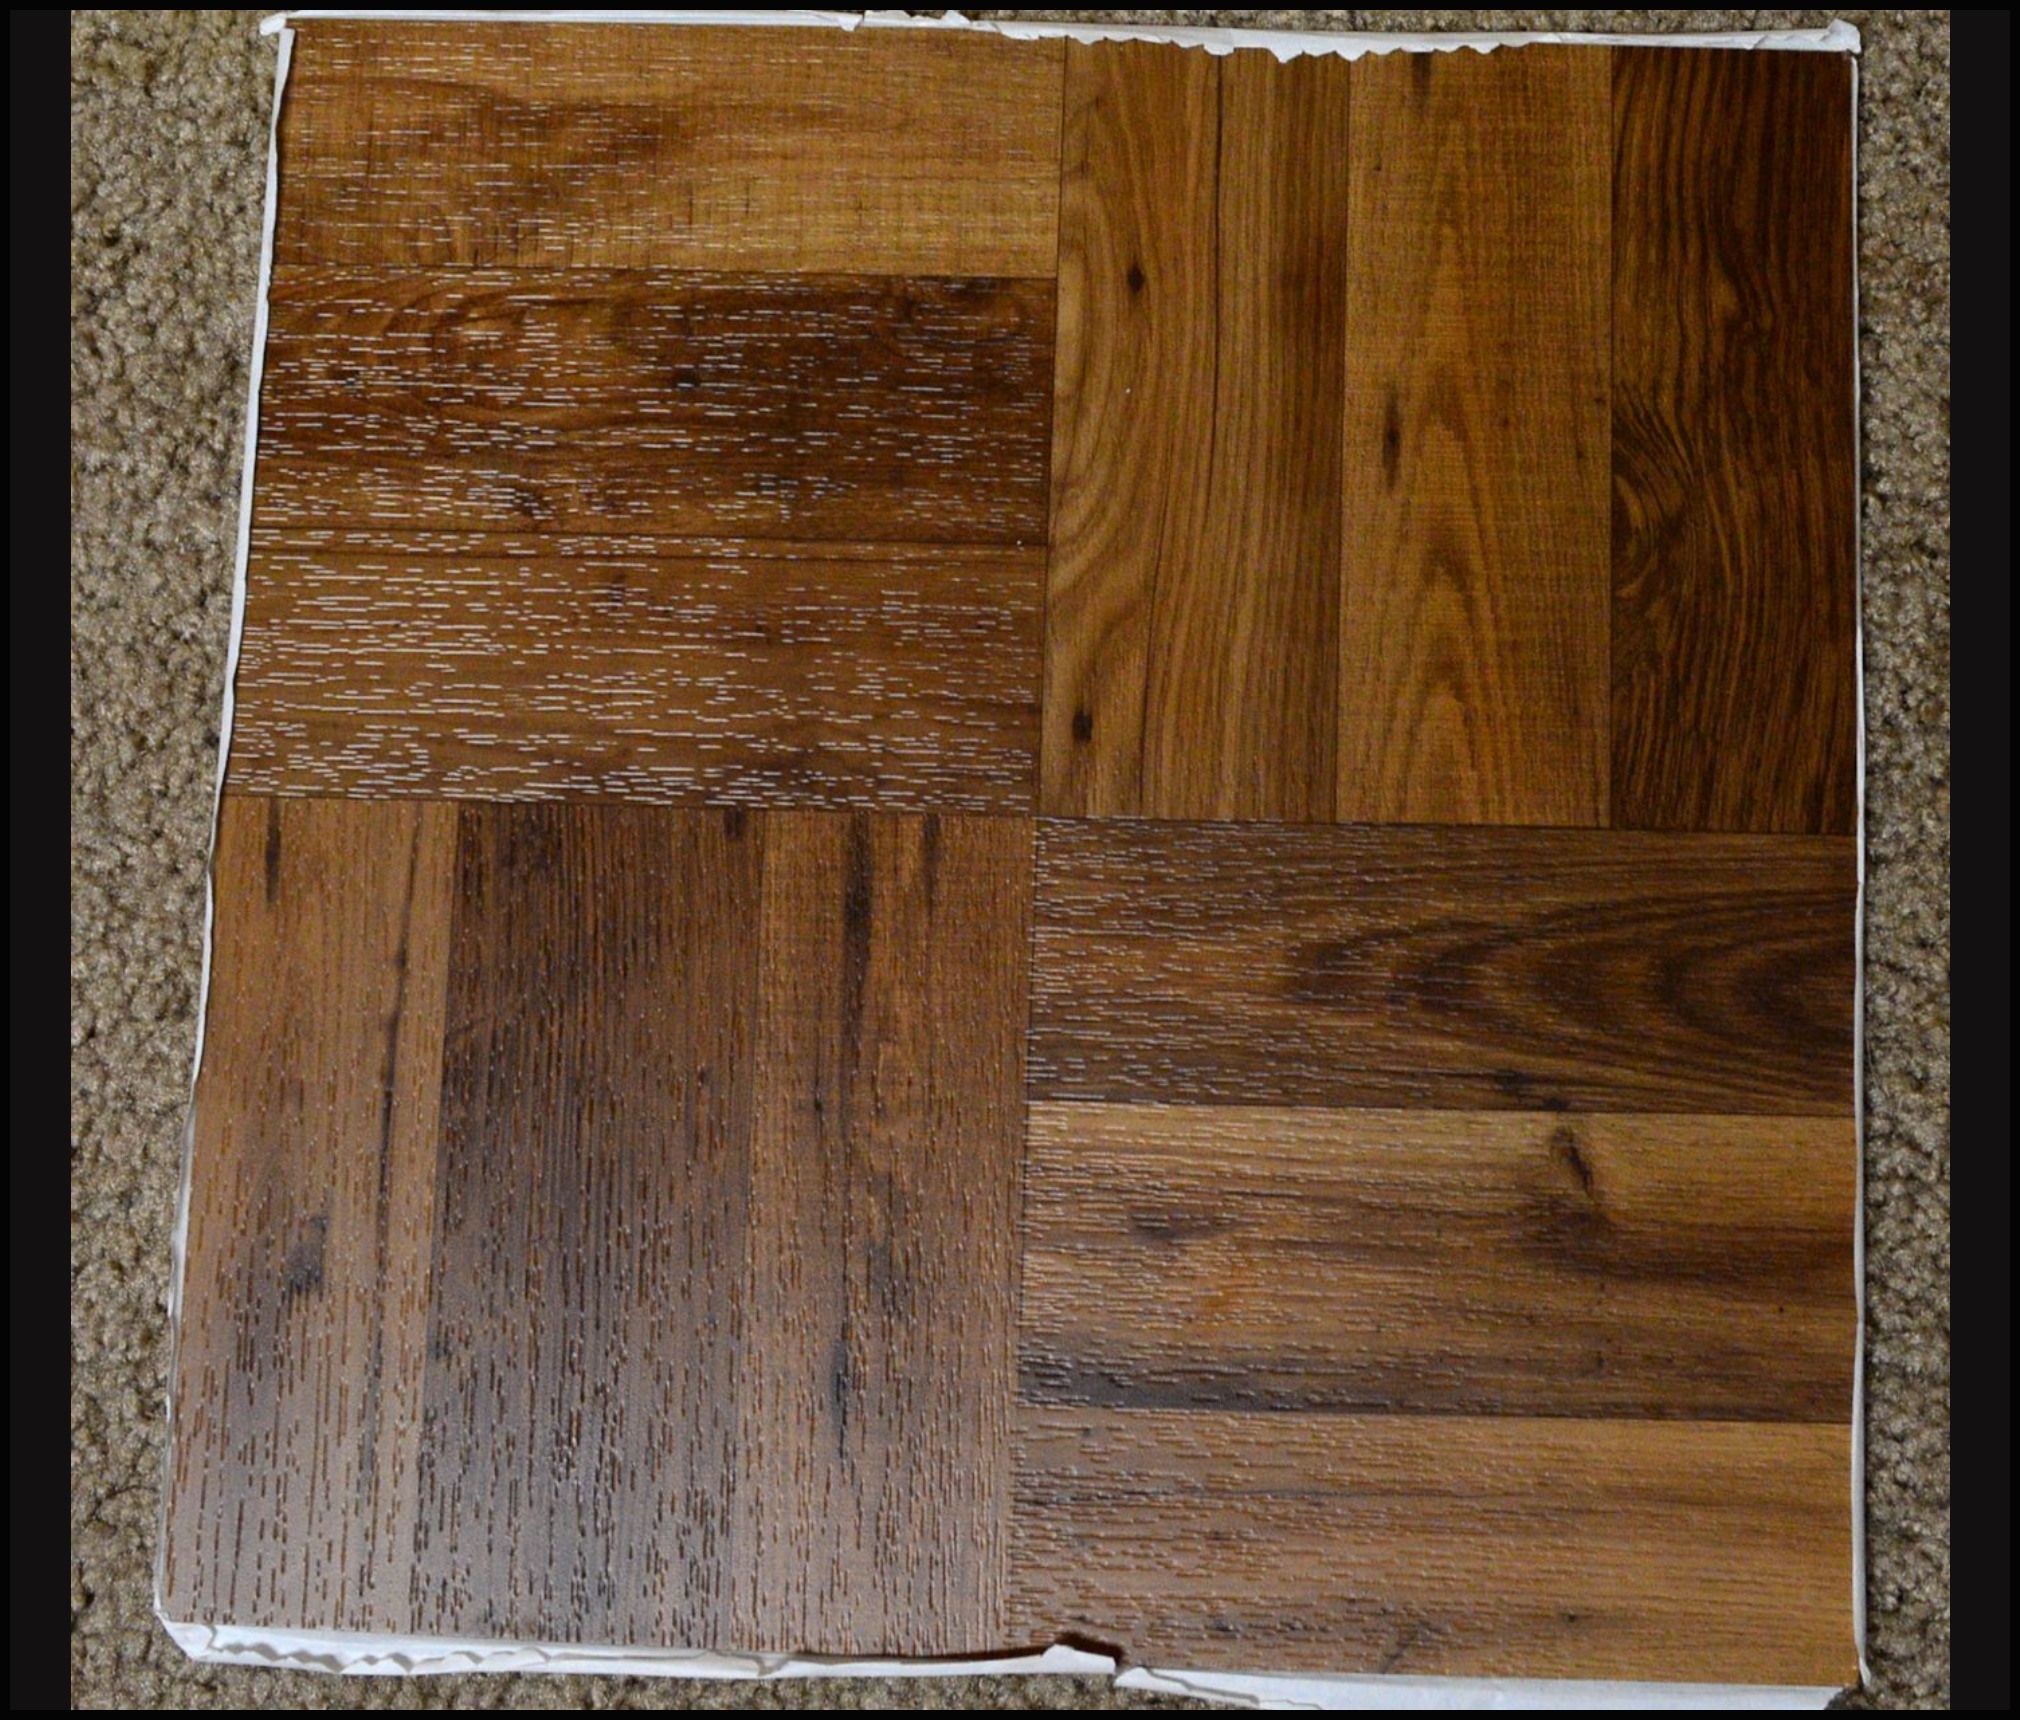
Square tile, with paper on back, peel it off and it has an adhesive glue to stick onto the cardboard
Square Tiles stuck to the board, closely placed side by side
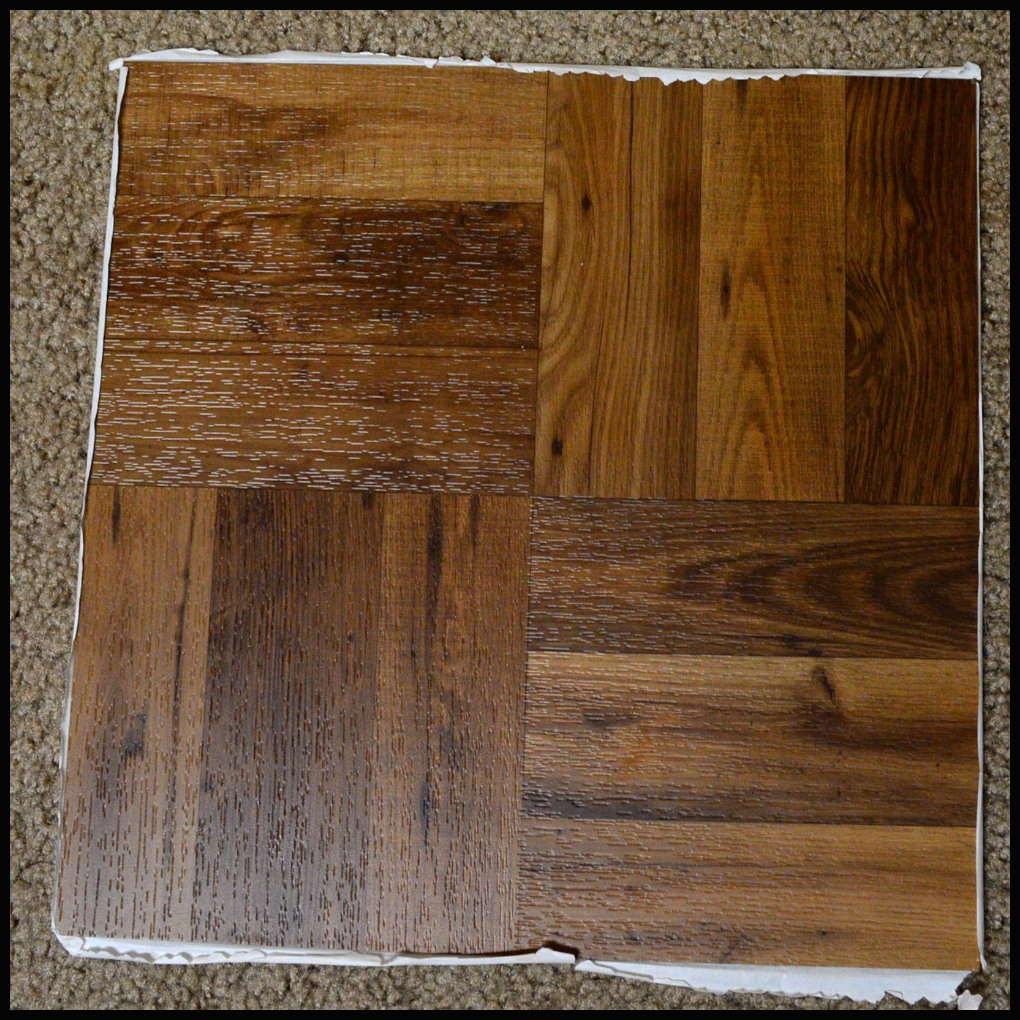
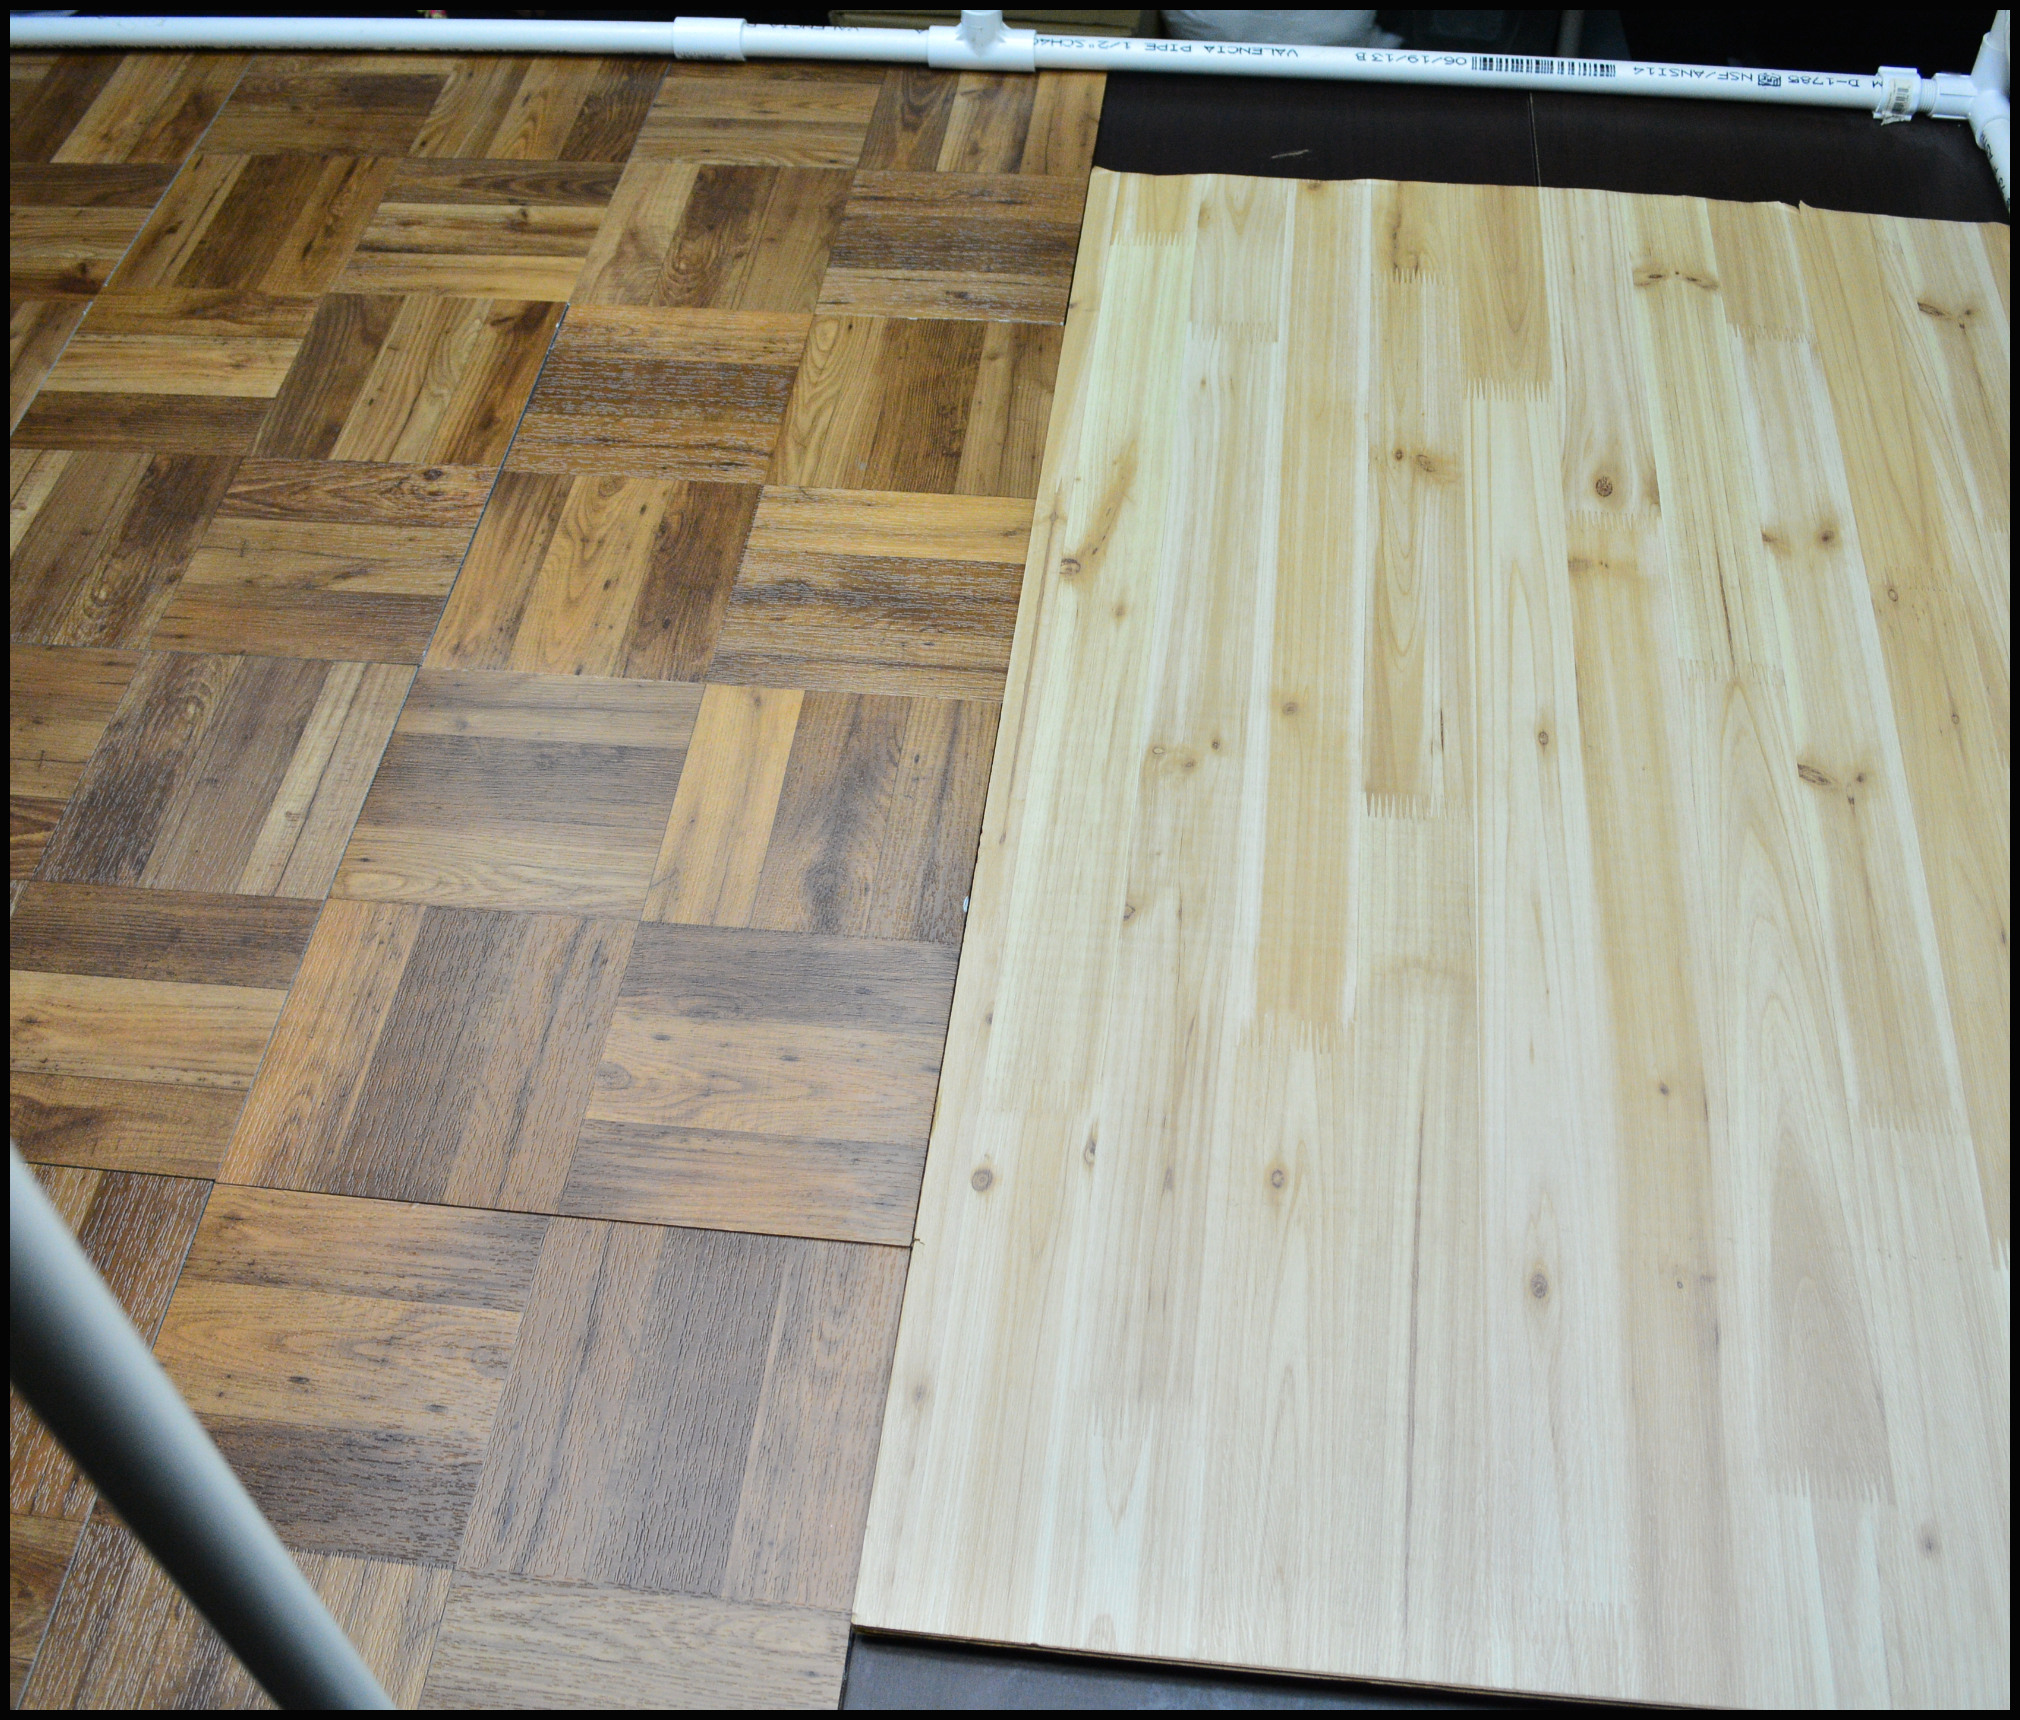
The floor above are two real wood flooring planks that fit together like a jigsaw puzzle. They were samples at Home Depot that were being discontinued. I convinced them to sell them to me.
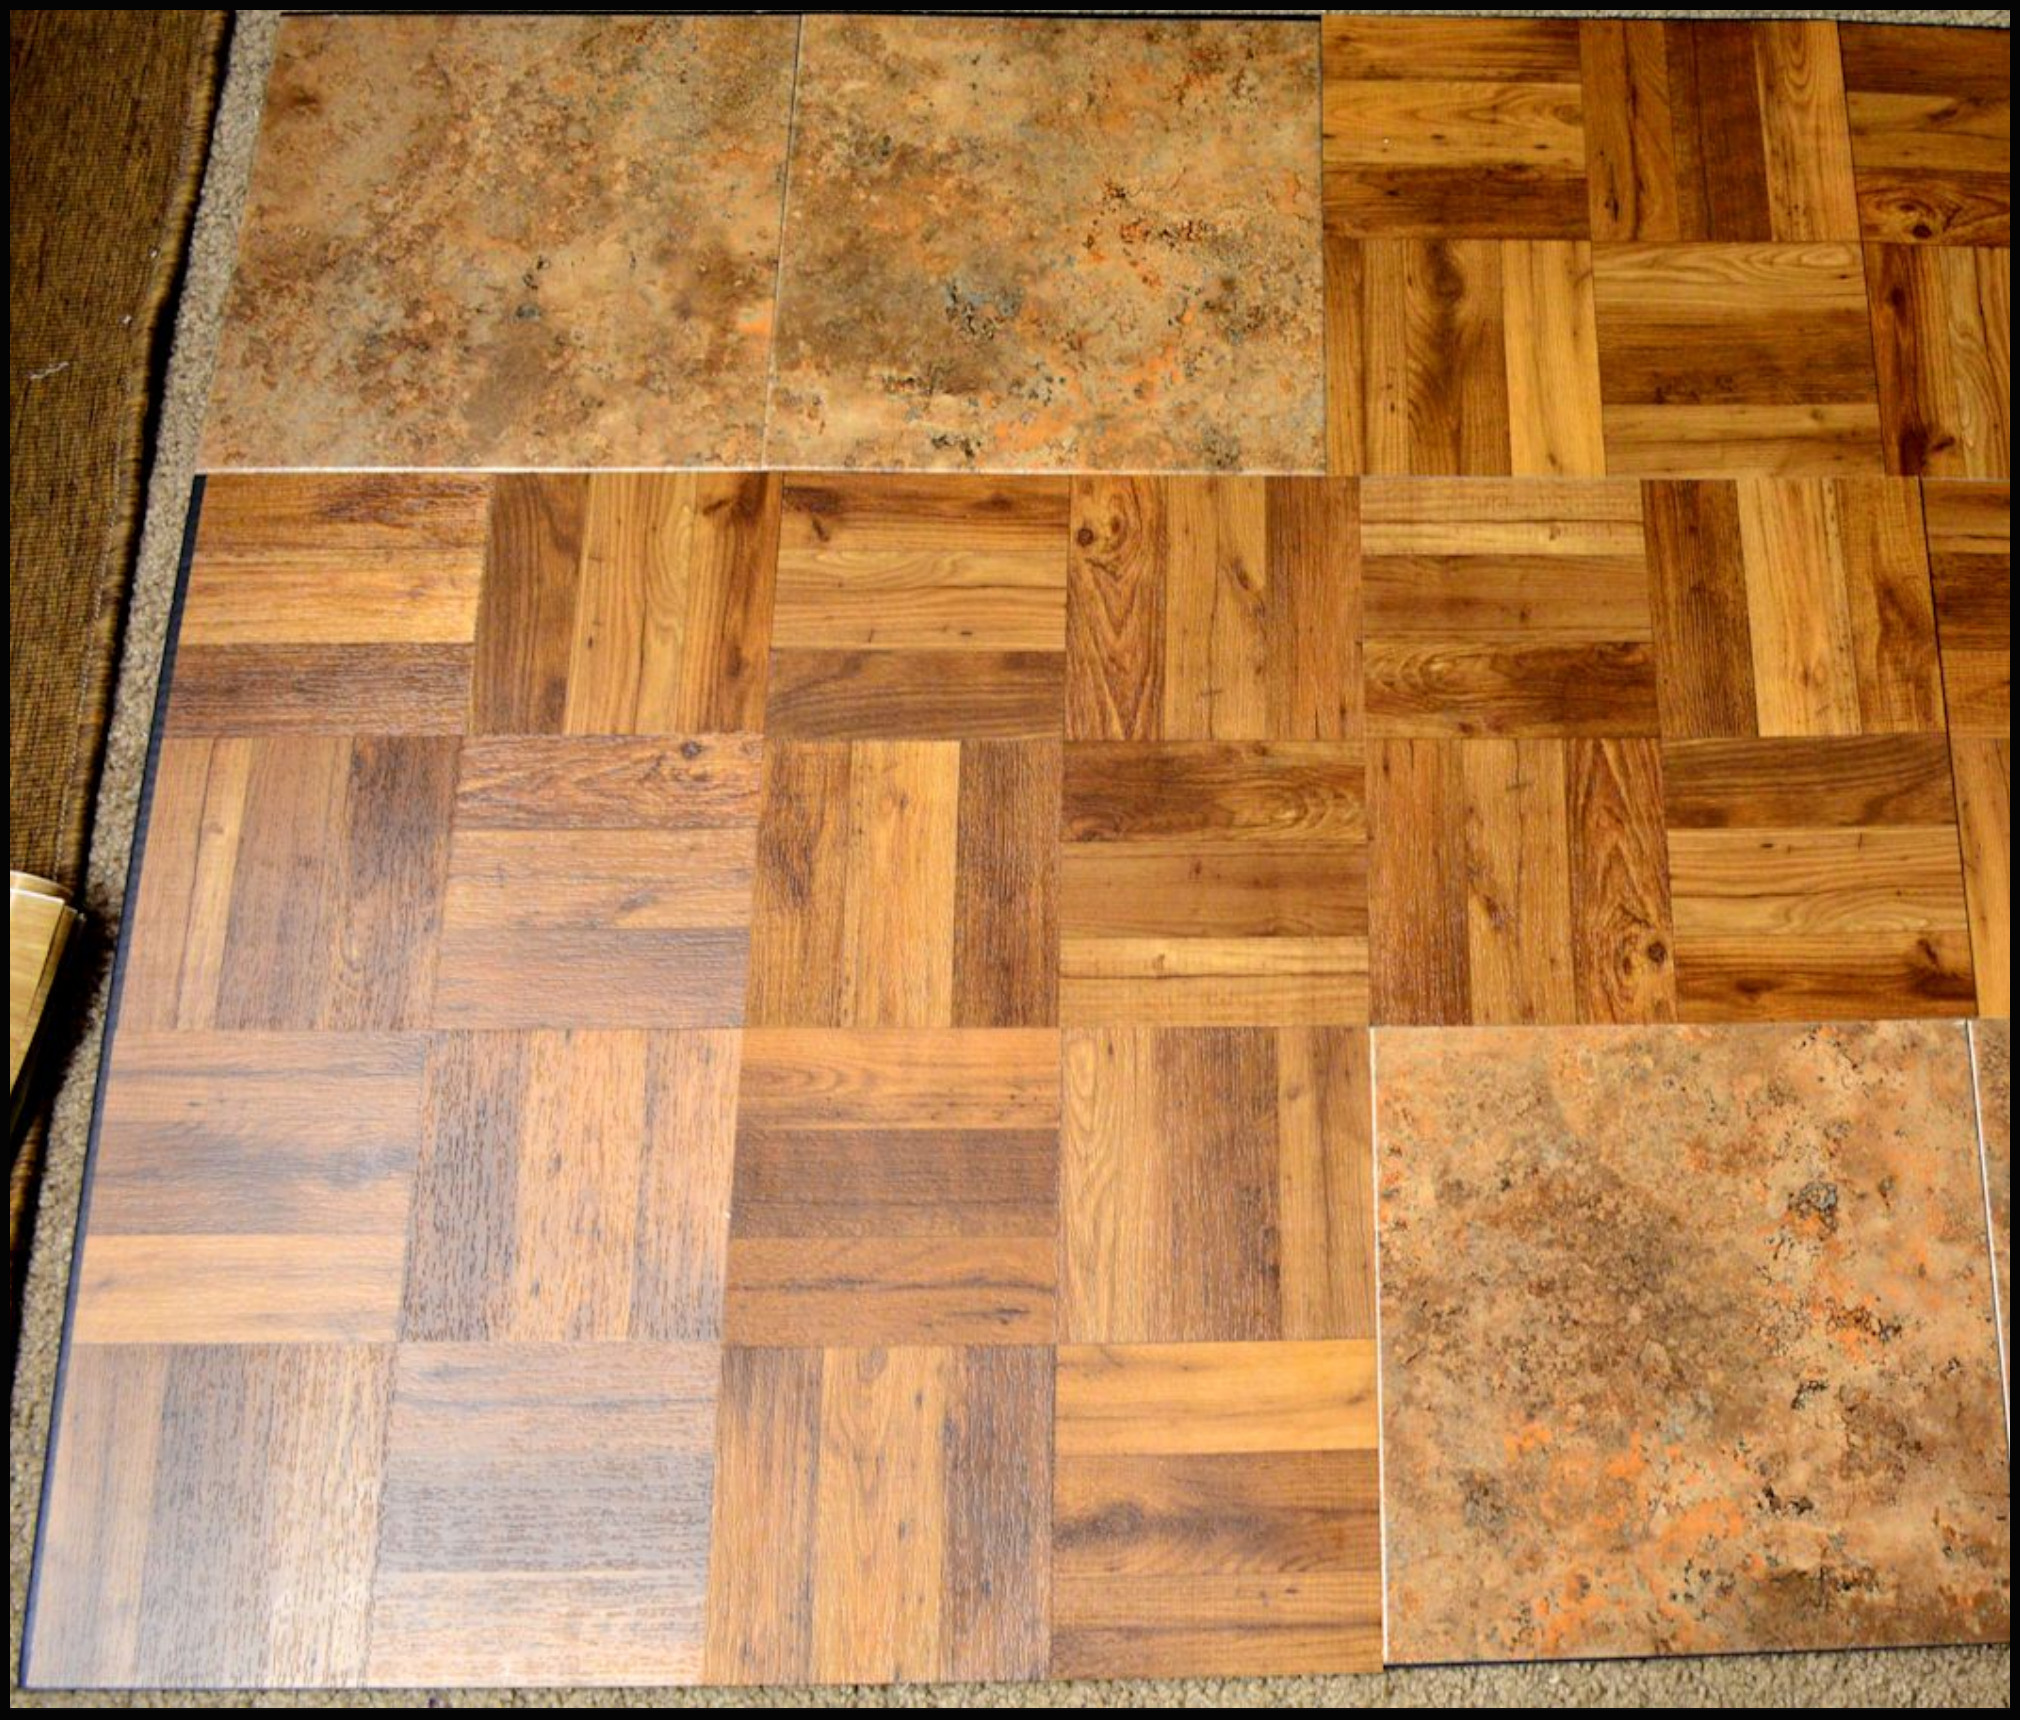
The flooring above are two different rolls of contact paper applied to 1/2″ thick foam board and pinned to the walls so the rooms don’t move. This is the best looking flooring with the most variety.
CON: Foam board is soft, so be very gentle with placing furniture on it, nothing heavy, and don’t lean on it to reach in to pose a doll… like I did, more than once. Very hard not to do with large dioramas.
Square Tiles on cardboard project board
Contact paper on 1/2″ foam board
Woodgrain shelving strips.
Square Tiles on cardboard project board
CEILINGS
ONLY IF YOU CAN LIGHT THE ROOM
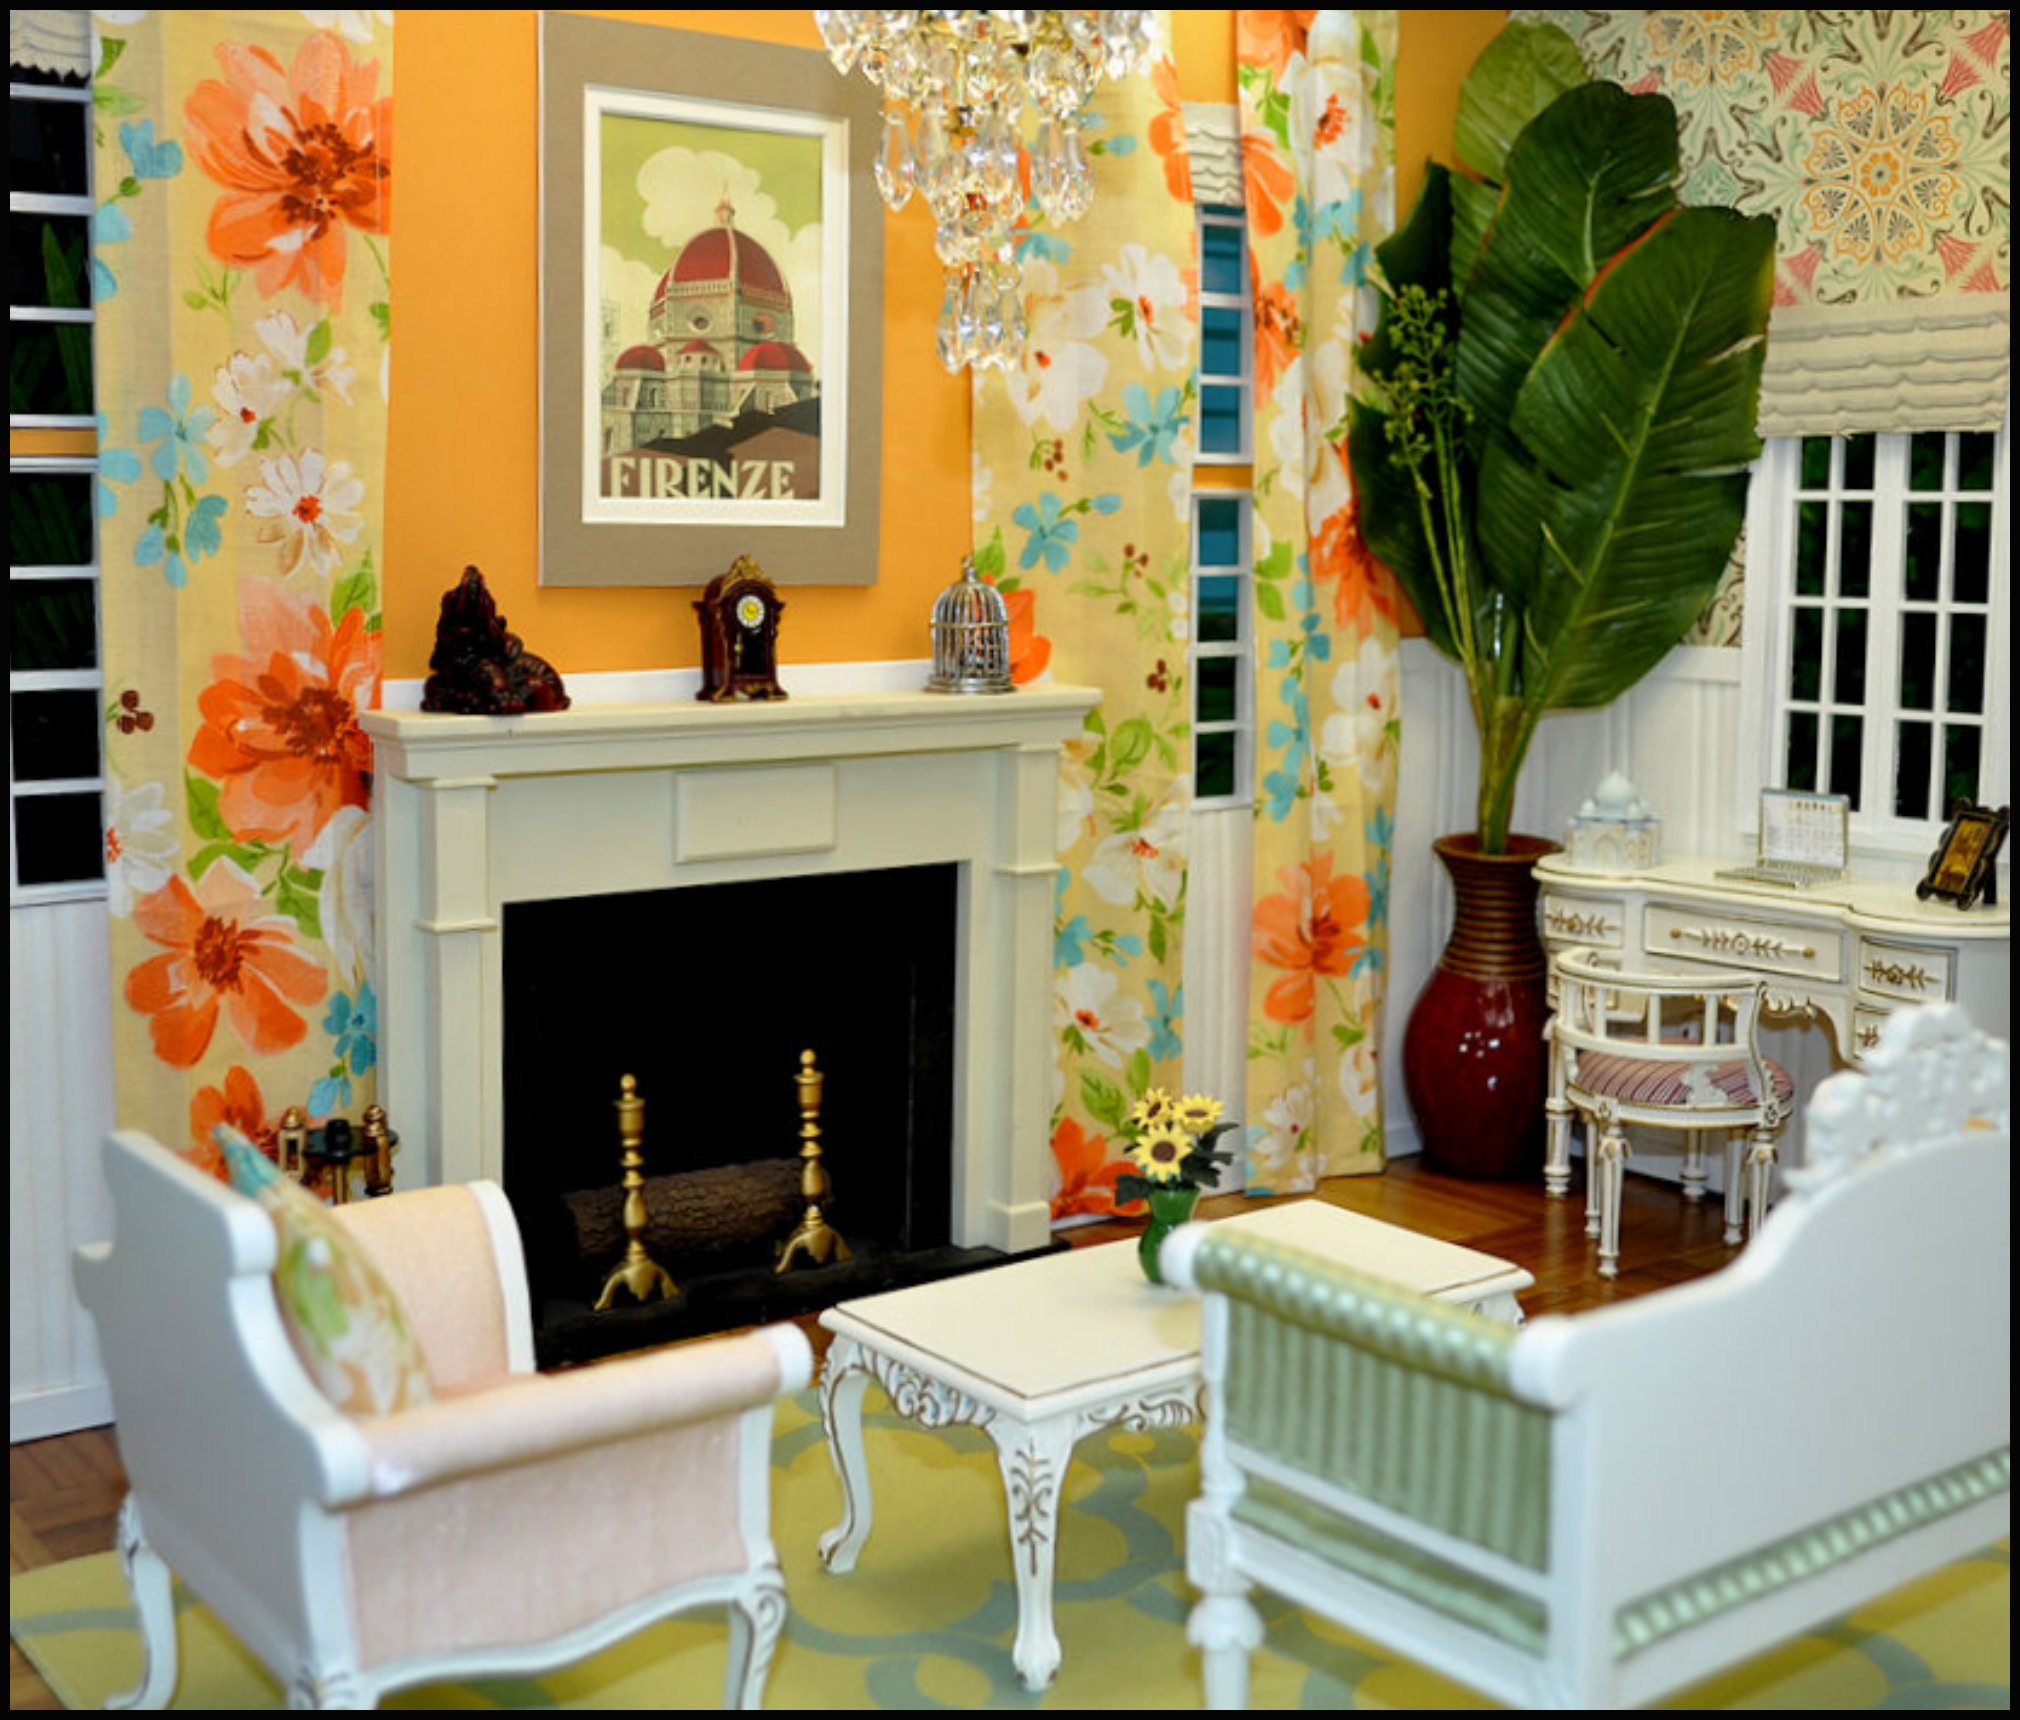
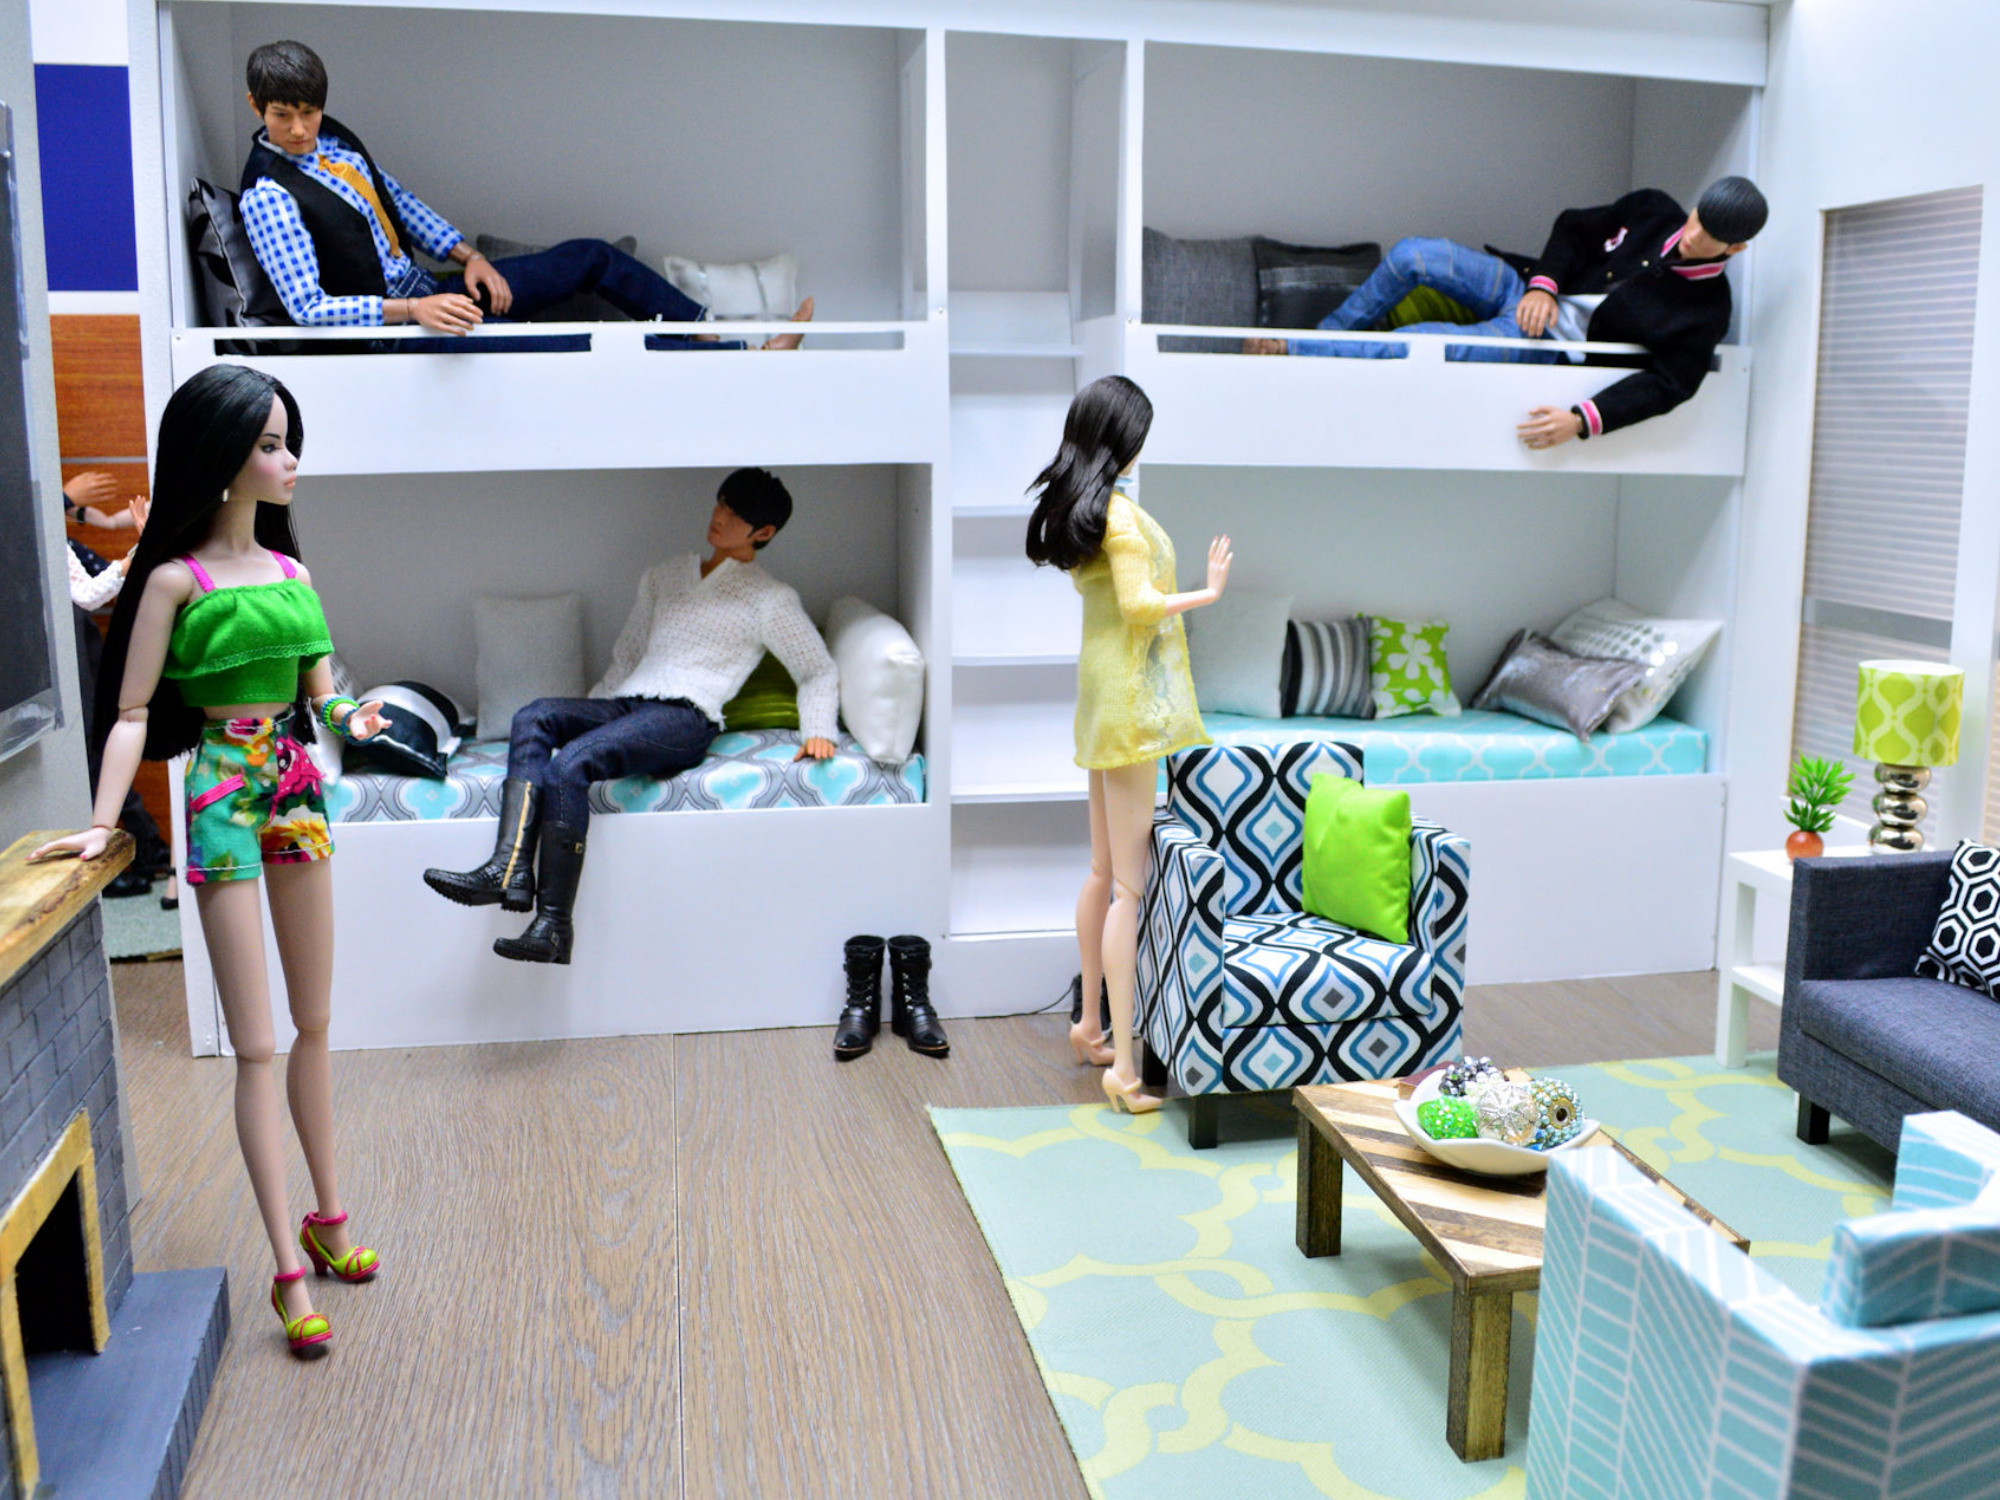
I rarely have ceilings for one single reason: couldn’t find a way to light the room beneath the ceiling.
They’ve started to make much better battery operated LED light strips lately which has opened up a whole new world with 2nd stories and 1st story rooms. But they still only supply limited lighting and more floor lamps have to be pointed into the room to make up for the lack of light from above.
I’ve also cut large window holes in foam board with different types of Plexiglass to make ceiling lights or used the plastic frosted fluorescent ceiling panels cut to size to make it look like I have light fixtures to shine the light through into the room.
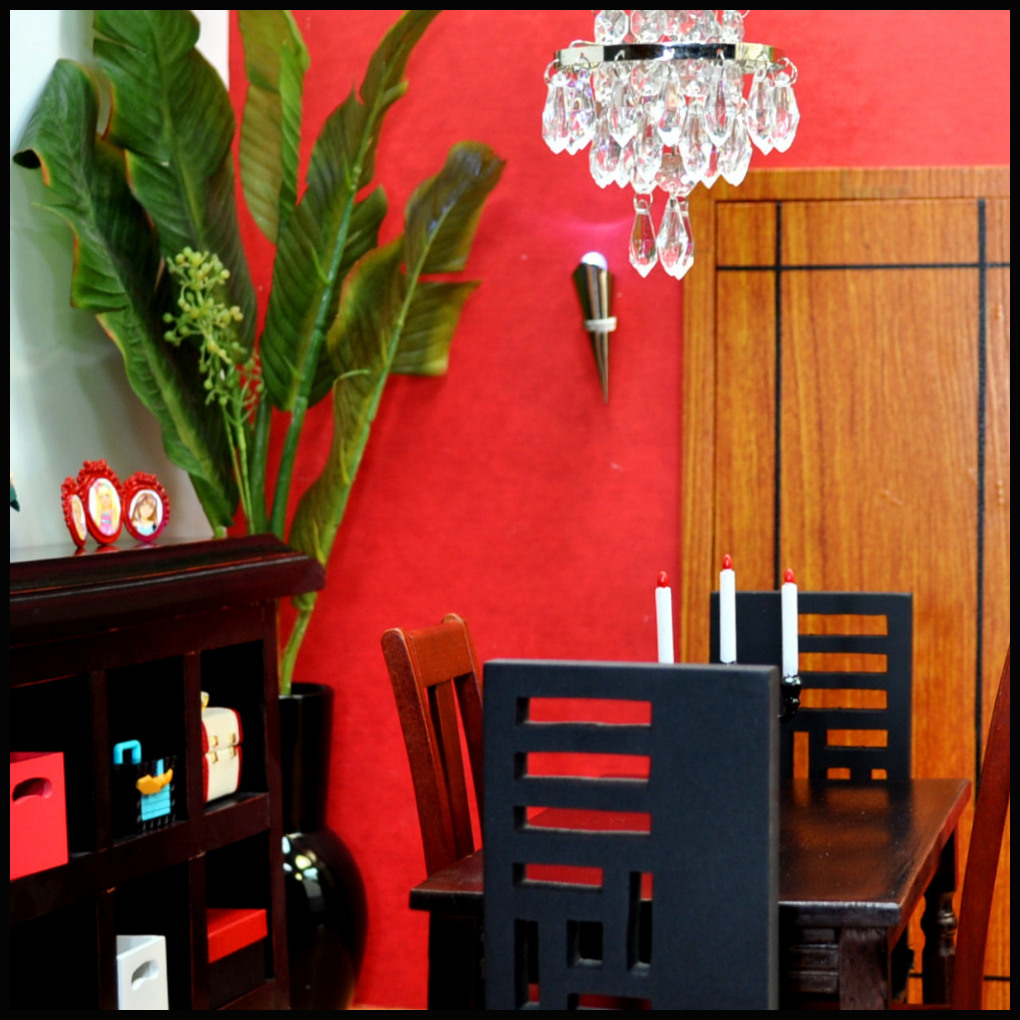
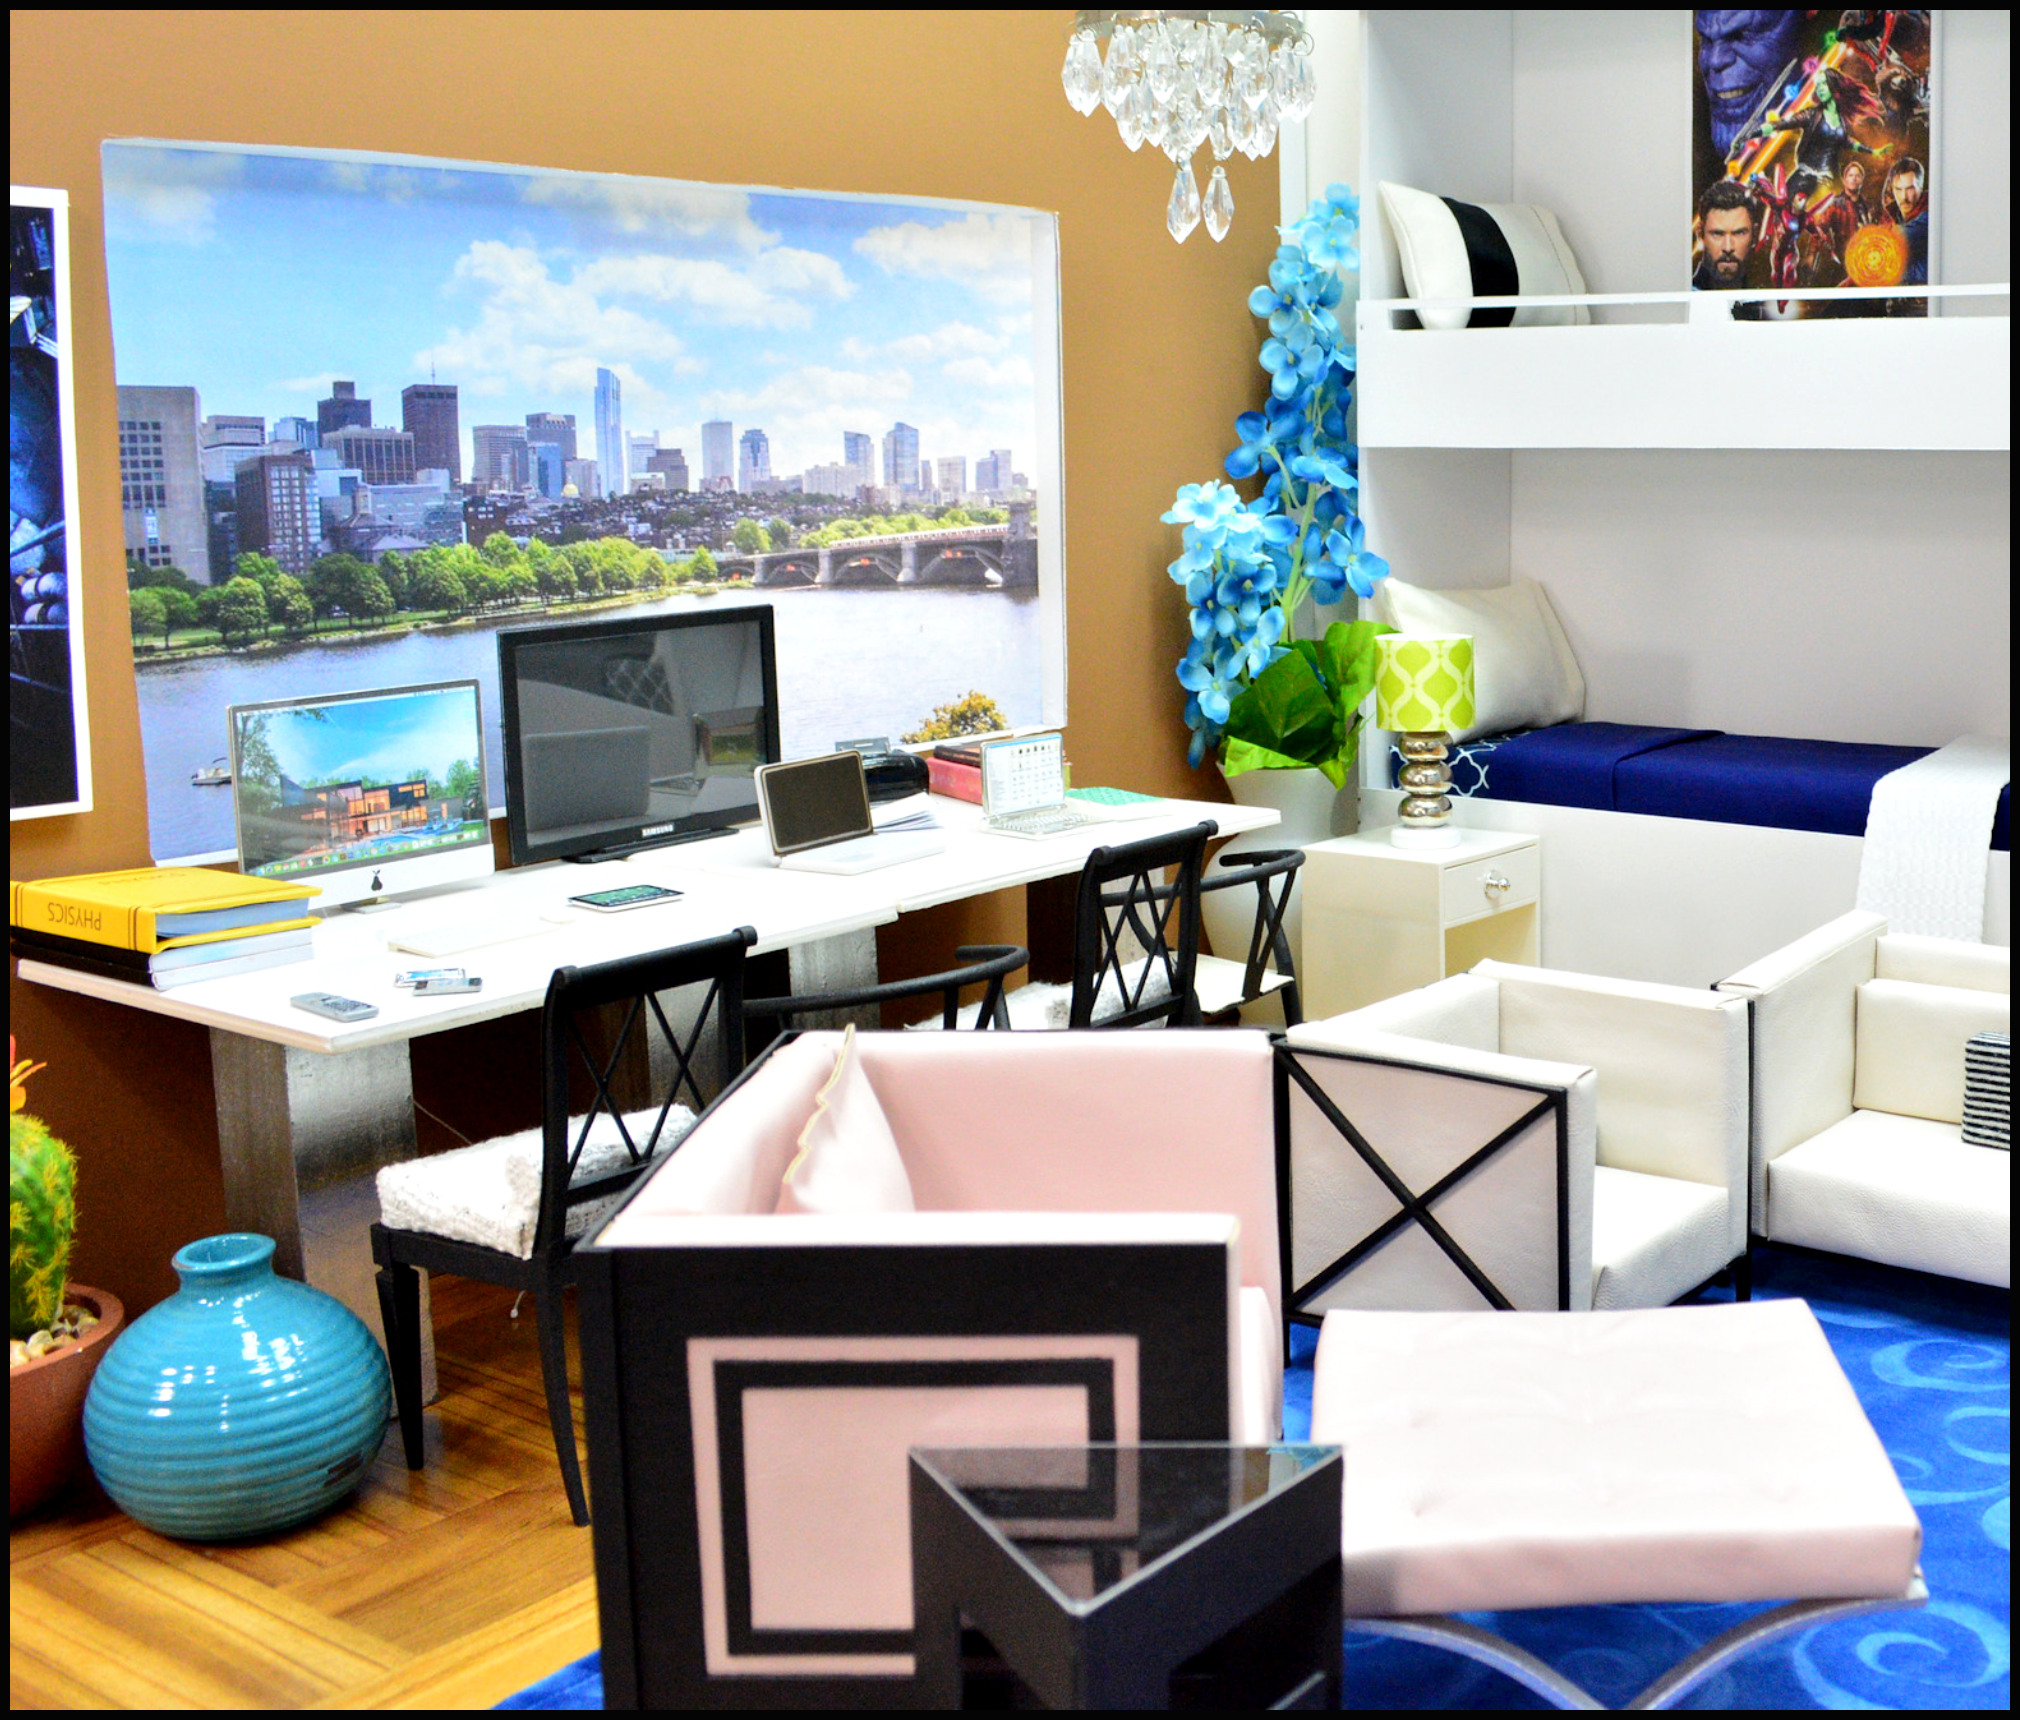
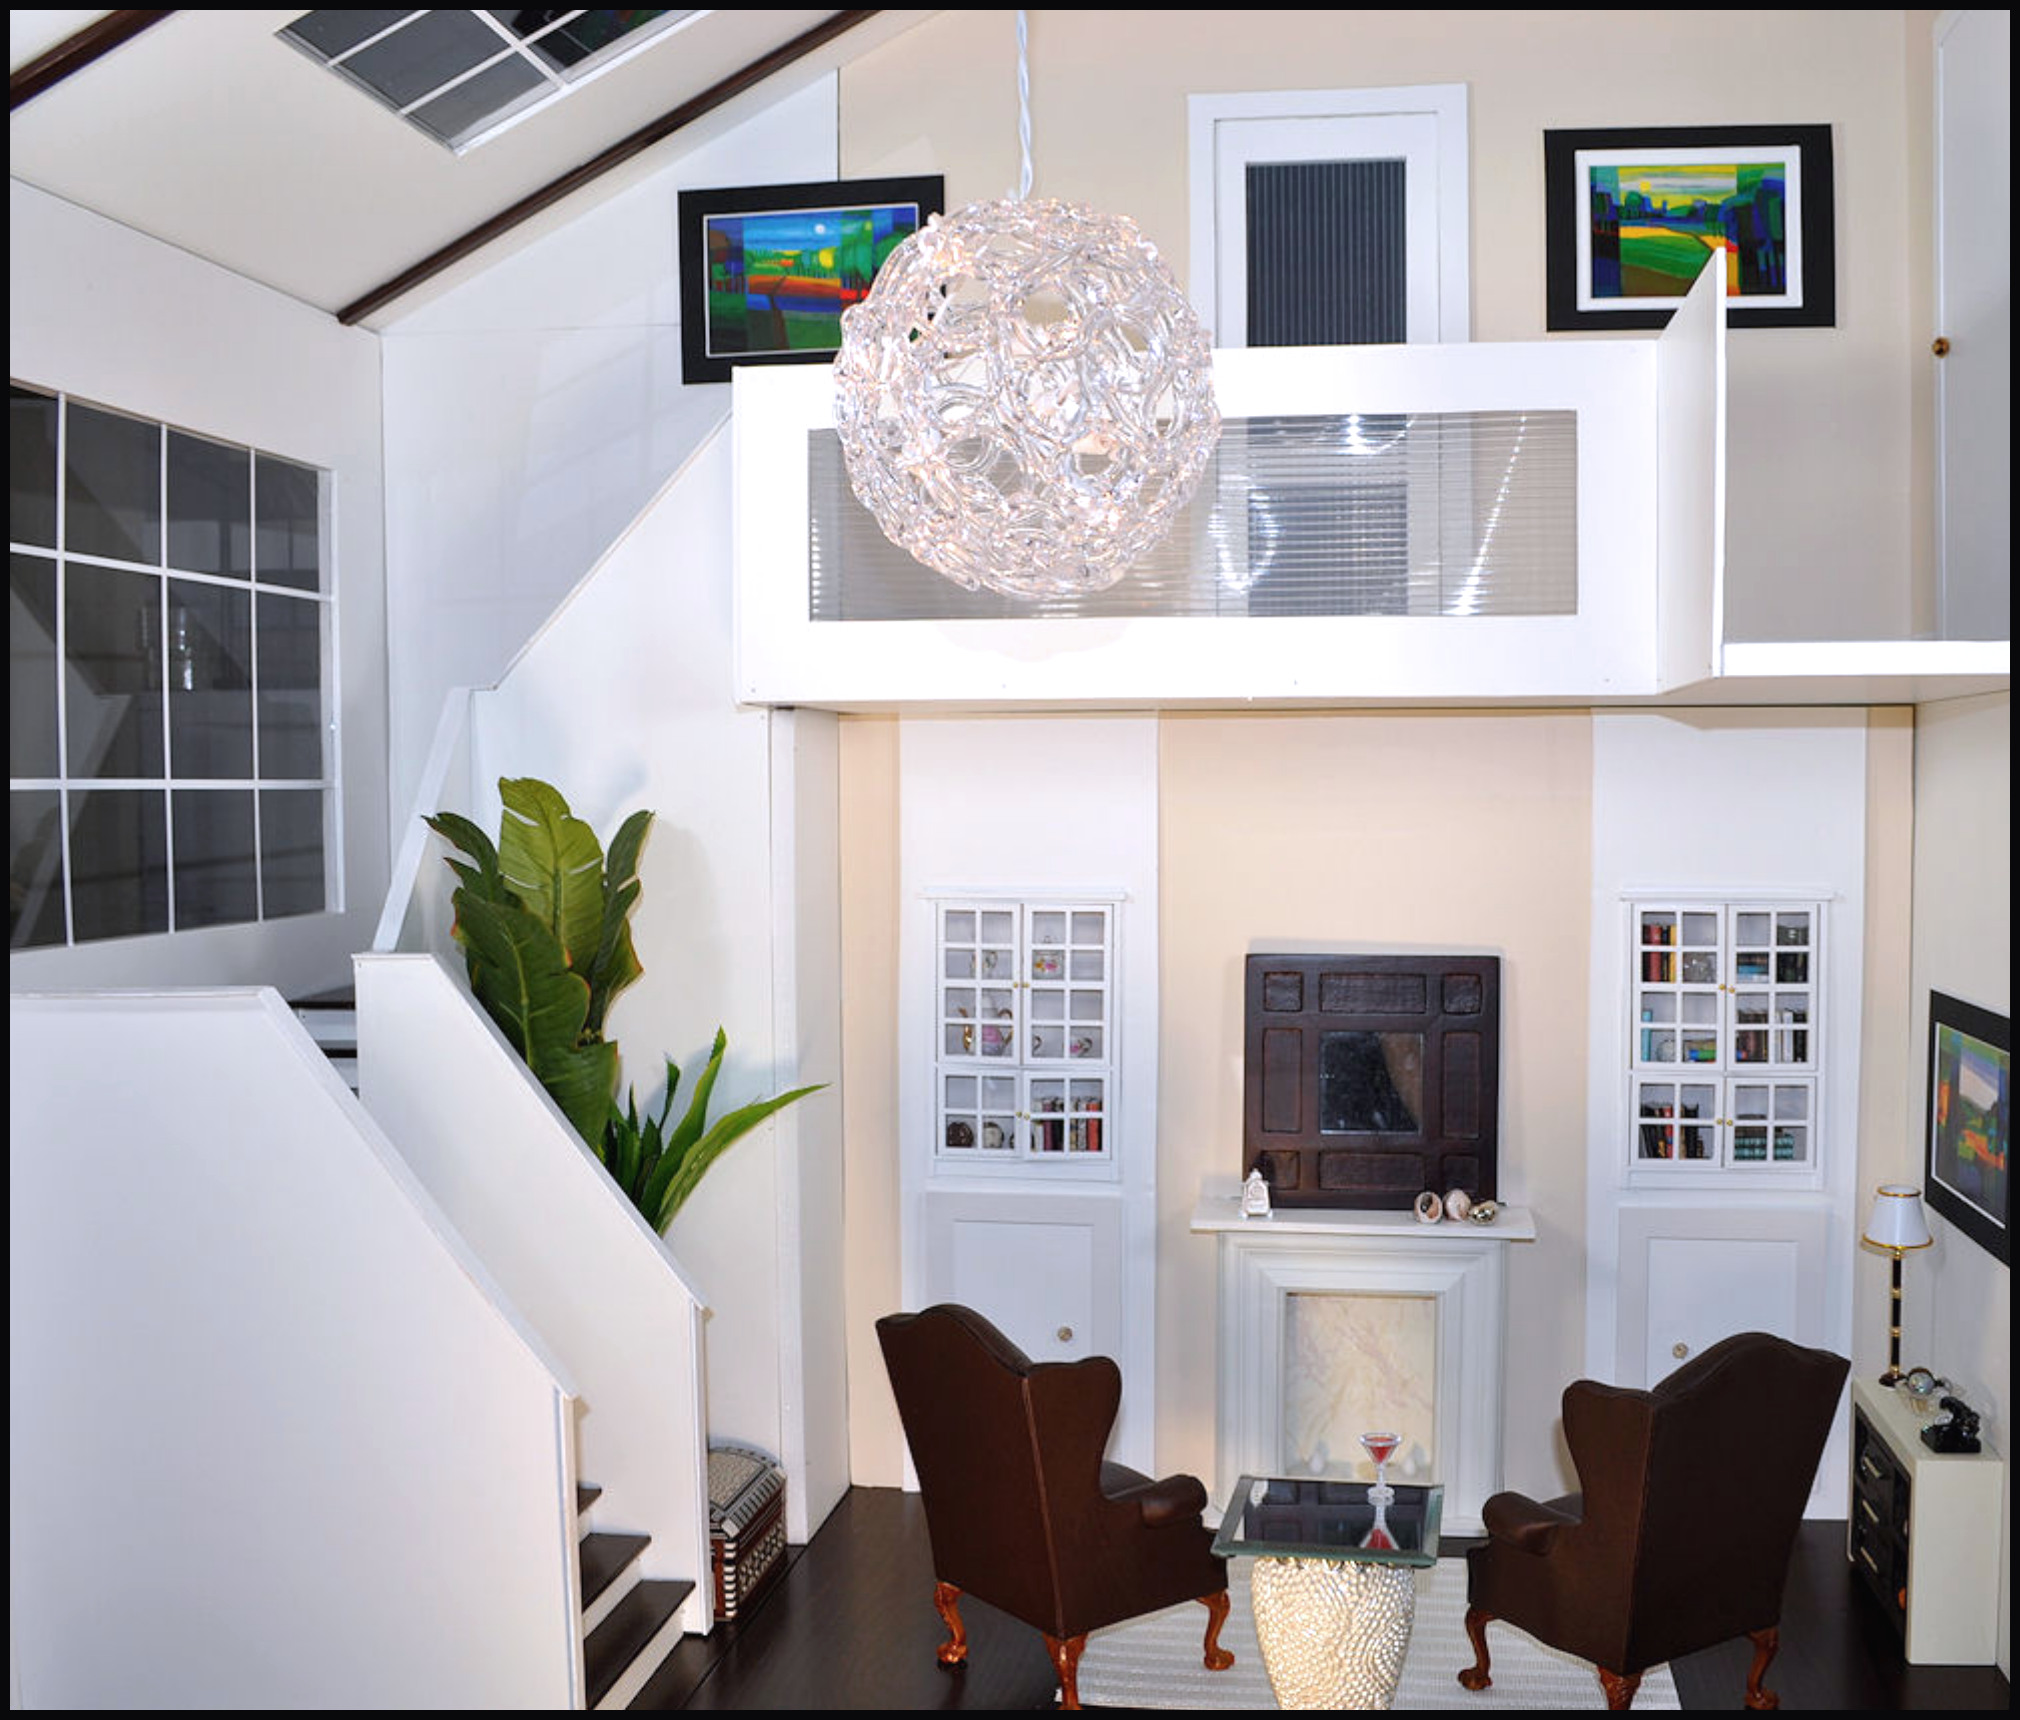
To the left I hung a plug-in ball light as a chandelier to light the room.
Ceilings will rob all the light from the room and make it very difficult to take good photos of the diorama and 1:6 scales figures in it. They look marvelous, but without extra sources of light, the photos won’t show the beauty.
Plexiglass Ceiling Light in photo below. Now you can see up into the sky, and you need a poster of sky and clouds or something that resembles what you might see outside.
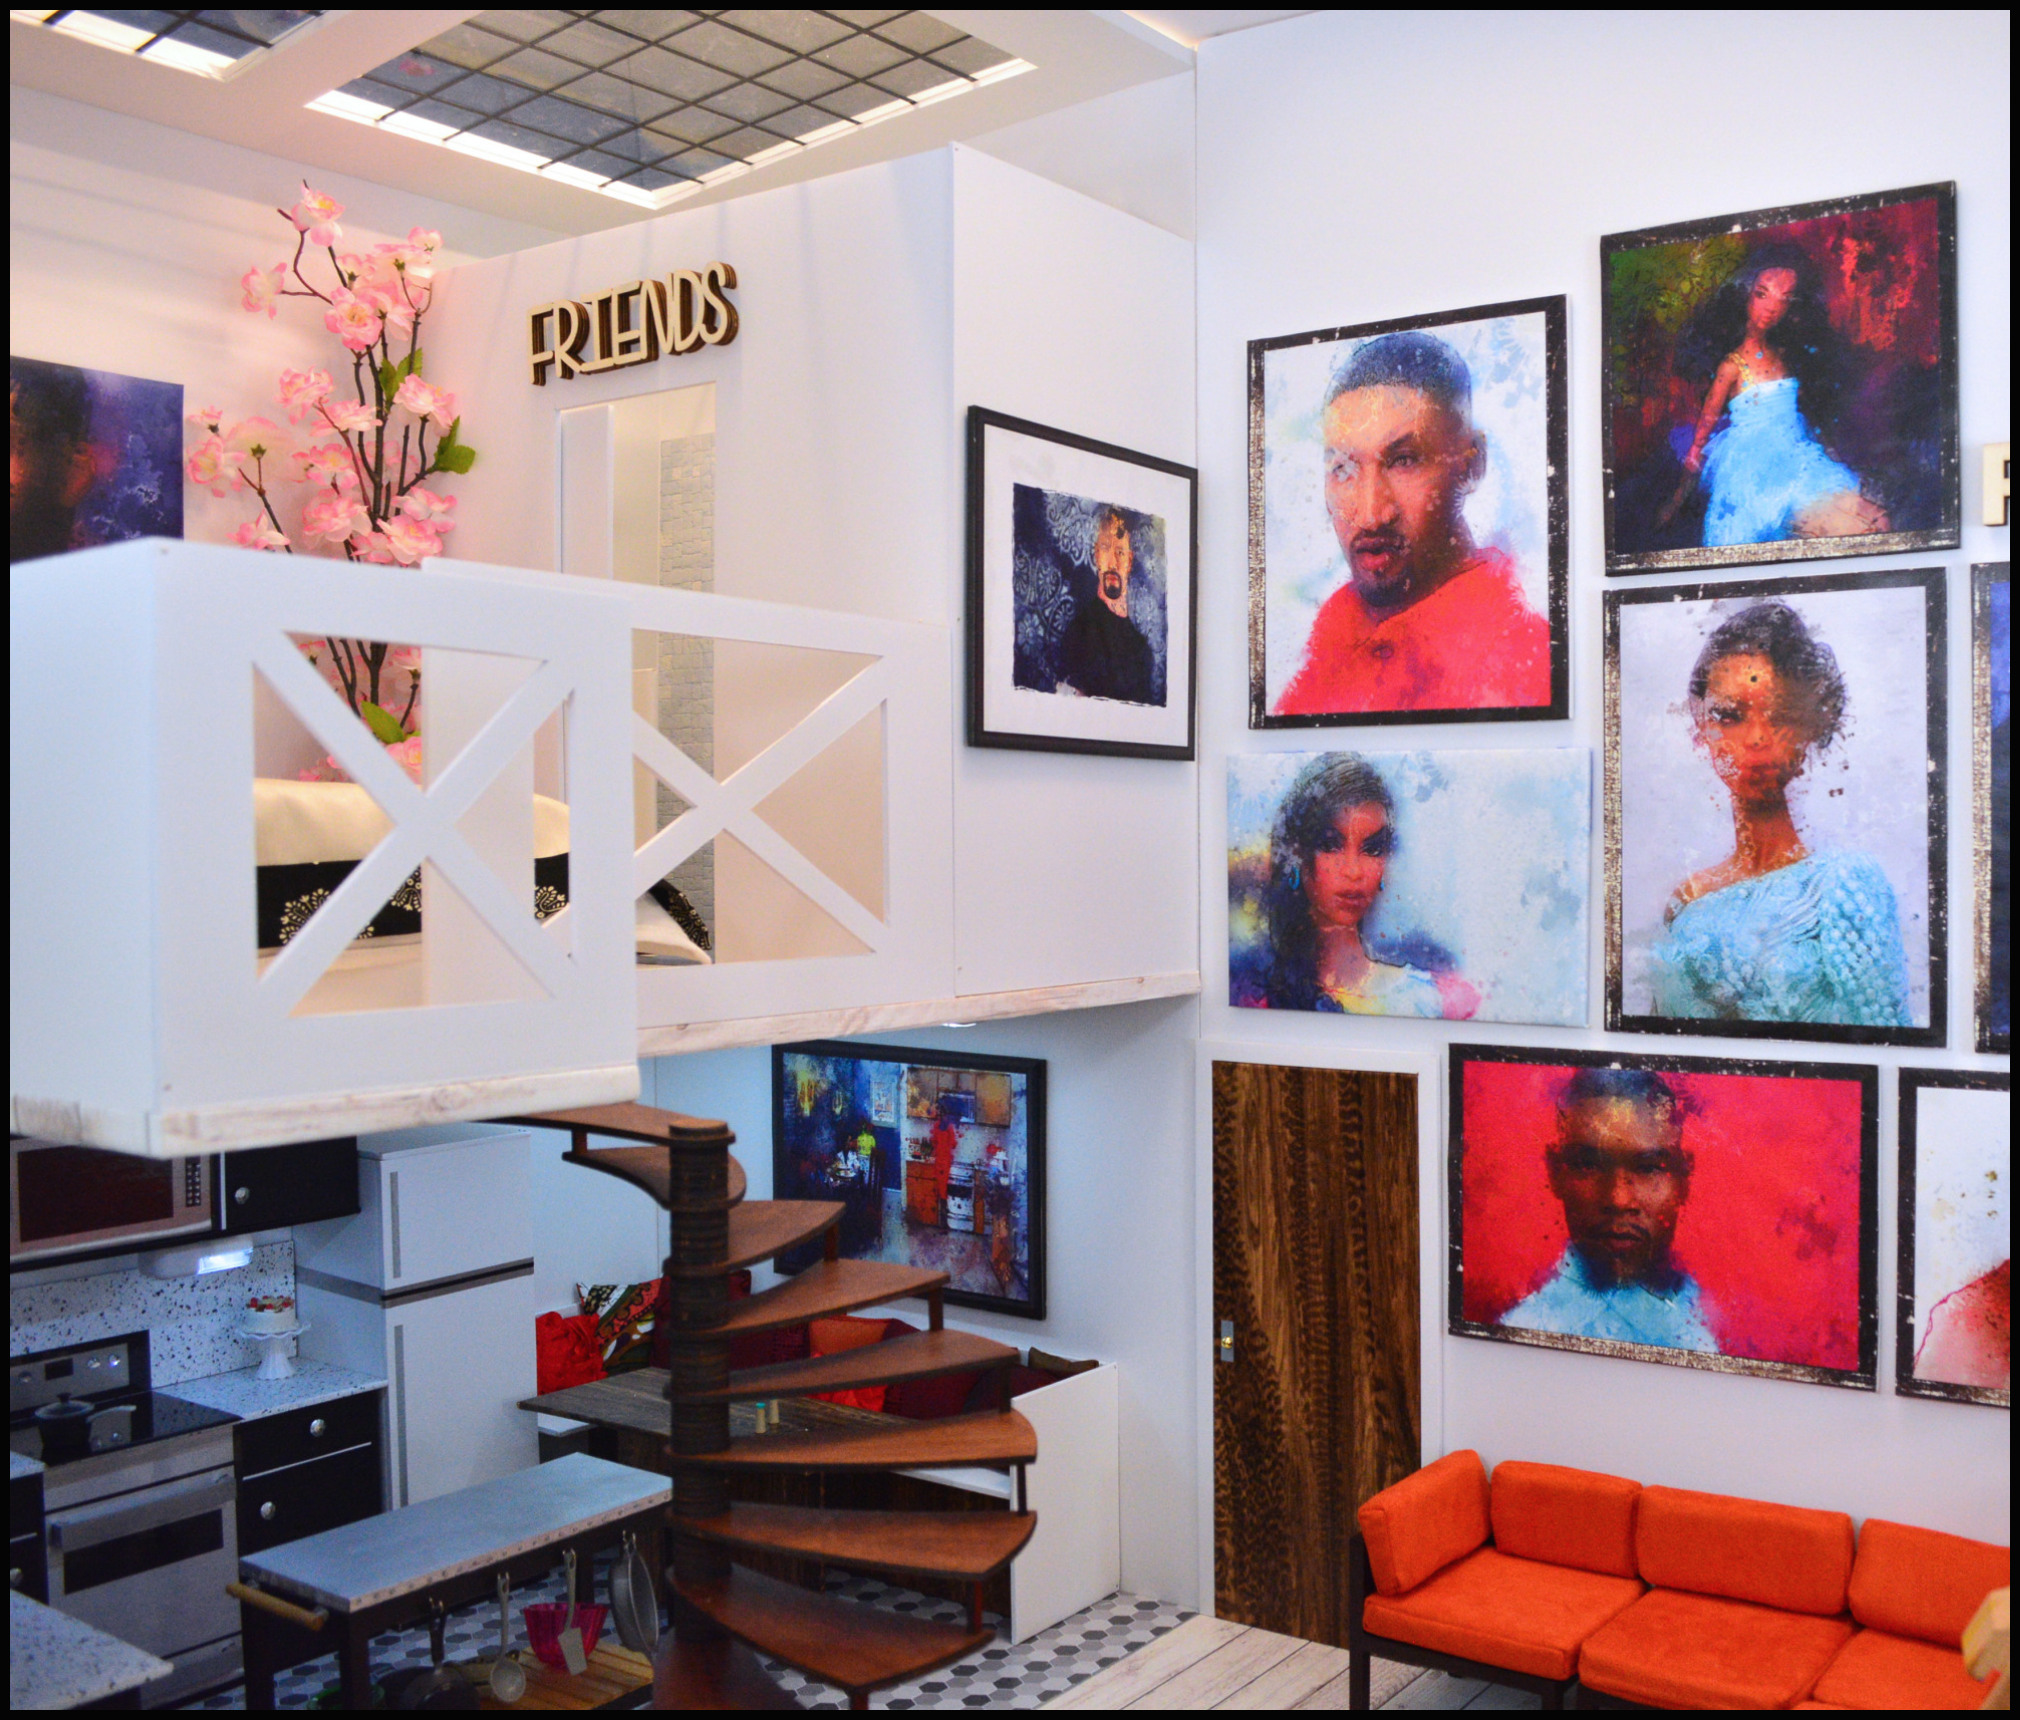
Plastic florescent fixture panel taped to a foam board with cut out window rectangles that are letting light in from my ceiling LED strips.

LED battery operated light strips with adhesive strips on the back stuck to foam board 1/2″ thick ceiling. The on/off switch on these long strip lights was on the side, so they had to rest atop the board to use.
SHOPPING FOR SUPPLIES
PHYSICAL STORES
(1) Joann’s
(2) Hobby Lobby
(3) Michaels
(4) Home Depot or Lowes
(5) Art Warehouse (Your local art supplies store)
ON-LINE SHOPPING
(6) Amazon
(7) Ebay
(8) Etsy
(9) Hardware stores on line
(10) Dollhouse vendors
Google the items named
This is absolutely gorgeous and I appreciate the help, but where do I get some of this stuff? Which online store do you buy the windows and doors? Where do you get the hardwood floor? Also the wainscoting foam board? I am sorry but I have never made a diorama before and wood really like to know where to get all the stuff to make this. 🙂
Any Lowe’s or Home Depot has the floor tiles. Just Google “Wainscot Wallpaper”, just tried it and found several choices on Amazon and other stores. I find everything on-line by just searching with key words. Searching for ‘Dollhouse Windows’ or ‘Playscale Windows’ will get you lots of dollhouse miniature stores on-line. I got mine at Oakridge Hobbies. I hope that helps. Thanks for reading my tutorial and putting up a comment!
I have actually made 1/6 scale room floors by buying full-size vinyl tiles with stone or marble patterns from Home Depot ($1/sq ft). Using a bandsaw I cut them into 2″ squares to simulate 1 ft square tiles. You actually get 25 2″ squares per tile, rather than 36, because the kerf (thickness of the blade and cut) means you can get 5×5 squares per foot rather than 6×6.
Buying two different colors or patterns of tiles means you can tile a floor in checkerboard or other, more creative patterns. Have fun!
Thanks for the tip, Wayne! JATMAN
Again and again…..You are amazing!!!!! Wow !!! Wonderful work….. I love it.
Thank you so much Amanda!
Thanks for the tutorial, it’s going to be very helpful when I get started on my Barbie room. I’m thinking of doing a mid-century modern living room, since I have a Fashion Queen, some vintage Kens and two Midges. The Mod era girls can be visitors — until I get the Barbie townhouse out of storage and reassemble it.
Have you checked the scrapbook area for re-positional adhesive? It’s a kind of double-sided tape, and might work for what you use the folded tape for.
I will check out the re-positional adhesive. Thanks for the tip. Good luck with your 50’s living room and thanks so much for reading and posting.
JATMAN
Hi JATMAN
I just love everything you do–your talent and skills are off the chain. I would love a tutorial on how to change heads on dolls or action figure (mainly action figures) especially when I buy a “head only” and need to find/buy a body to complete it. Any help/suggestion in this area? Anything will be appreciated. Thanks
Thanks so much Sue! You’re so sweet. I’m reworking my Action Figure tutorial. There’s been a lot of new body types I wanted to add, and I’ll also add a section about be-heading. Thanks so much for your comment. I’m hoping to have the Action Figure Tutorial done in the next couple of months. JATMAN
I’m hoping you can tell me where you acquired your 30″ x 30″ art paper. I’ve spent about a half an hour surfing the net using various search terms and haven’t come up with anything like you’ve shown. I think your work is great!
Art Supply Warehouse in Westminster, CA is where I got to shop for art paper. They call it ‘Decorative Paper’, I didn’t know what other art stores called it. Thanks so much for your post. JATMAN
Thank you! I realize now that other art stores do carry similar papers, but not all of them a large selection of colors/prints. This help me find something suitable.
Thank you! It’s wondeful.
Your Welcome, Suzi. Thanks for your comment. JATMAN
This may be a silly question, but I’m rather new to this. So, if I’m using 1:6 scale window or door, or anything for that matter, what height would I want to make my walls?
Hi Taylor,
I usually base the height of my doors by my tallest 1:6 scale dolls, which would be my Fashion Royalty 13″ boys. I make 16″ tall doors out of foam board. There are playscale Barbie doors out there in wood and plastic, but they’re all too short for even my shortest 10″ dolls so I don’t use them unless they have a large frame around them to make them seem taller. (See Kitchen diorama tutorial where I used a Playscale dollhouse door for the front door, I also had it inserted higher up on the wall to make it look taller). As far as windows go, I cut most of mine out myself, but the Playscale dollhouse windows do just fine. I also use those to put into my thicker foam board cut outs. Windows can be any size you want, from very tiny, to large panoramic, sky’s the limit. As far as wall height, I tend to always use 30″ across 20″ high foam board for my walls because they’re easy to pin together, easy to put wallpaper, contact paper, or drawing paper of any color on them to make a room. Plus I can photograph within the room without including the ceiling and get plenty of light shining down into the room from my light rig. Your wall height all depends on where your diorama is going to go. Some people put them inside shelving units and work with the shelf height. Others prefer room boxes. I make mine extra large because they’re only up for a week or two before I take them down again. I hope that helps, and have fabulous time creating your diorama. – JATMAN
Thank you so much for this extremely helpful tutorial! I am new to making dioramas with foamboard. Having read all of the brilliant advice and tips in your tutorial, I now feel much more ready to make a diorama.
I’m so glad, Liz. I love it when I can help anyone make dioramas. It’s one of the funnest hobbies ever and it’s even better when it’s shared. JATMAN
I’m looking for prefab doors and windows for 1/6 scale, do you know of any? I can not find any.
I use Barbie PlayScale sized windows that you can purchase on-line at any place that sells dollhouse supplies, just look for ‘Playsale’ which means 1/6th. I painted my Playscale windows white. I also use photo frames at times, and I’ve cut a lot of my windows in the foam board. FR-27 on eBay also sells a lot of wood windows for dioramas. I hope that helps. Thanks! JATMAN
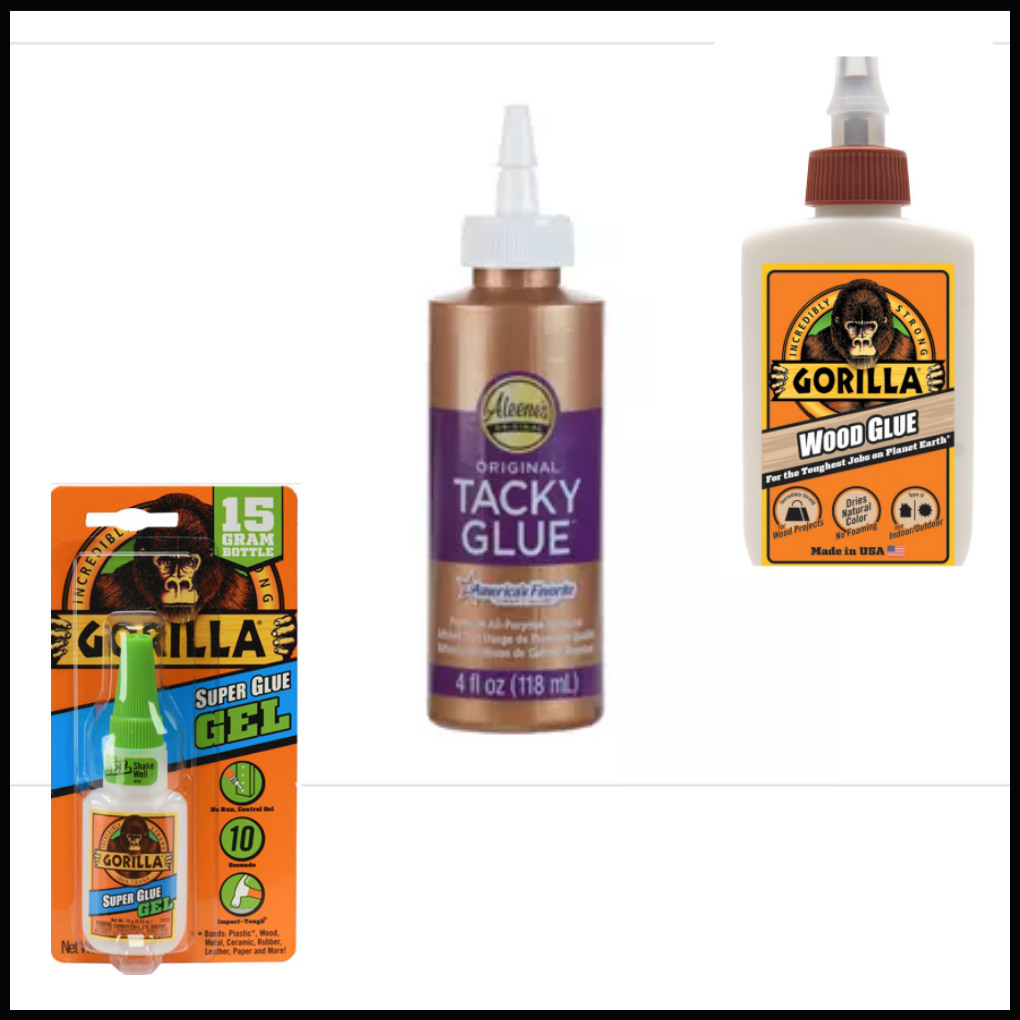
Please can you Help me. I am having a lot of trouble finding a Glue that really works that is Permanent and won’t come apart in Humity. Everything I glue doesn’t stay, I have tried glue sticks and super glue, but it wasn’t working on paper and I have some flowers I want to glue together to make plants and glue floors down permanitely. Can you help me to know what is the best to use.
Thanks for you post Sherry. I’m no expert on glue, especially in a humid area since I life in Southern California and it’s beyond dry and arid here, but the more permanent glue types I’ve used are:
1. Glue Gun – melts rods of glue (watch your fingers, will burn when coming out). Not good for tiny objects
2. Gorilla Glue – holds great, but it tends to expand when drying and may give you foamy edge if you use too much
3. Wood Glue – only if you’re working with wood, and you have to clamp the two objects together for hours to let it dry and stick together
Go to Home Depot and find the glue section, ask a worker there which ones work best for different surfaces. There are different sprays and adhesives that could also fit your needs, but no one glue will work for everything and gluing cloth of any kind is tricky since you don’t want to damage or stain the cloth (leaves). Joann’s is also good in the plant section they have some adhesives for their fake plants that might work.
I hope that helps. JATMAN
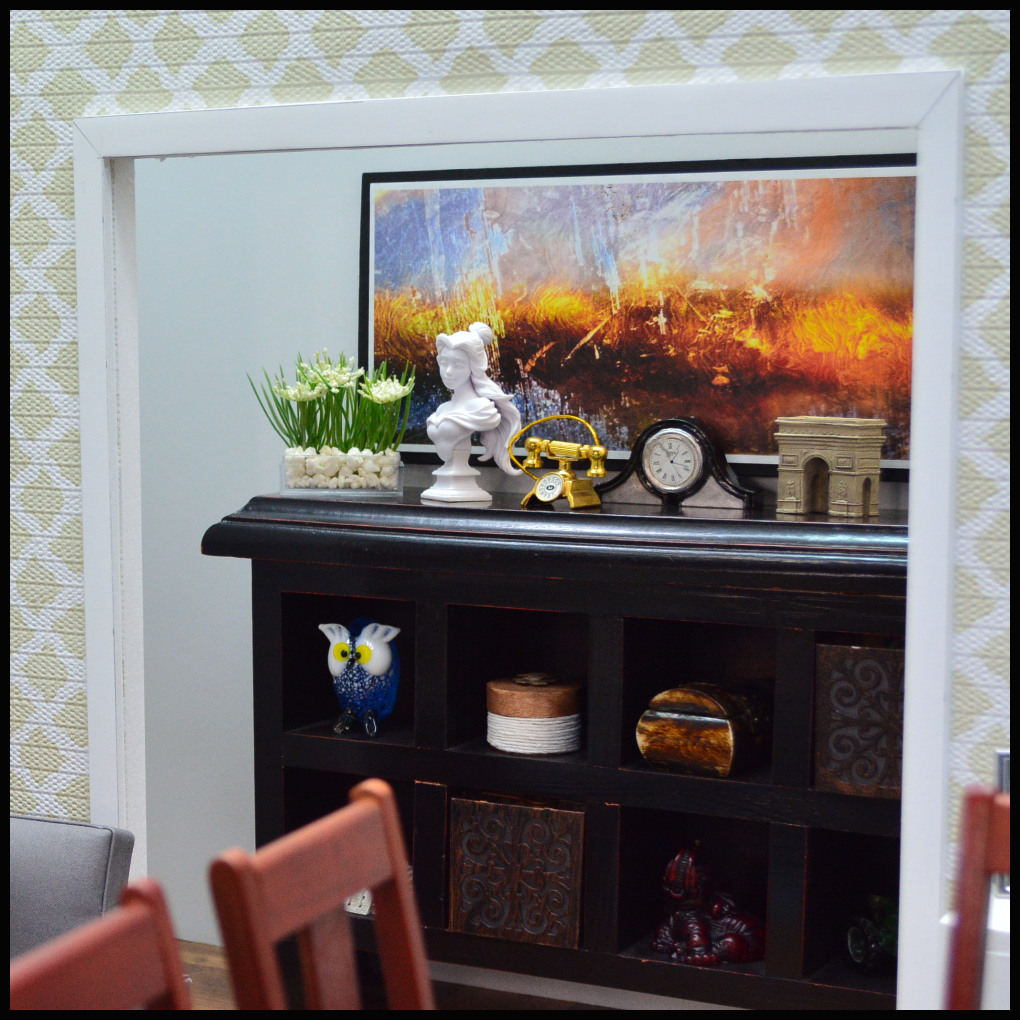
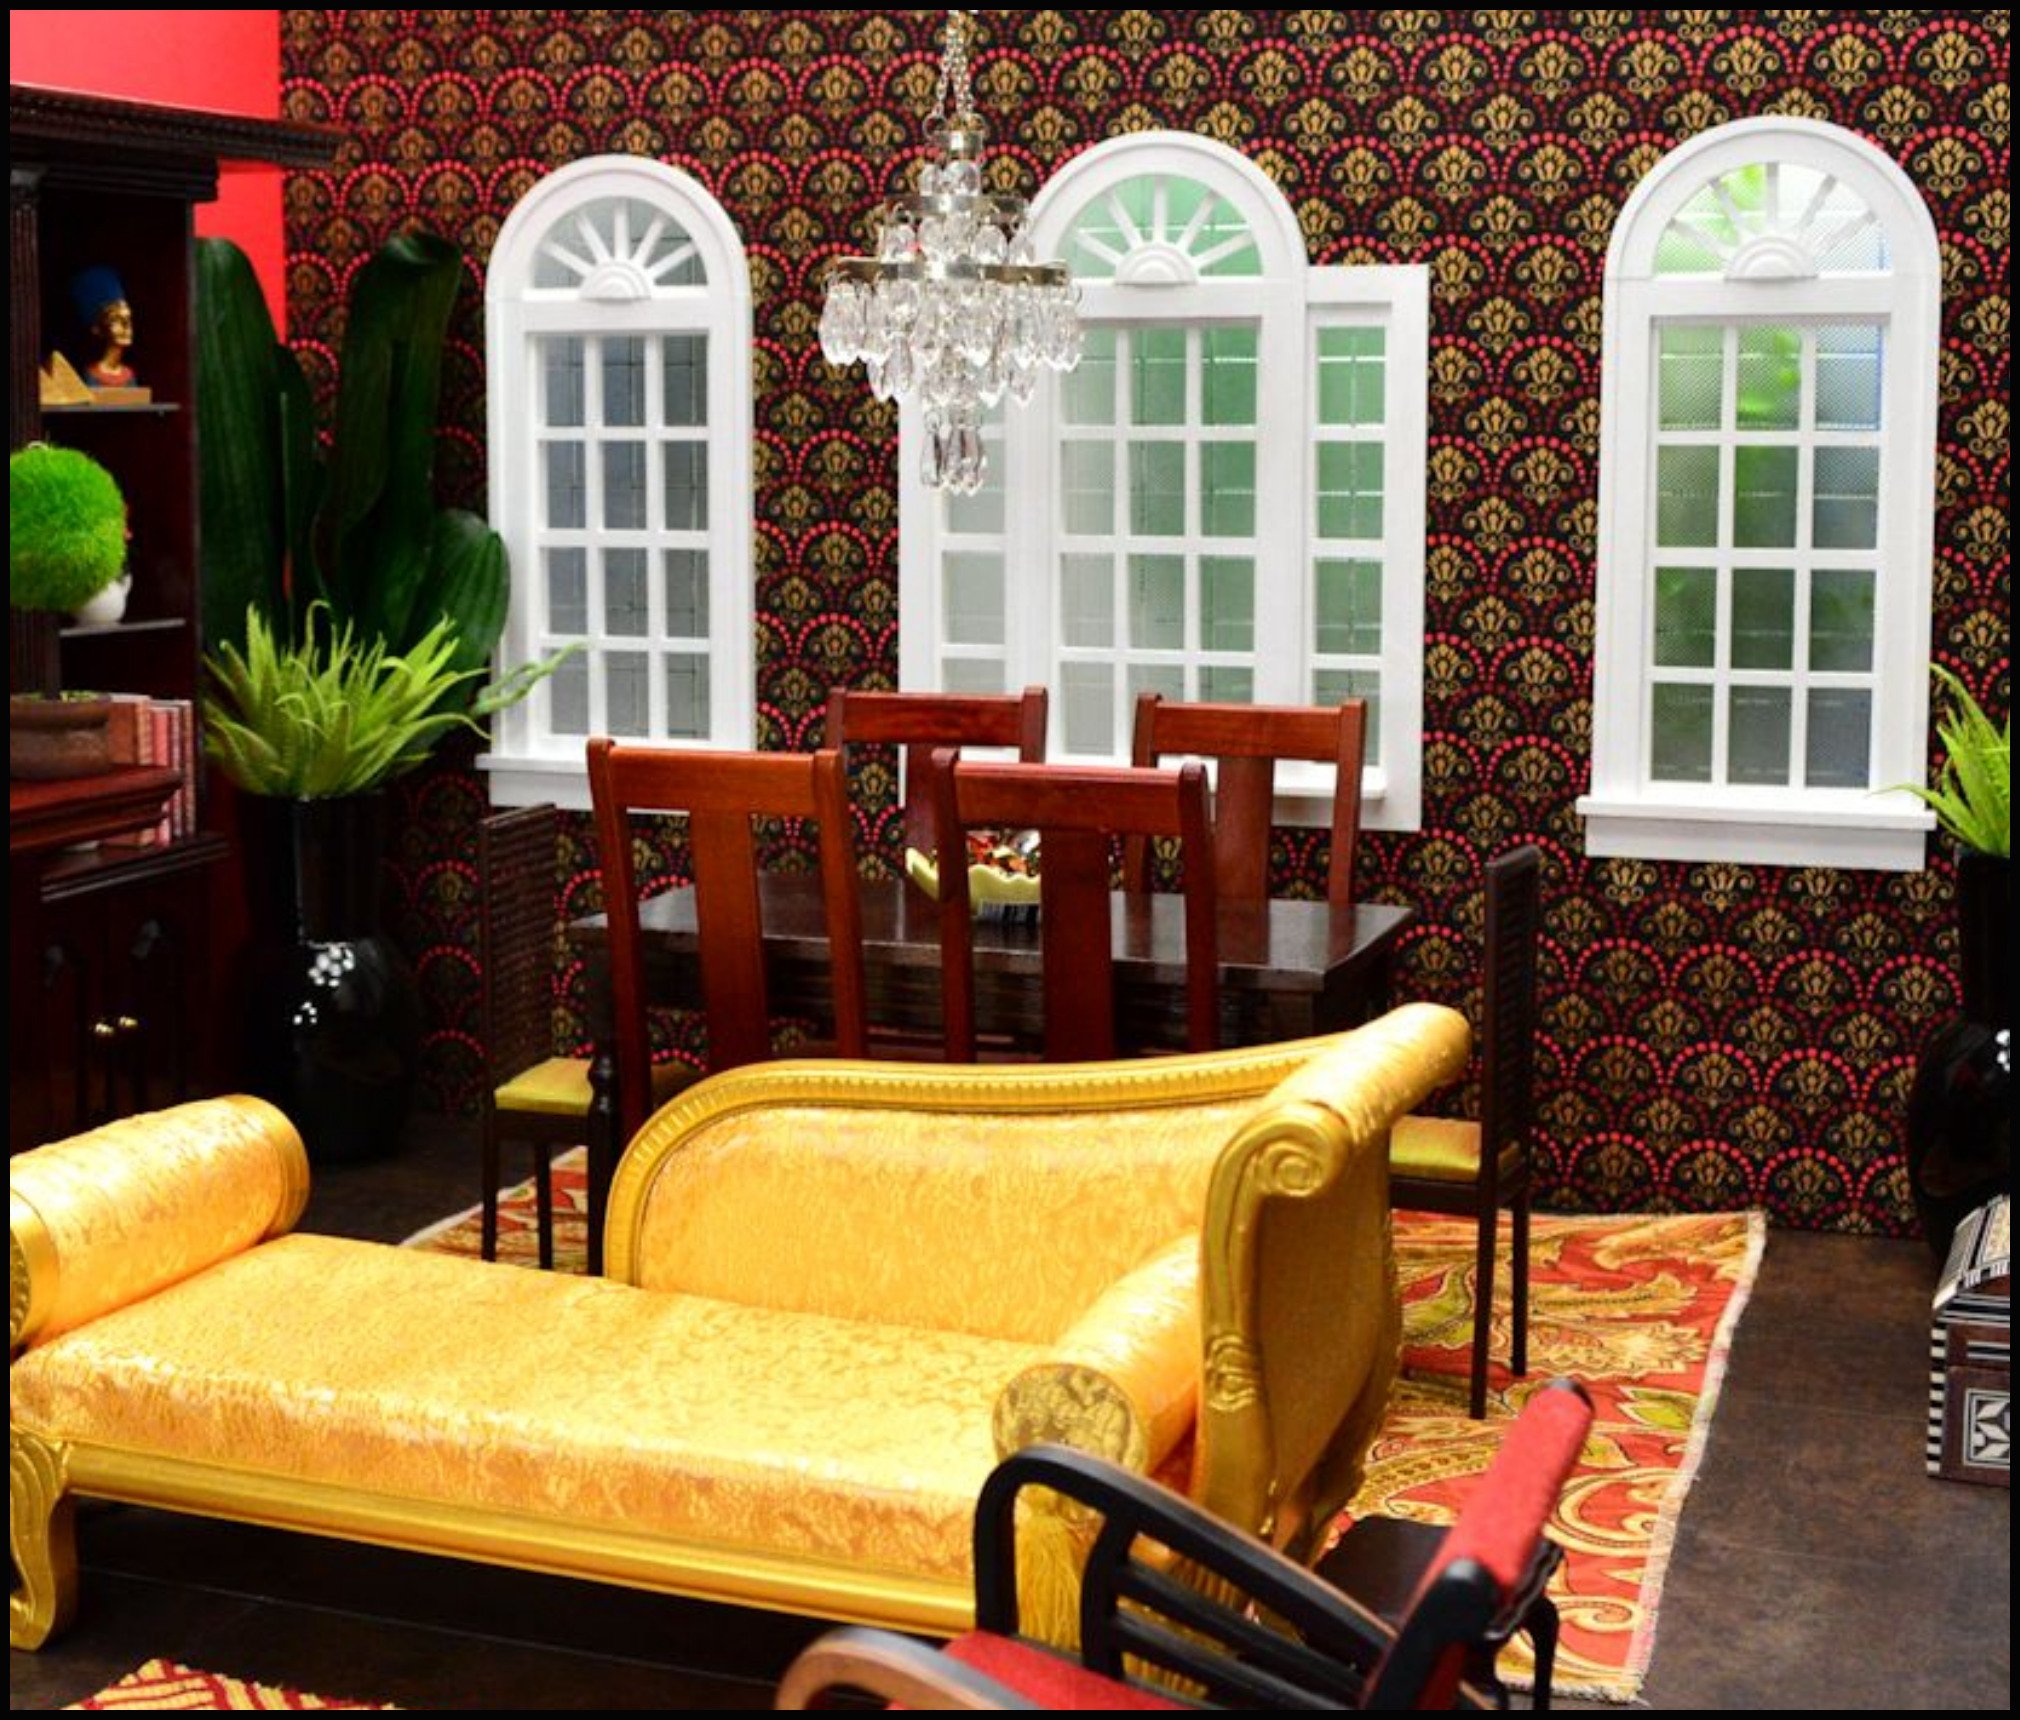
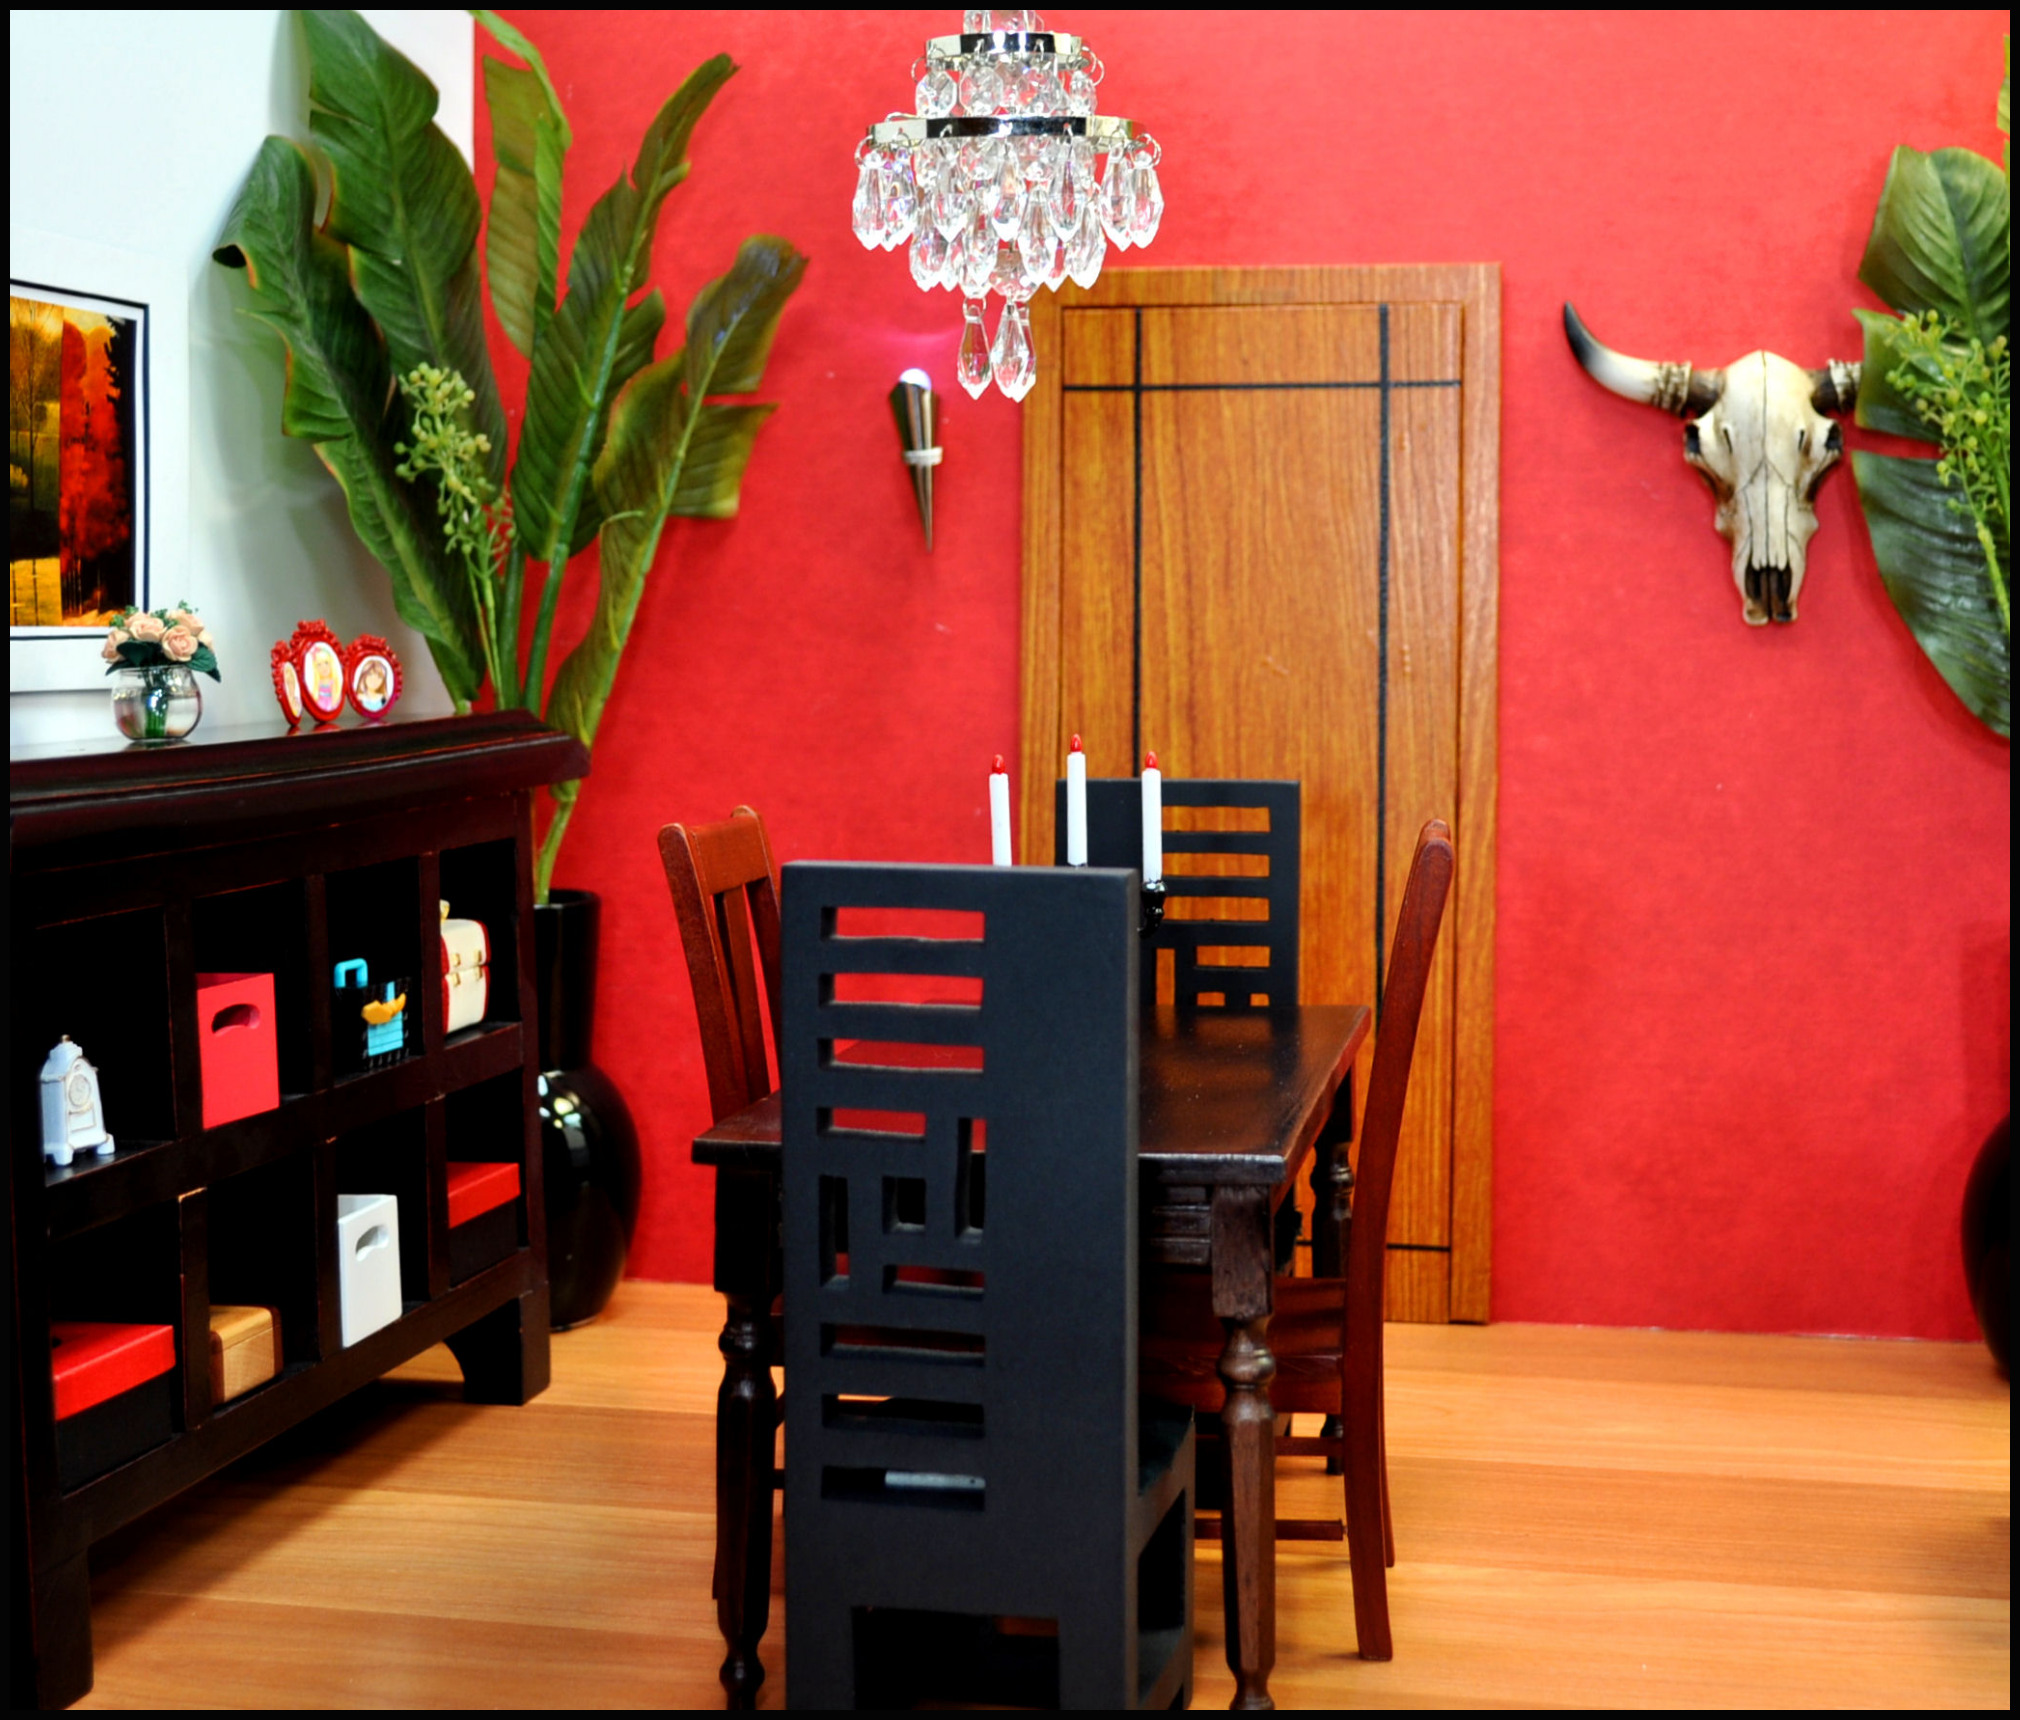
This dining room is wonderful! Where can I find the green swirl leaf art paper?
Check out the ‘Where I Shop For’ page, the Art Warehouse has large sheets of decorative paper. There’s a link towards the bottom of the page. Thanks Deb! JATMAN
One of the clearest,best illustrated, easy-to-follow tutorials I’ve seen! And the results are brilliant! I wonder about one detail. Why did you attach the wainscoting before the wallpaper? It seems to me that it would be easier to put the wainscoting over wallpaper, so you would have to cut the wallpaper as precisely. I’m sure you have a reason, but I’m curious.
Hi Kate. I limited wallpaper, so I attached the wainscoting first to make sure the wallpaper would be long enough to tuck under it. But I used scotch tape rolled in a tube, so it was easy to pull up from the board, tuck the paper under it, and reattach. Thanks so much for your nice comments! JATMAN
I am just amazed and impressed with your skill at creating these wonderful sets for your stories. Just giving you a big round of applause!
Thank you so much Marilyn! So sweet. JATMAN
hi, thank you so much for your tutorials. what size is good for the rooms?
It all depends on the space you have to set them up and light them. My rooms are usually 30 inches x 30 inches because regular foam board comes in 20 inch high x 30 inch wide sizes. I have a 5 foot by 4 foot wide table to work with, so I can make large or small rooms depending on what I need. I hope that helps with your question. I’m not sure what to recommend for your space without more info. Thanks! JATMAN
Your work is fabulous. Thank you for this tutorial. I’ll be posting it on my blog with link back to your site, of course.
Thanks so much Terri! Check out her BLOG here: https://terrigoldphoto.blogspot.com/