LIGHTING DIORAMAS
WAYS I LIGHT MY DIORAMAS
MATERIALS NEEDED
Floor Lamp - Multi Bulb
LED Light Strips

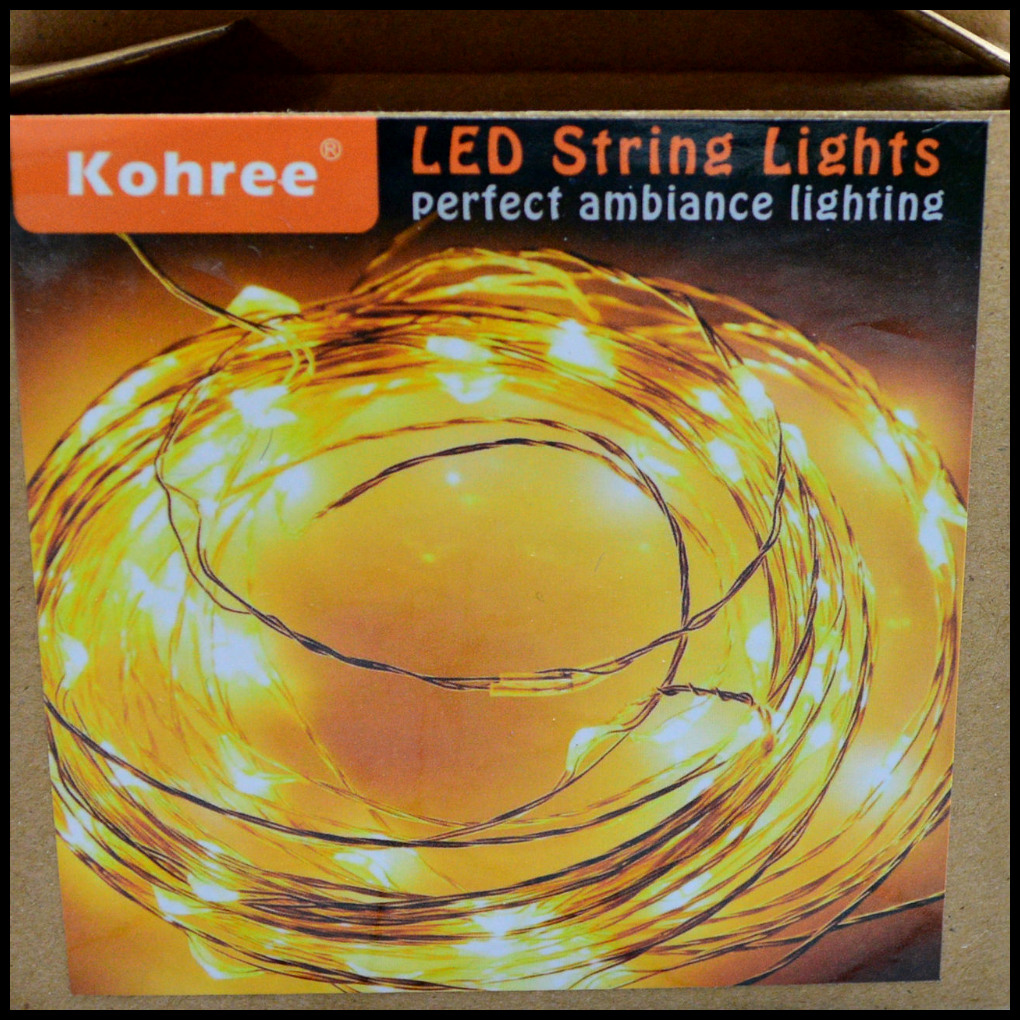
String Lights
Lighting Cans
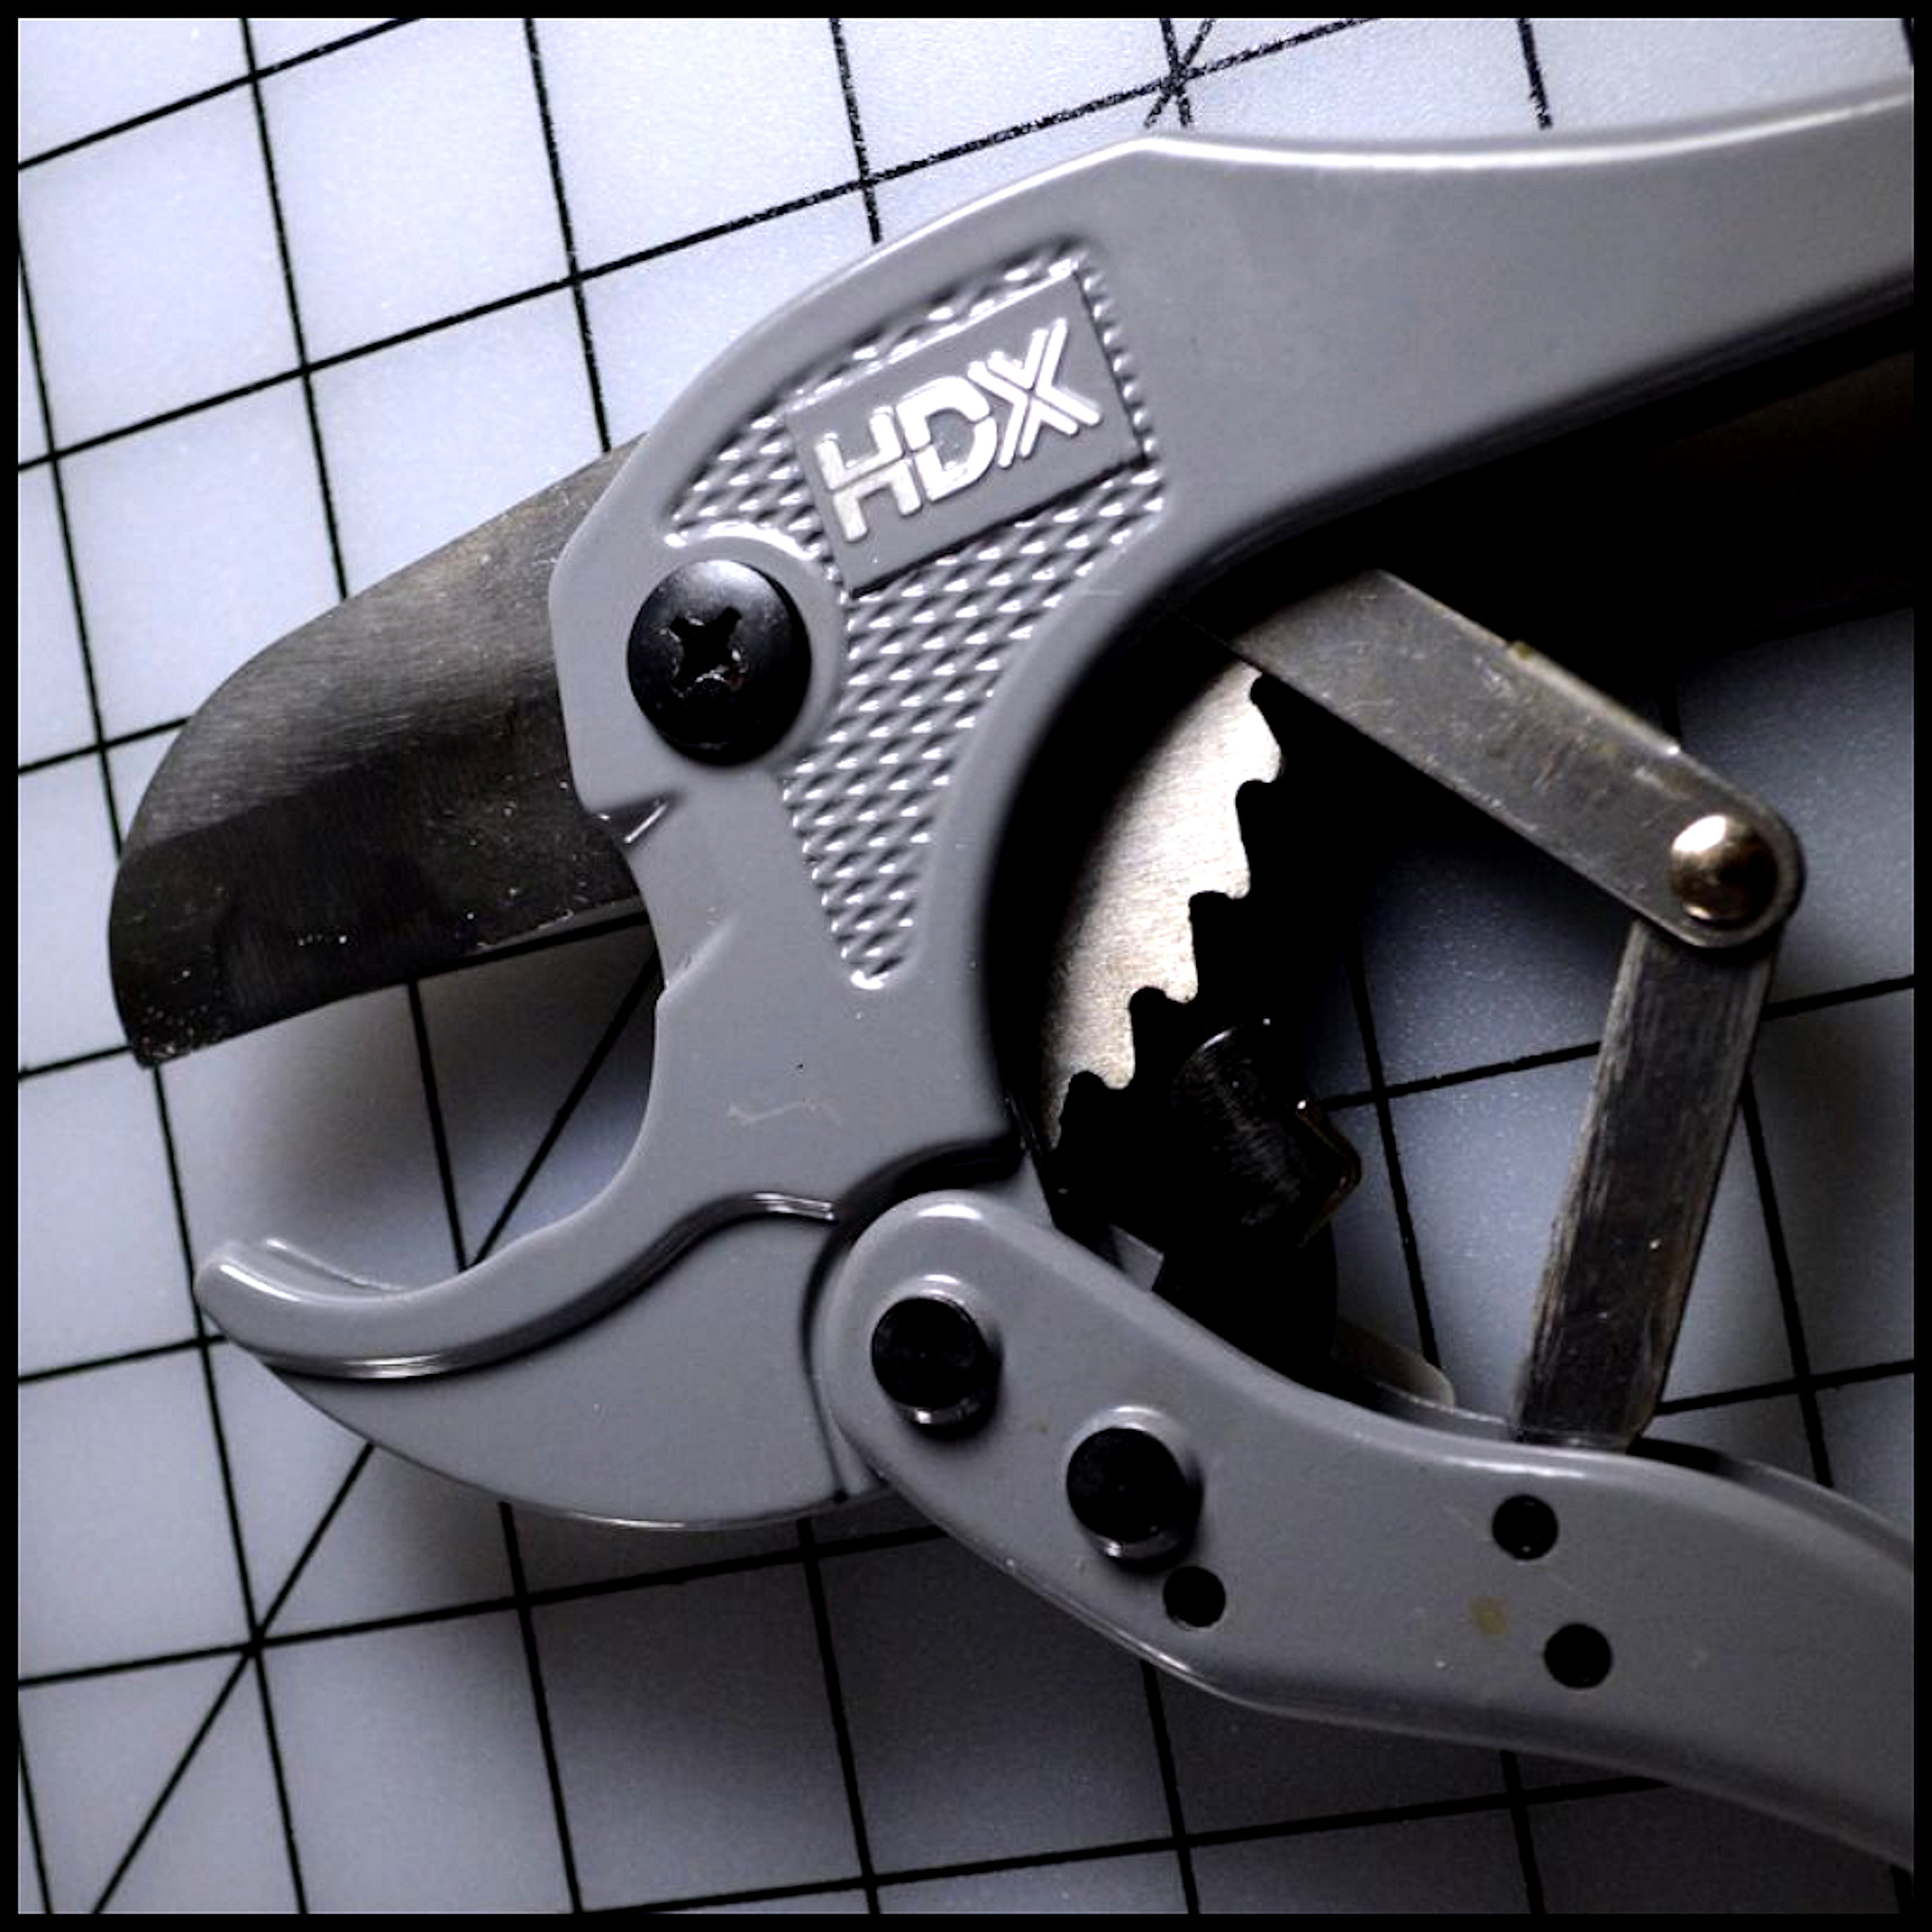
Cutting Tool - Heavy Duty
Battery Operated Lights
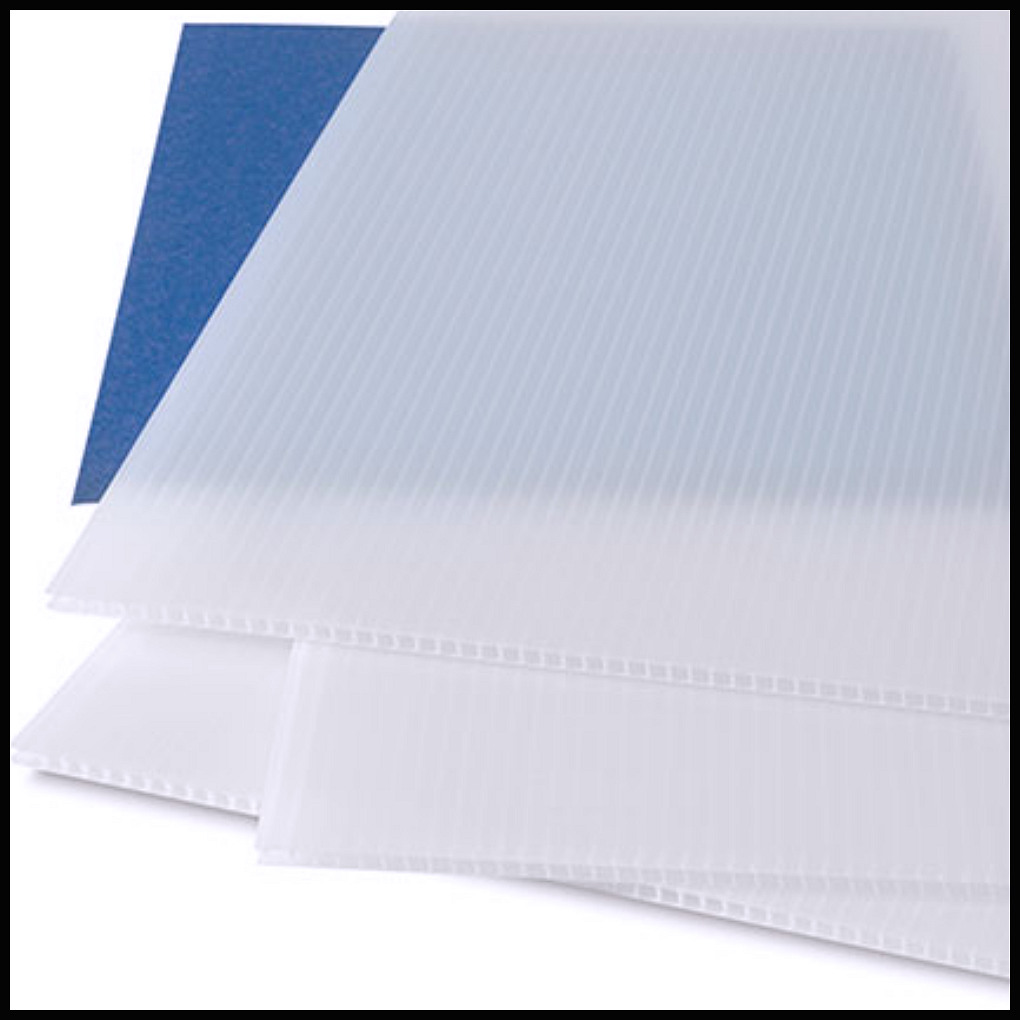
Transparent Board
PVC Plumbing Pipes
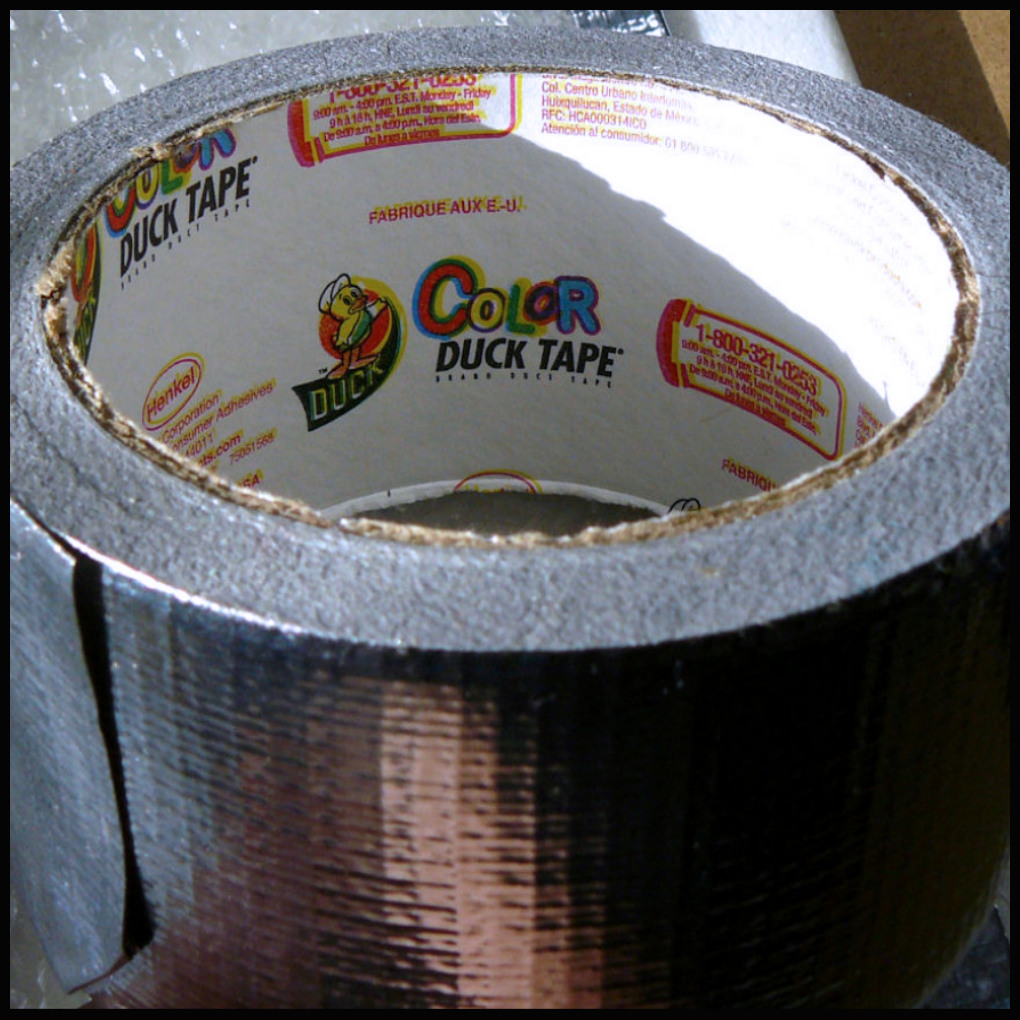
Duck Tape
Colored Light Bulbs
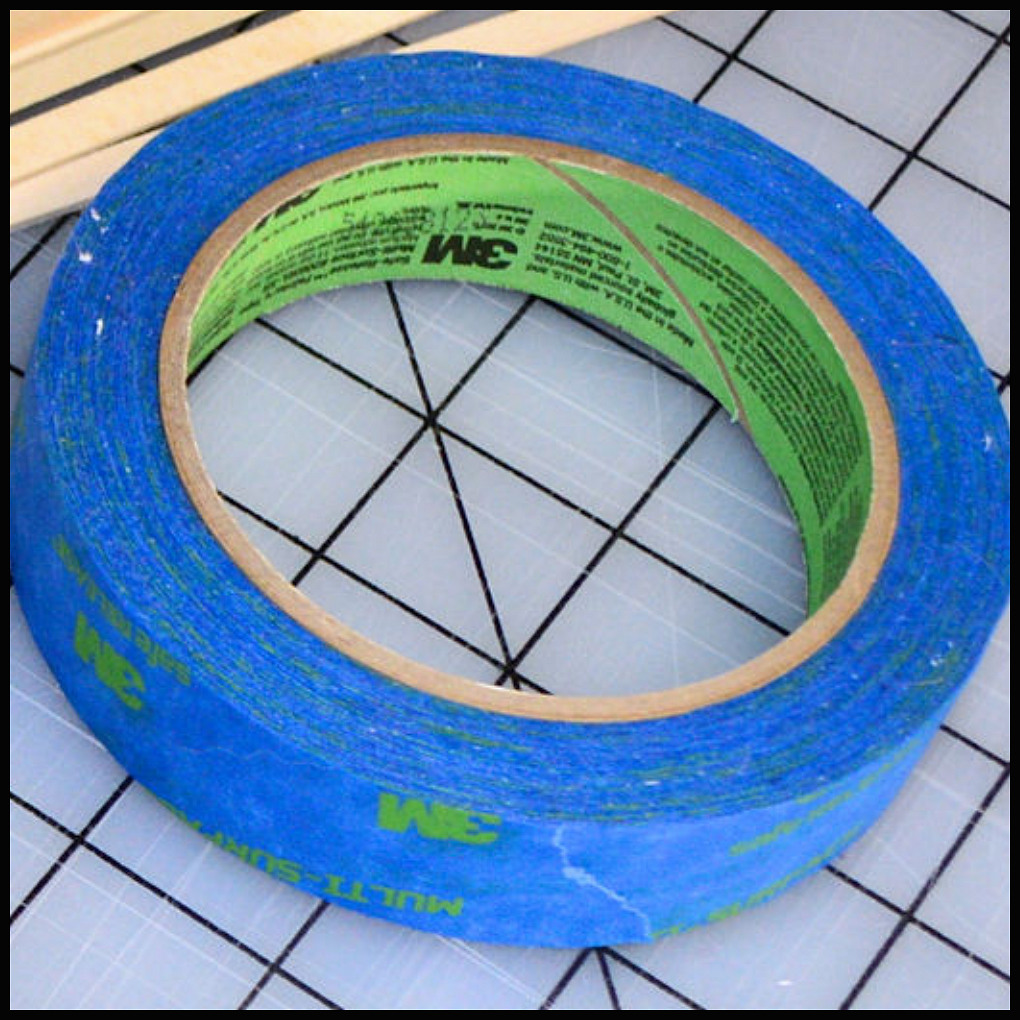
Masking Tape
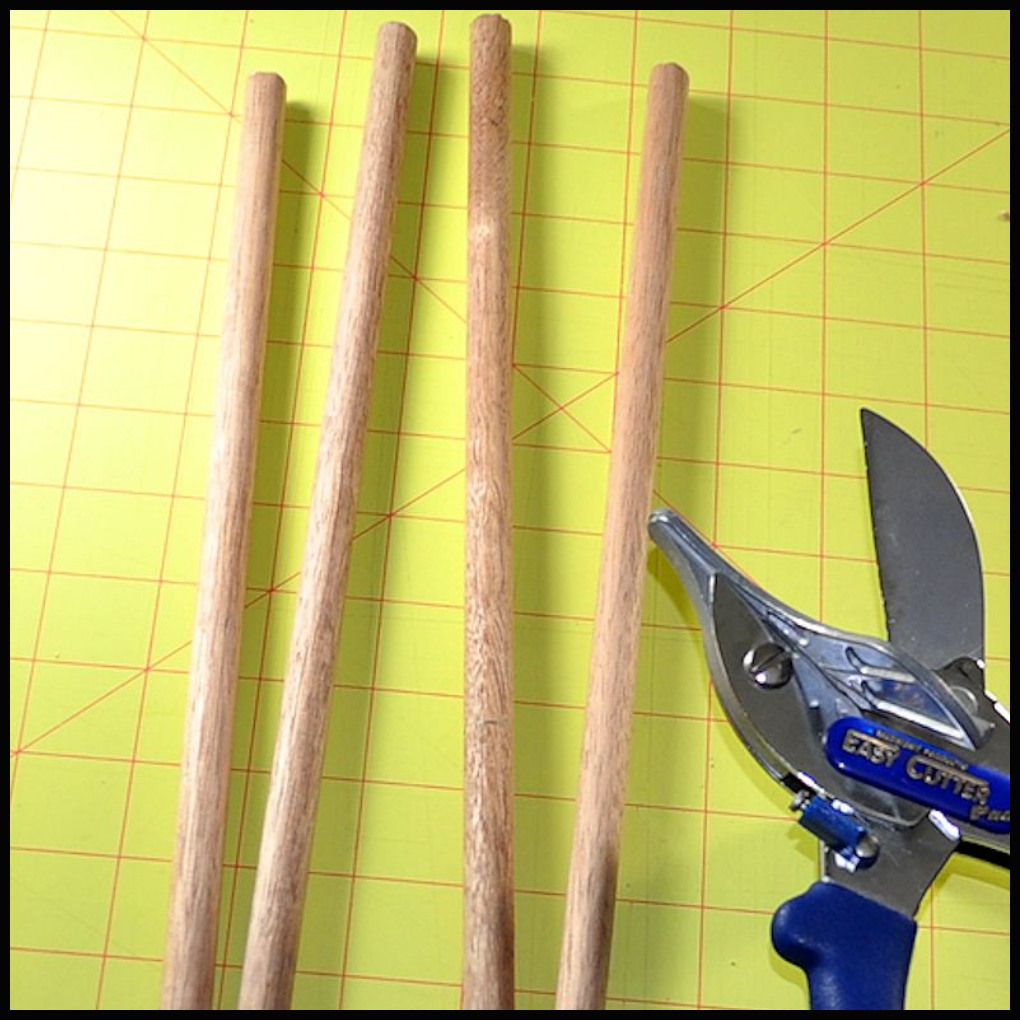
Wooden Dowels
NATURAL VS. ARTIFICIAL LIGHT
If you are lucky enough to have access to lots of natural light from either outdoor space or lots of windows that your dioramas can go up against, use those sources much of it as you can. Natural light is the best.
I have not been lucky enough to have access to either. I live in one of the most crowded places in my country and taking all my equipment, dolls and stuff outdoors is just not an option. I need a license to set up any type of photo shoot and the amount of attention I’d get from strangers doesn’t appeal to me. I love blending in with the crowd, not making one.
The places I’ve lived in for the past decade have also not had good window placement or light coming in to help my dioramas, so I’ve had to get creative with my artificial lighting.
The number one bulb I use in all my lamps now is the Daylight color LED energy saver. In the past I used the Daylight CFL ecofriendly bulbs, but they get hotter than the new LED’s and don’t last as long.
The color bulbs I show below are CFL’s but they’re making them in LED now, so I recommend purchasing those instead.
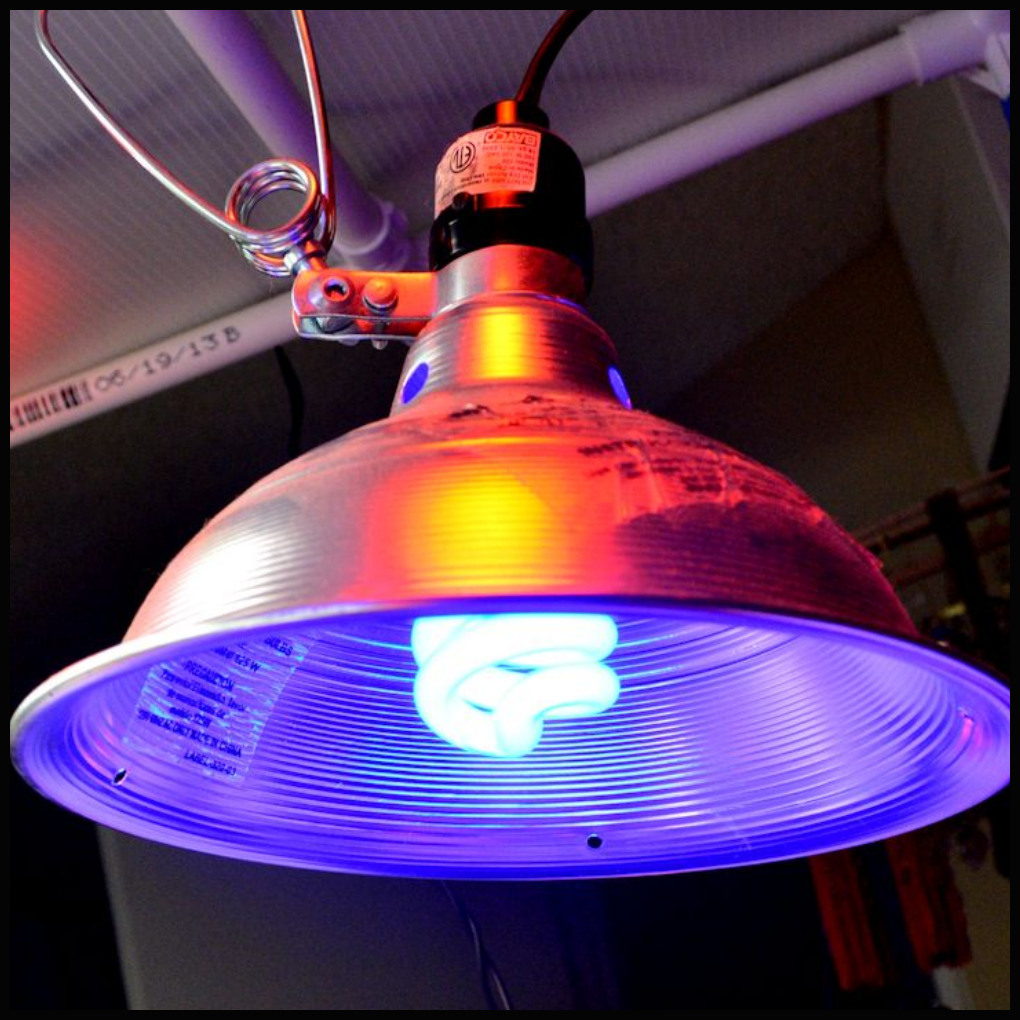
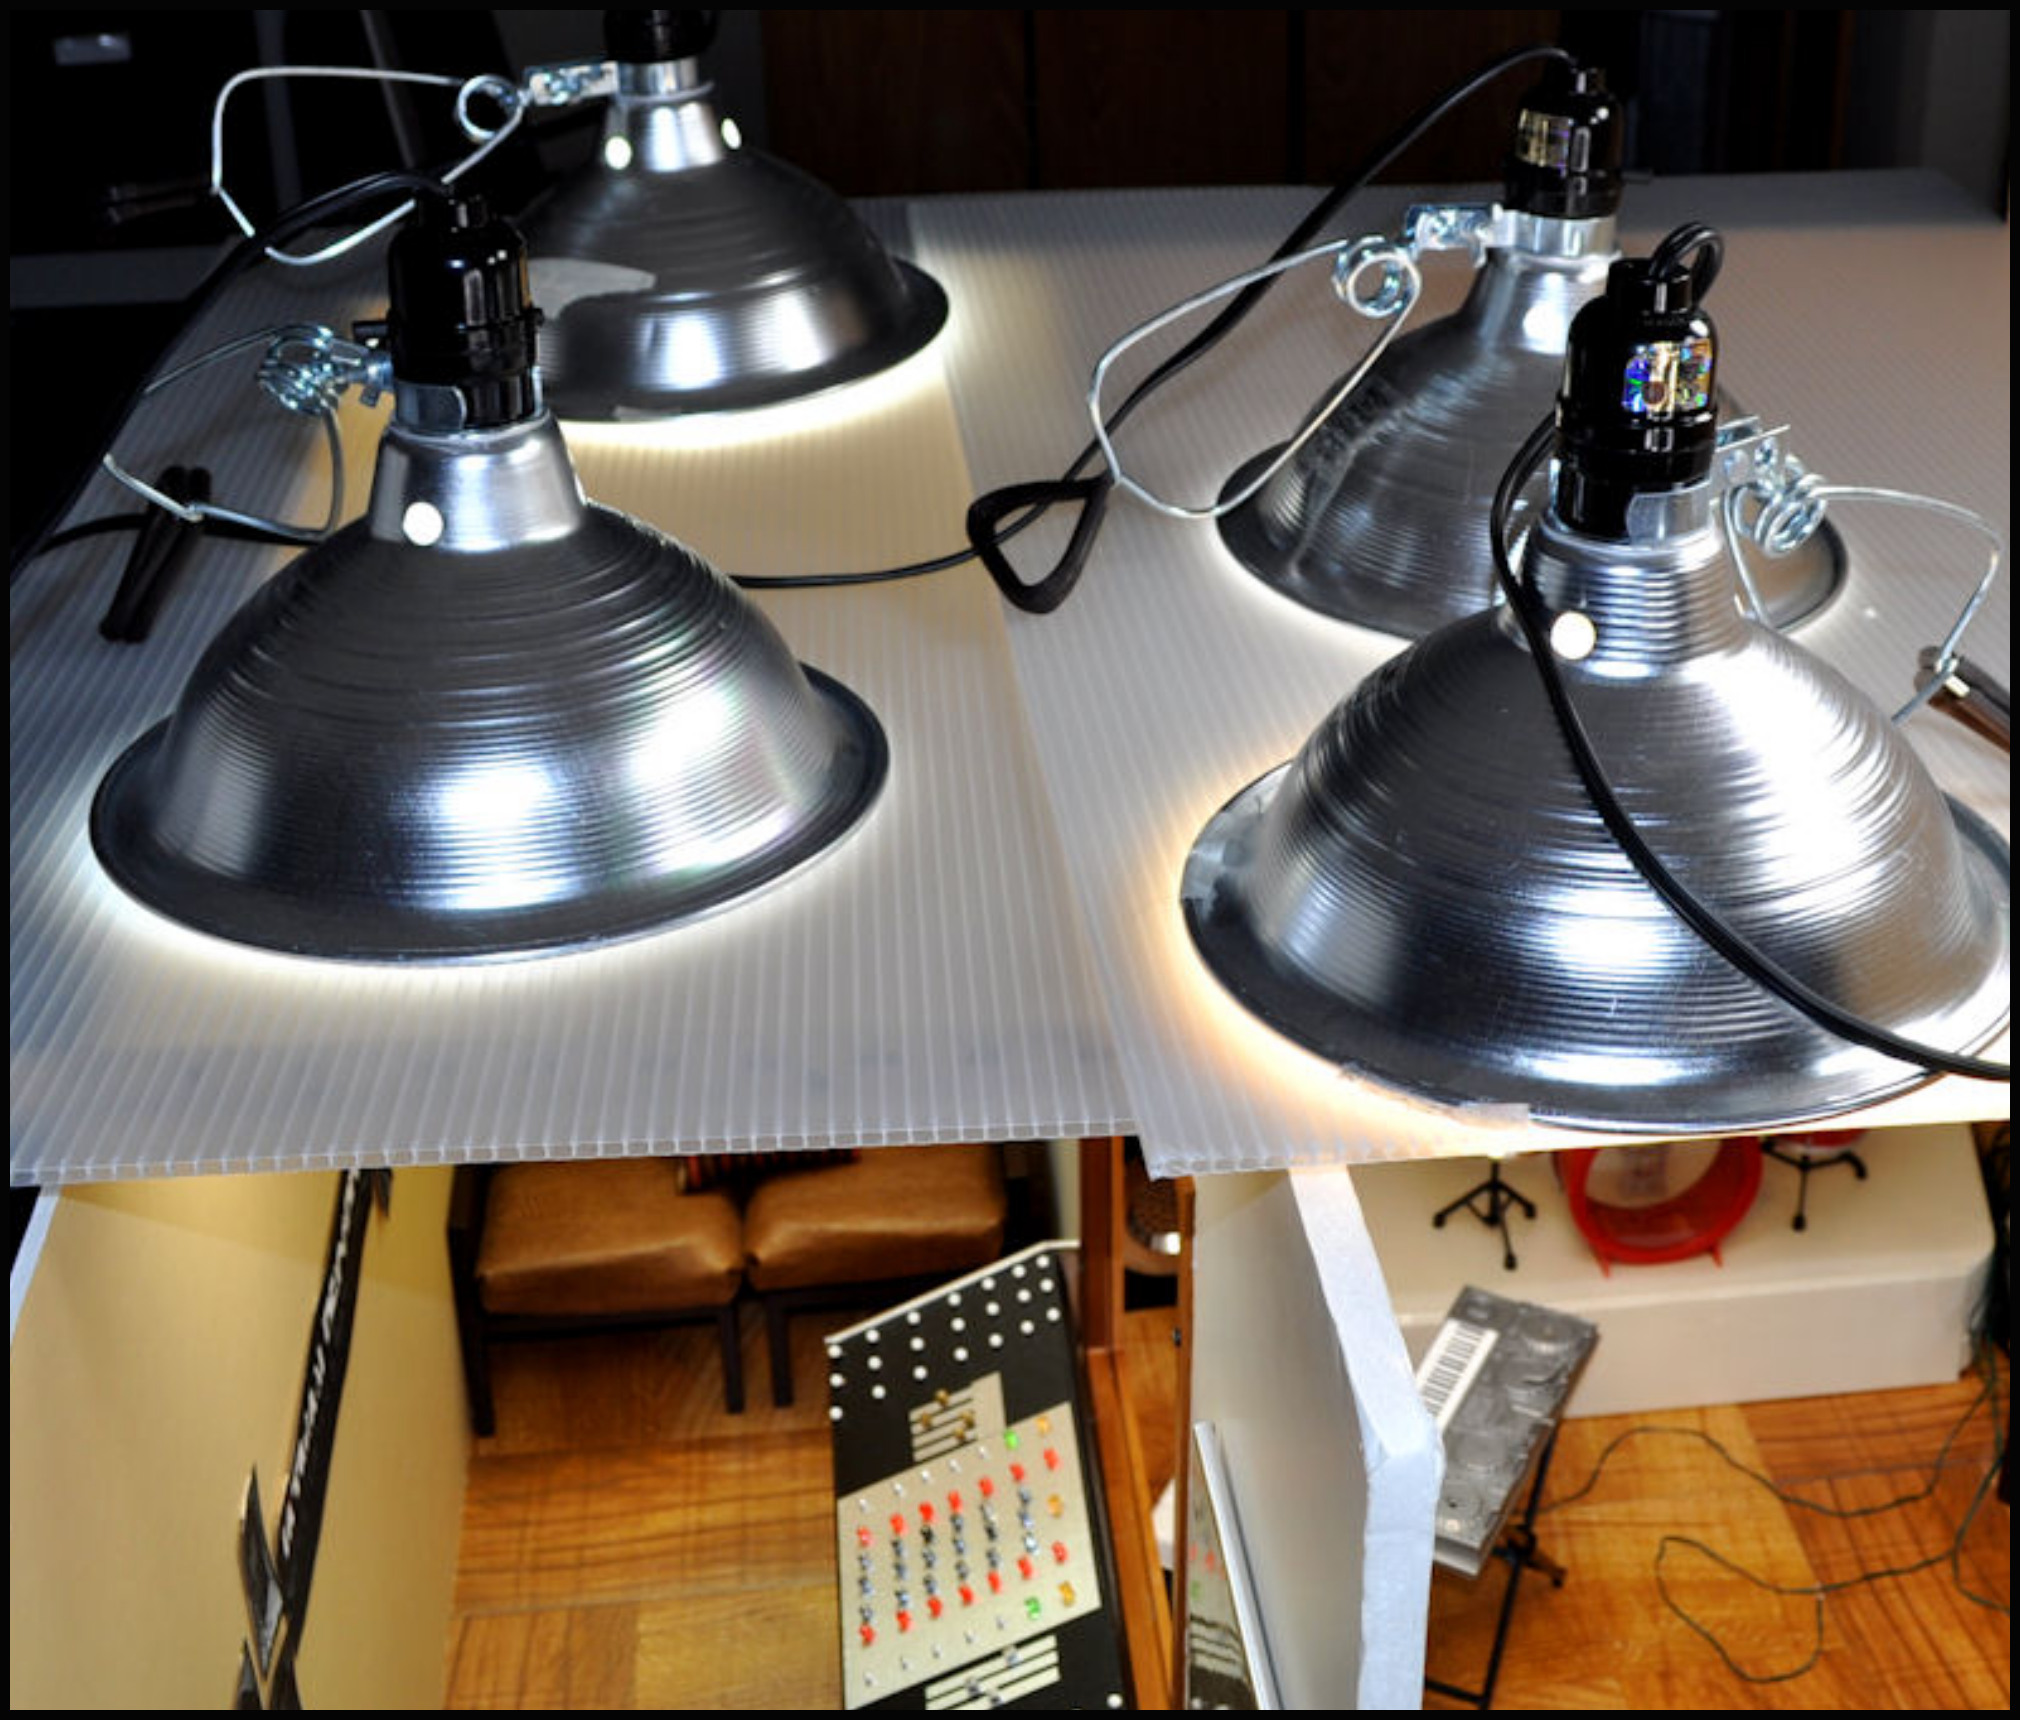
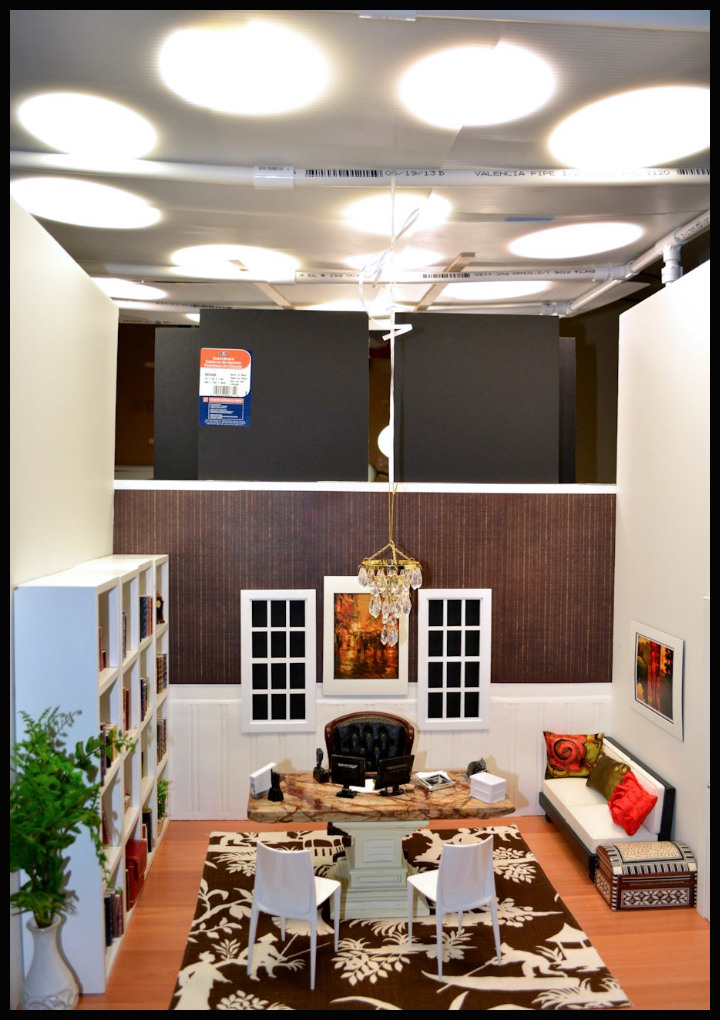
LIGHT CANS
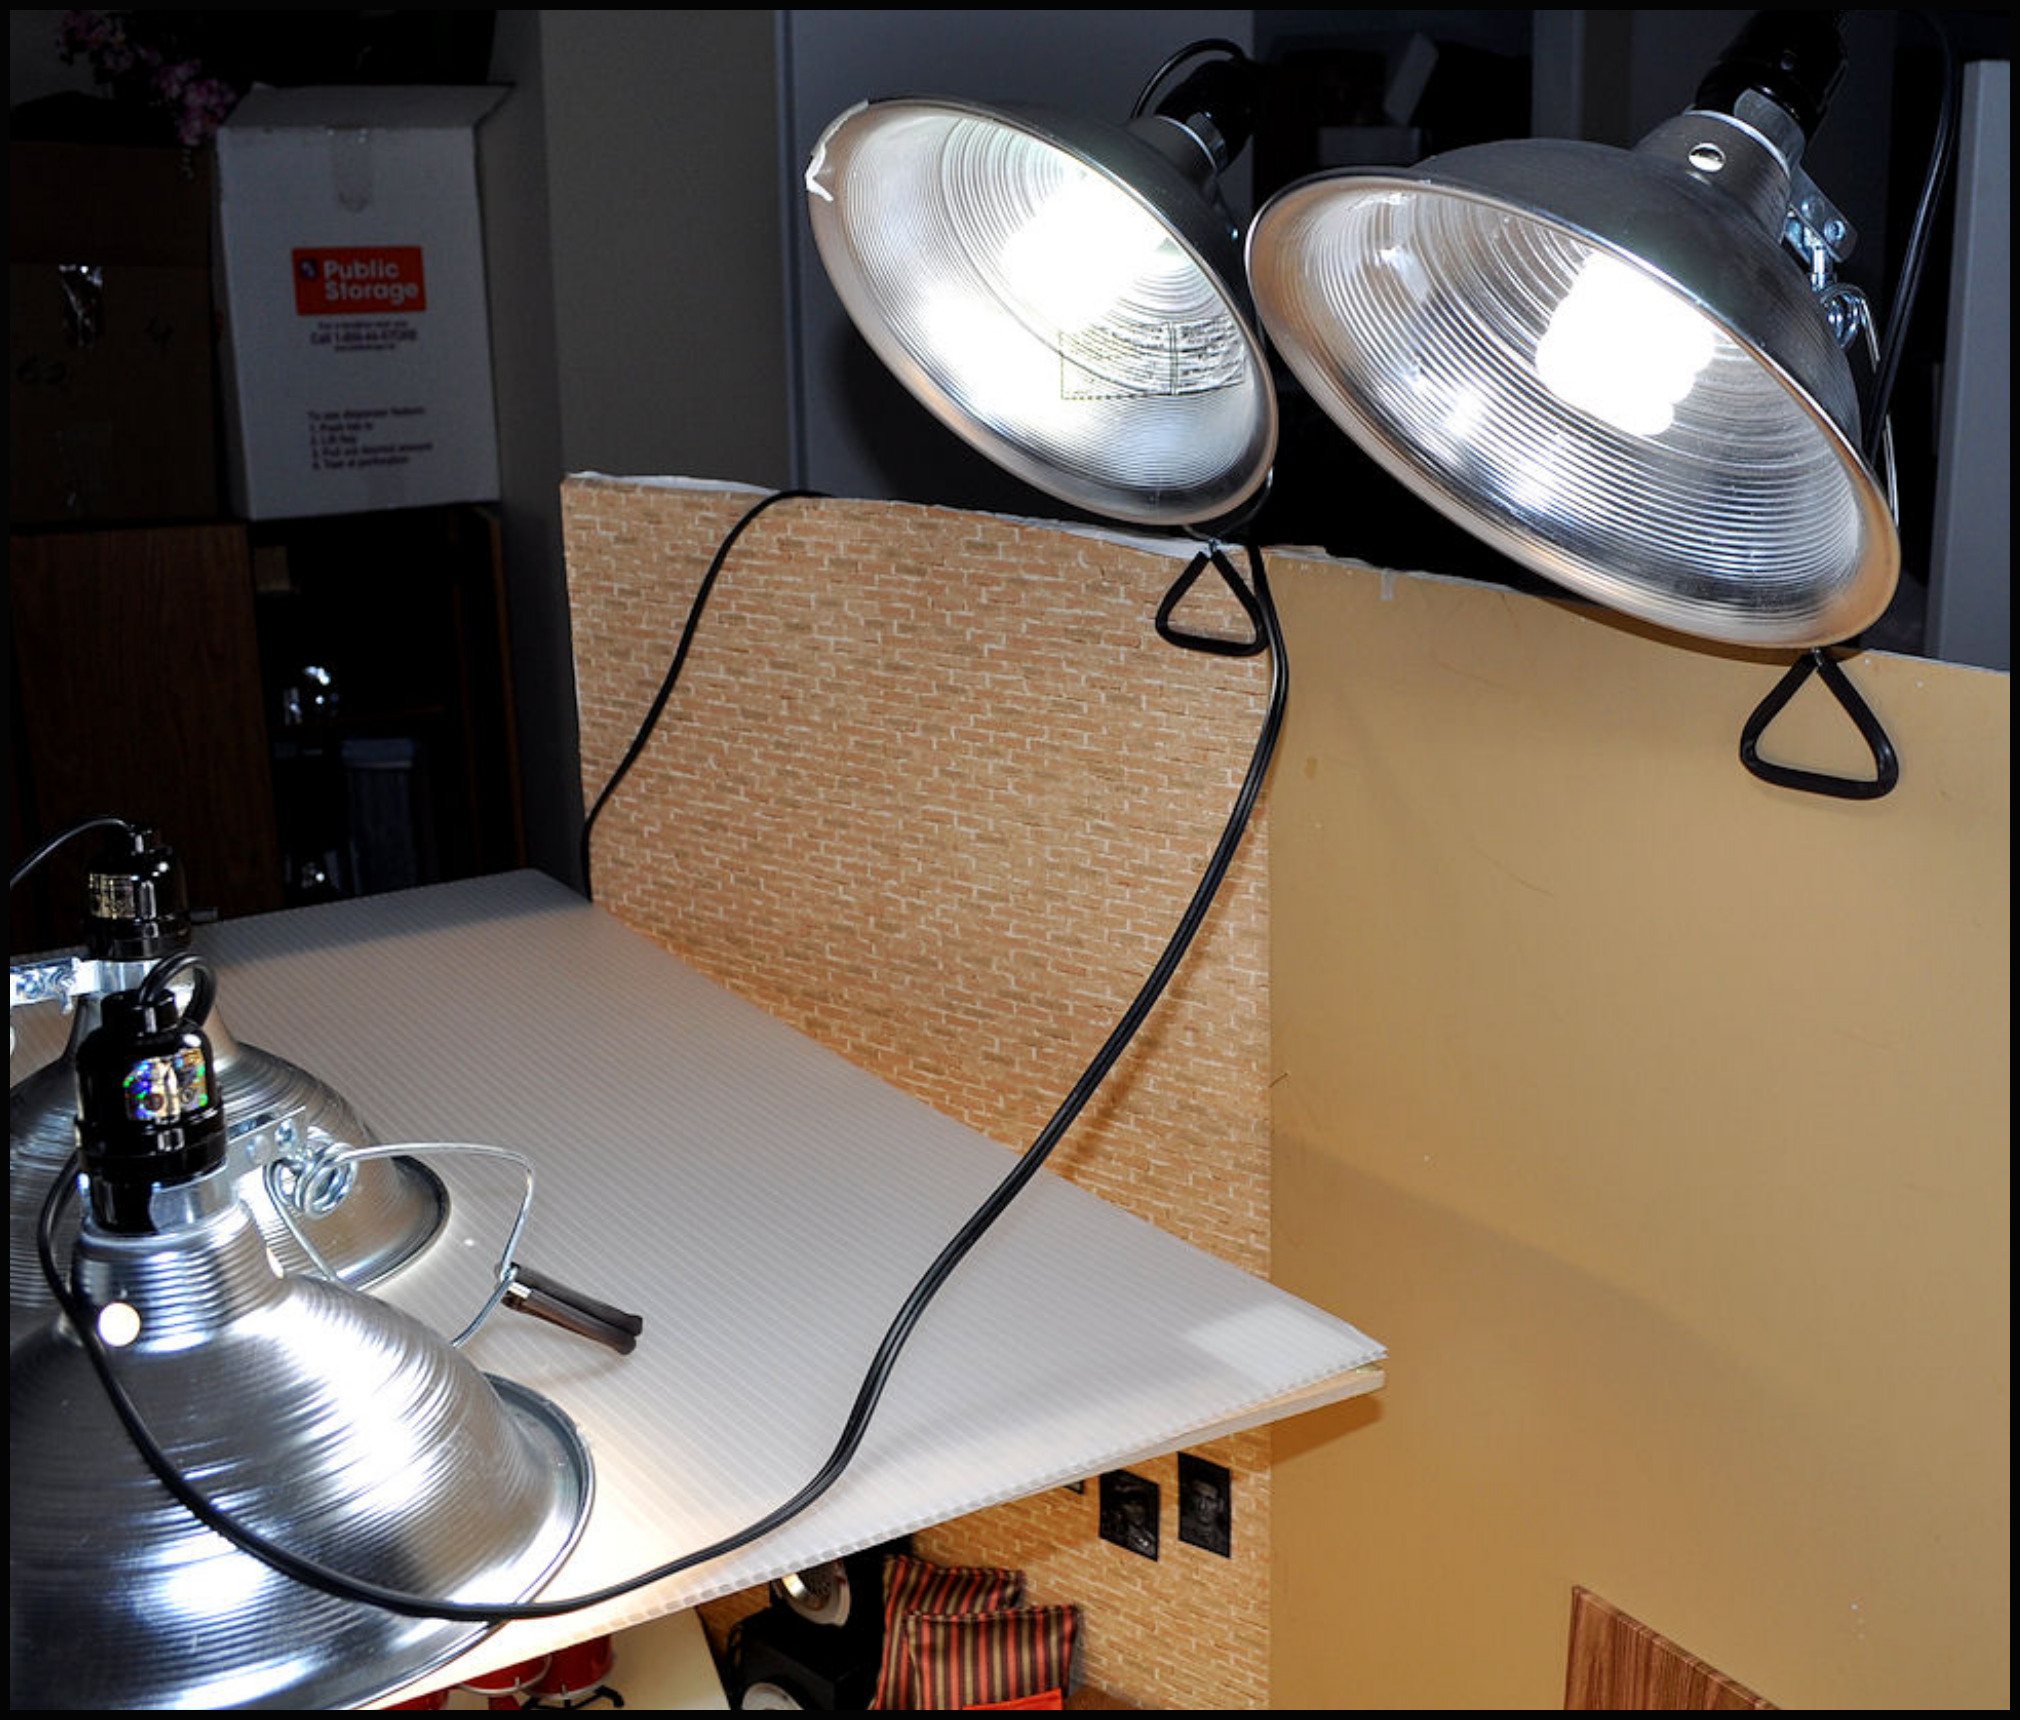
Painter Cans are usually used in construction sites to clip onto the scaffolding and provide temporary light during work. They’re sold at any hardware store and compared to household lamps are cheaper to buy in quantity for lighting dioramas.
My light cans always have energy saver bulbs that don’t get too hot in them because they’re usually placed on top of plexiglass or corrugated plastic board or other things that could potentially catch on fire if the bulb was crazy hot. Even if I didn’t place them up against these things, hot bulbs heat up your room, which makes it difficult to work in. So keep the temperature down for your sake and that of your dolls. They can’t sweat.
Light cans are light weight, flexible to be placed on top of things, clipped to walls, etc.
To use these over the top of a three-wall diorama, place two or three over 30″ dowels across the top to rest on the wall tops. Then place a transparent, corrugated plastic board on top of the dowels to cover the diorama. Place the lit can on top of the board pointing down and your room is lit.
If you want additional light, point a floor lamp at the open area while photographing.
A bonus to the dowels across the top of your room is that you can hang various types of lamps or other ceiling hanging items from them.
They’re also useful for hanging wire to pose your dolls in the middle of the room without leaning them against furniture or using doll stands. Of if the dolls will need to do extreme posing such as dancing or fighting.
WARNING: LIGHT CANS have some VERY sharp edges, I’ve cut myself deeply on the can rim, the clip and several other spots I couldn’t identify. I’m guessing they’re usually handled by workers with gloves on, please be very careful.
LIGHT CANS

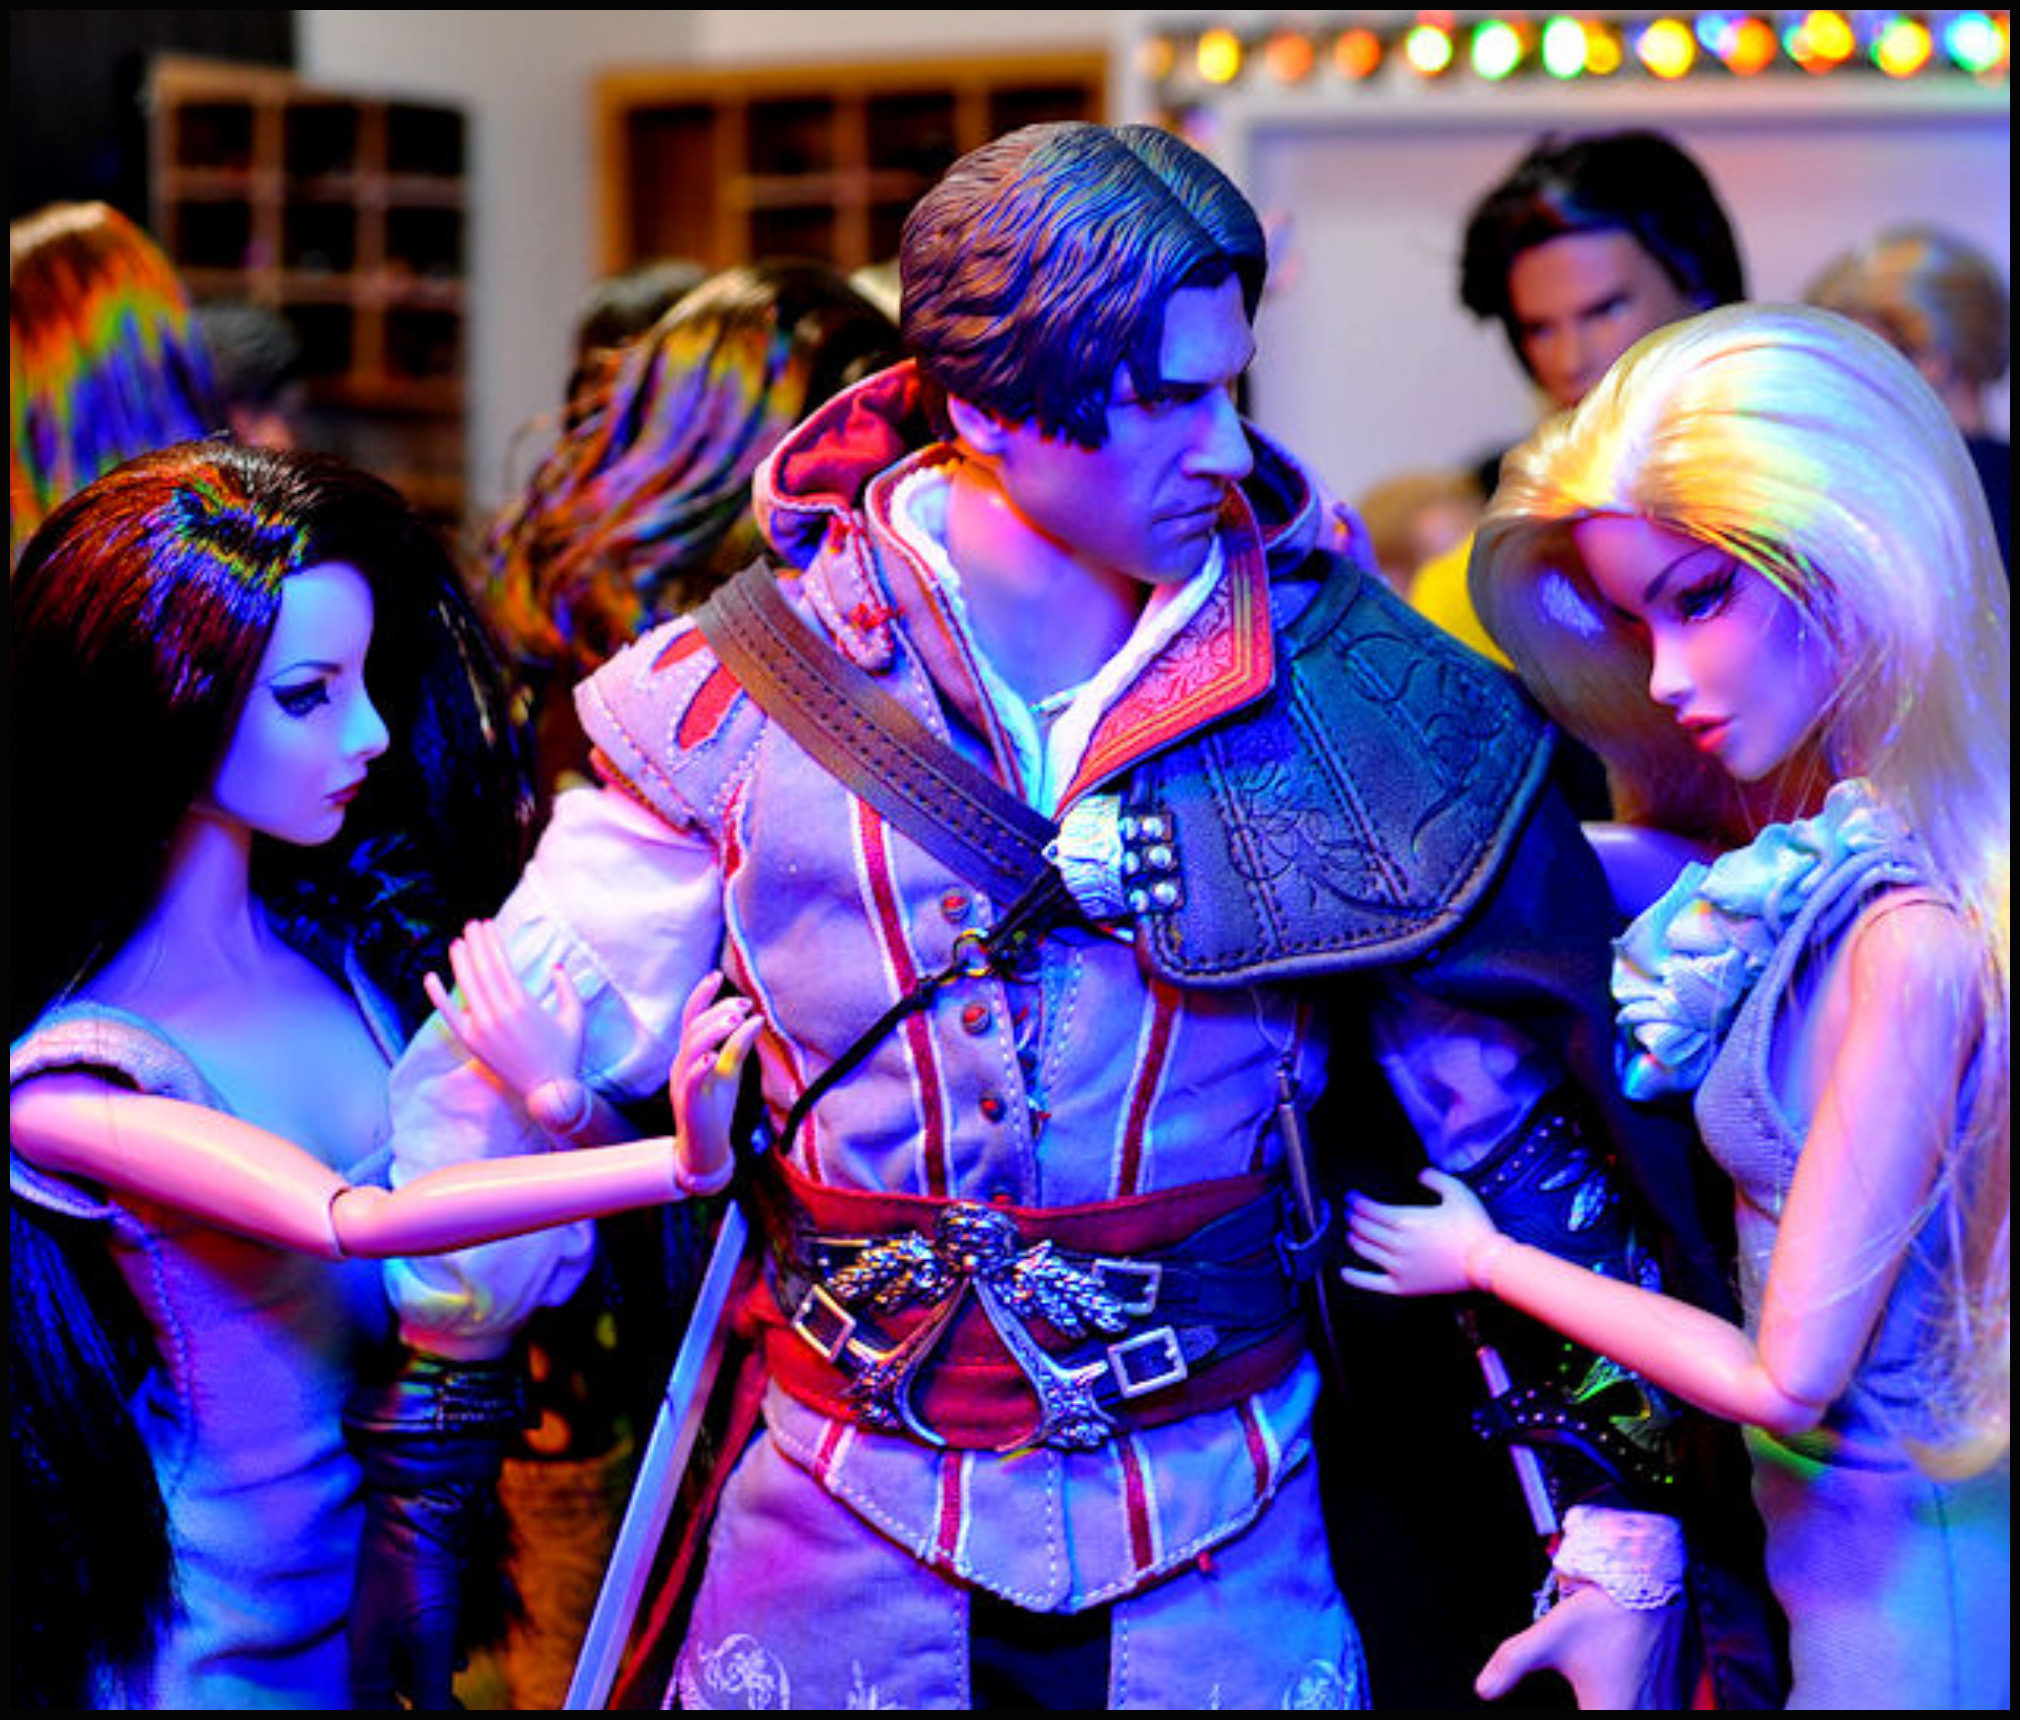
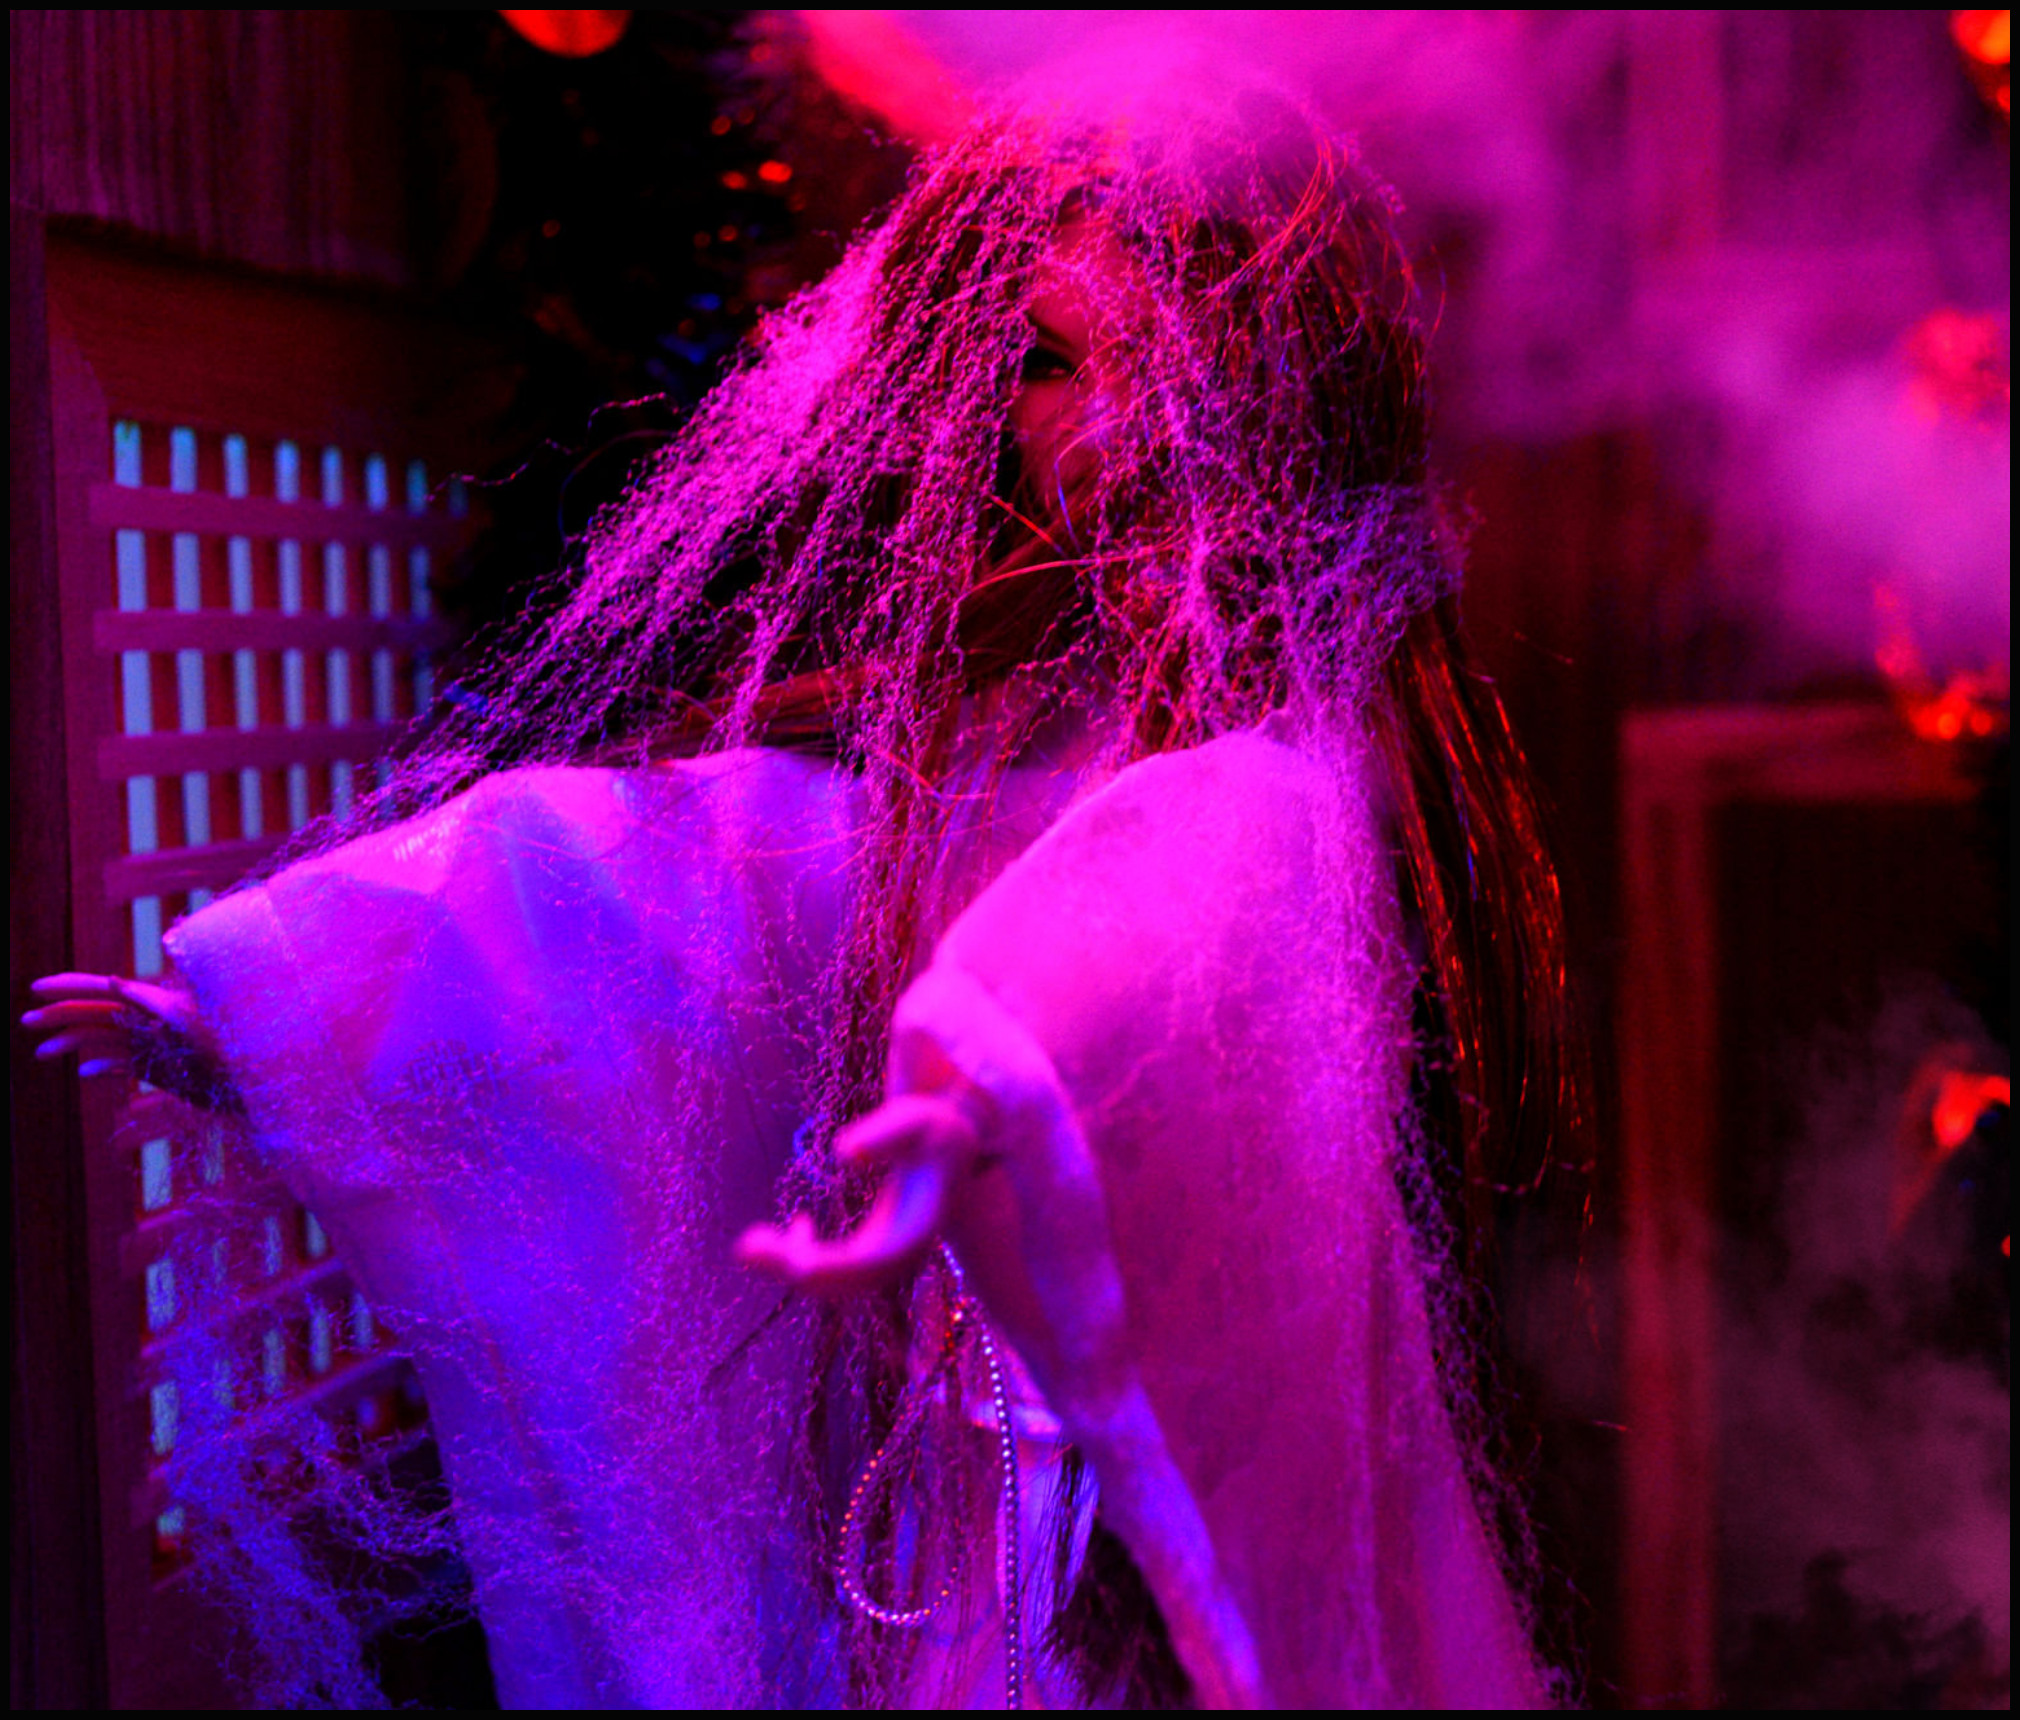
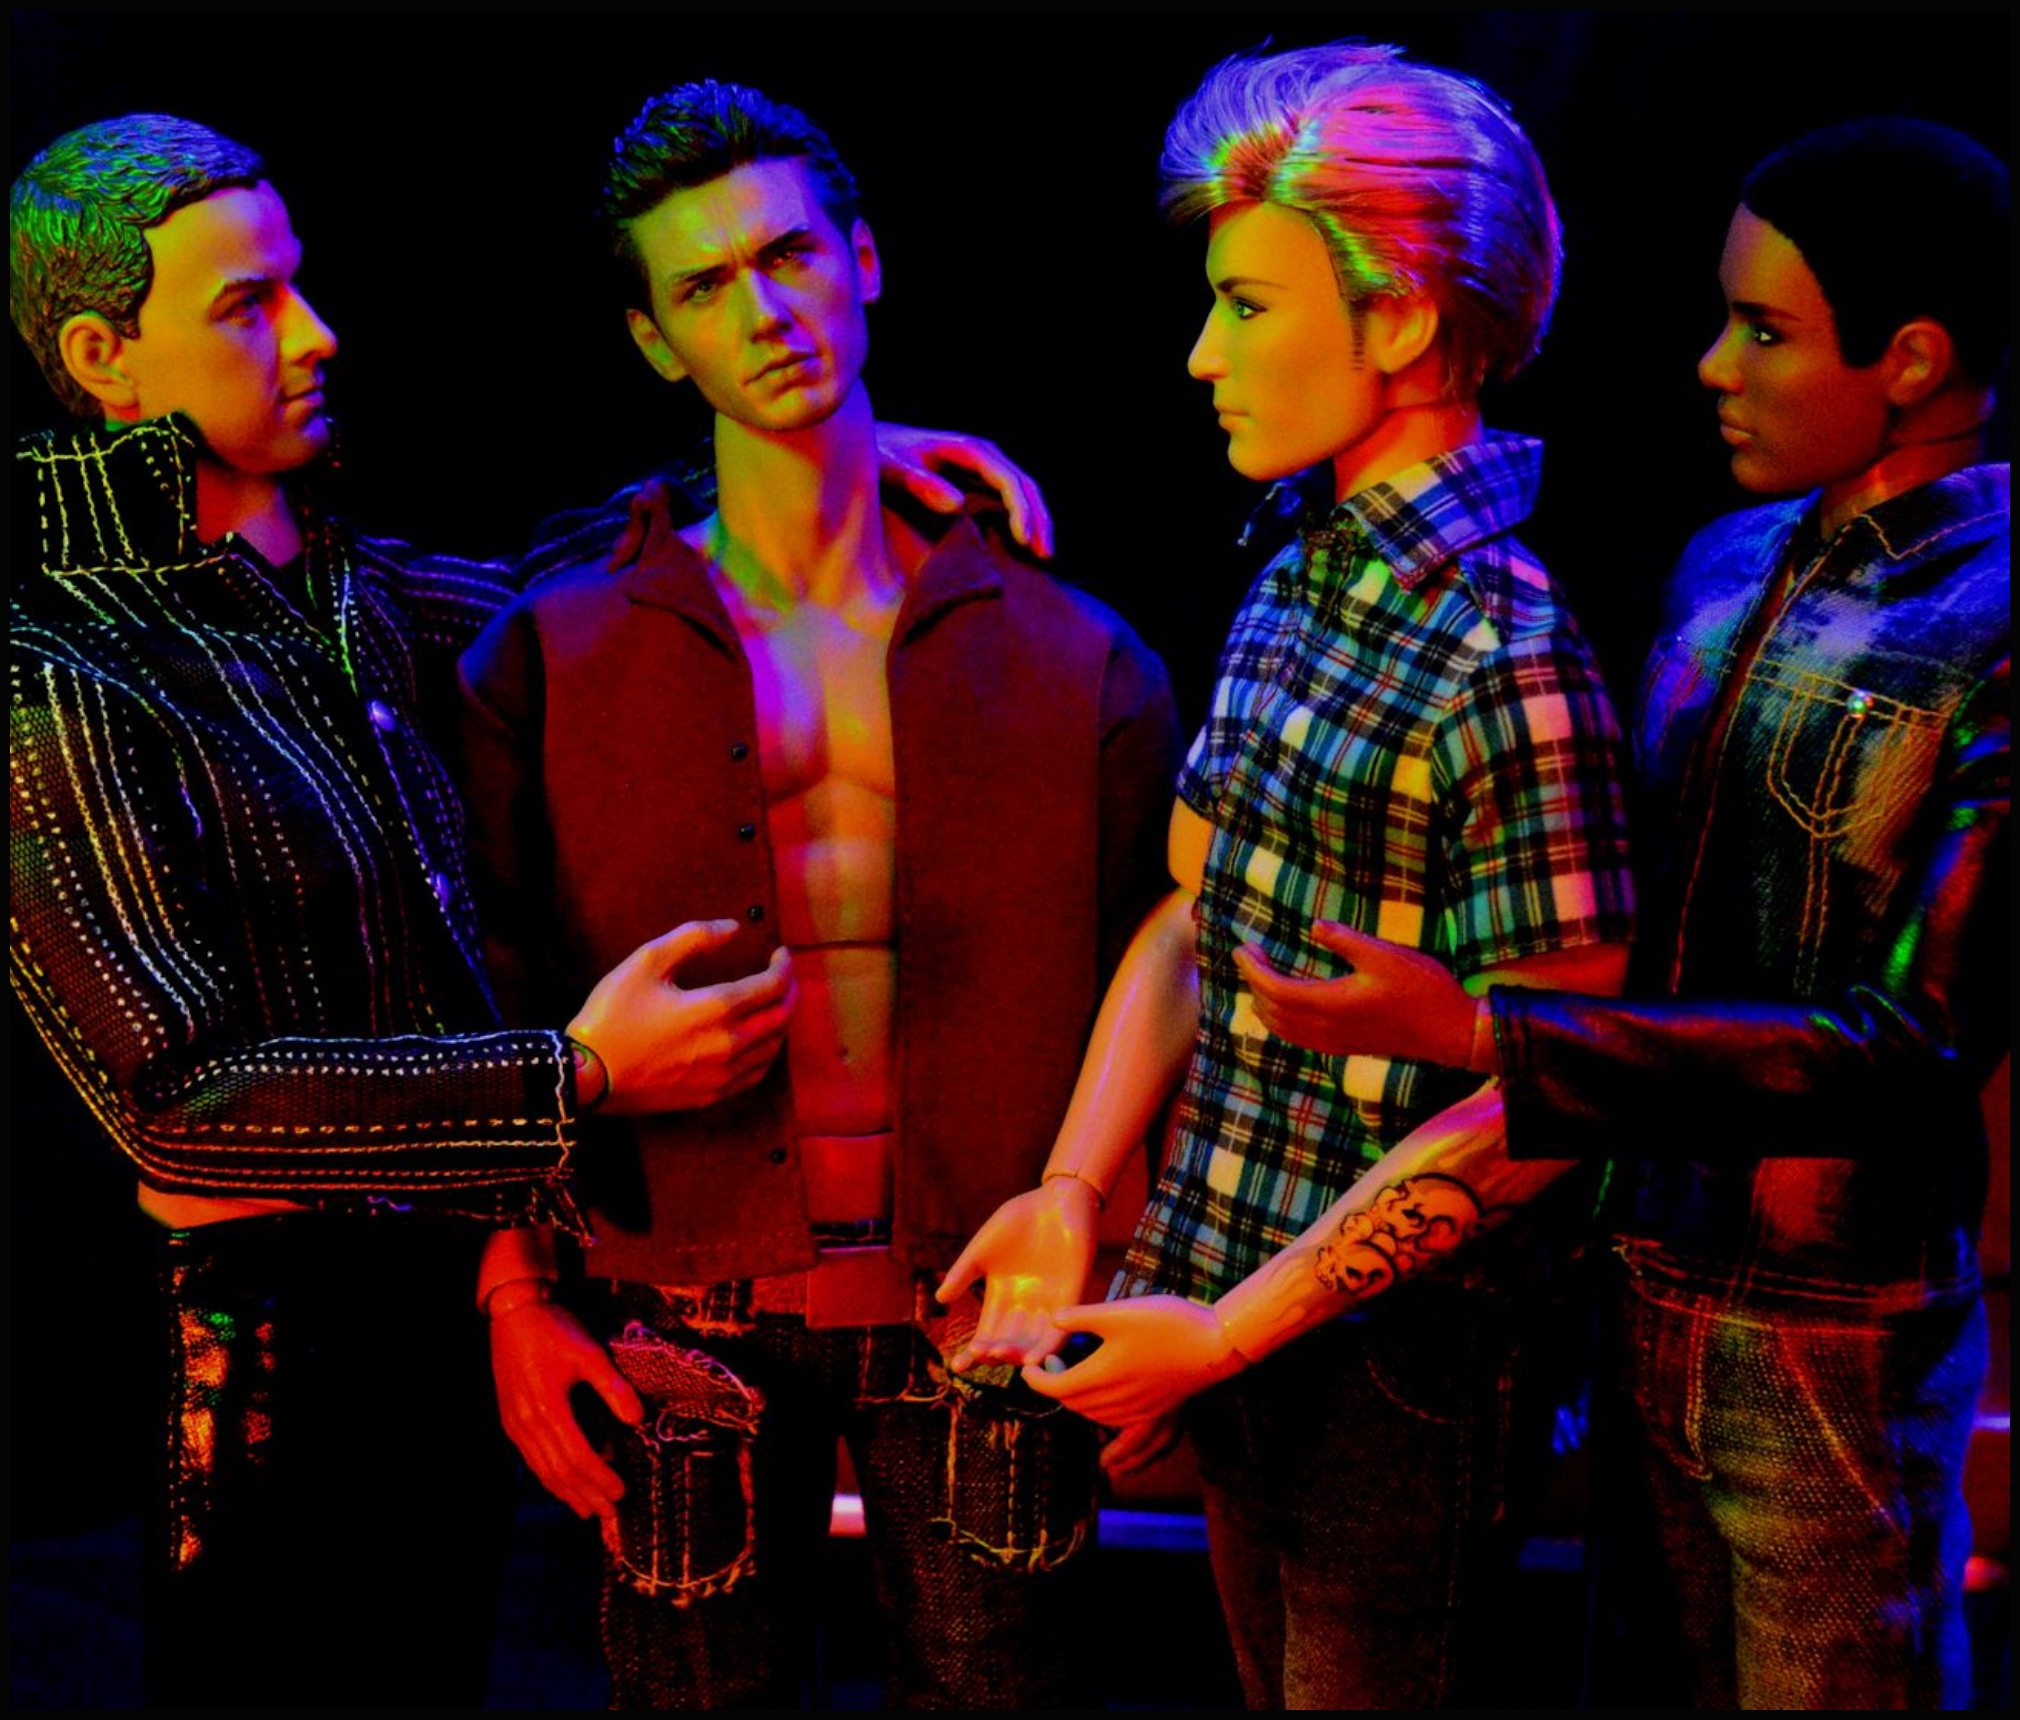
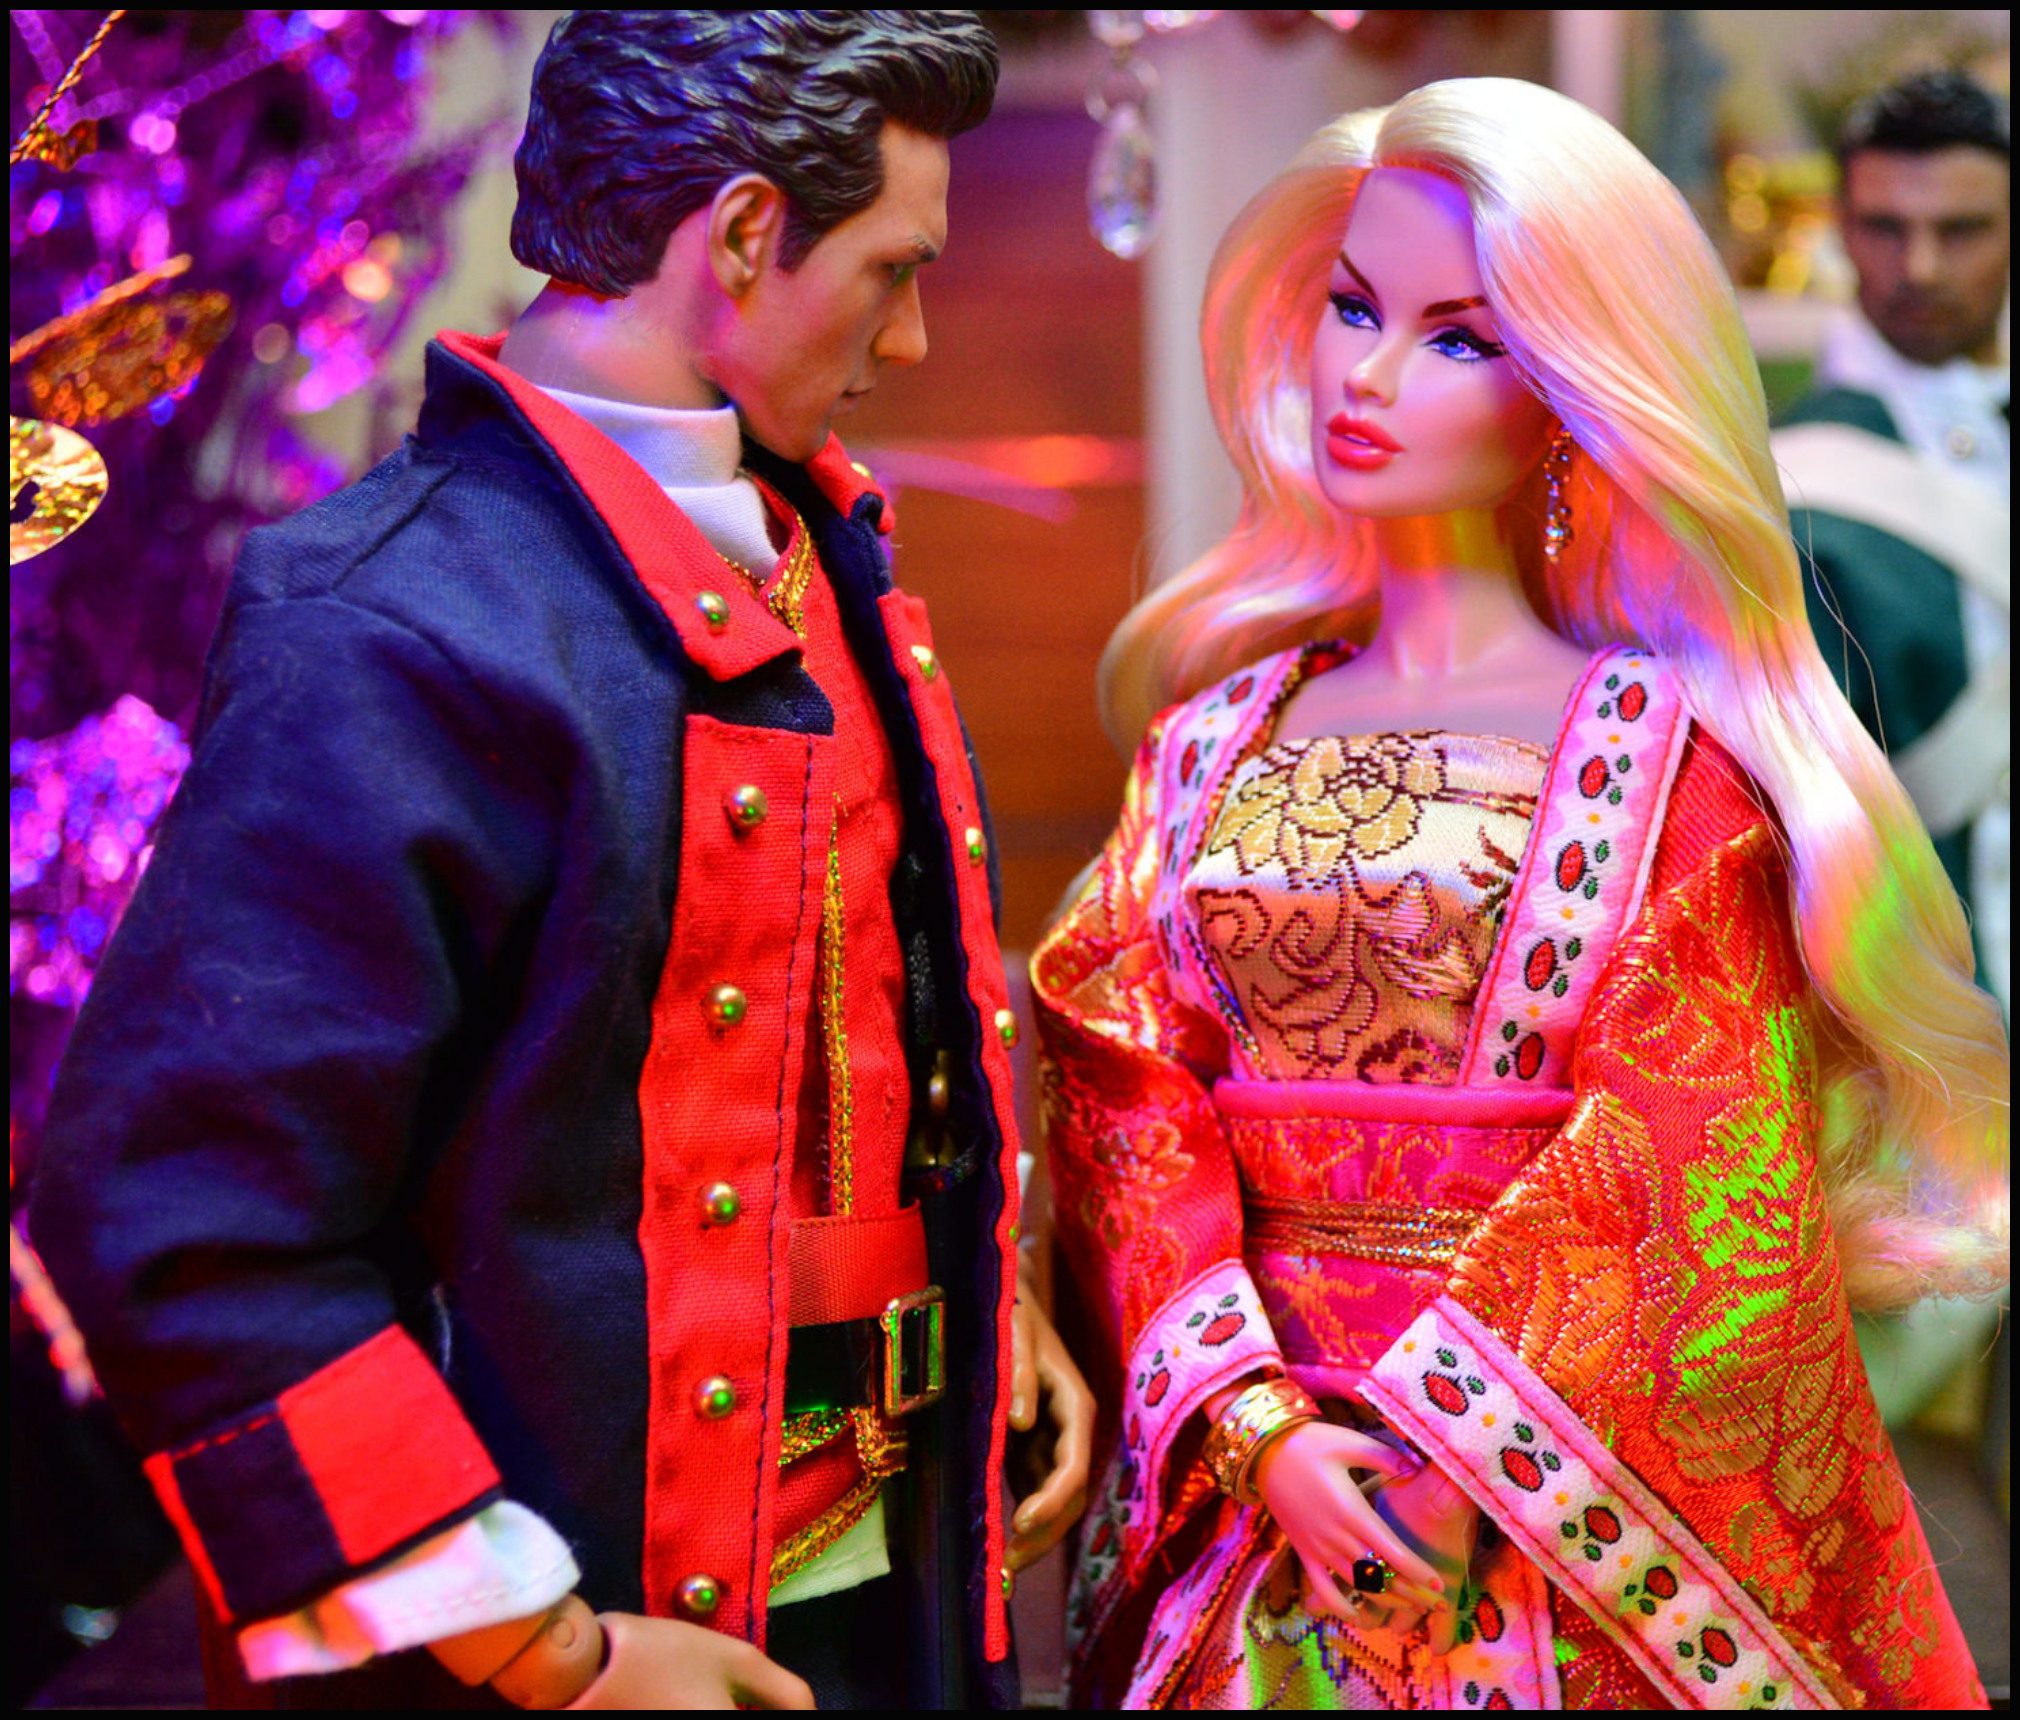
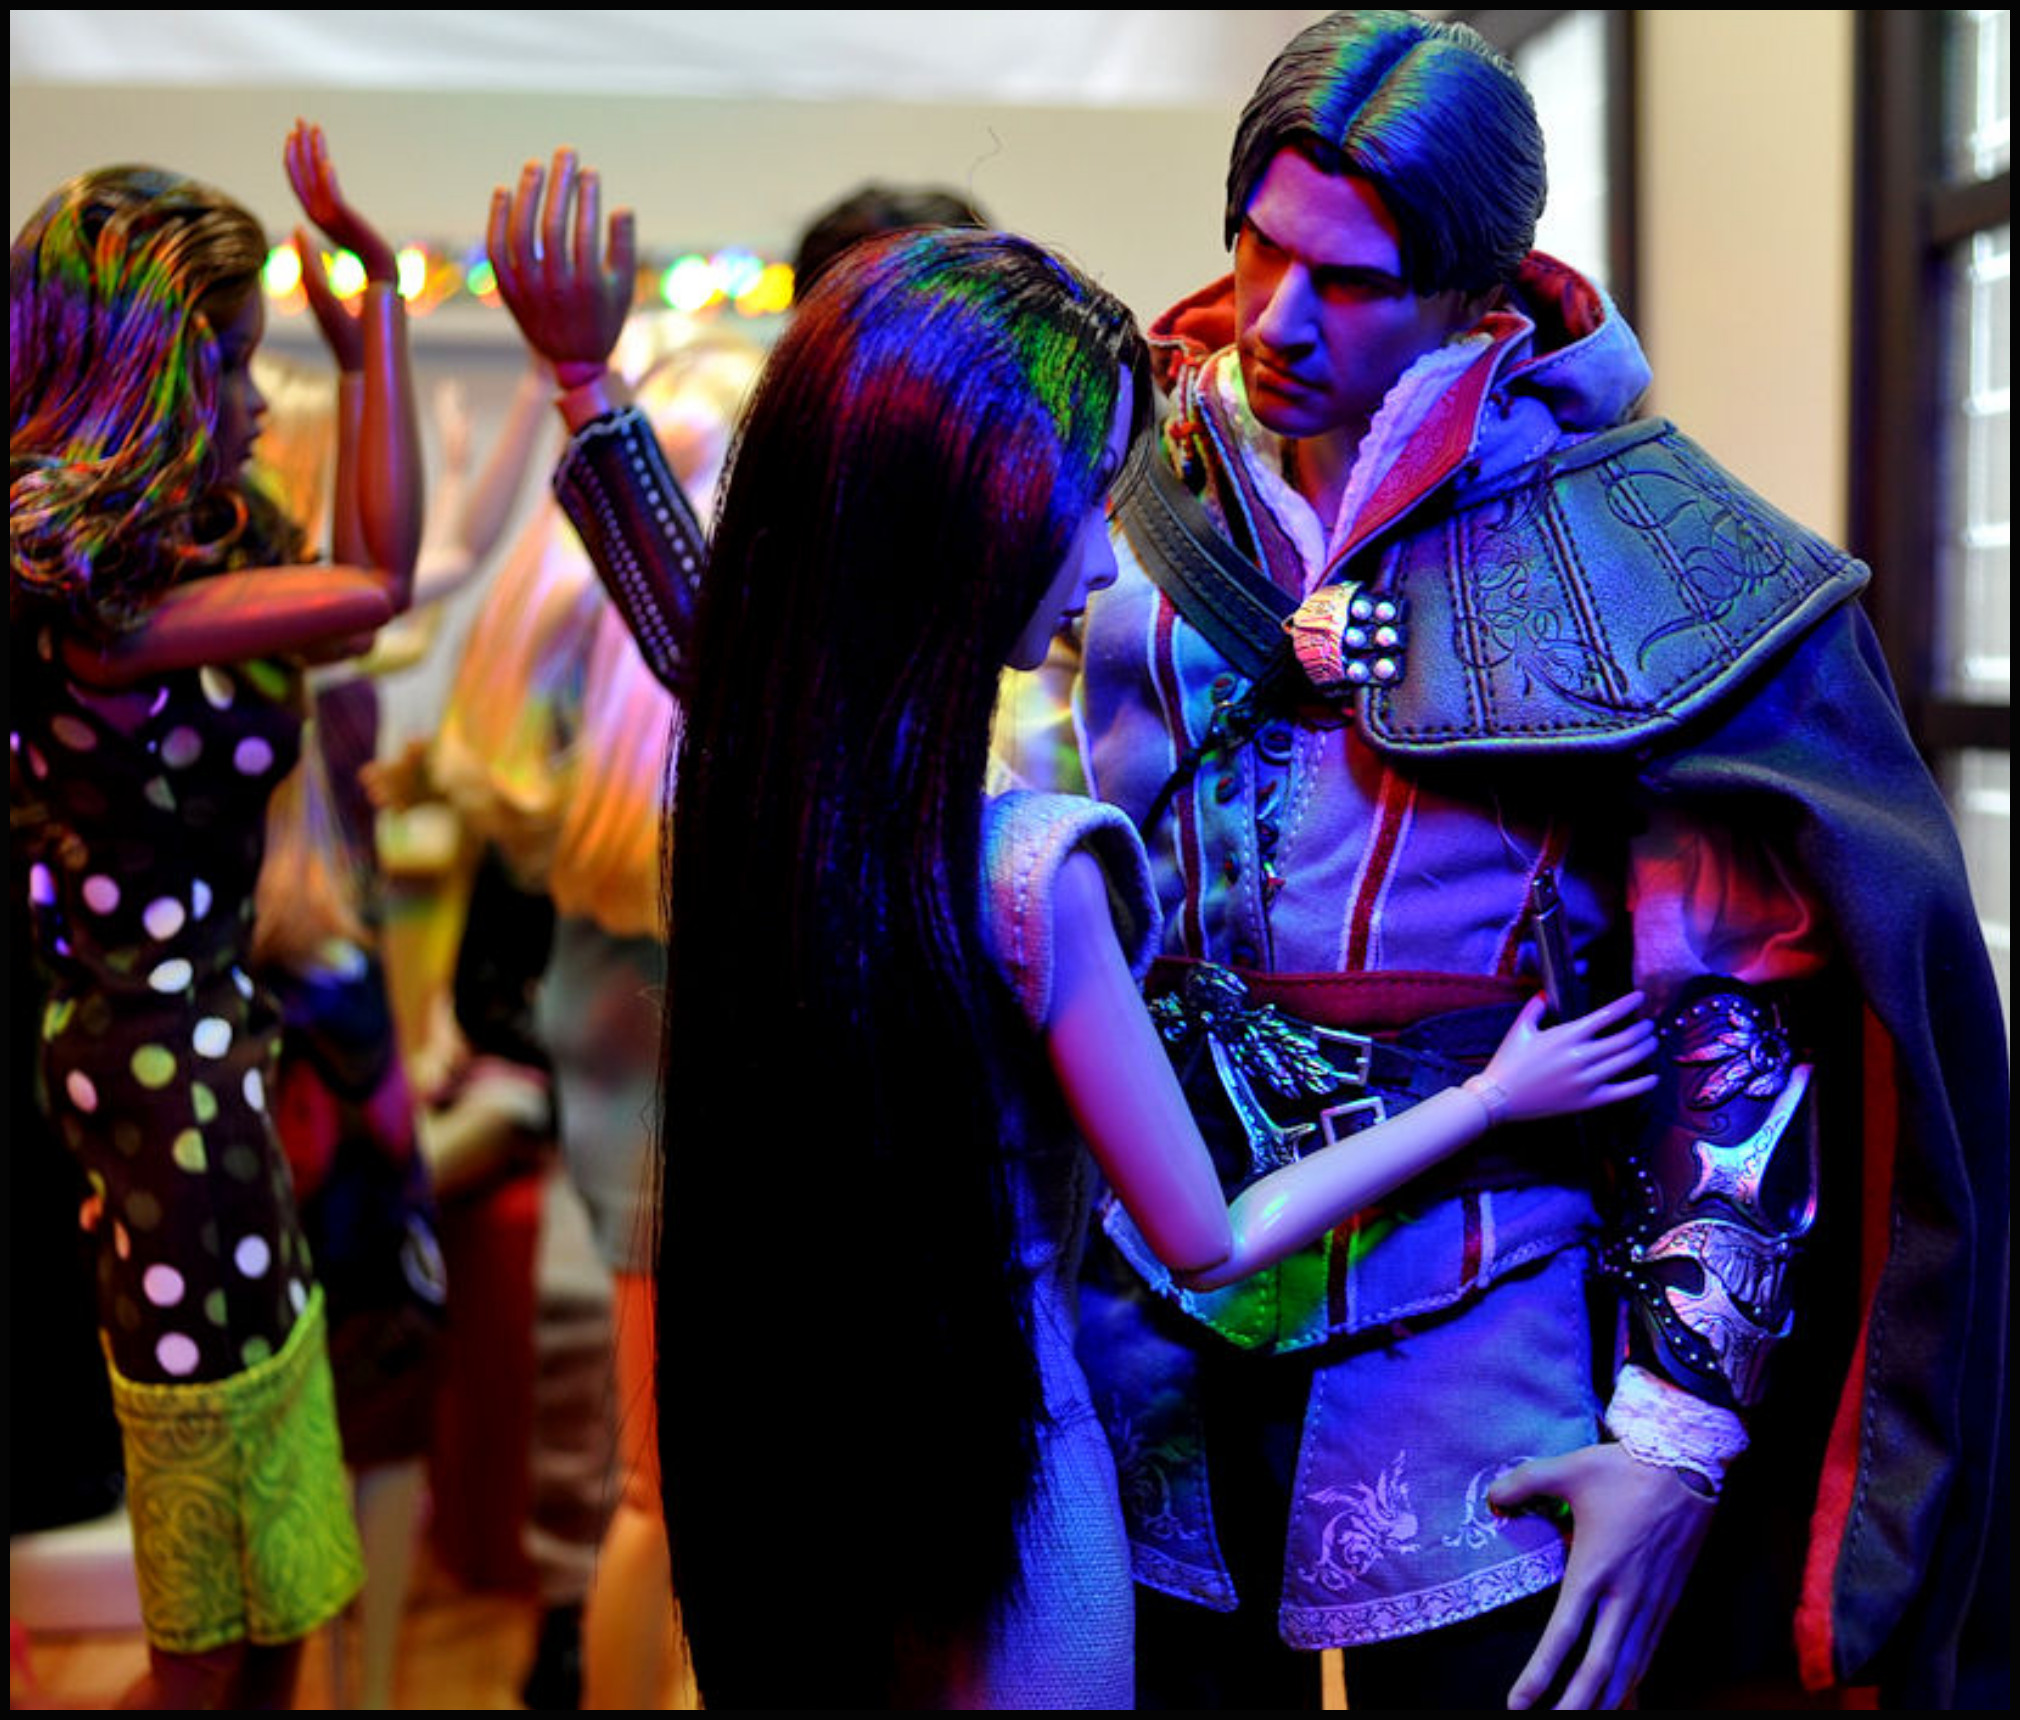
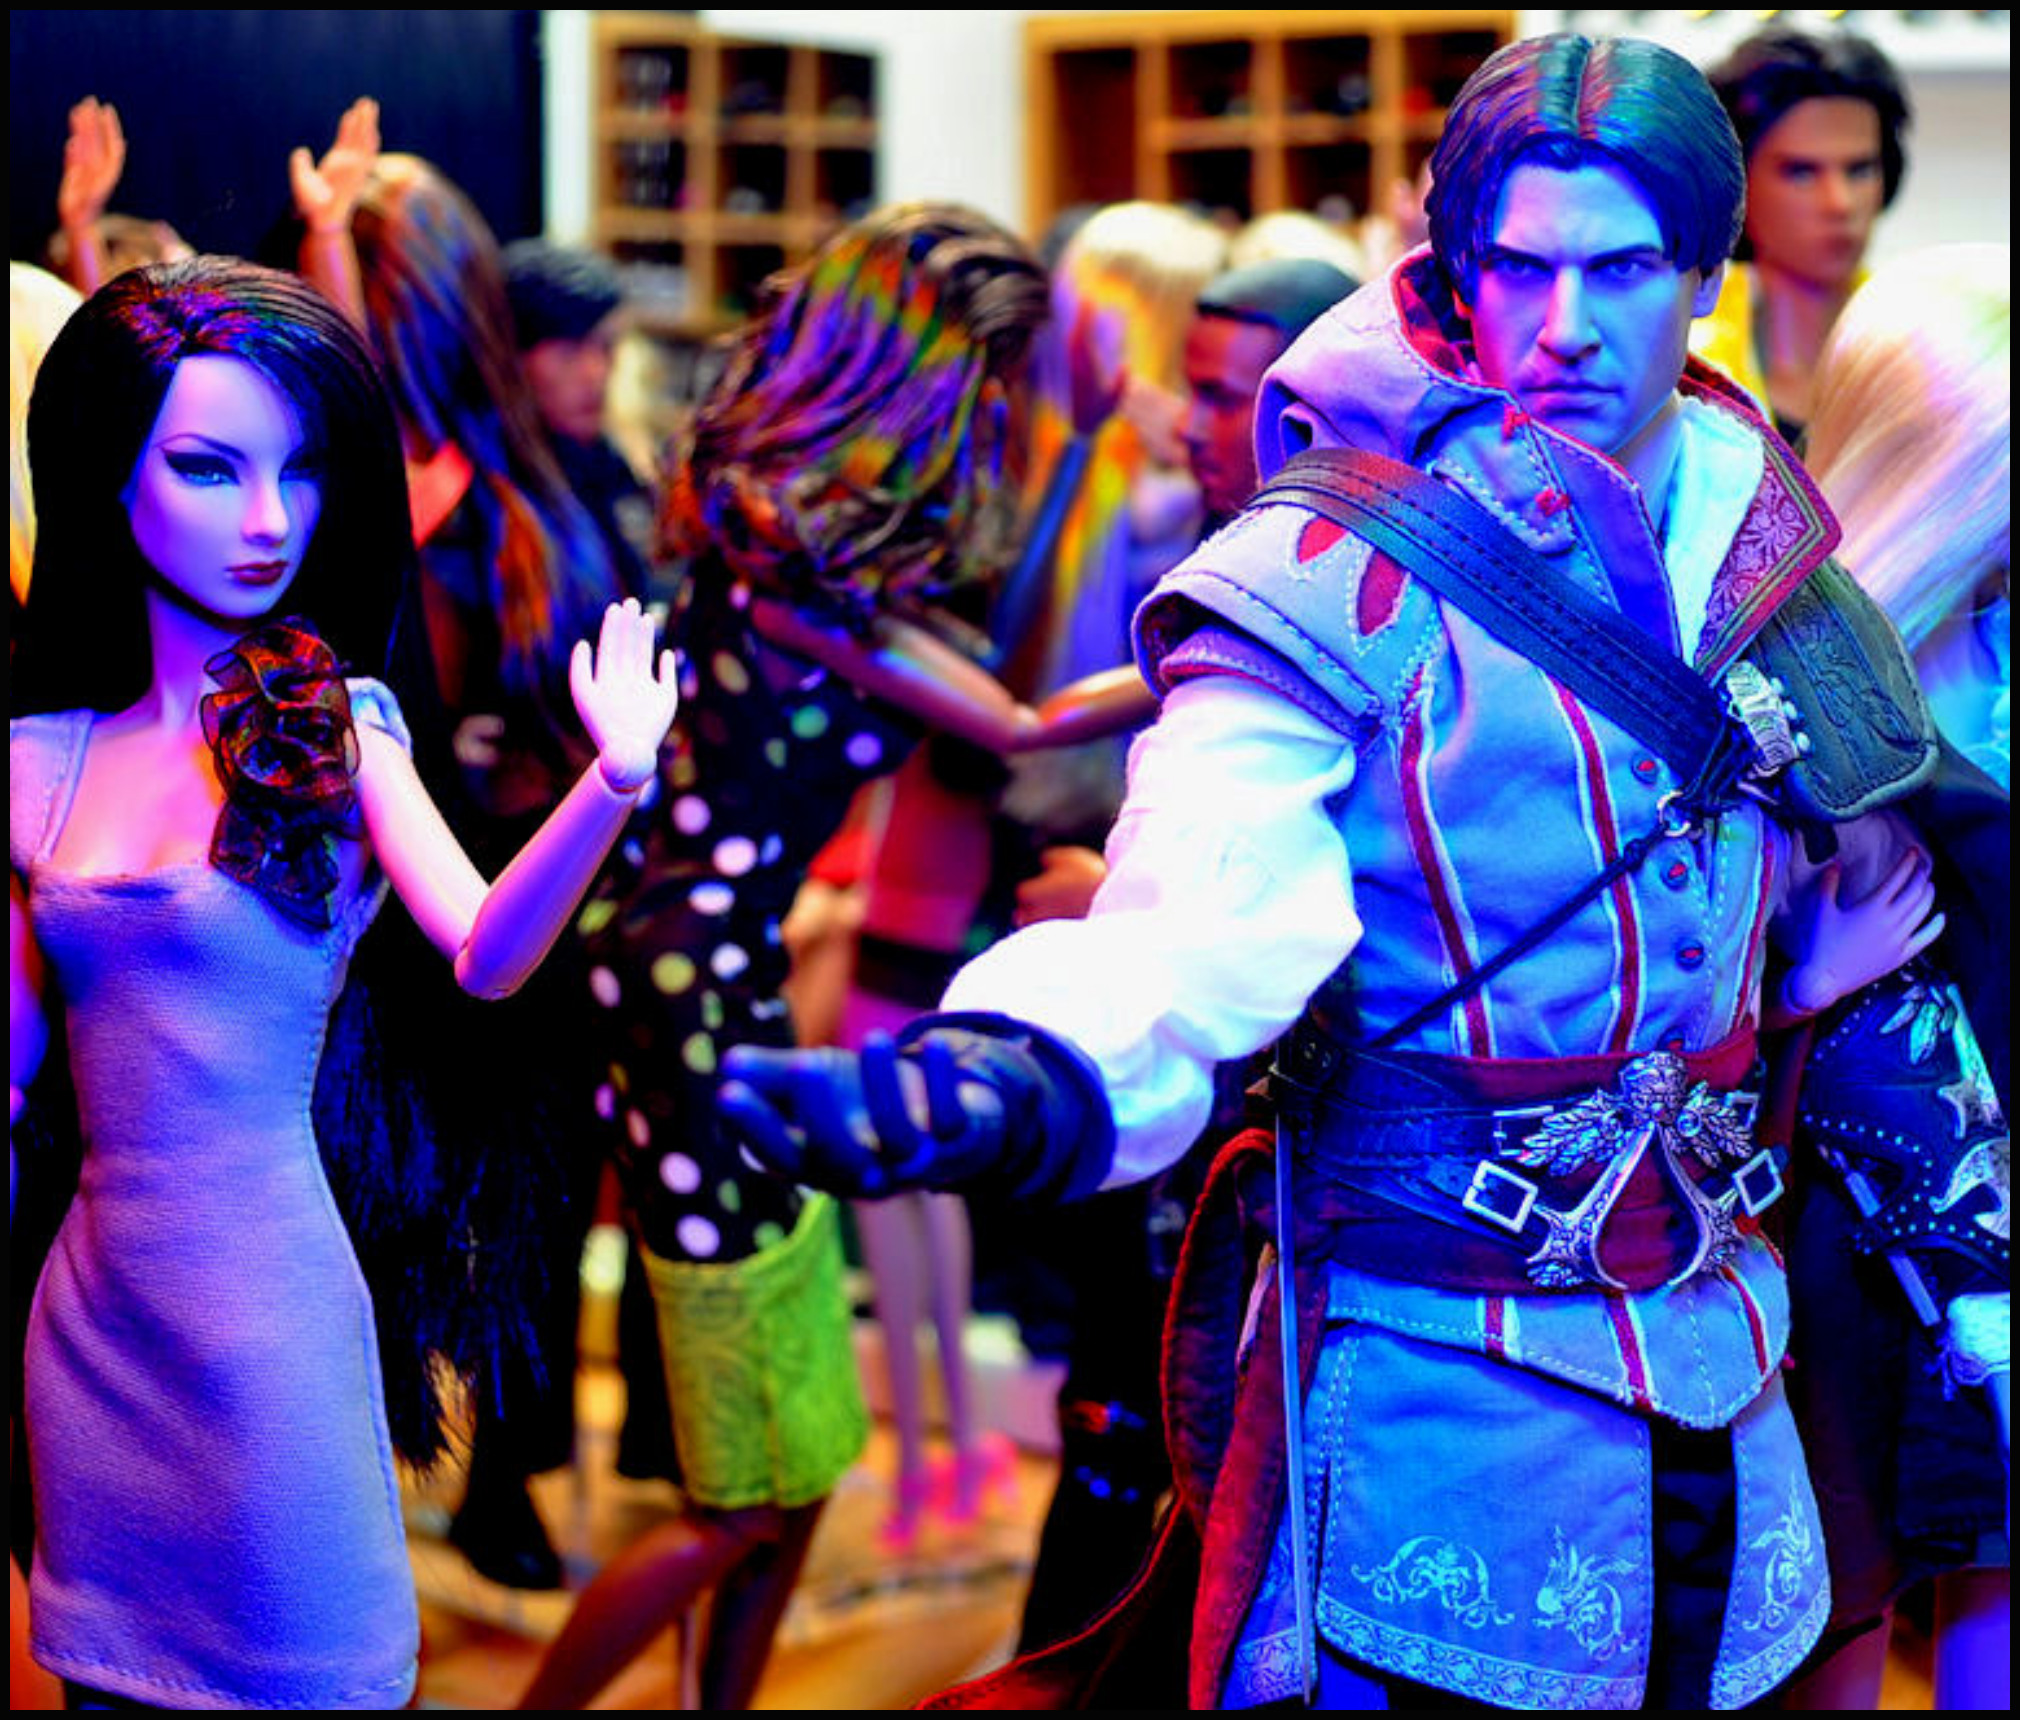
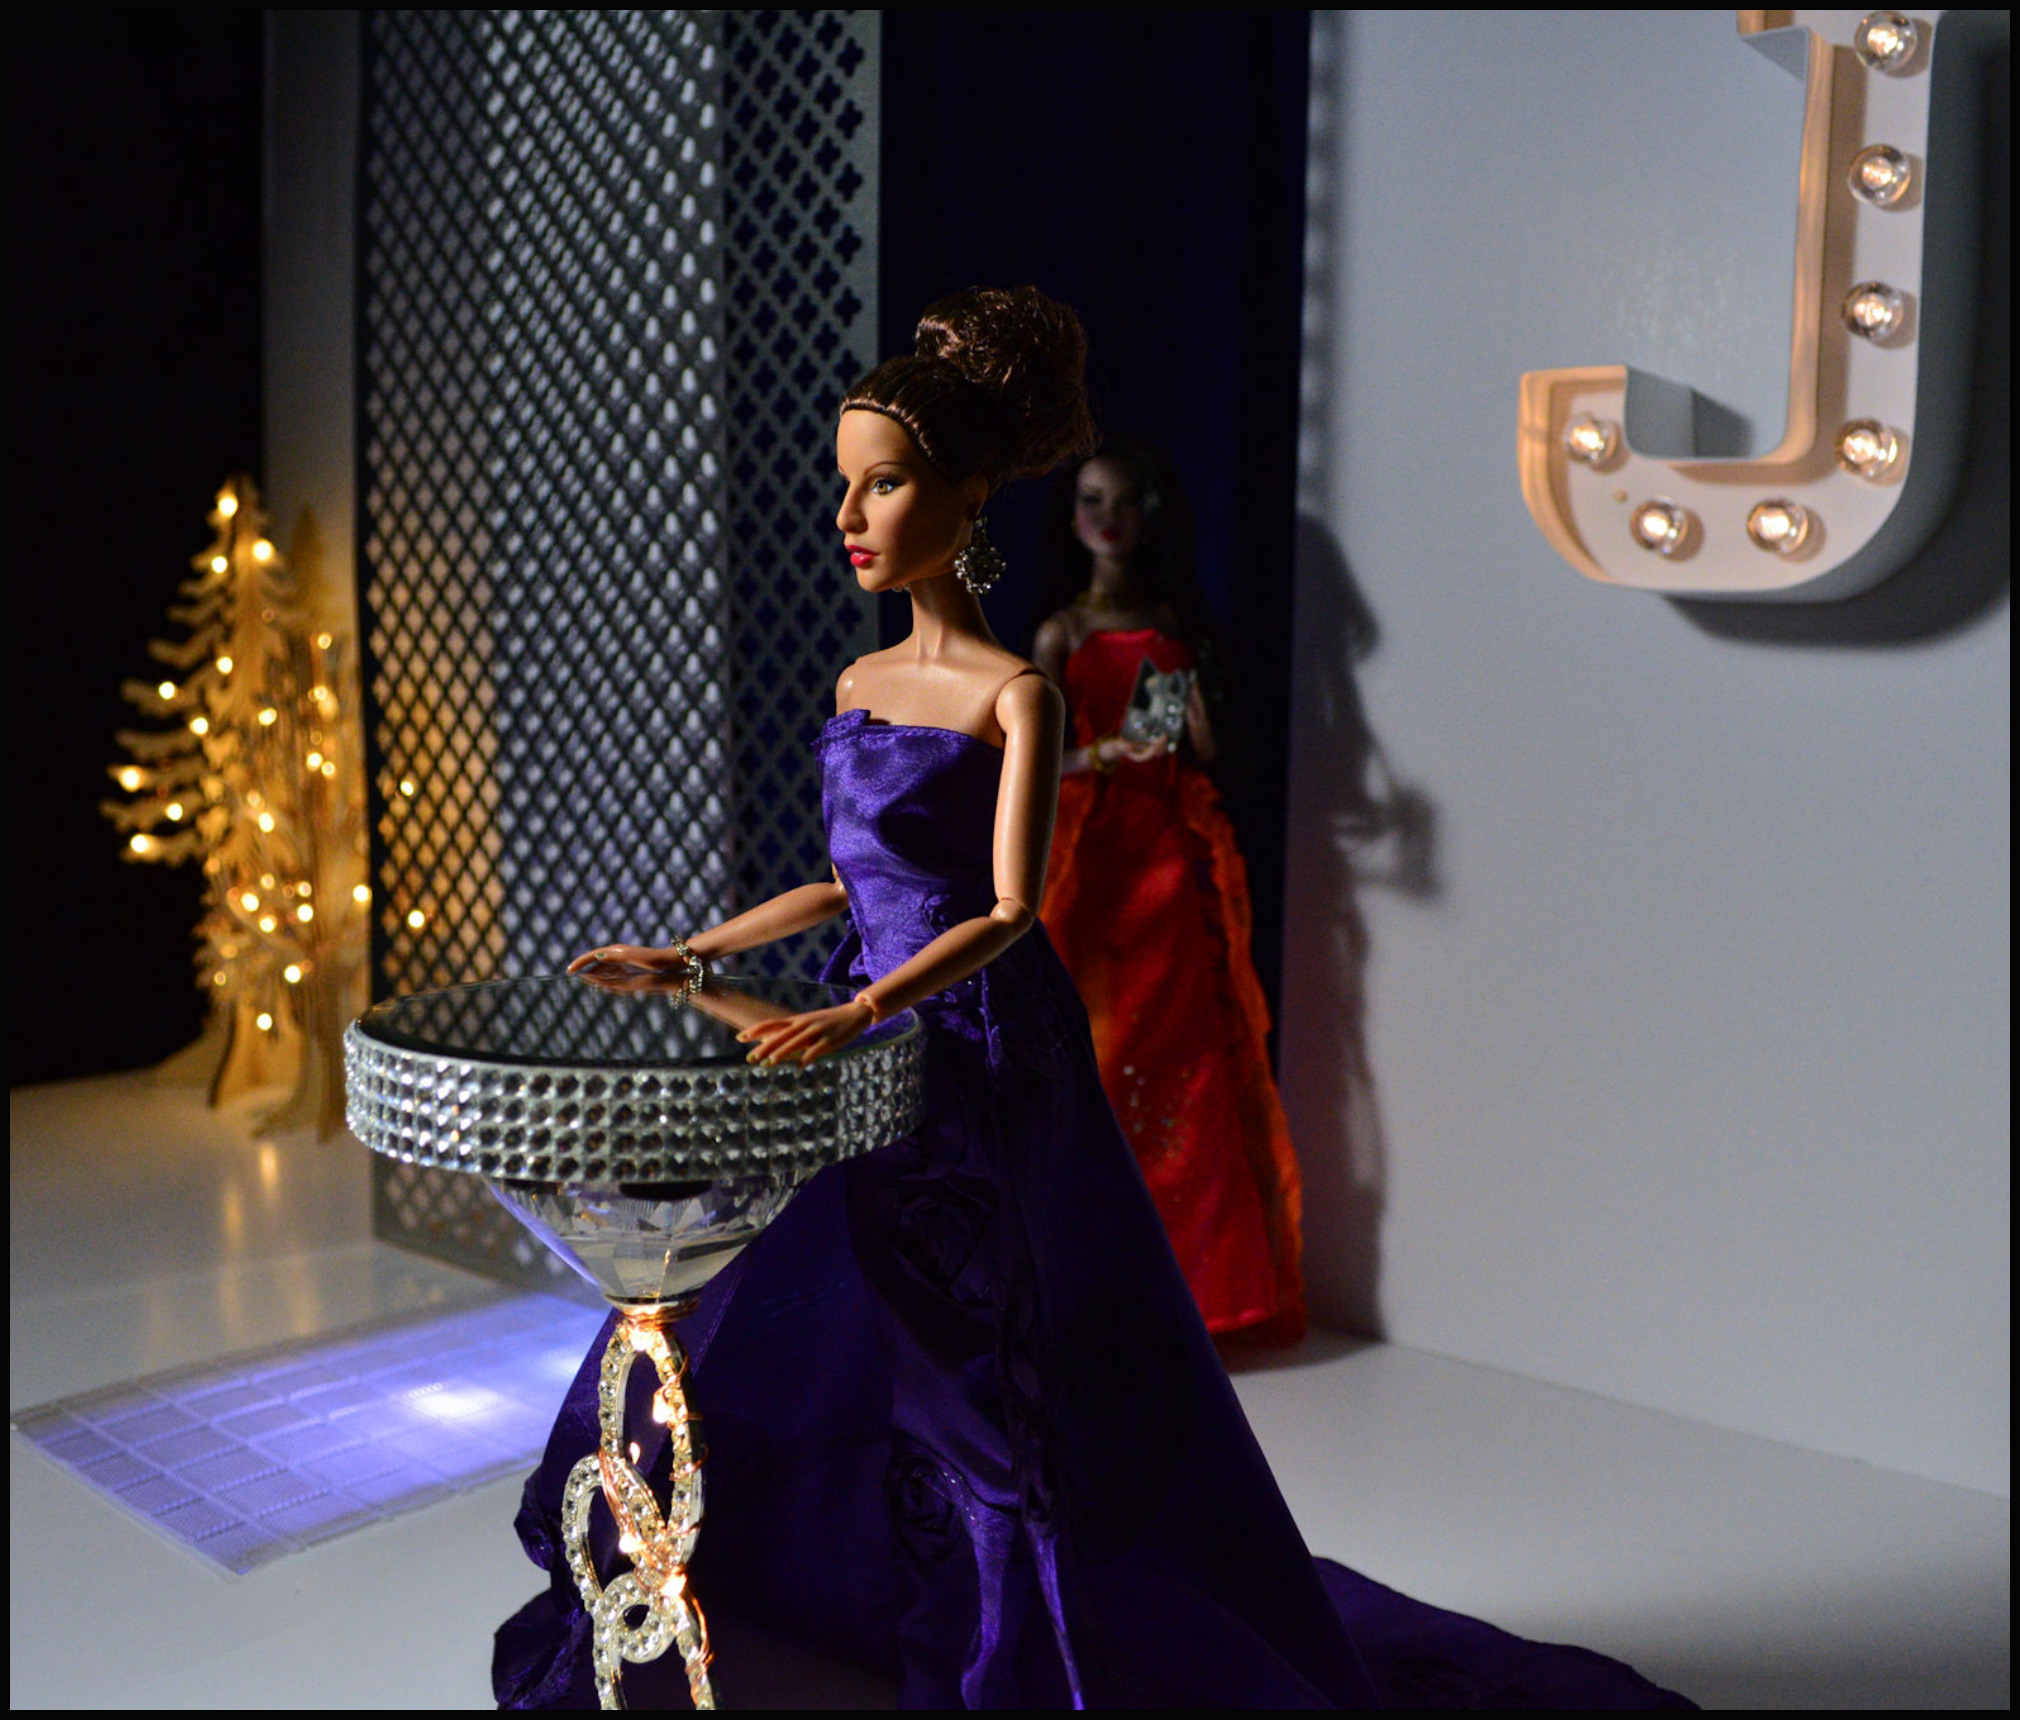
LIGHT BULB COLORS & STRING LIGHTS
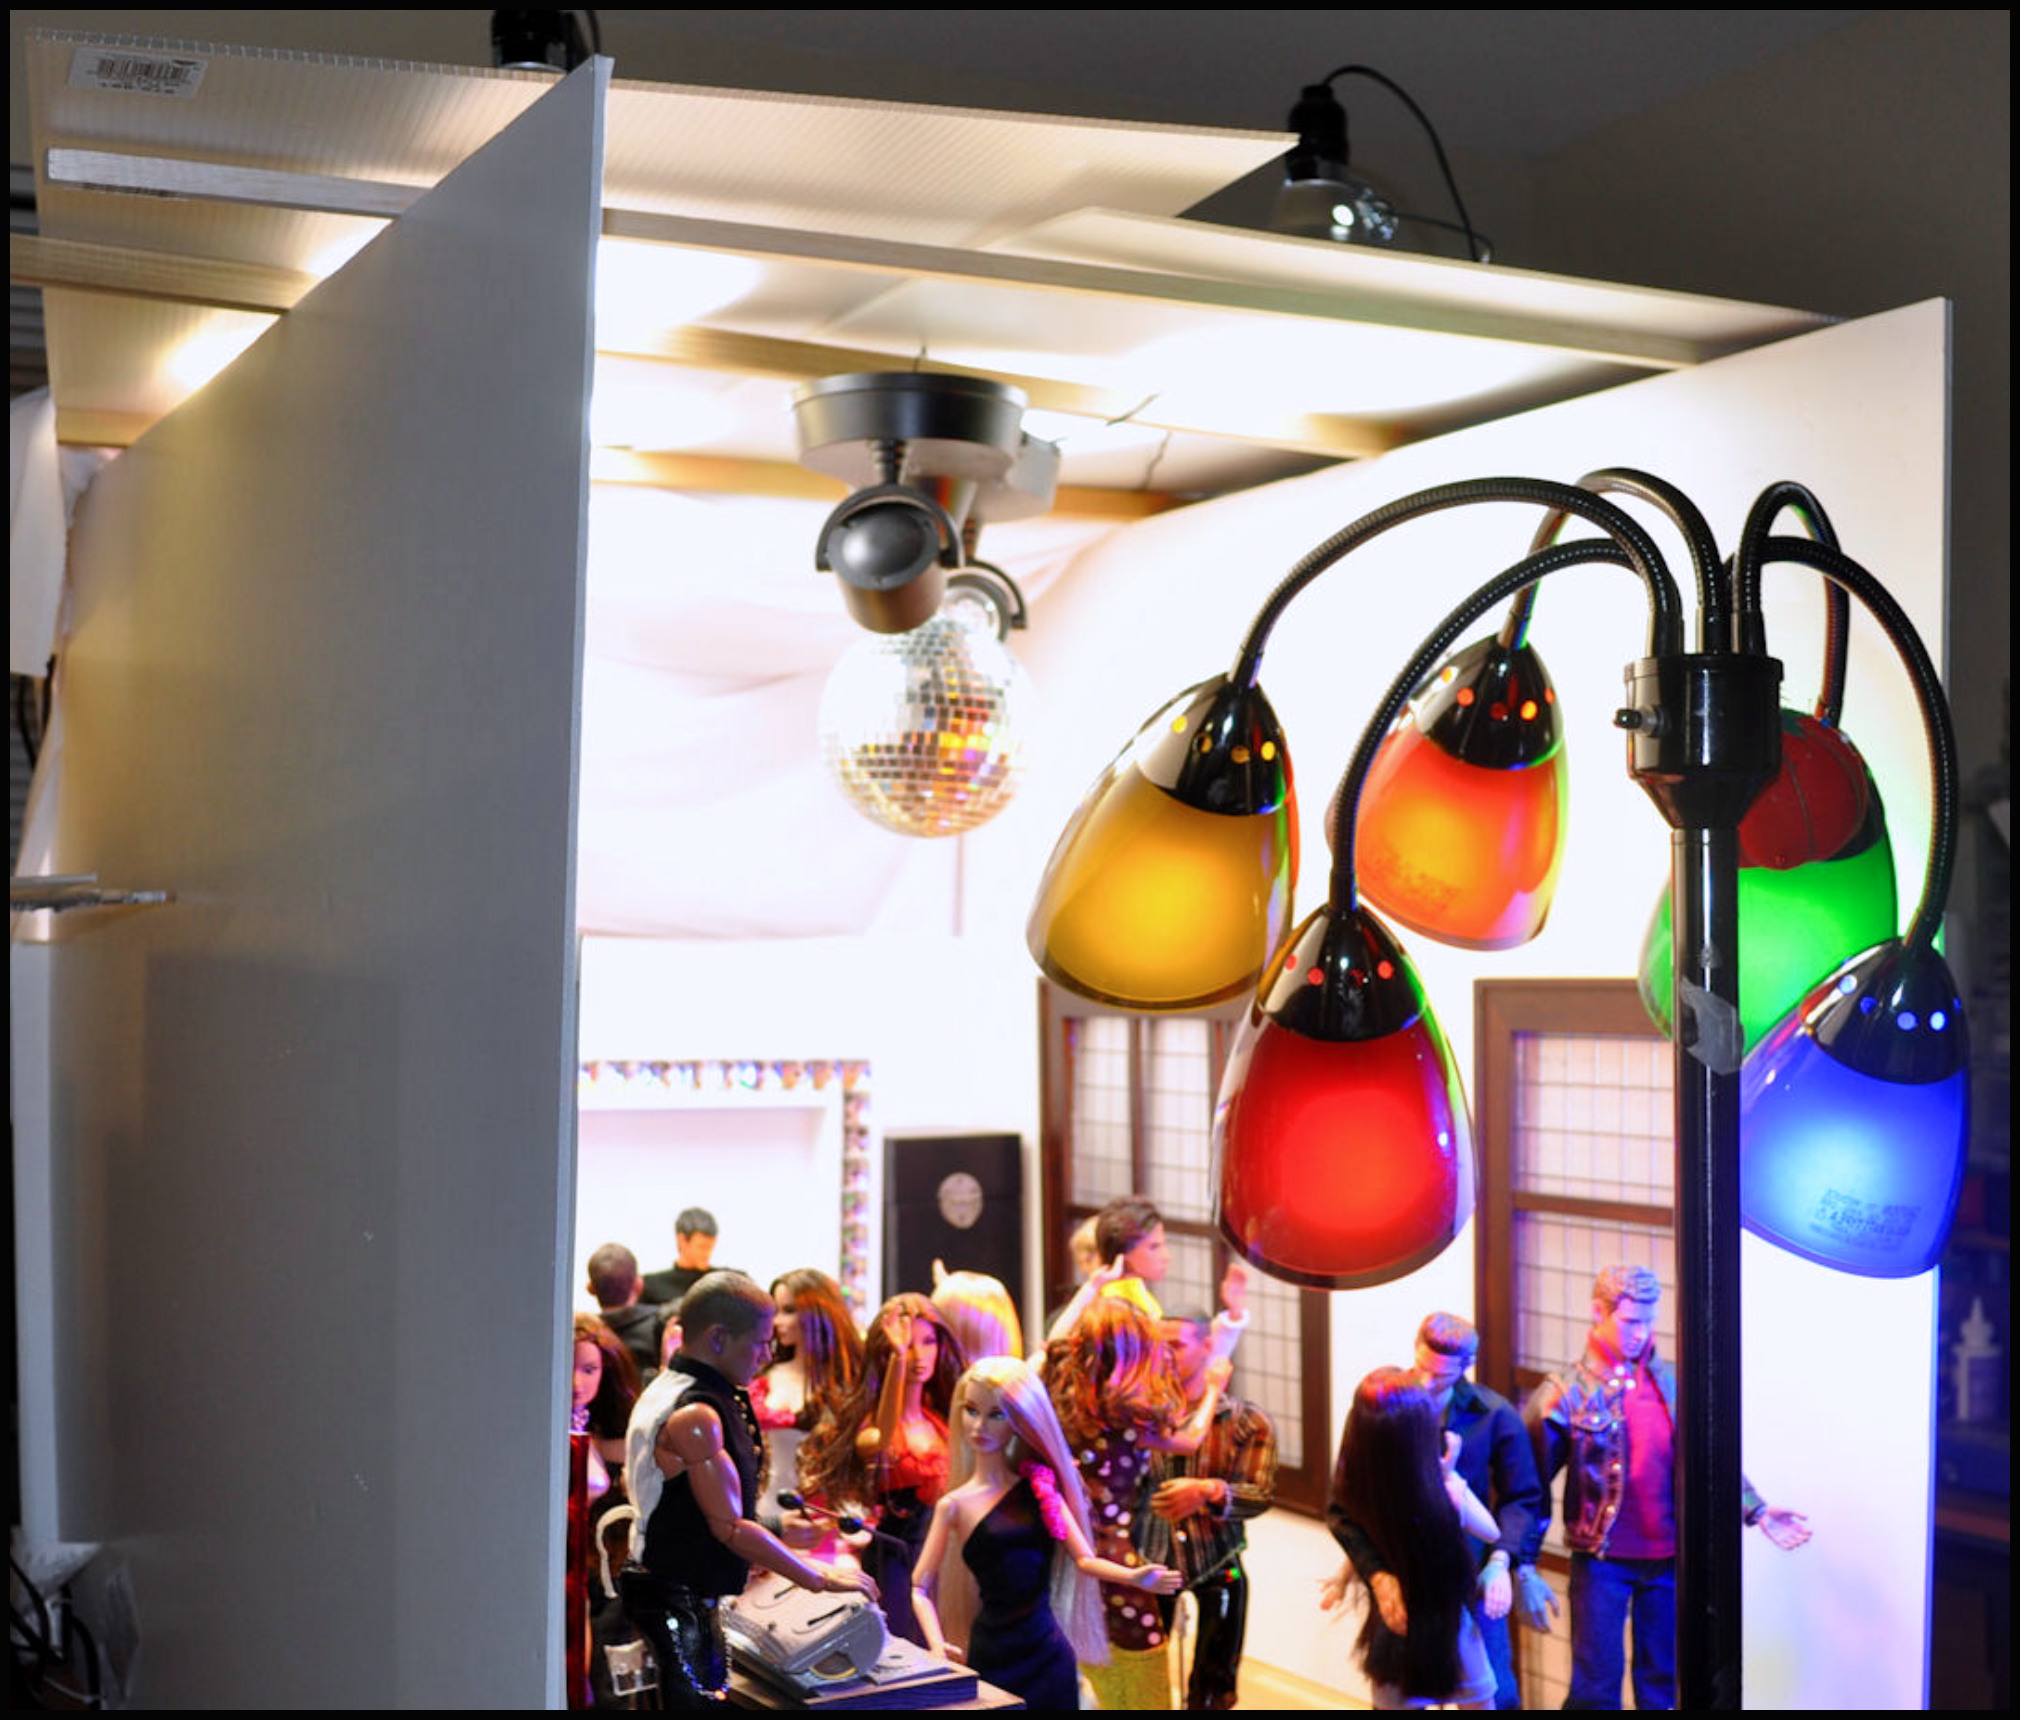
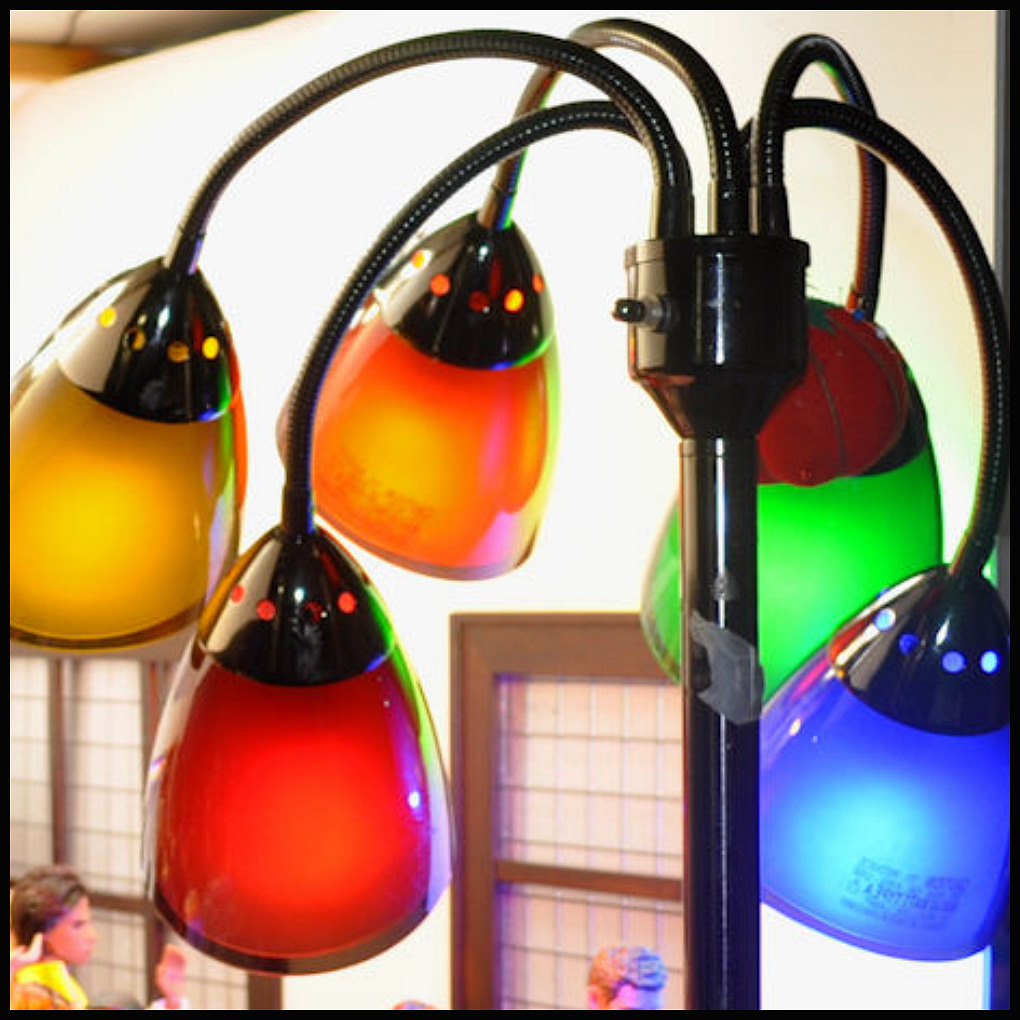
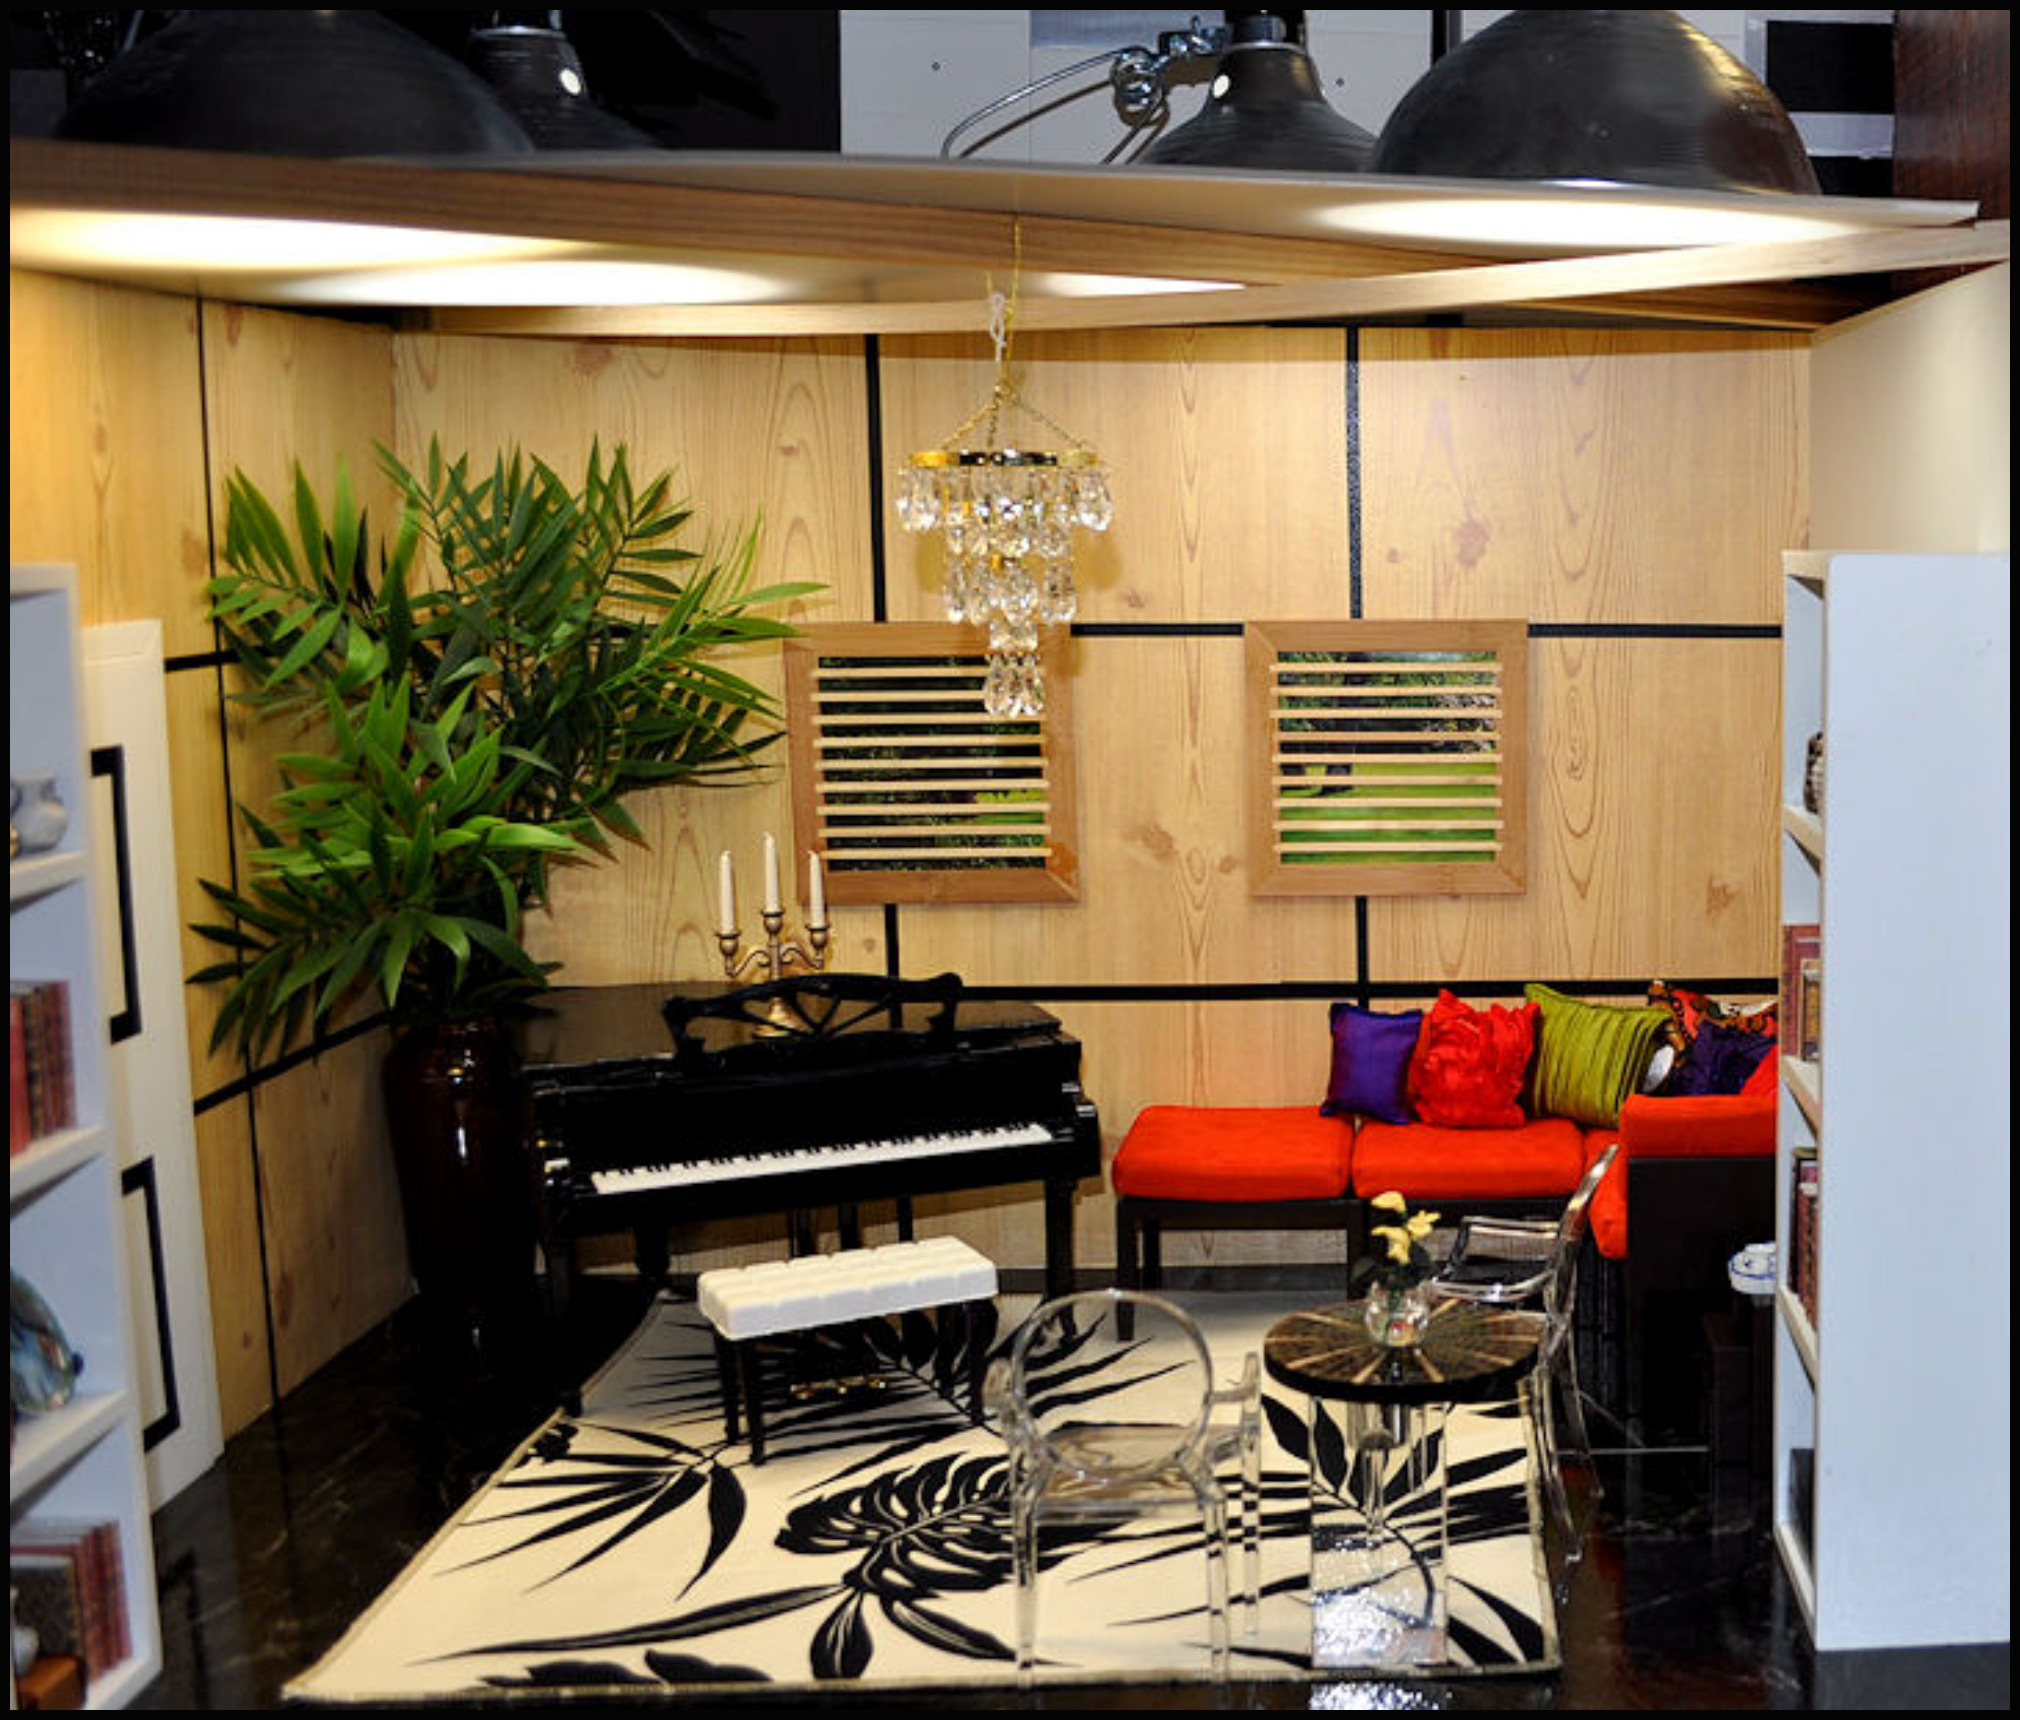
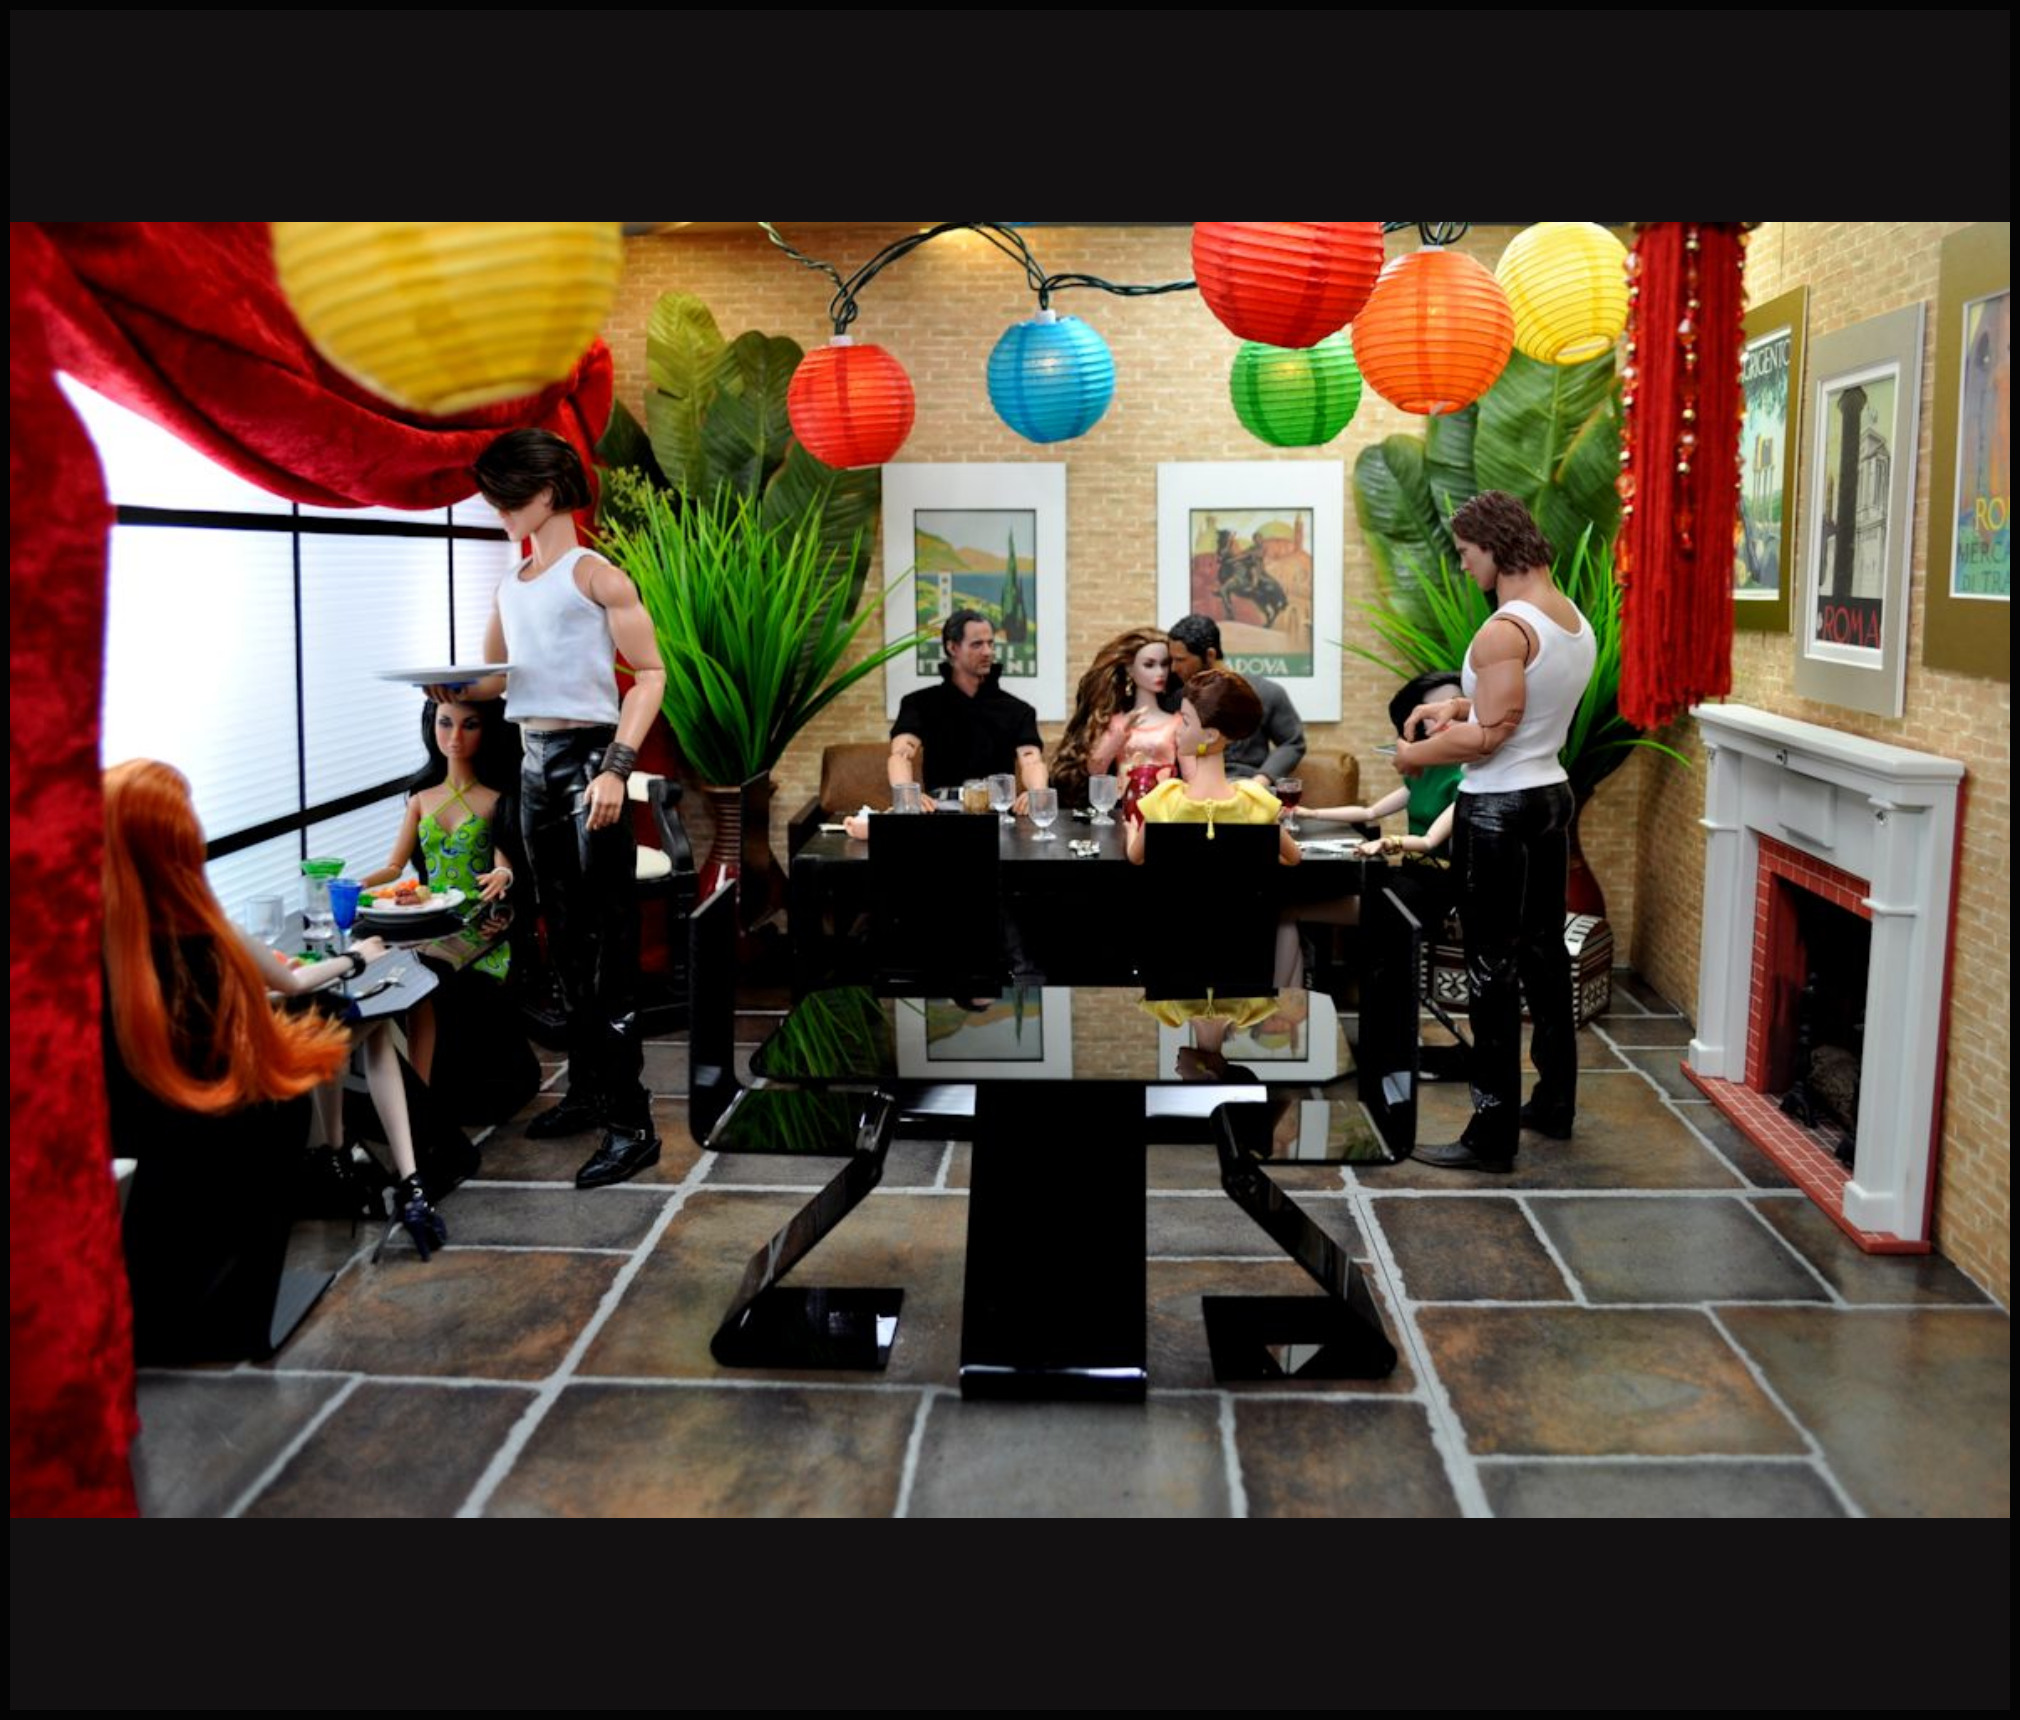
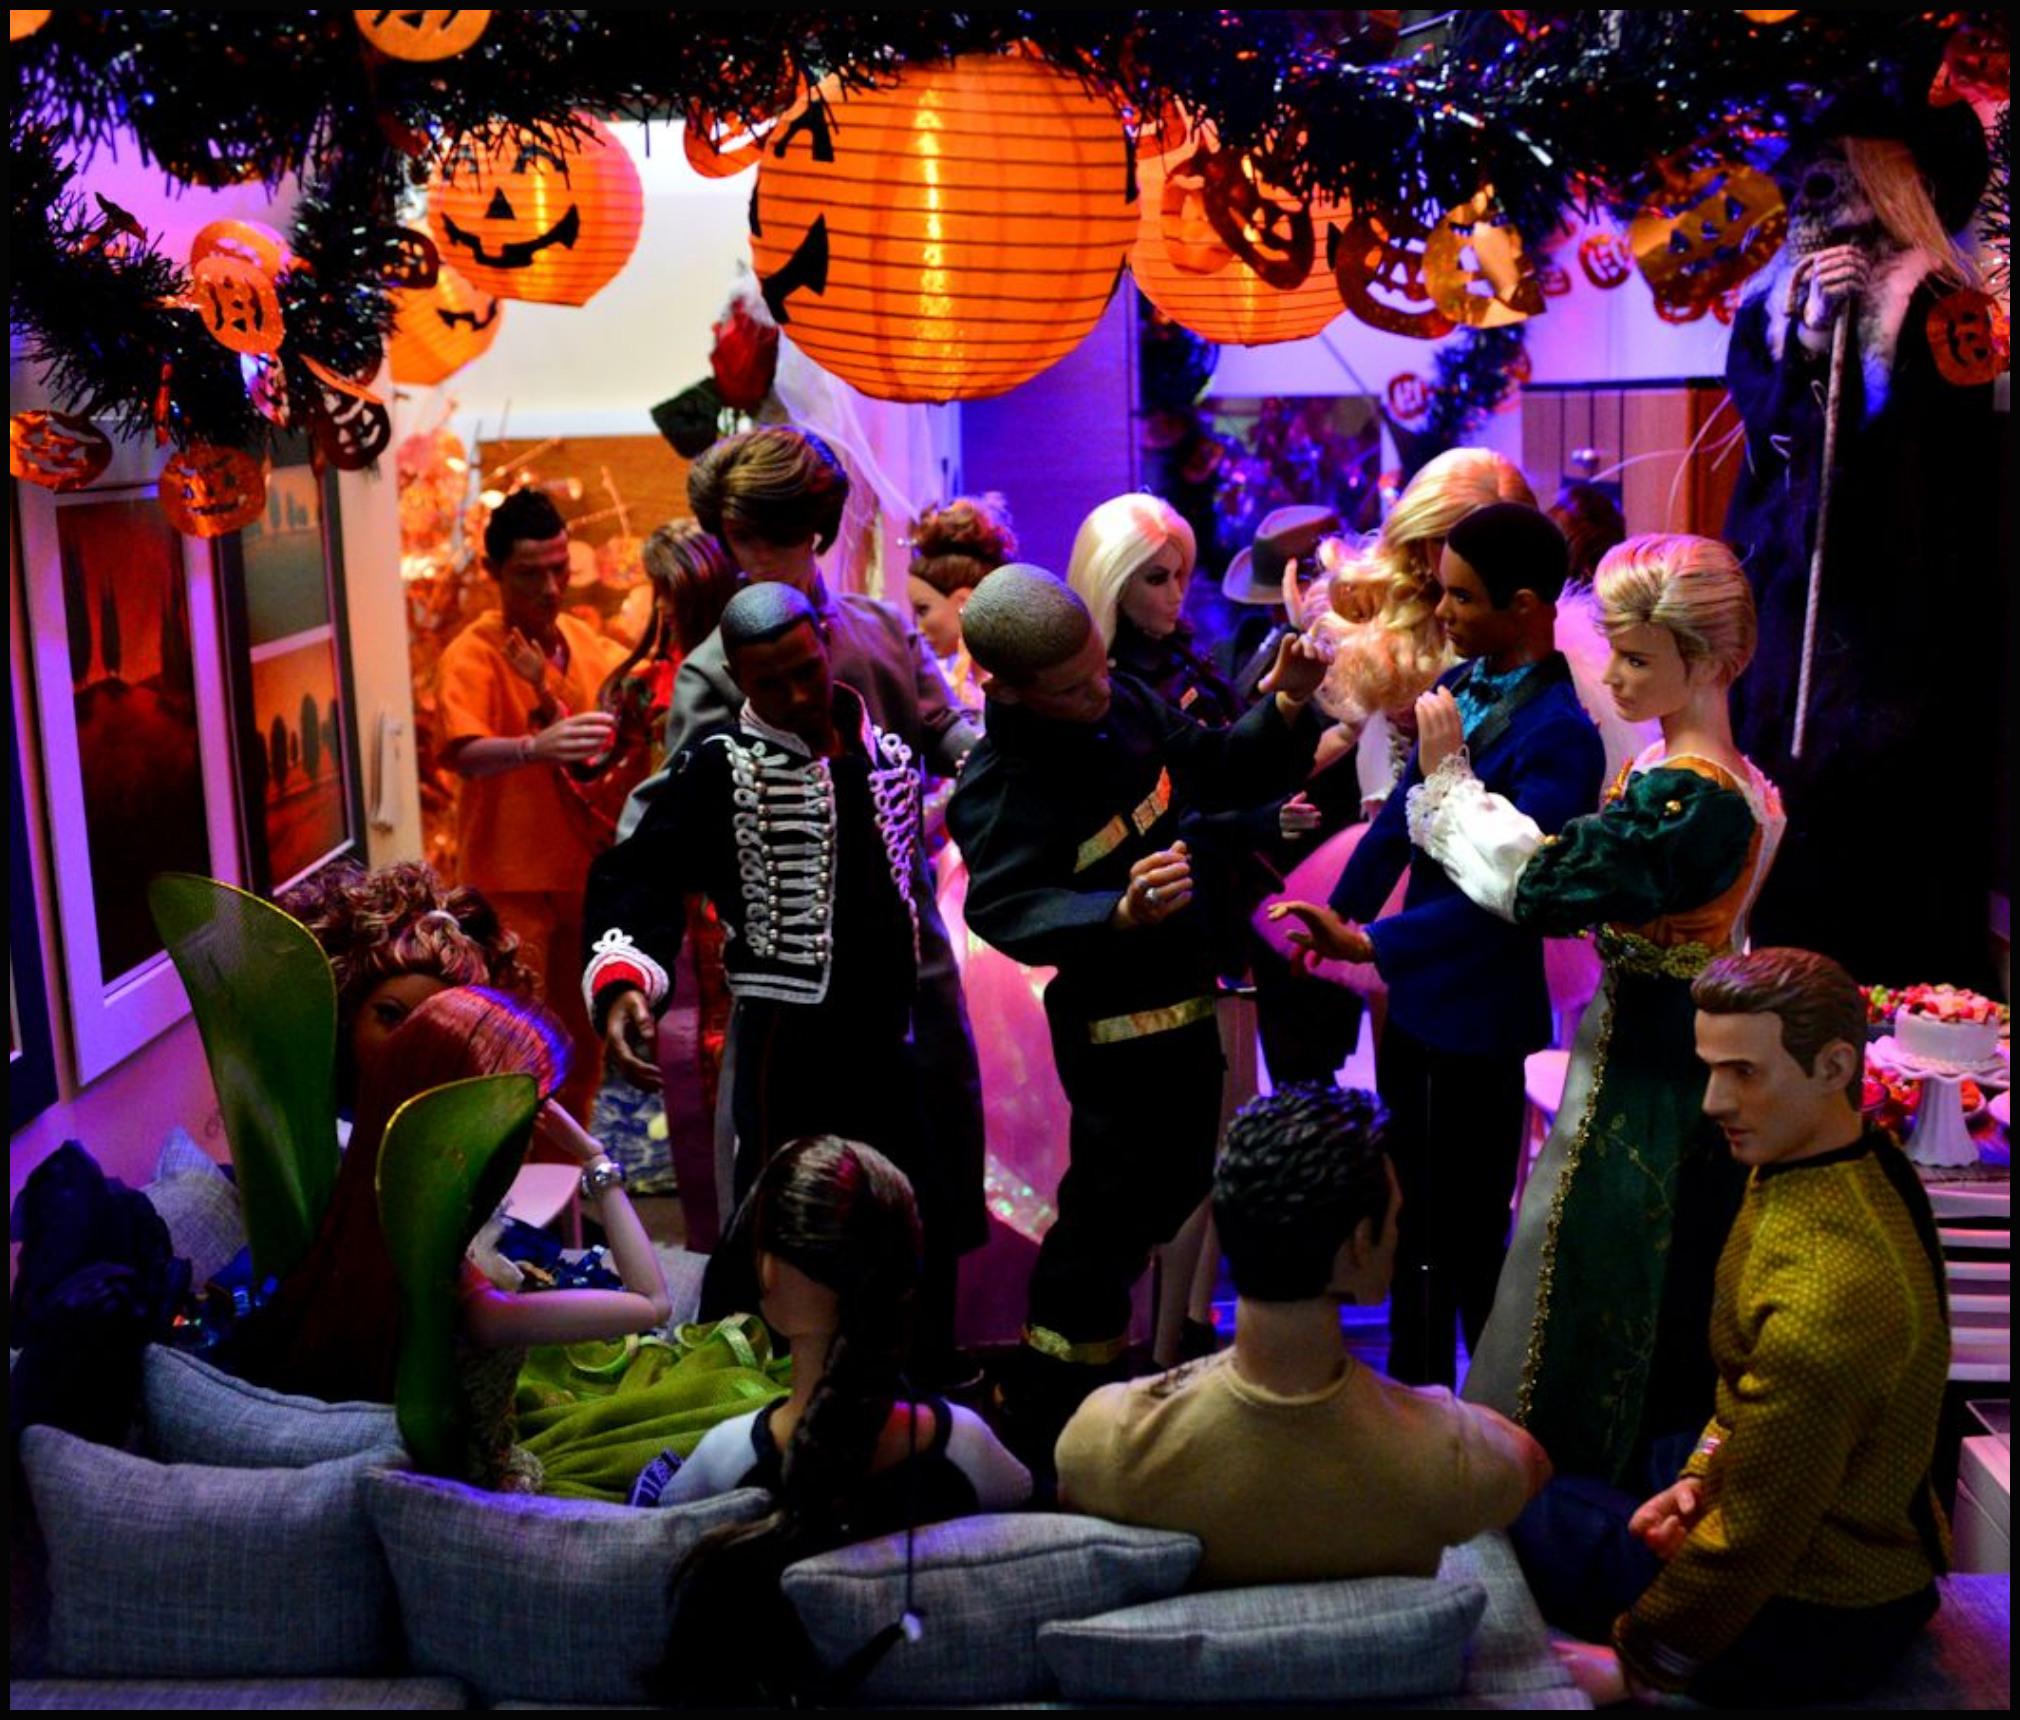
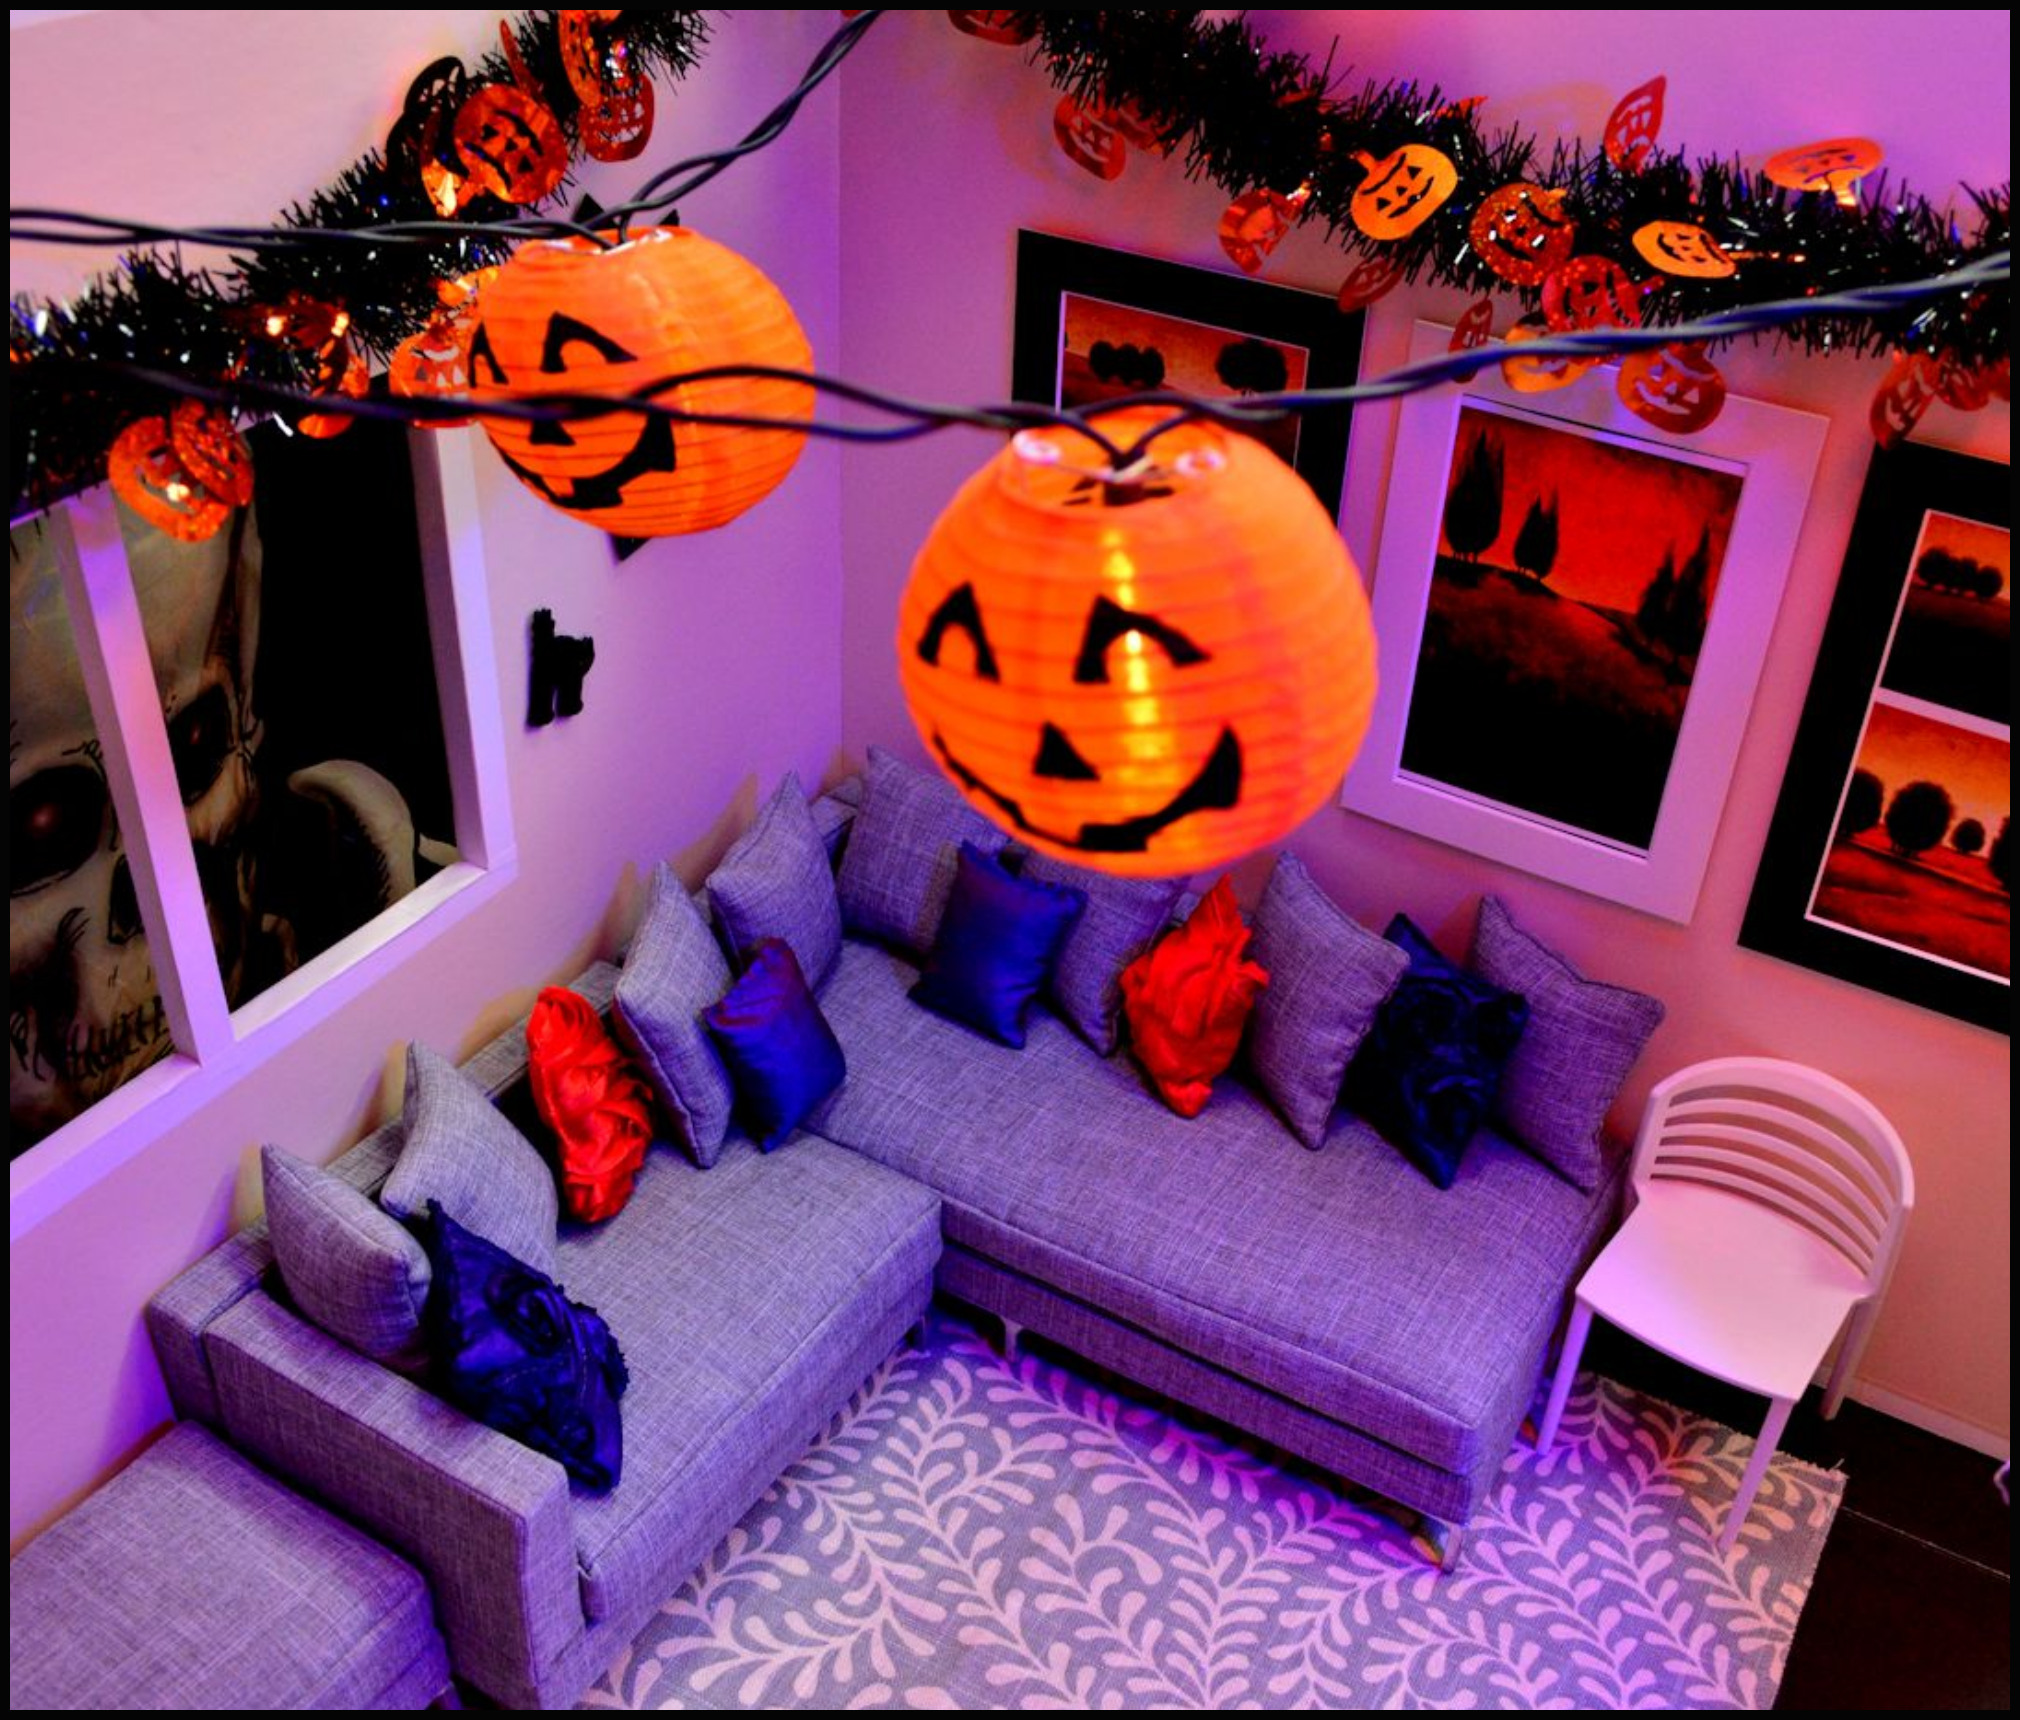
Color light bulbs are a marvelous way to set a mood, or establish specific scenes: like being at a club, Halloween or Horror lighting, etc. I recommend getting all the colors offered: Red, Yellow, Orange, Green, Yellow, and Blue. Mix and match them to get different effects.
I’ve tried Black Light bulbs, but they’re very difficult to get the real effect without pitch-black surroundings, then you have to take extremely long exposure shots which still might not be focused.
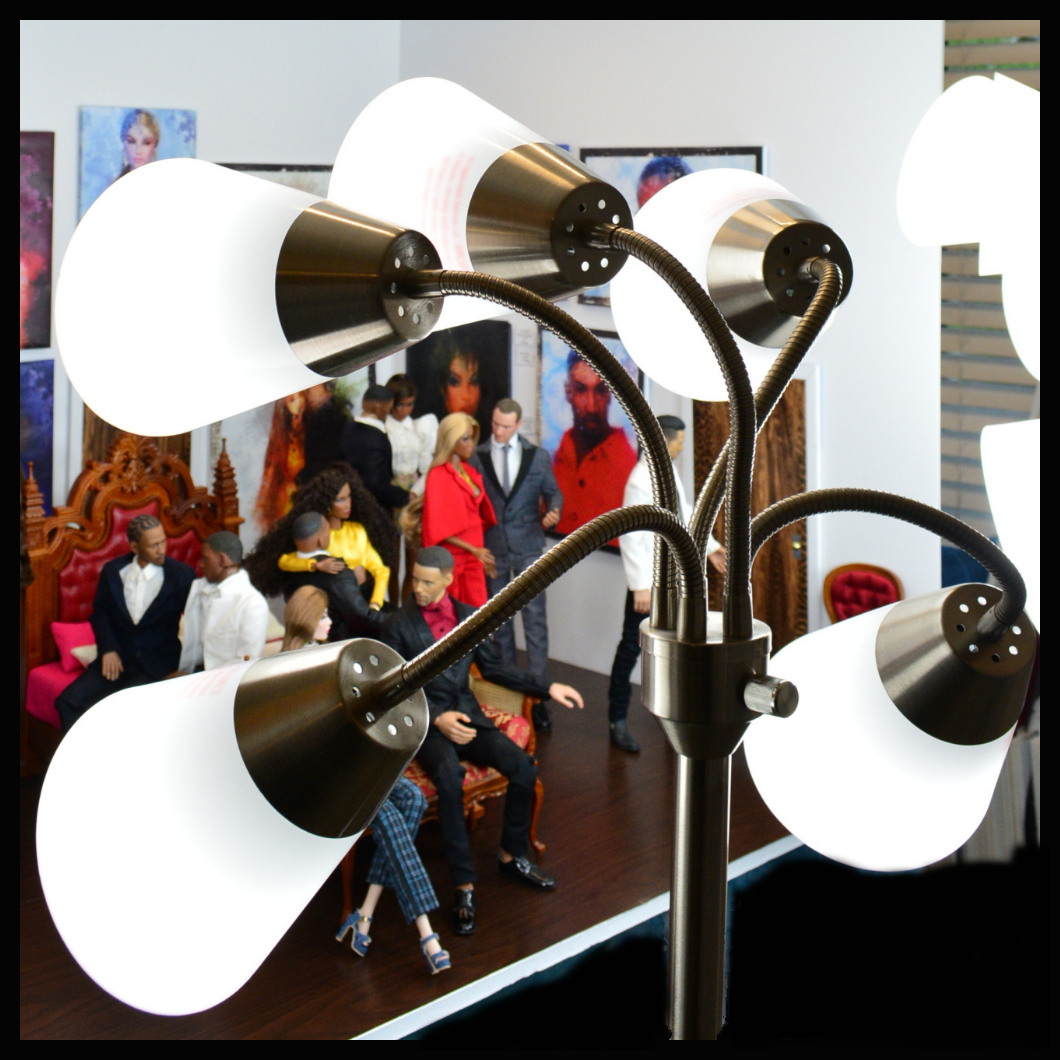
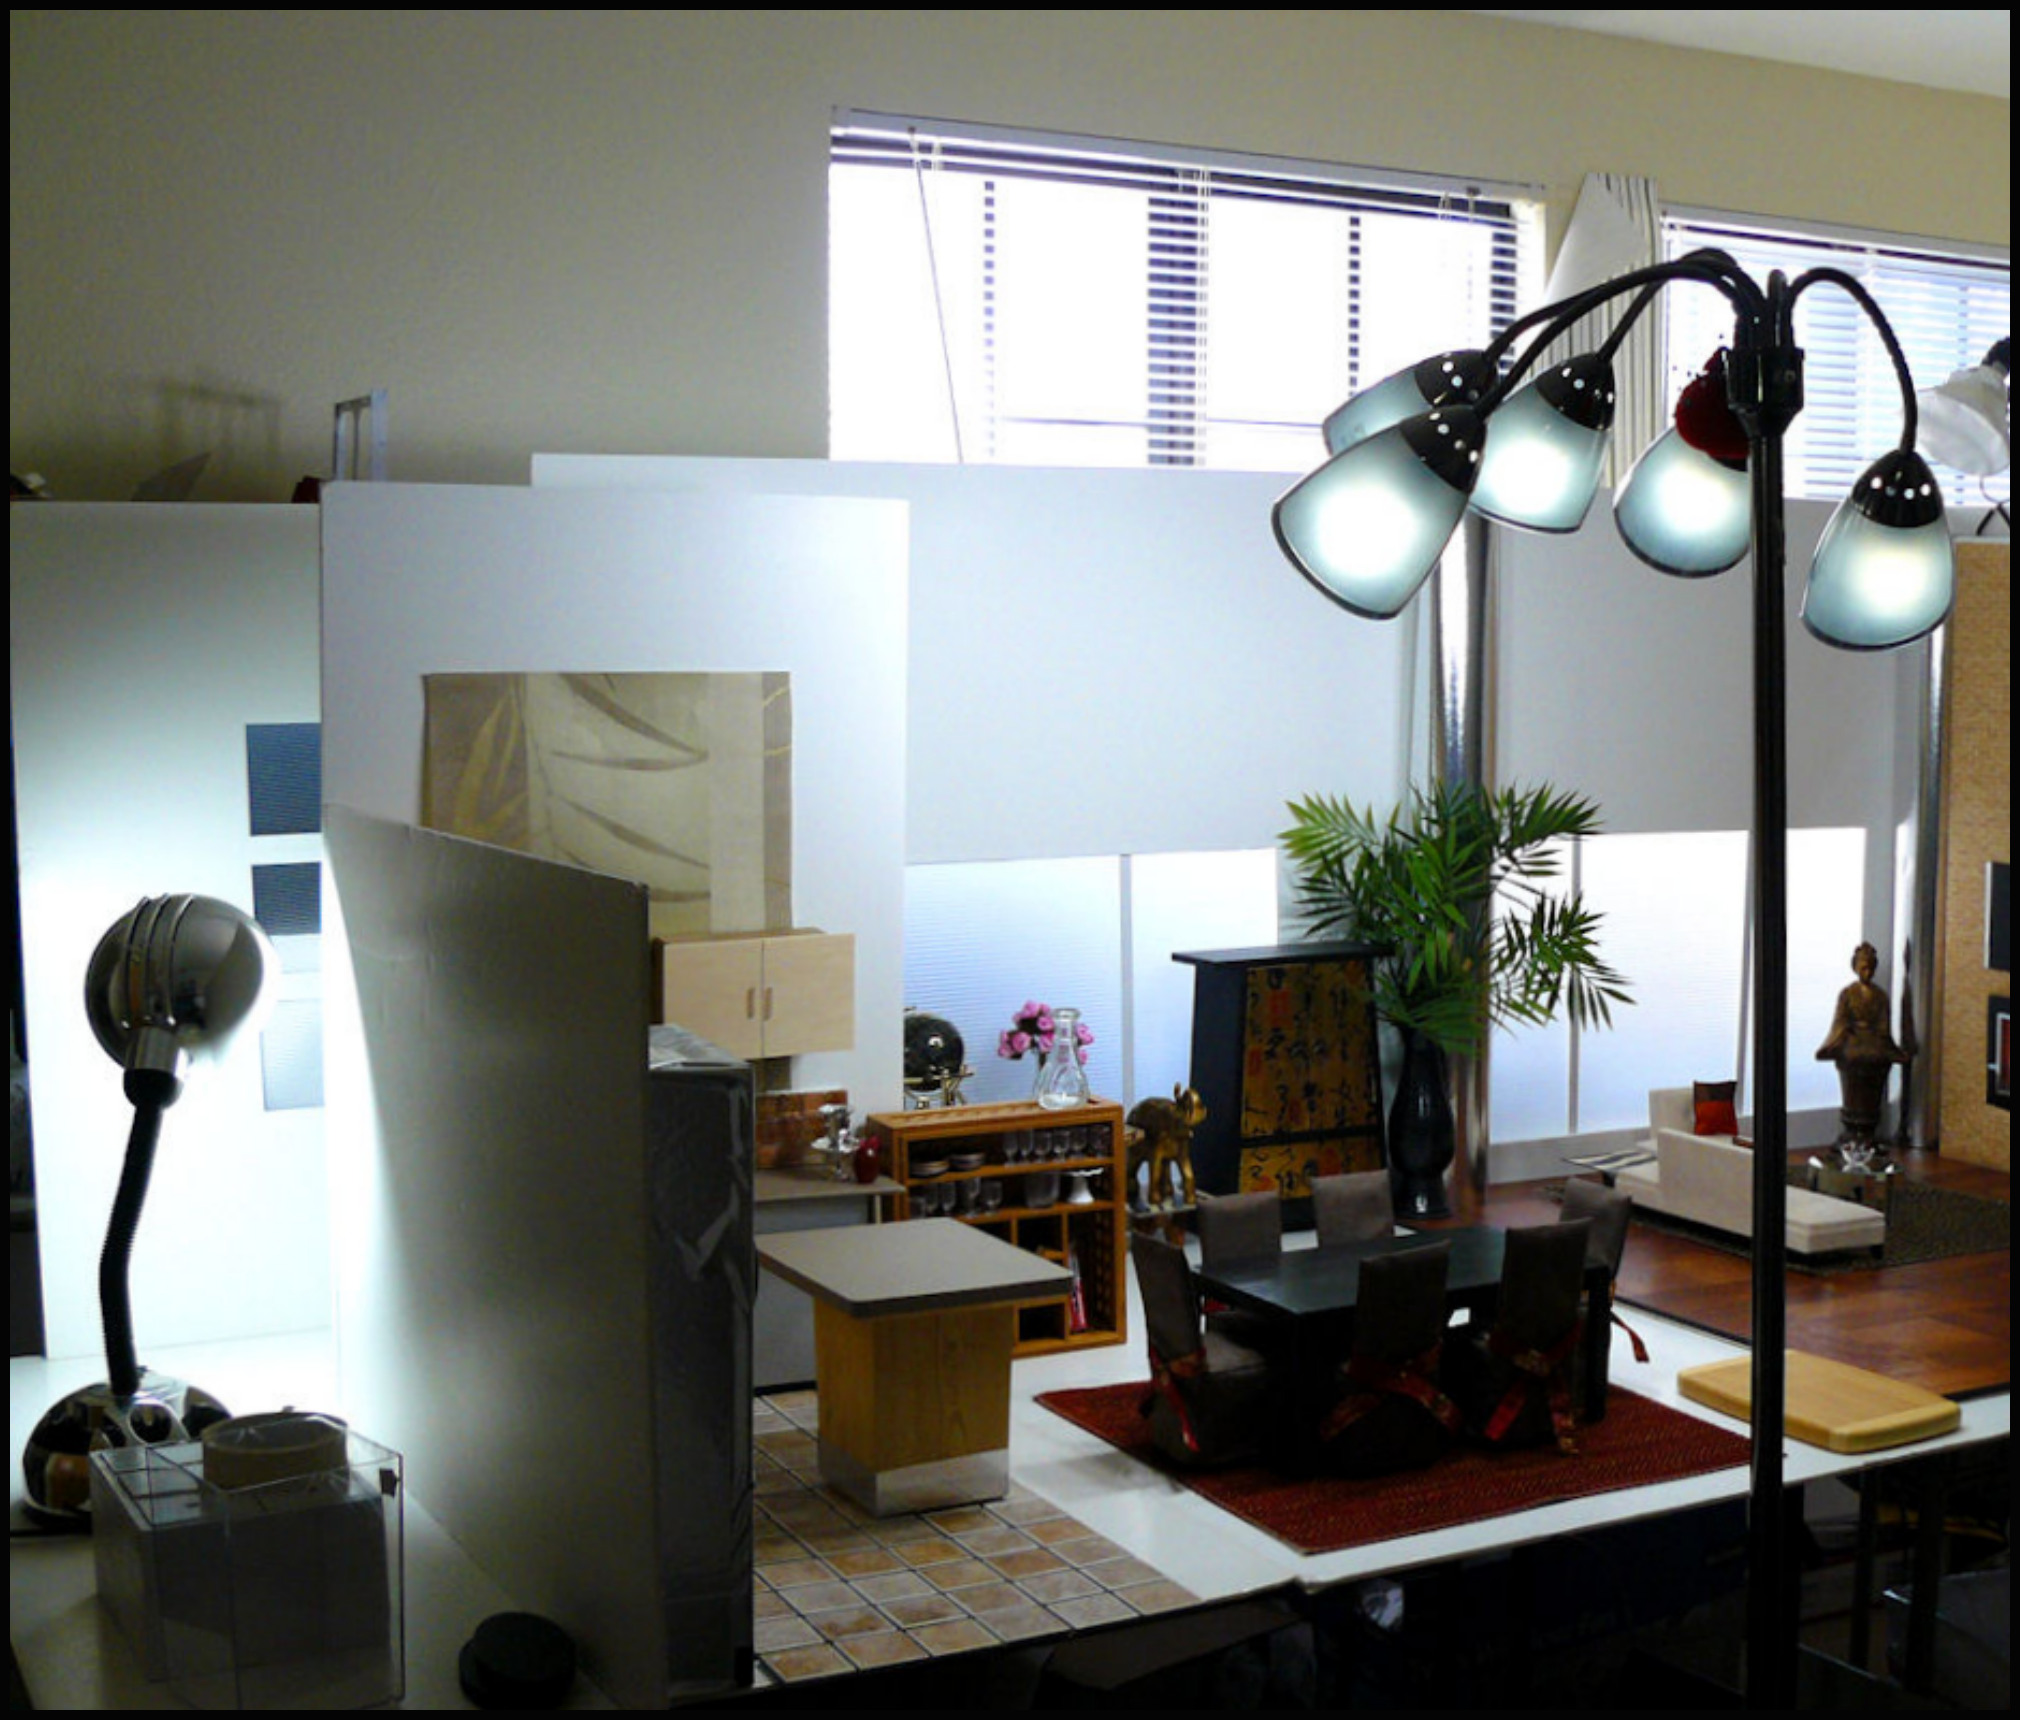
String lighting is another fun way to not only get different colors directly in the diorama but to be part of the diorama as ceiling lighting. When using string lighting try not to show the power cords between each lamp.
The top photo to the right shows my first attempt at using them and the photo clumsily shows the cords in the middle making it look unrealistic and strange. Human sized lights wouldn’t be that super light weight lamps that big, they would hang down.
Make your the lamps look heavier for the 1:6 scale by stretching them out, or not showing the cords at all like the 2nd photo on the right.
Below are photos of what different color lights can do in your dioramas.
MULTI-COLORED LIGHTING & LIGHT STRINGS

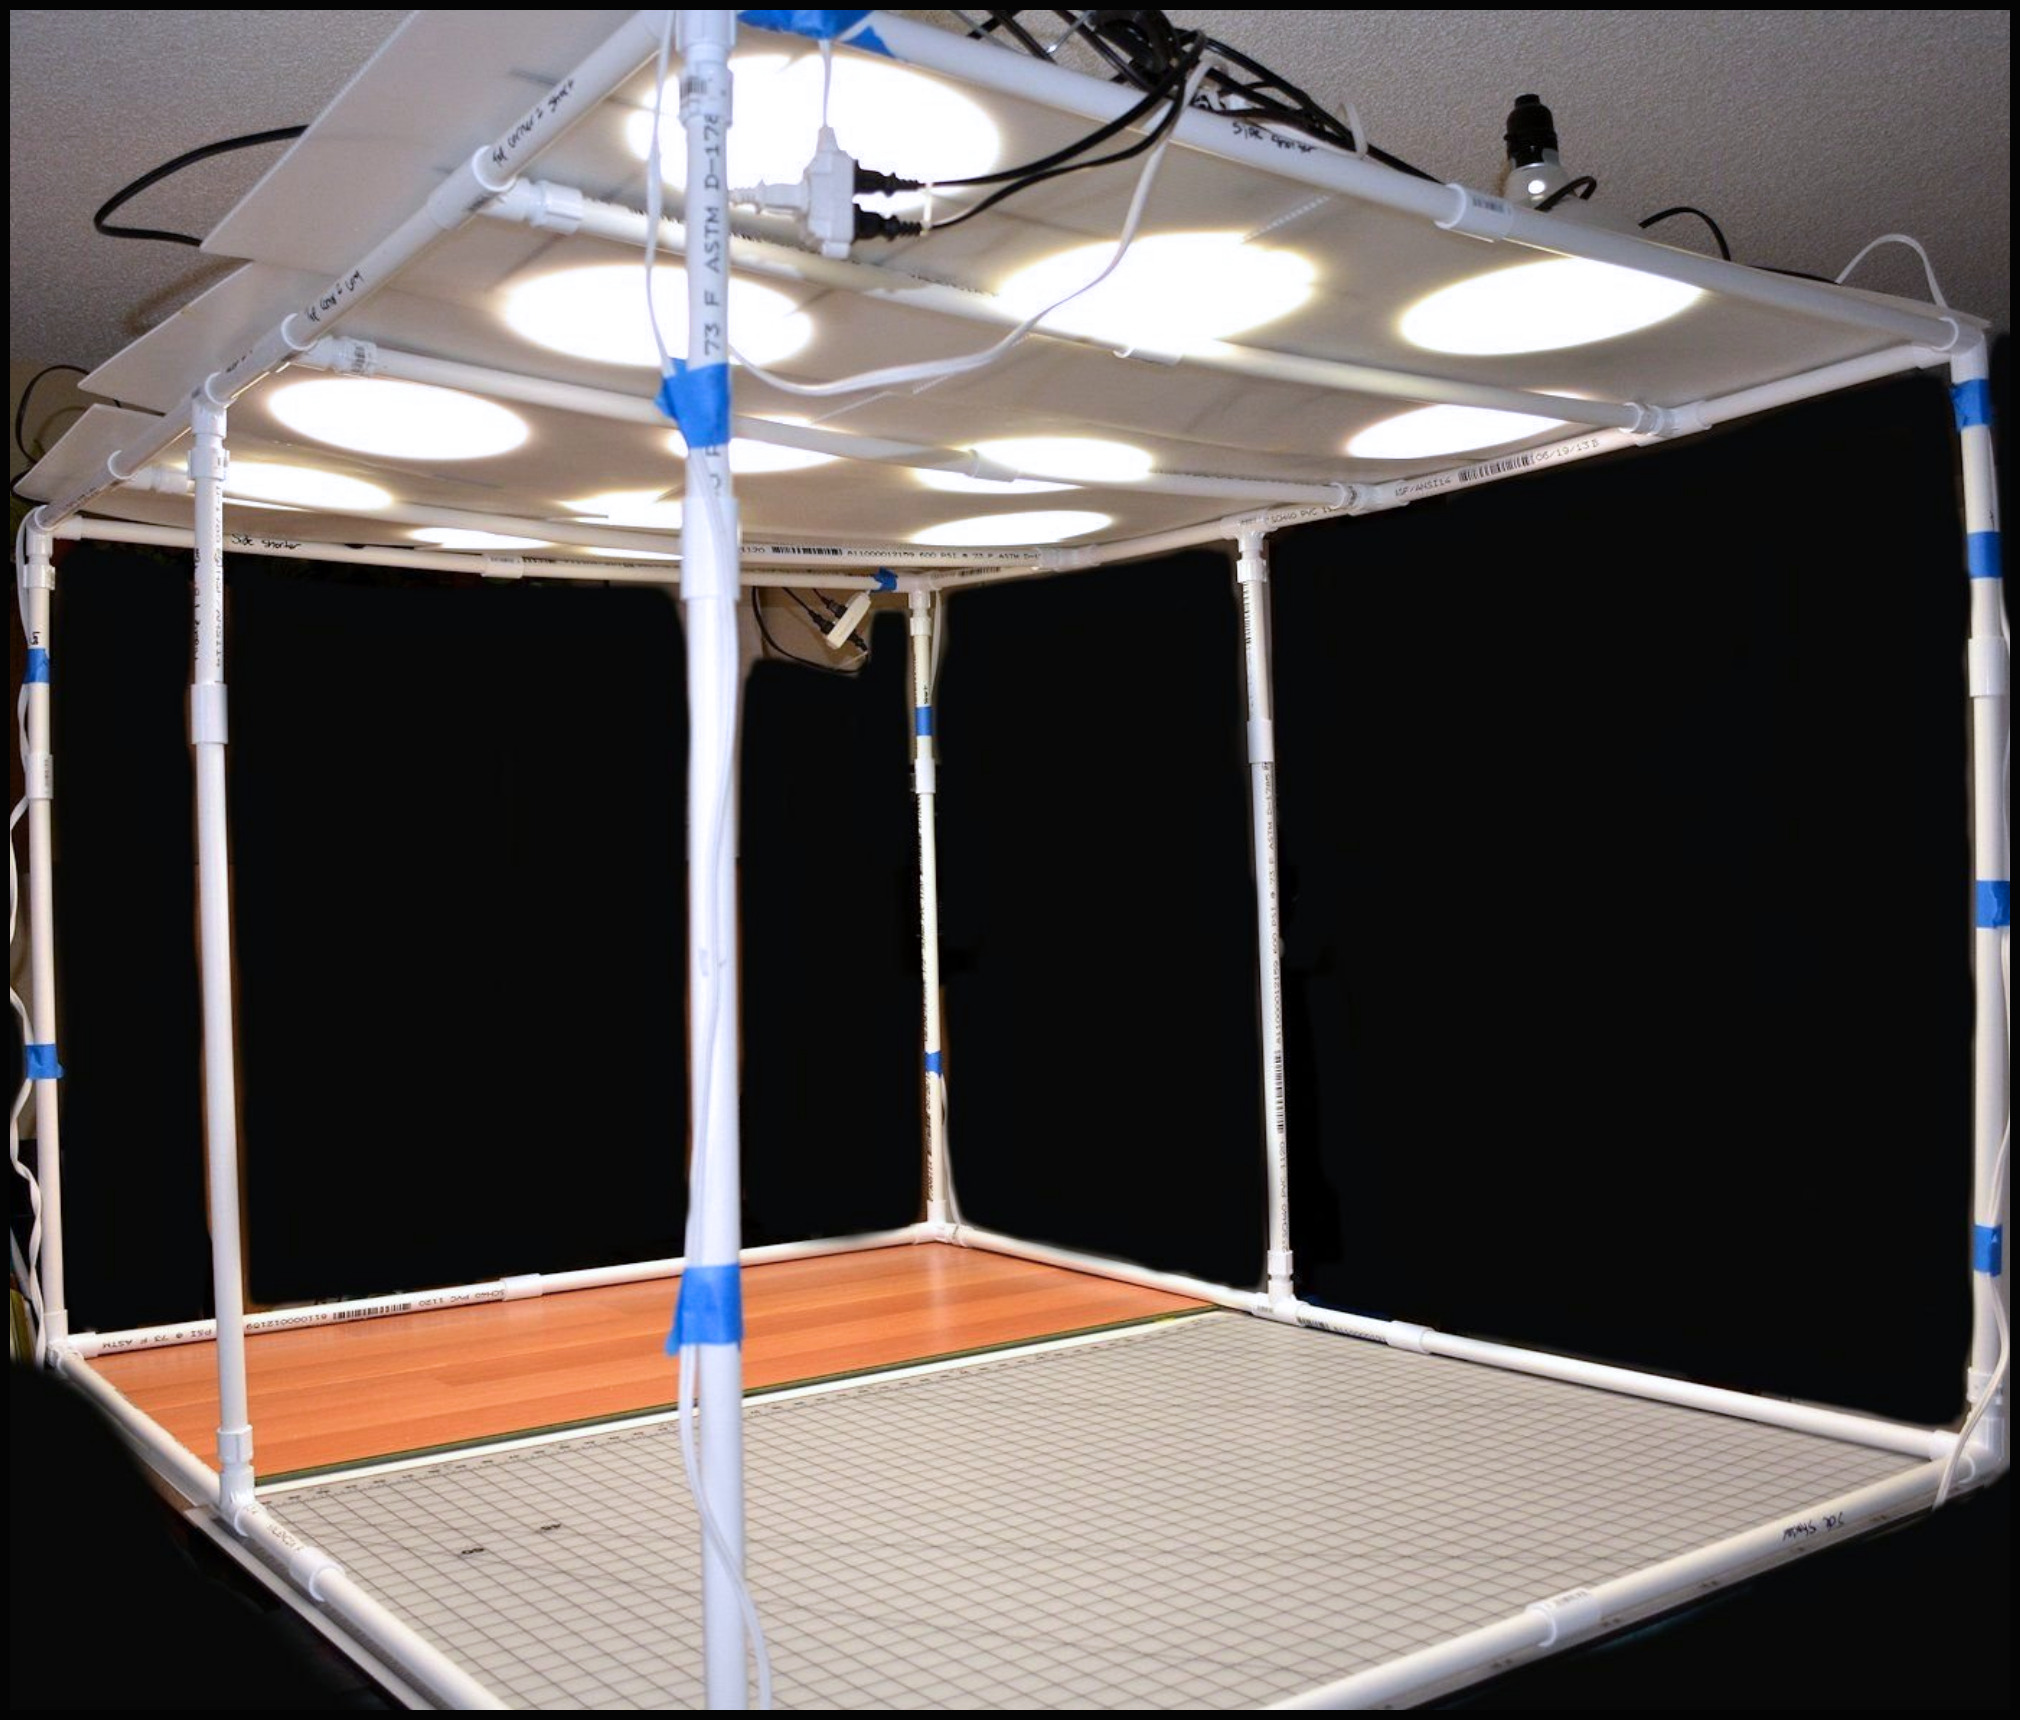
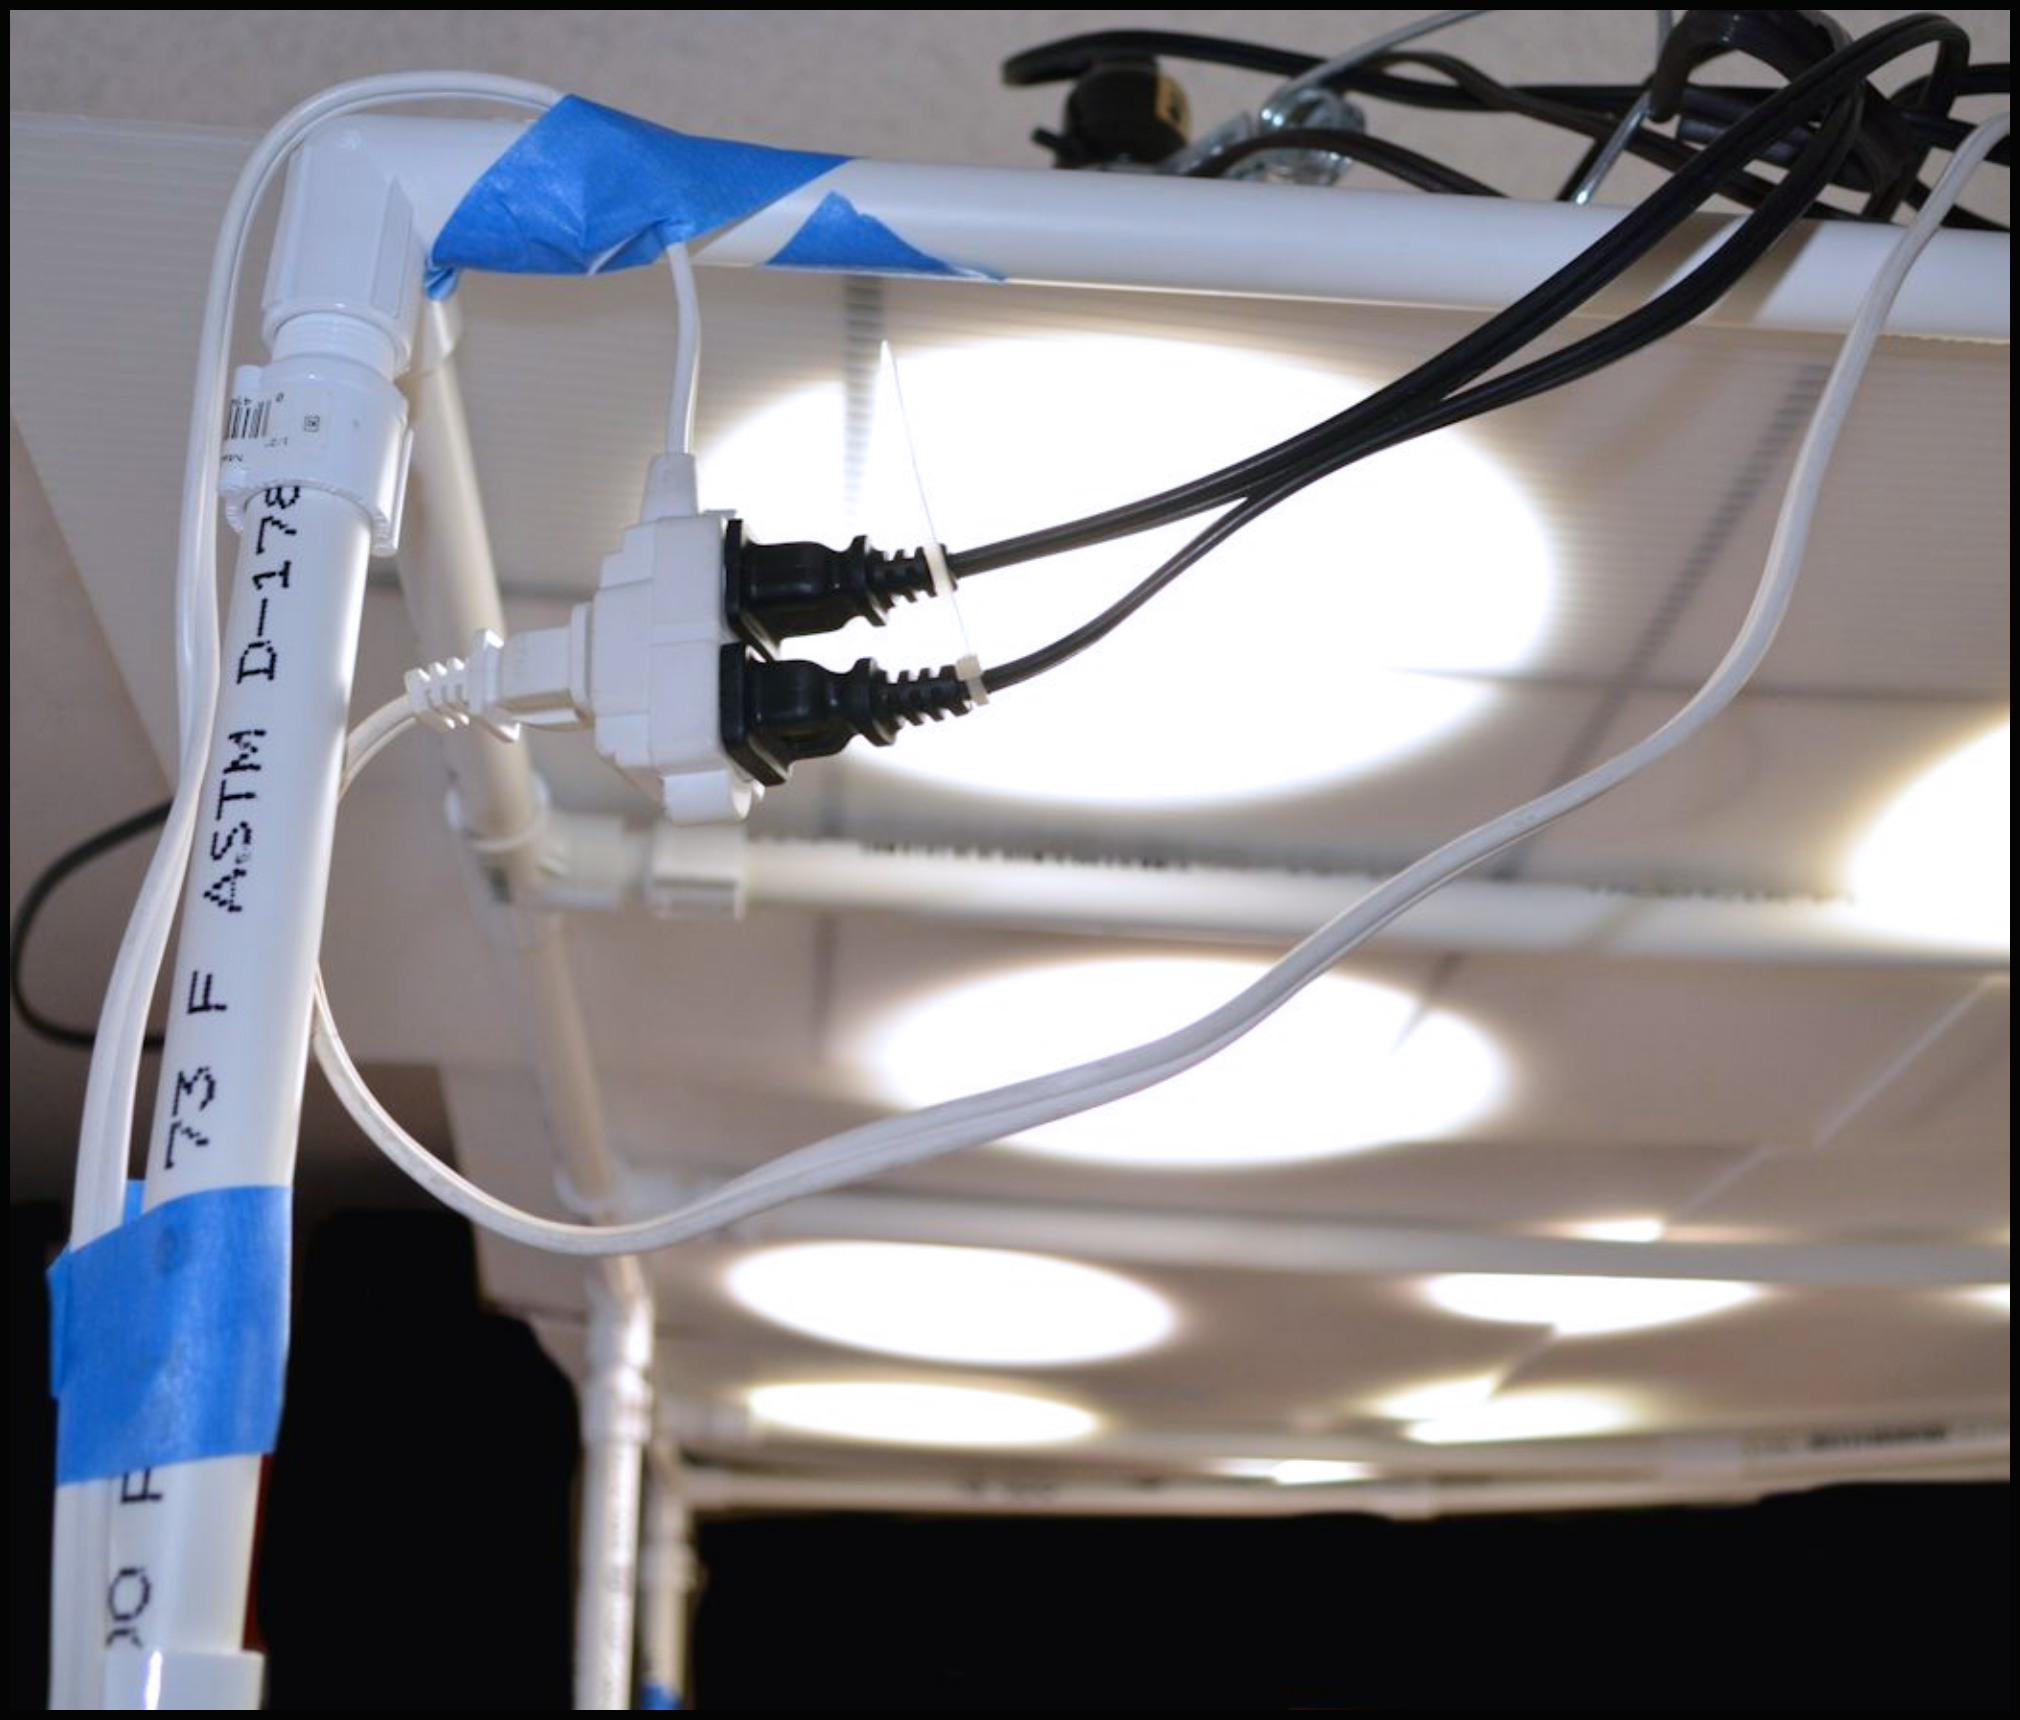
LIGHT RIG
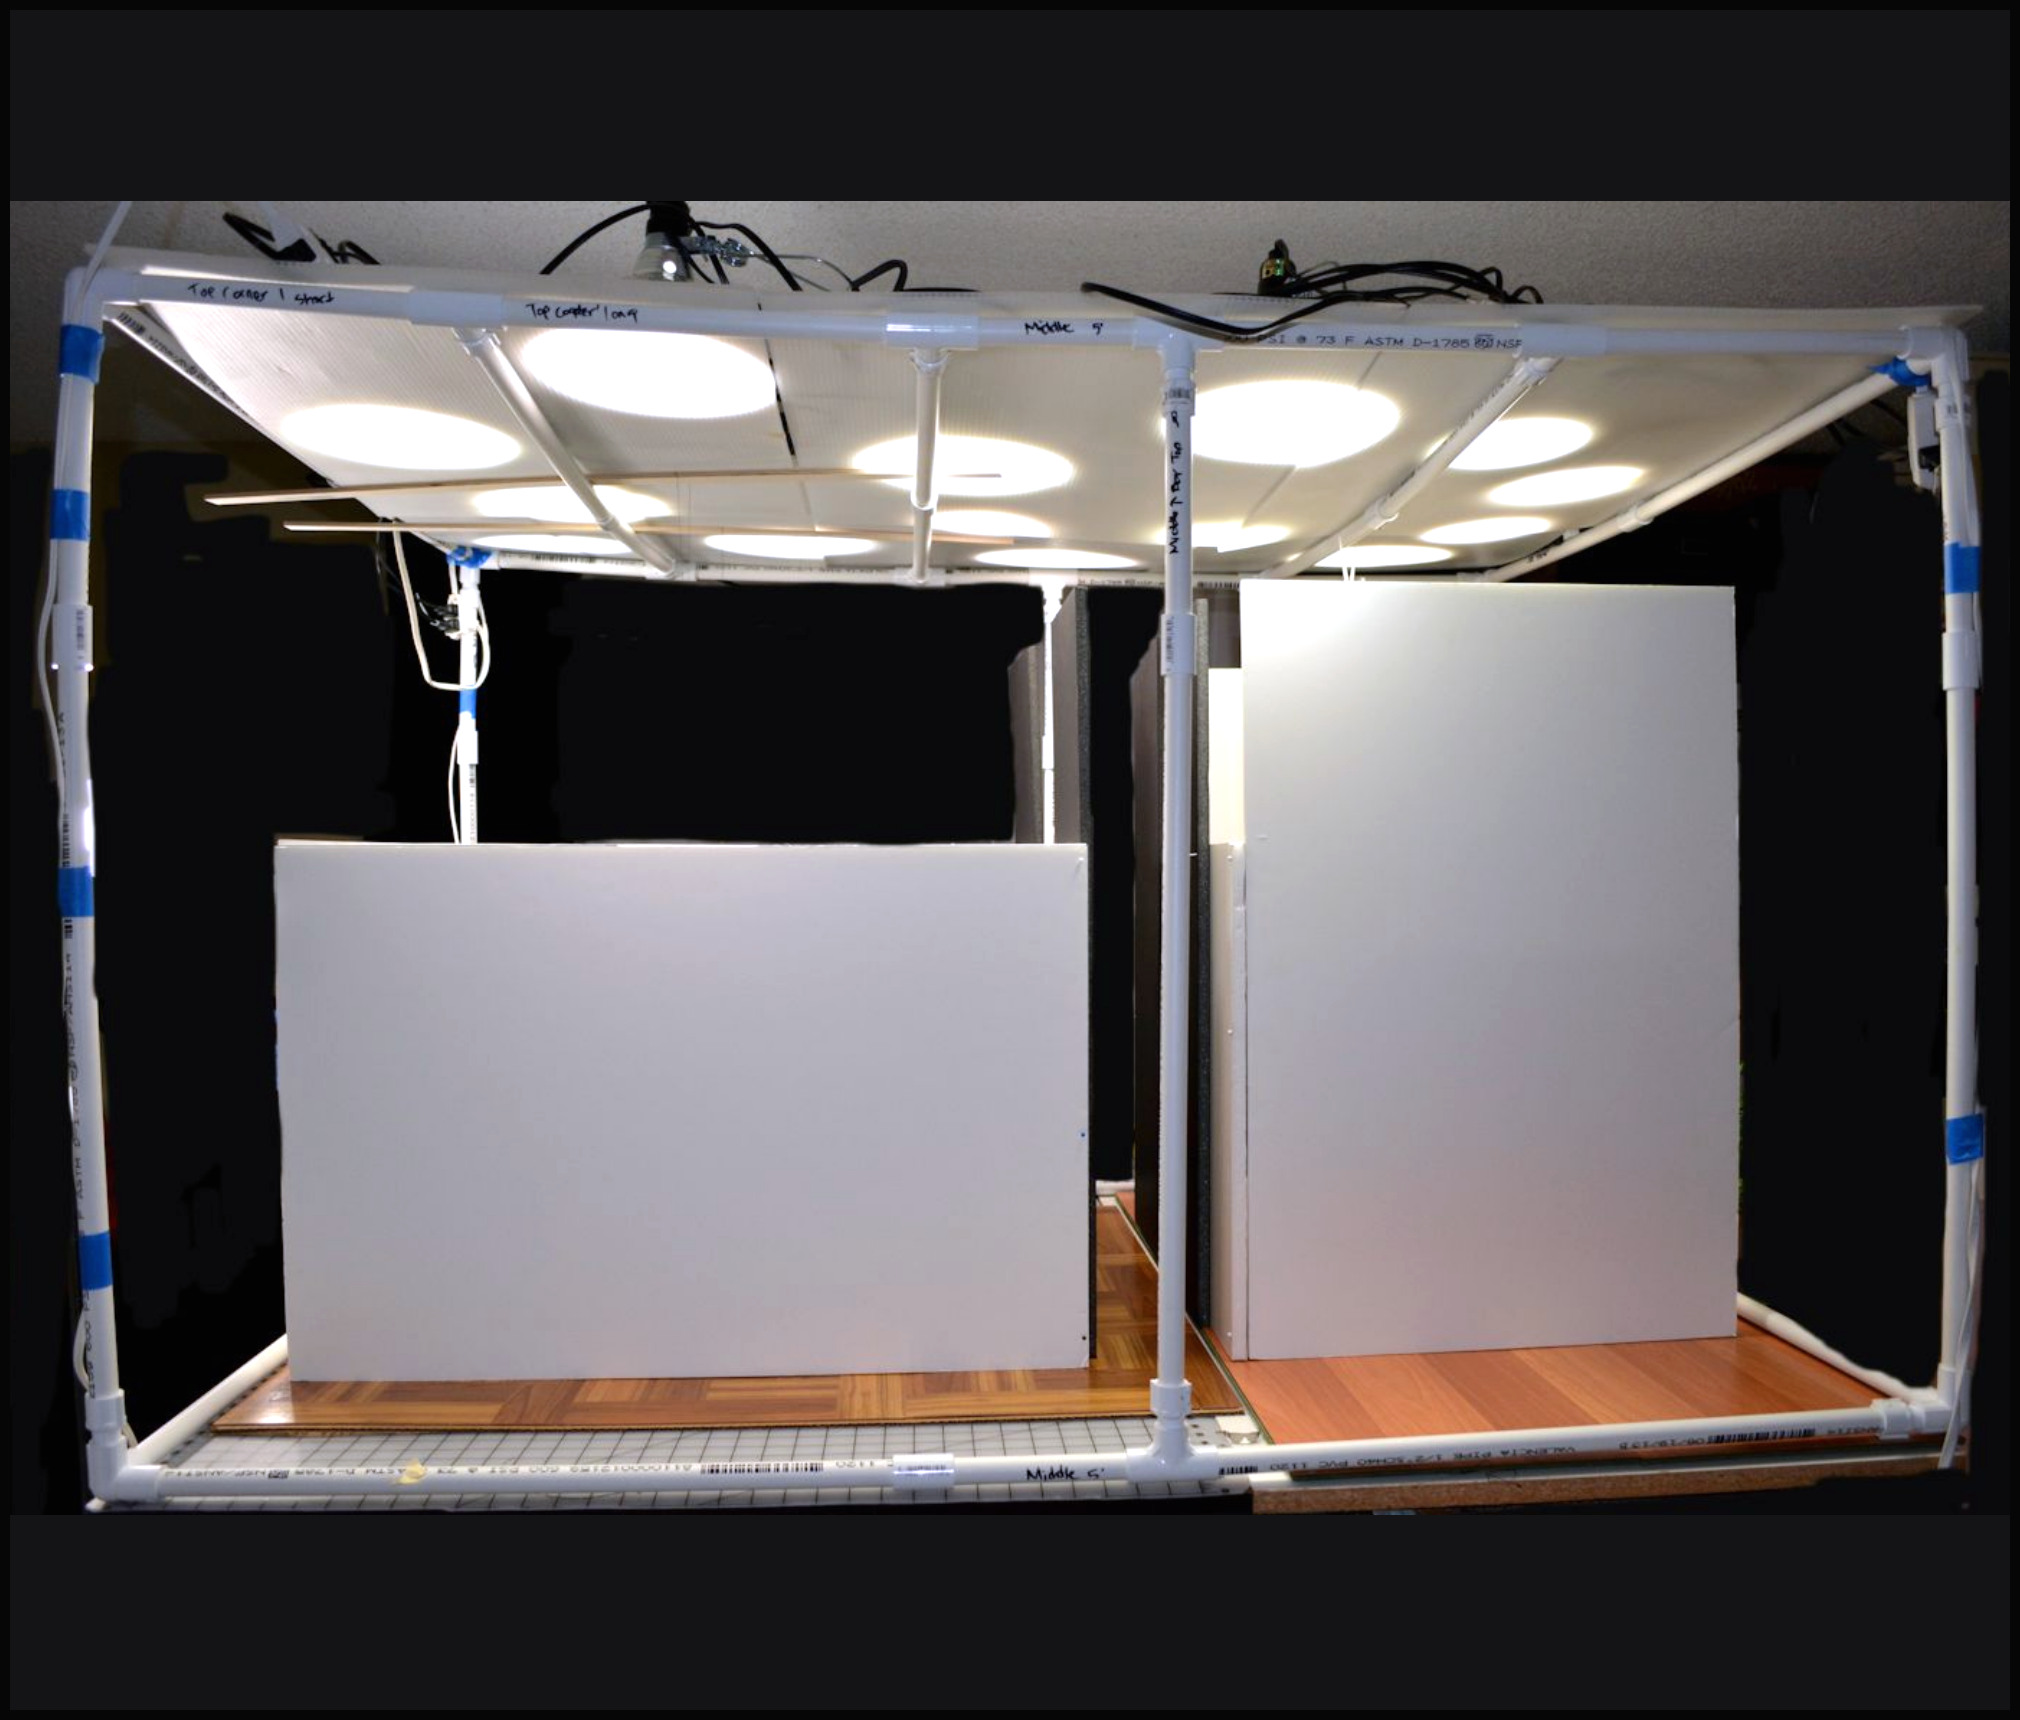
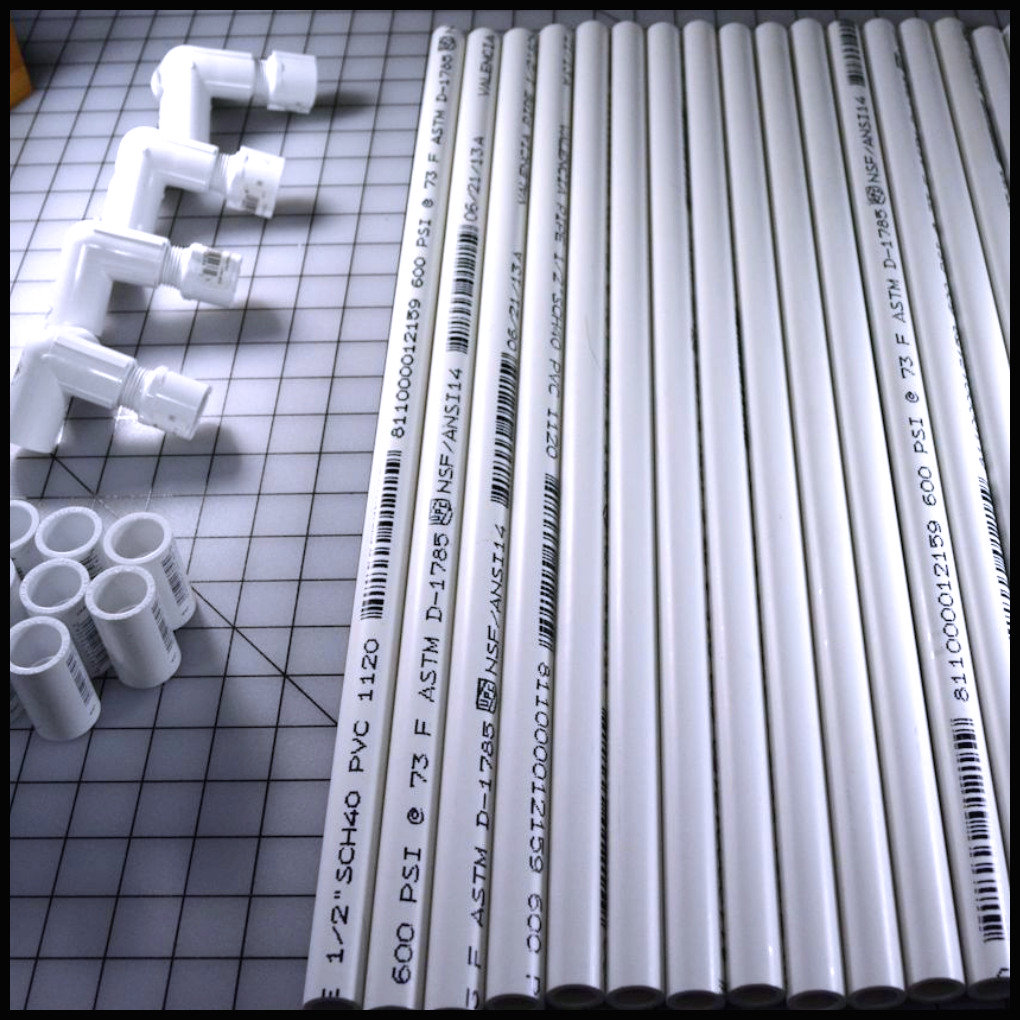
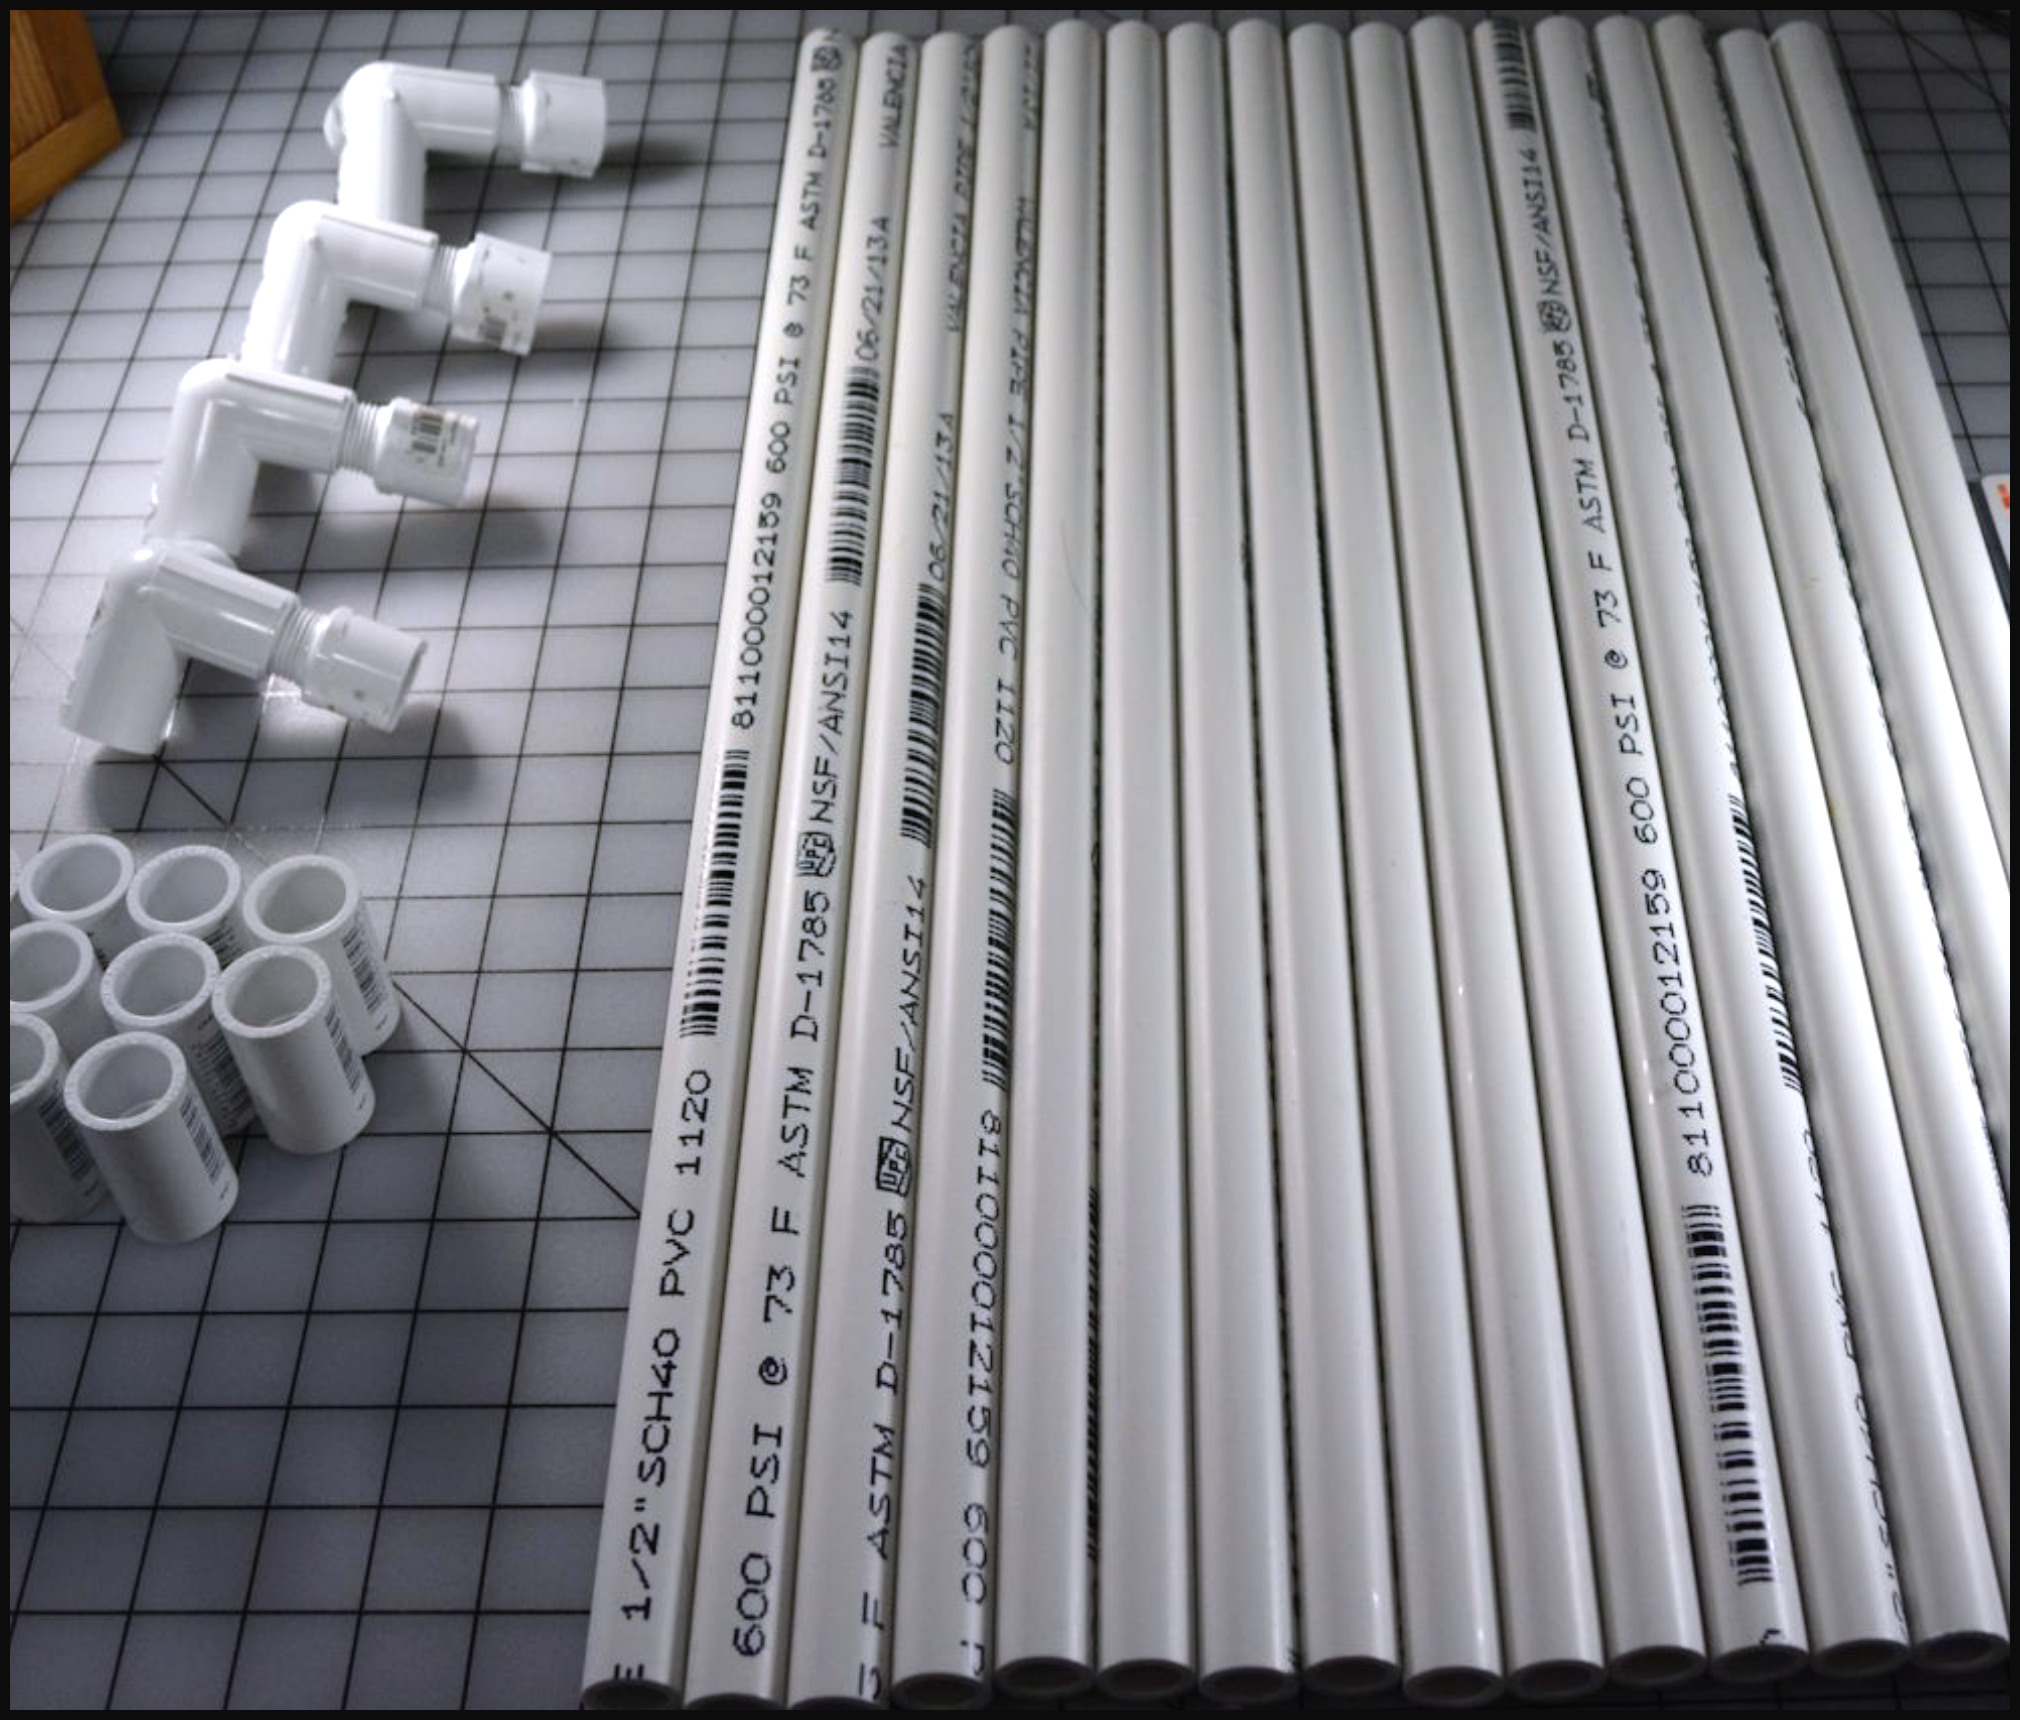
On a 4 Foot x 5 Foot table space I used PVC plumbing piping to construct this 4 foot high light rig. With just PVC piping across the top it sagged when I put 15 light cans on it, so I had to run wooden dowels across it eliminate the sag and make the top sturdier.
I’ve also made tiny rigs for traveling to pose dolls outside in natural light using a wire to pose them. PVC plumbing tubes are amazing to work with because they’re practically unbreakable for this usage.
Construct whatever sized light right you need for the space you have, it’s a completely flexible project.
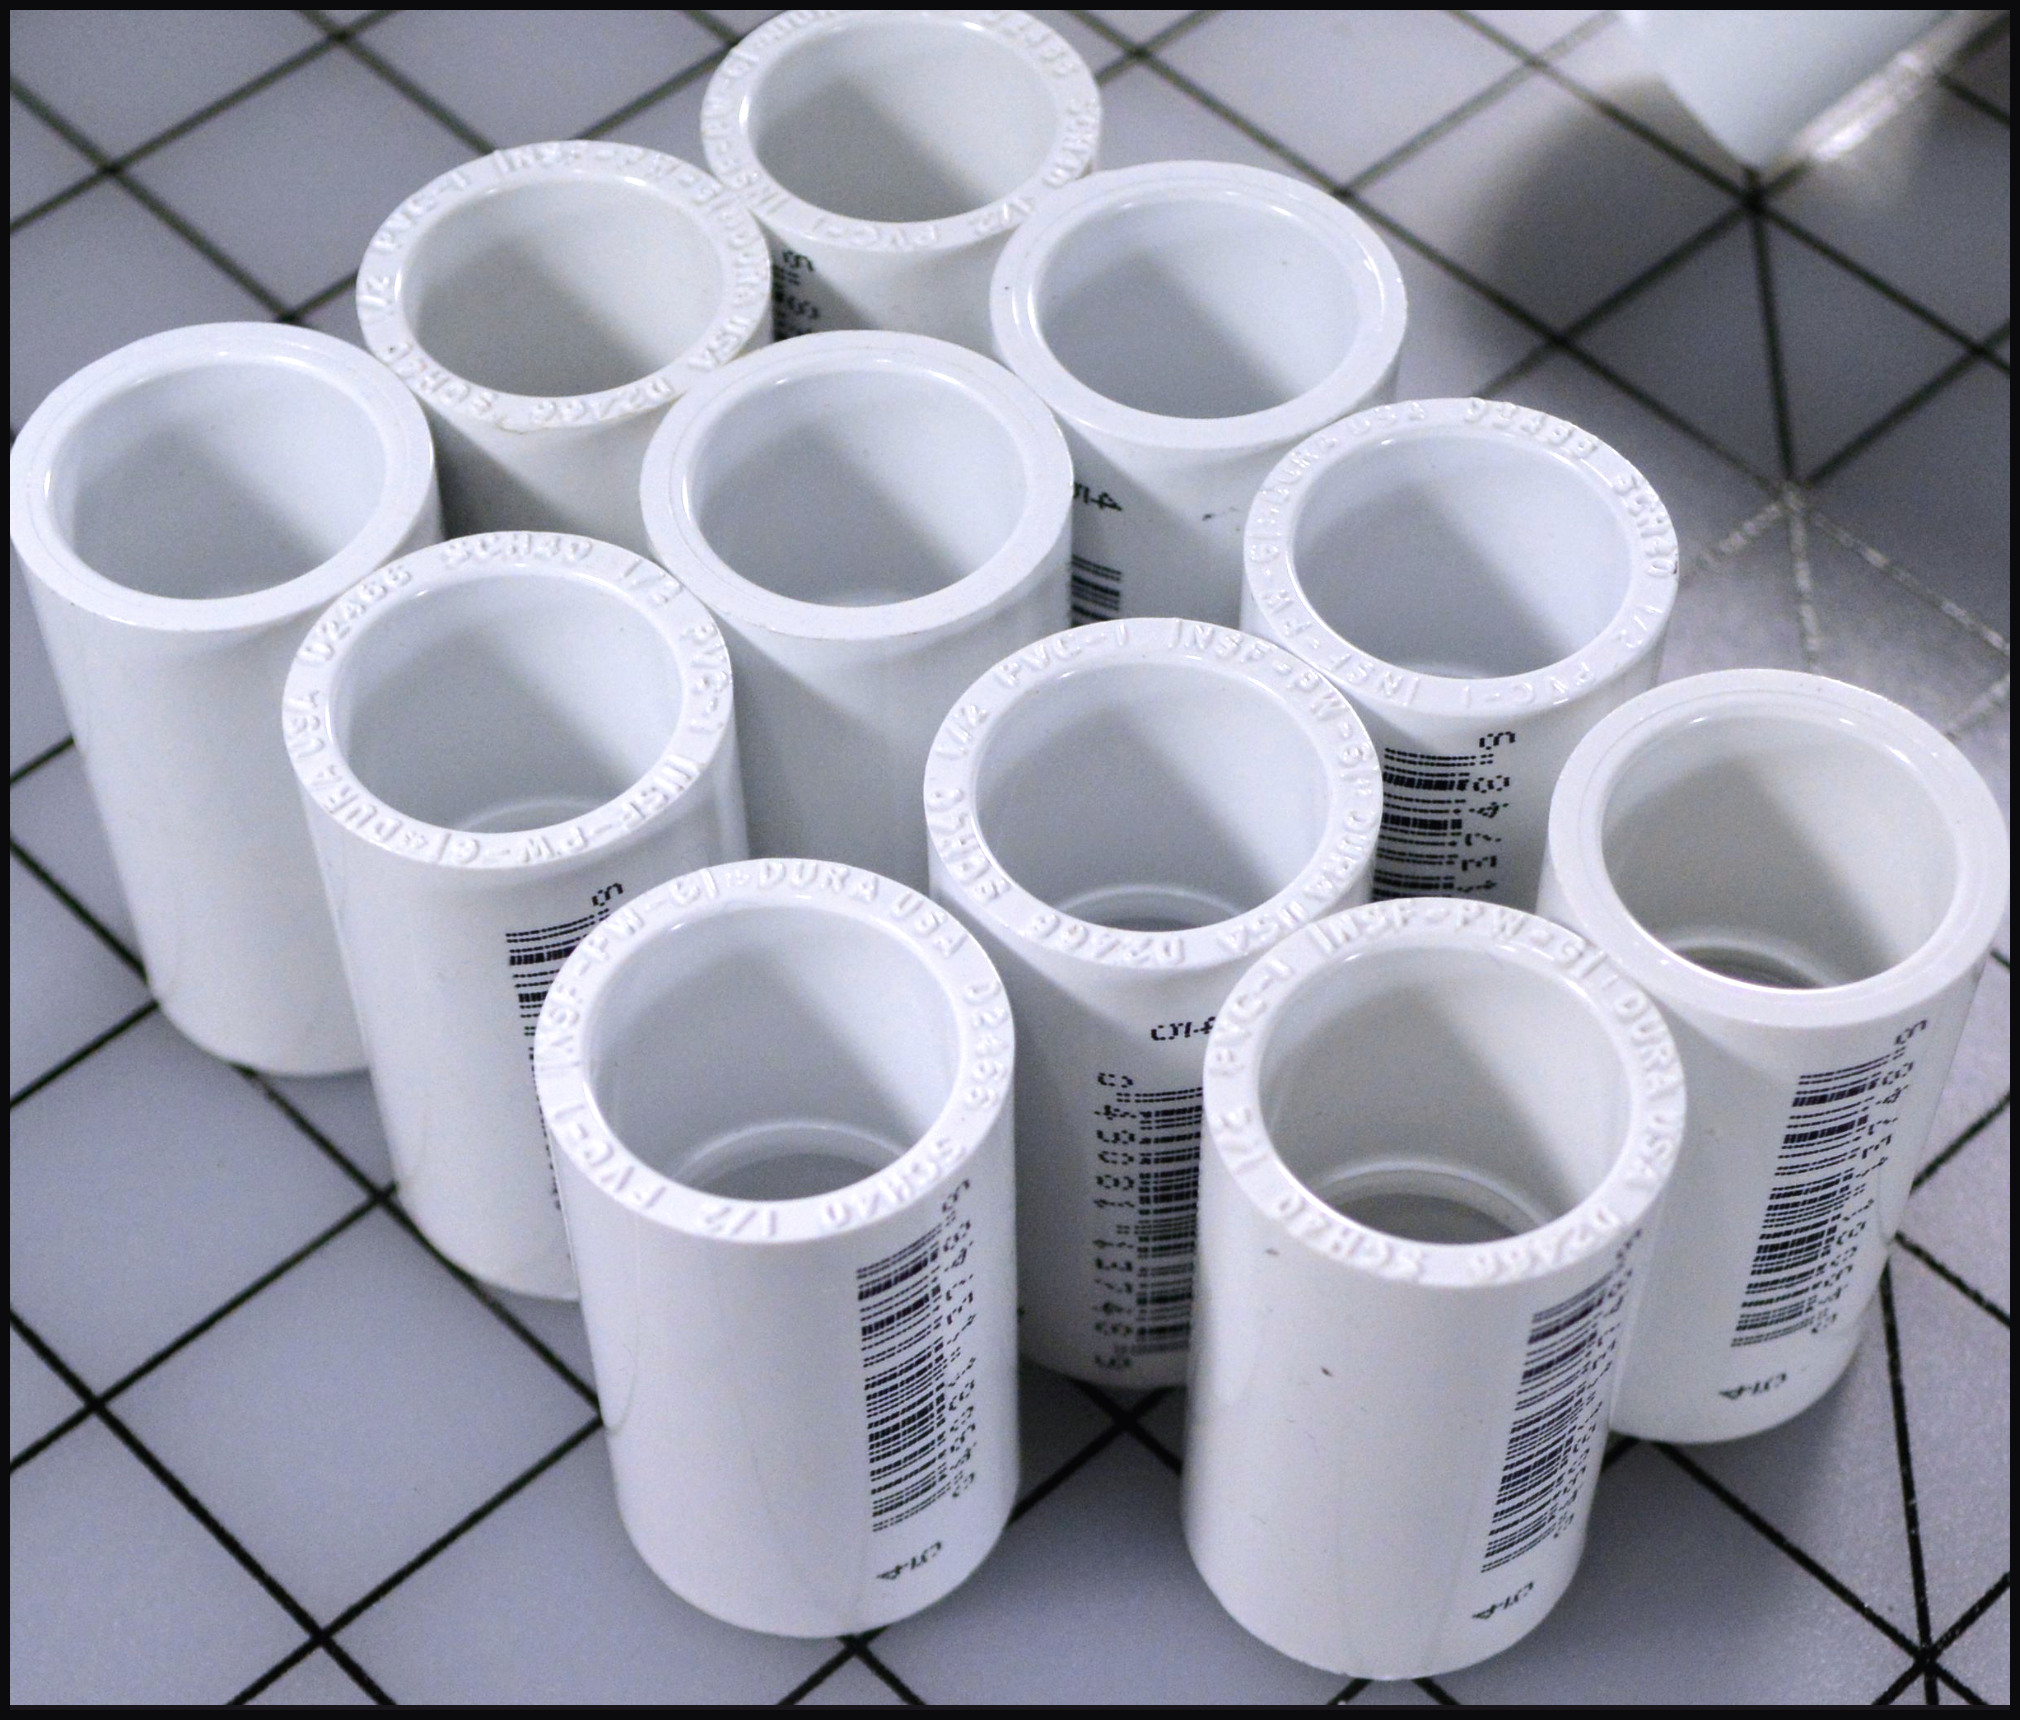
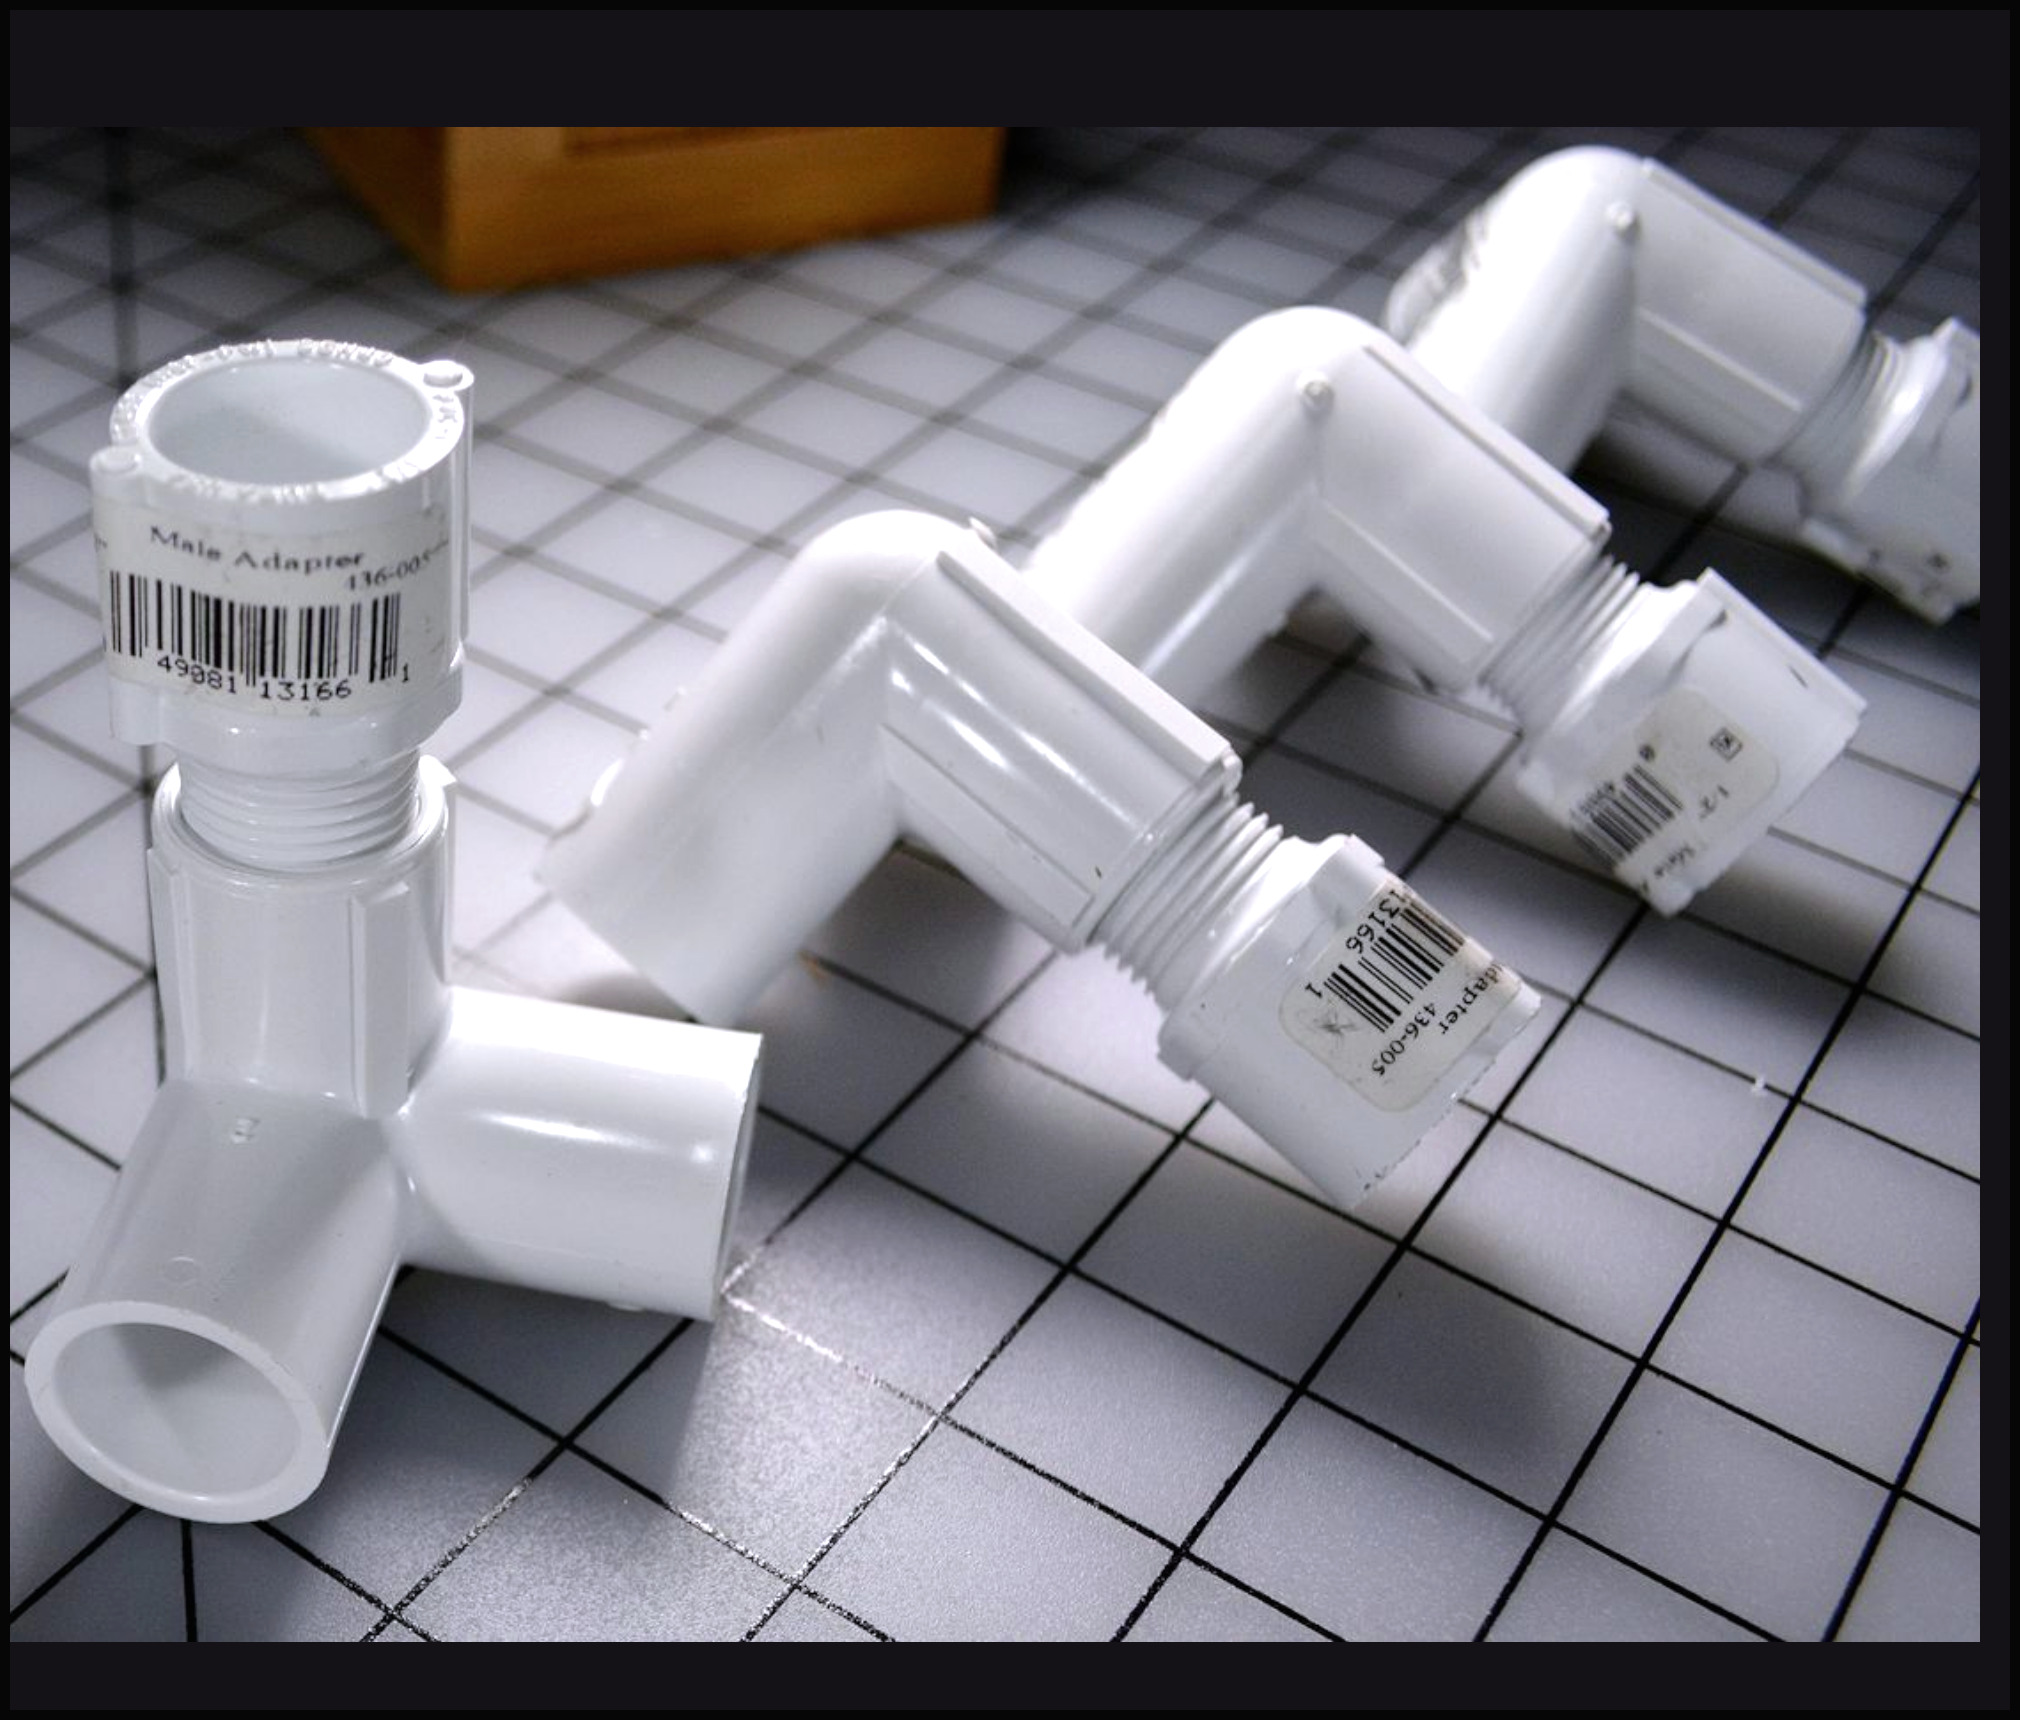
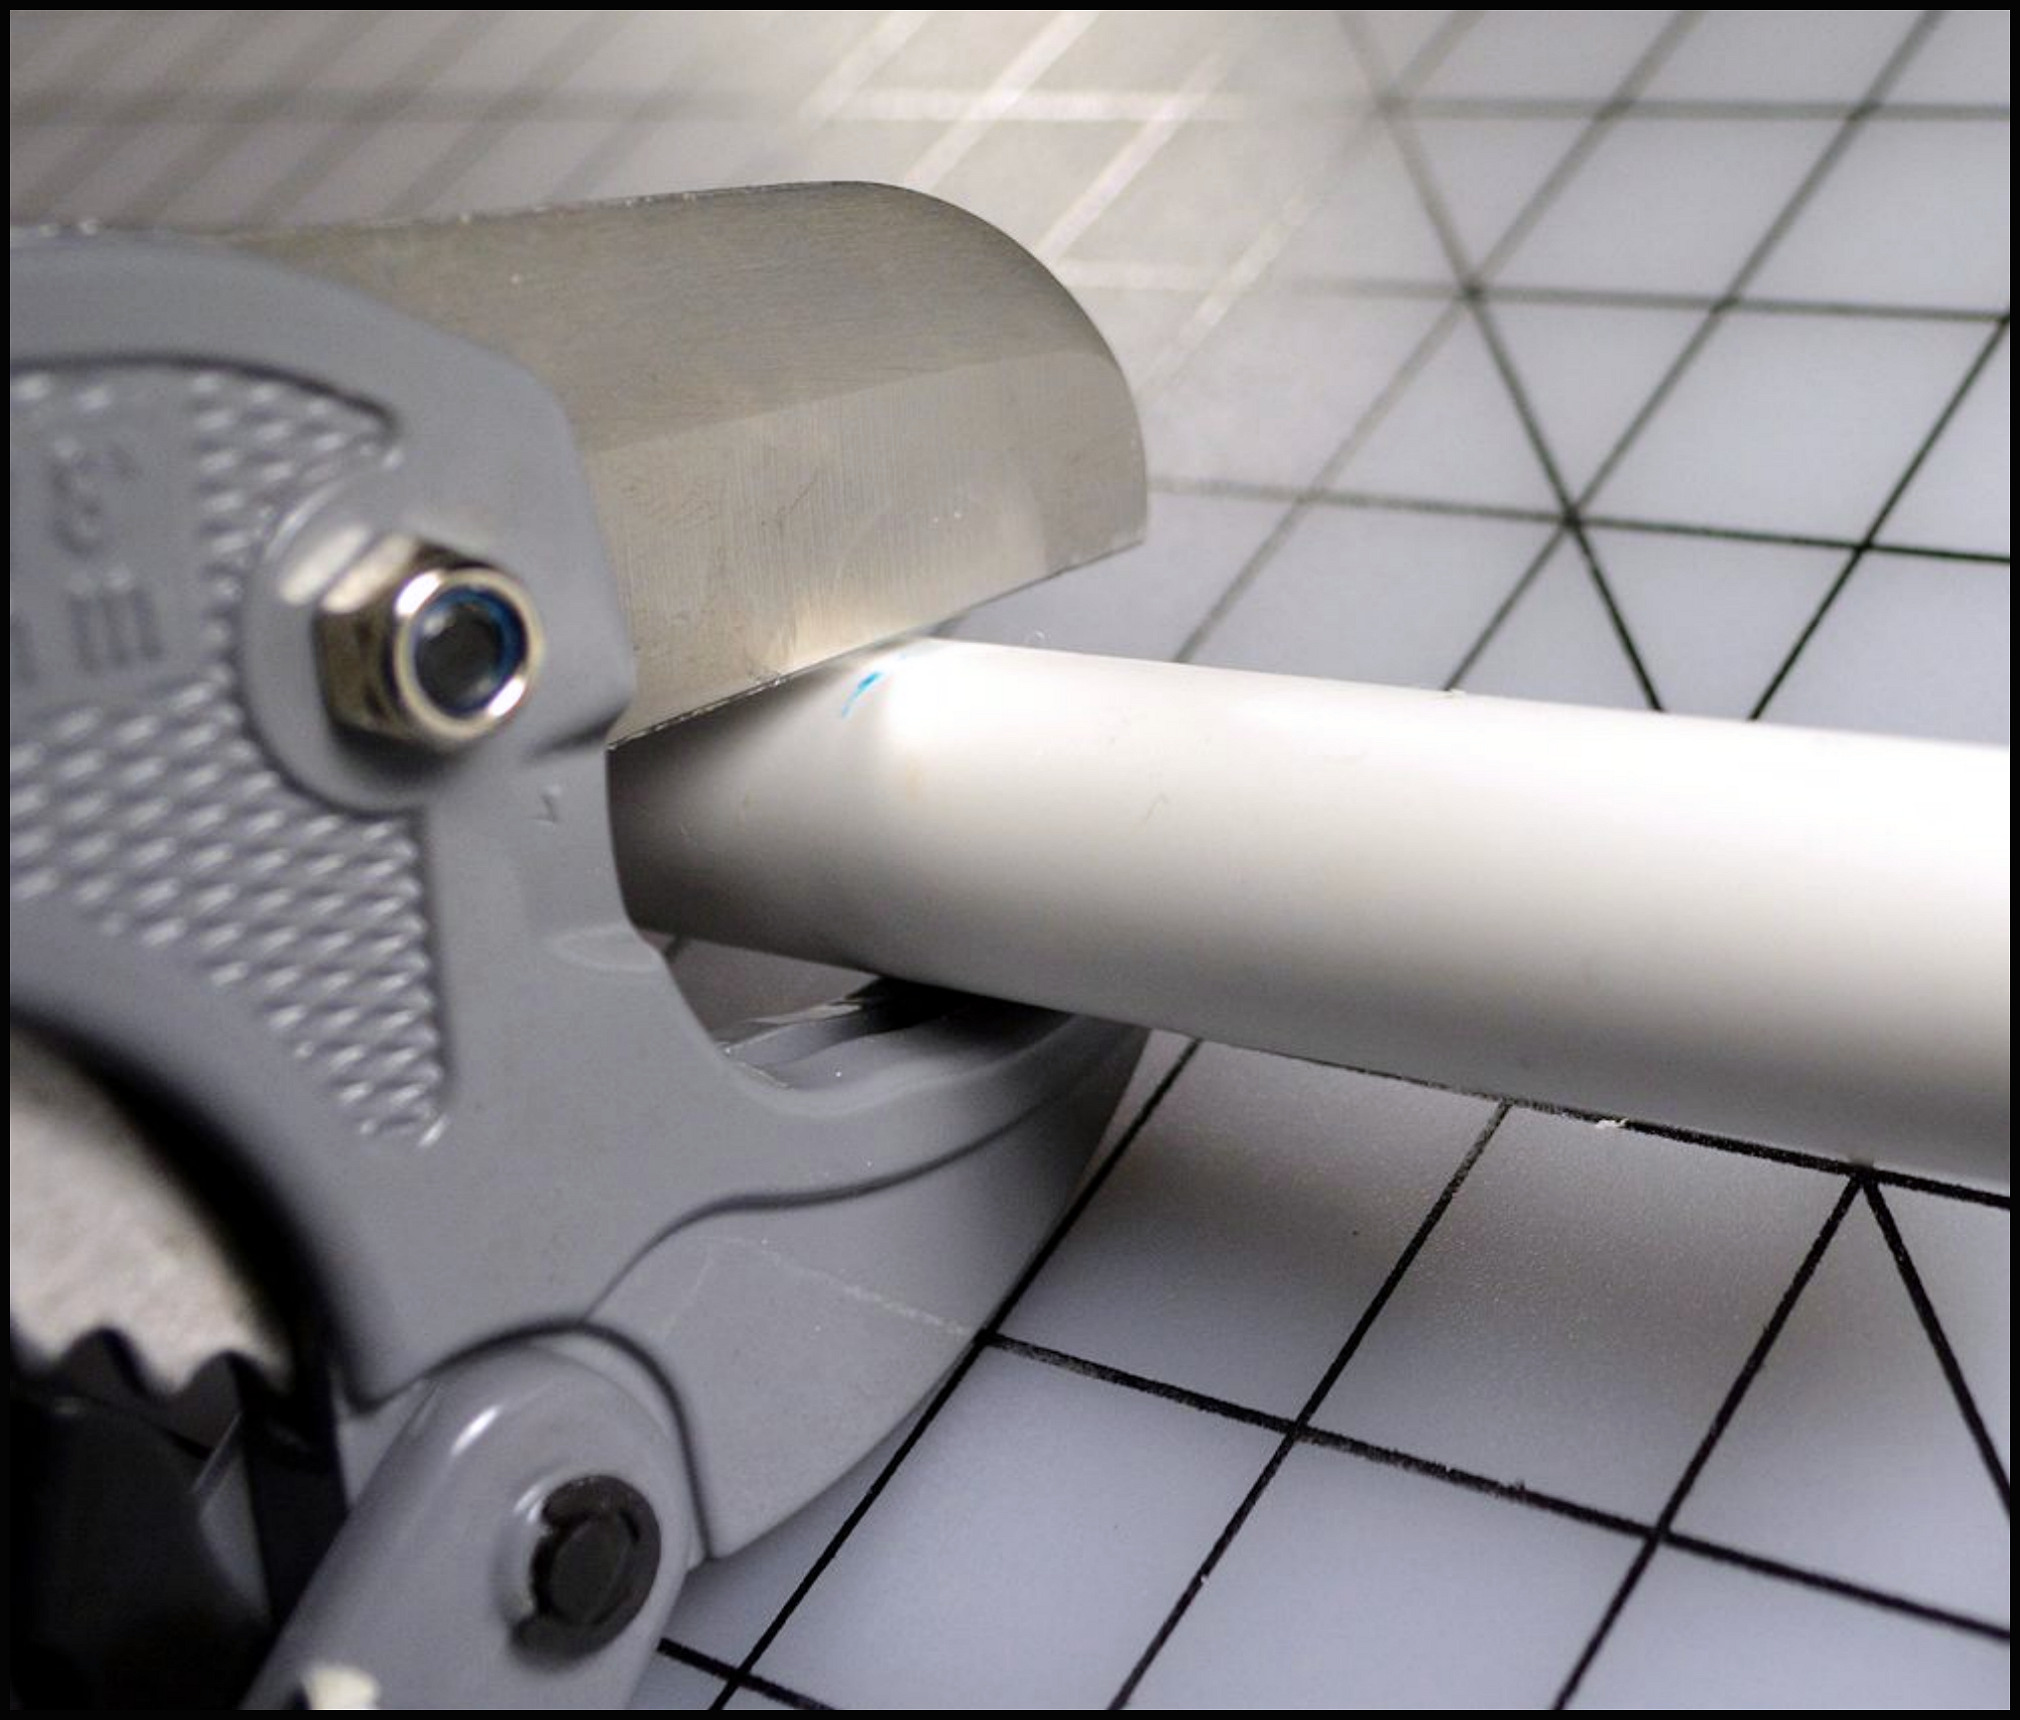
The long rods will fit into the T-Shaped connectors (3rd photo below) which will now take the rods into 3 directions to make. Purchase a heavy-duty ratcheting PVC cutter to slice through the piping so you can customize the length of the rods to fit your project size.
I’m a petite woman, I needed to use my feet to step on the cutter to make it all the way through the pipe, so a firm manly grip is needed.
Because my light rig was so big, I needed the extender units in the 2nd picture below because the individual rods weren’t long enough.
Make sure you build with lots of support so there’s no sagging and your lights have a structure to support the weight.
I don’t recommend using Plexiglas to hold your lights up, too heavy. The corrugated board is super lightweight and defuses the light, win-win.
Drawbacks to the Rig are:
(1) It’s ugly and an eyesore in your room, not gonna lie, (2) The middle poles get in the way of a long shot of a huge diorama, (3) Only works with super high ceiling places, (4) Once I moved and took it down… I totally could not figure out how to put it back together again. There’s not enough labeling in the world to put Humpty Dumpty back together again, and I wrote all over those pipes.
LIGHT RIG PHOTOS


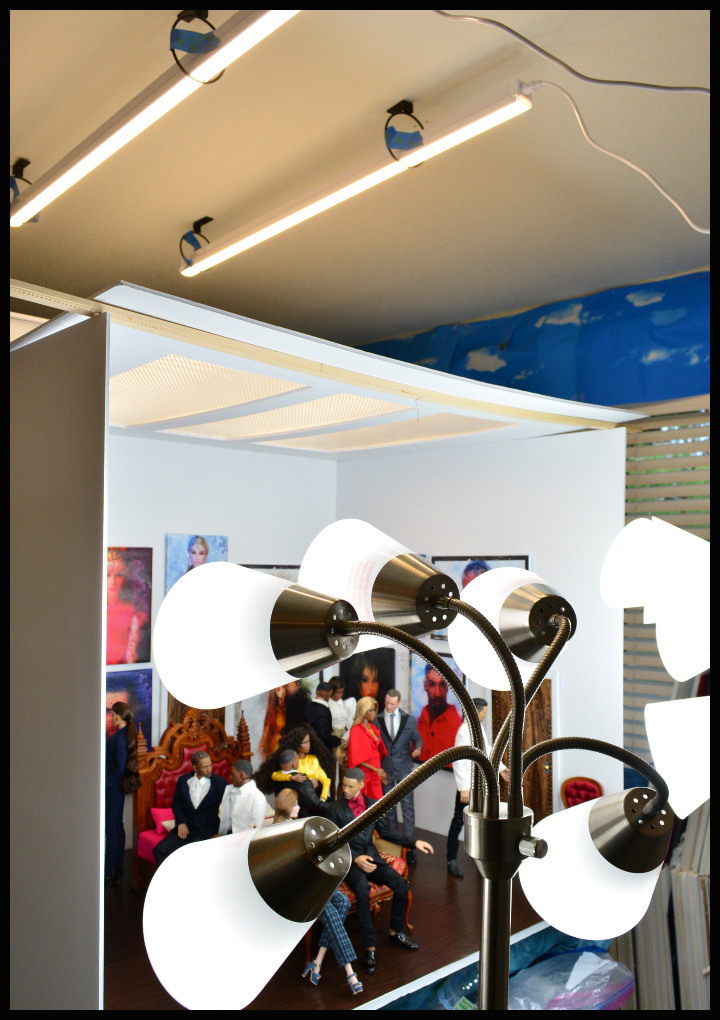
FLOOR LAMPS & LED STRIPS
FLOOR LAMP:
The Hampton Bay 66 inch Satin Nickel Floor lamp with 5 plastic bell shades from Home Depot is my personal favorite floor lamp. I purchased a couple of these last year. With 60 watt LED bulbs these two give off an astonishing amount of light for huge dioramas and don’t get half as hot as my old floor lamp did.
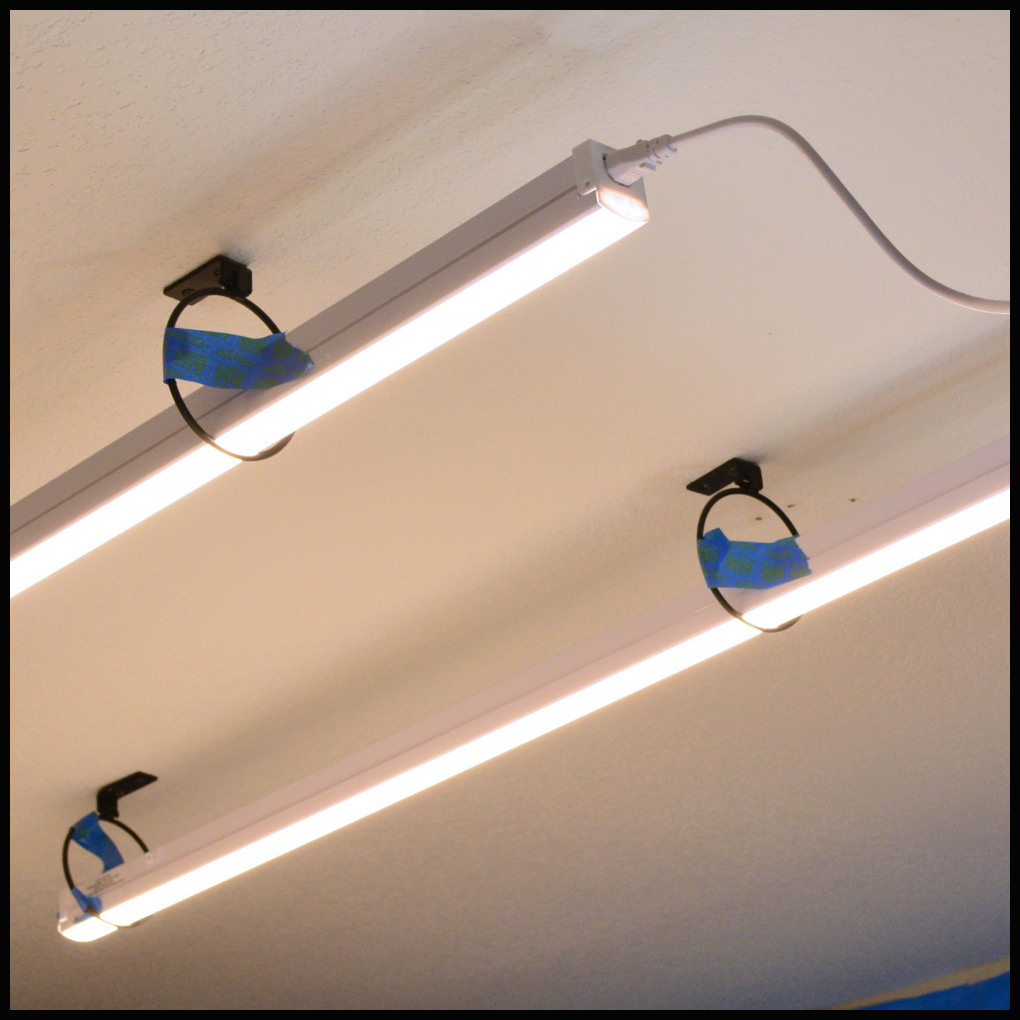
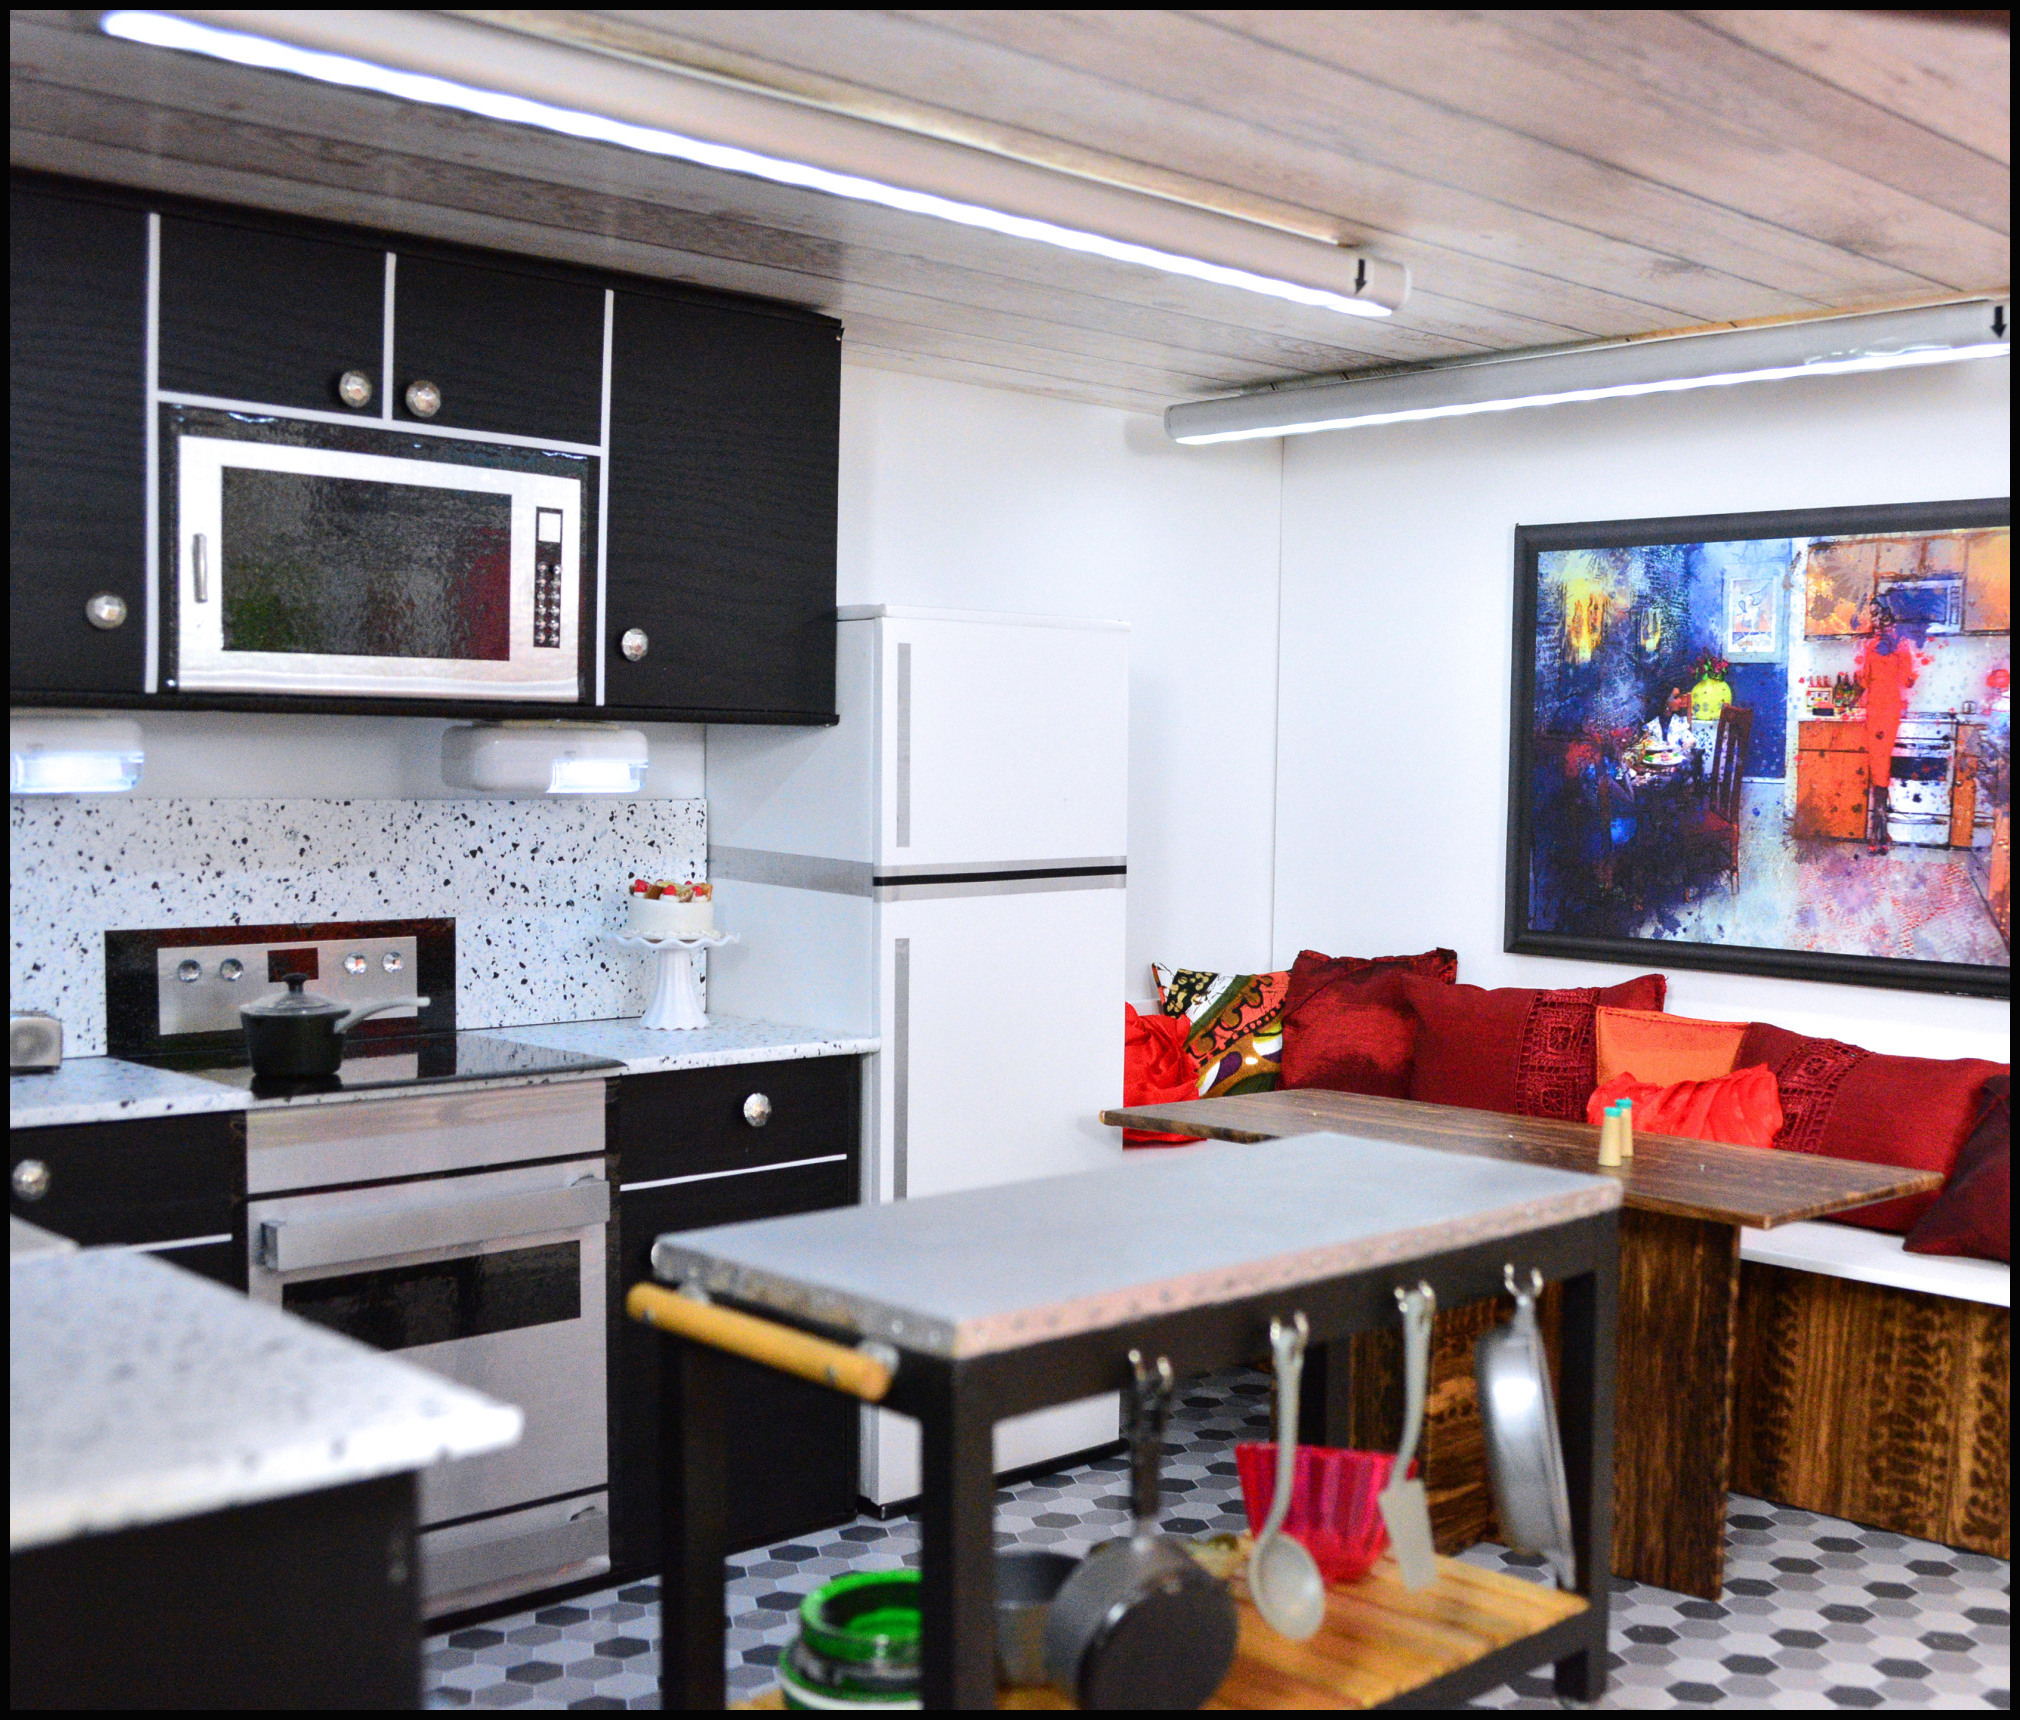
CEILING LED STRIPS:
The new LED light strips for ceiling or wall lamps just keep getting better. The apartment I live in has no lighting in my room, so I had to install ceiling lighting myself with two plant holders, some masking tape and two LED plug in strips. The light is more yellow than I’d like, but it does the job.
When both ceiling LED’s and both floor lamps are on, my room is blinding, but multiple dioramas can be lit and ready to be photographed in quickly. Plus, I don’t have to worry about the pole sides or ceiling of my light rig getting in the way anymore. My diorama height is less limited and my freedom to move around my sets is greater.
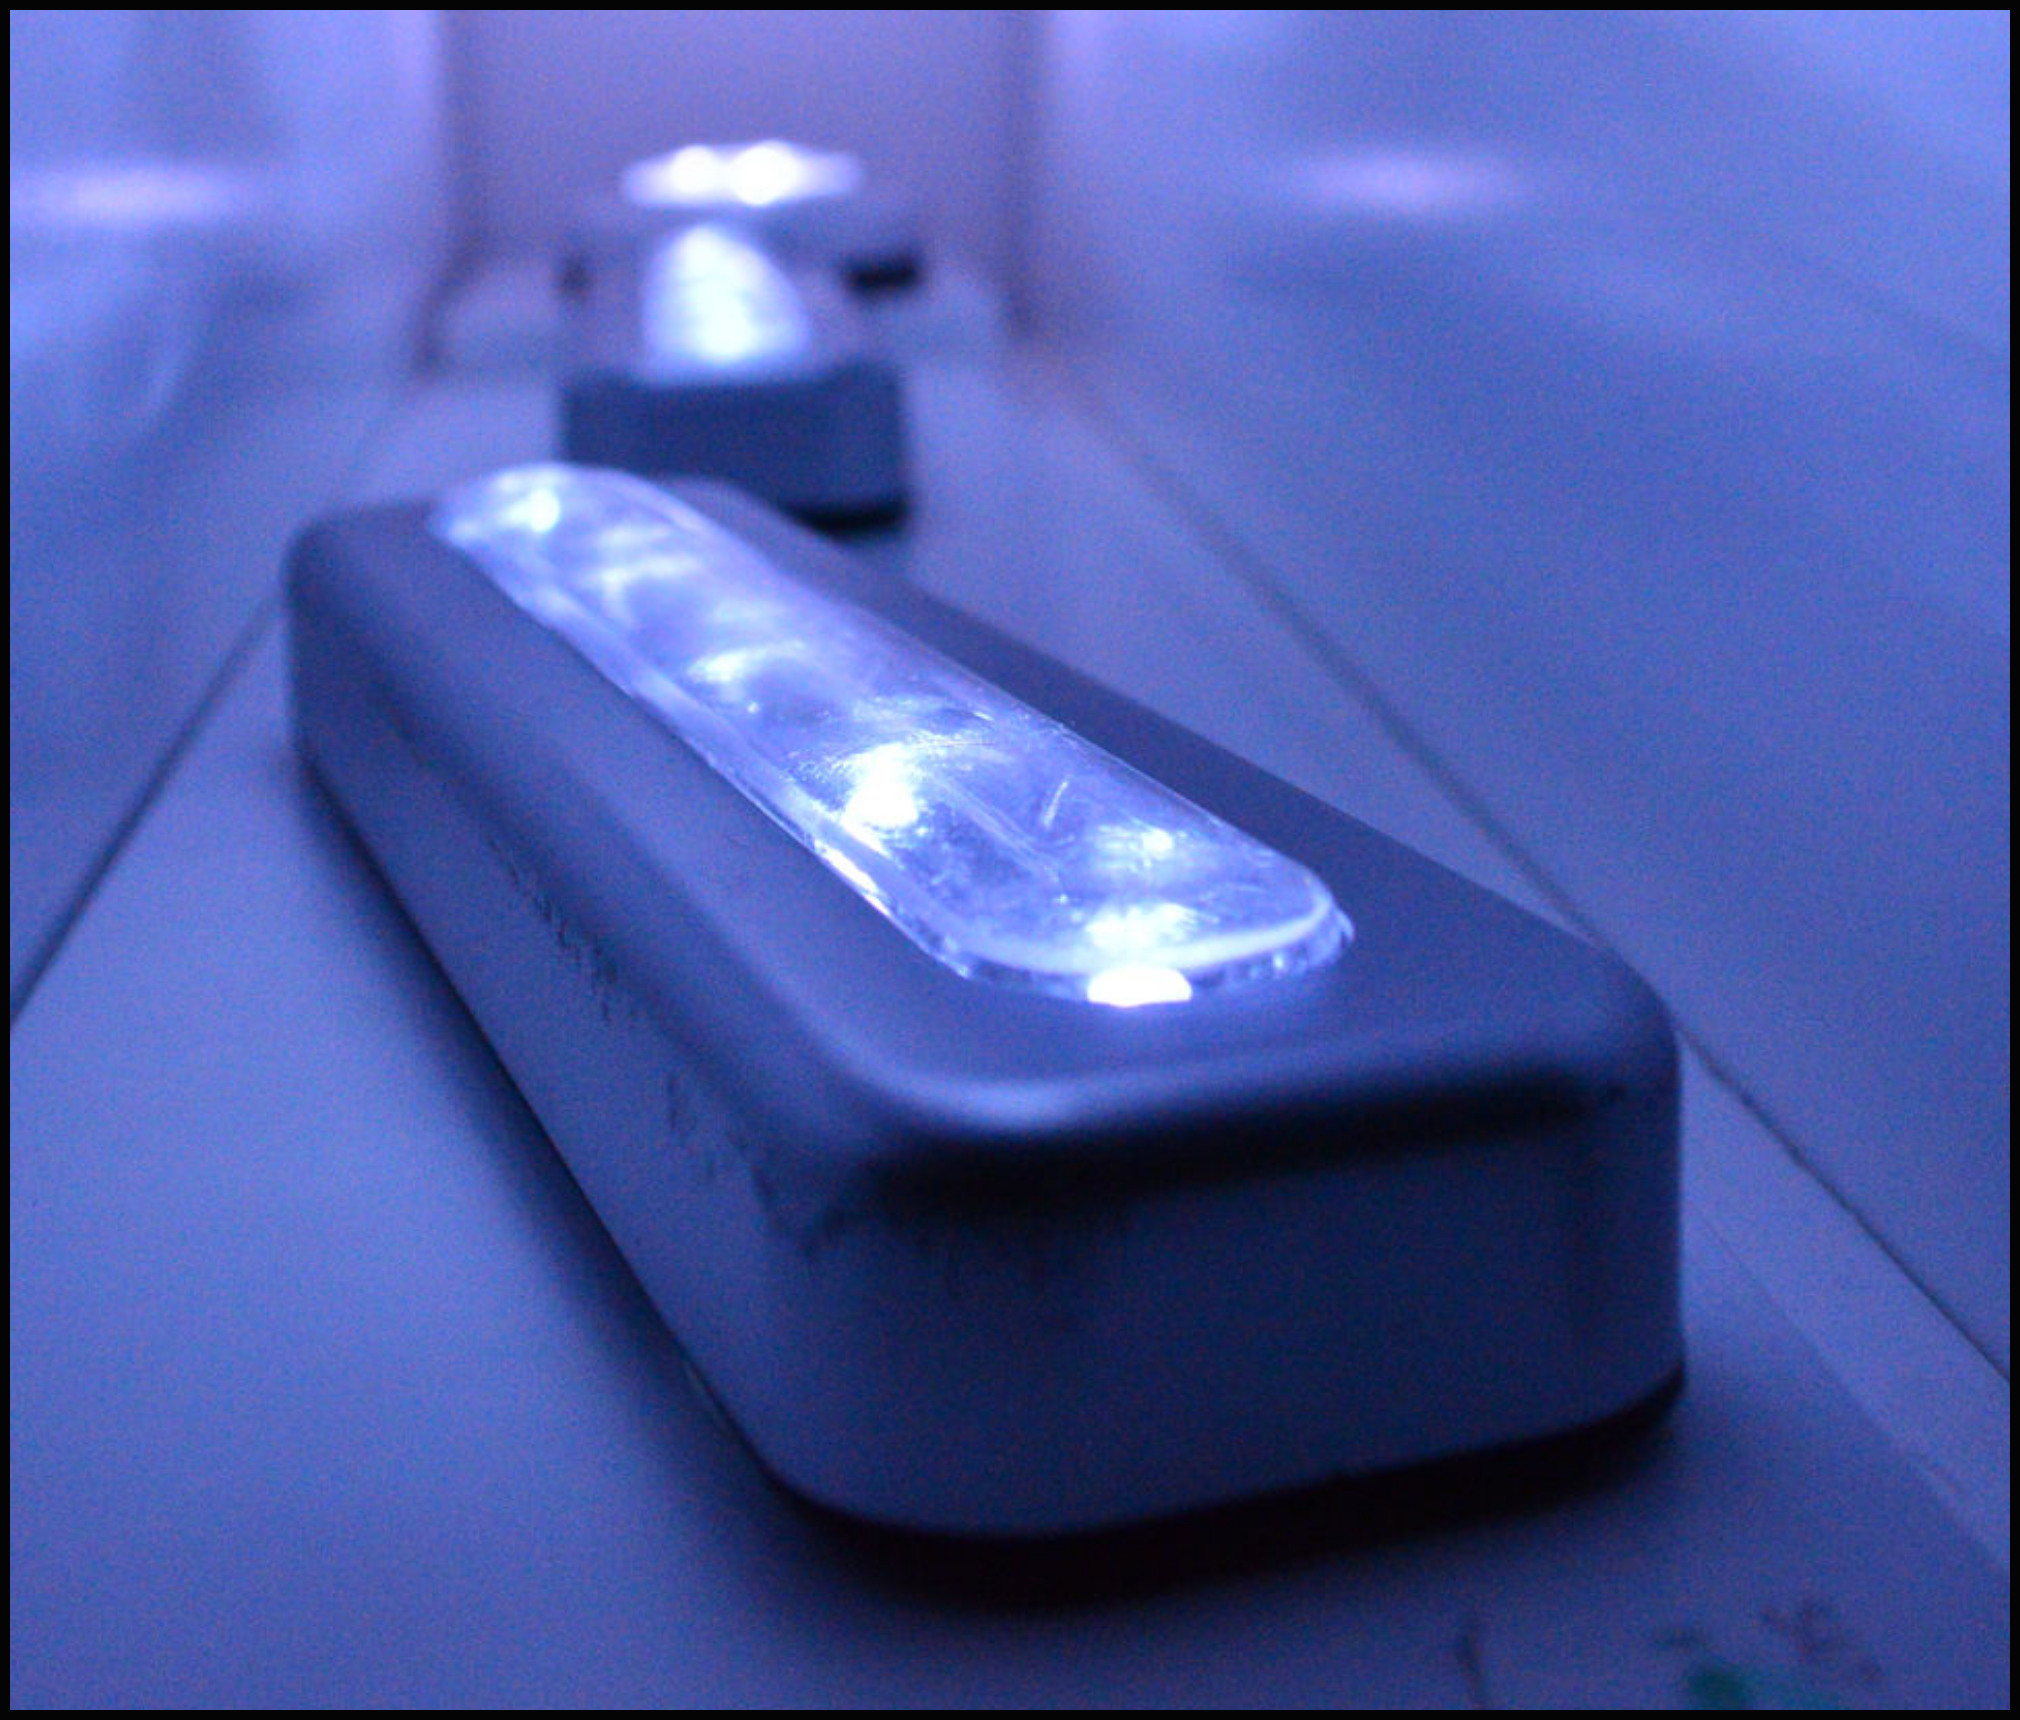
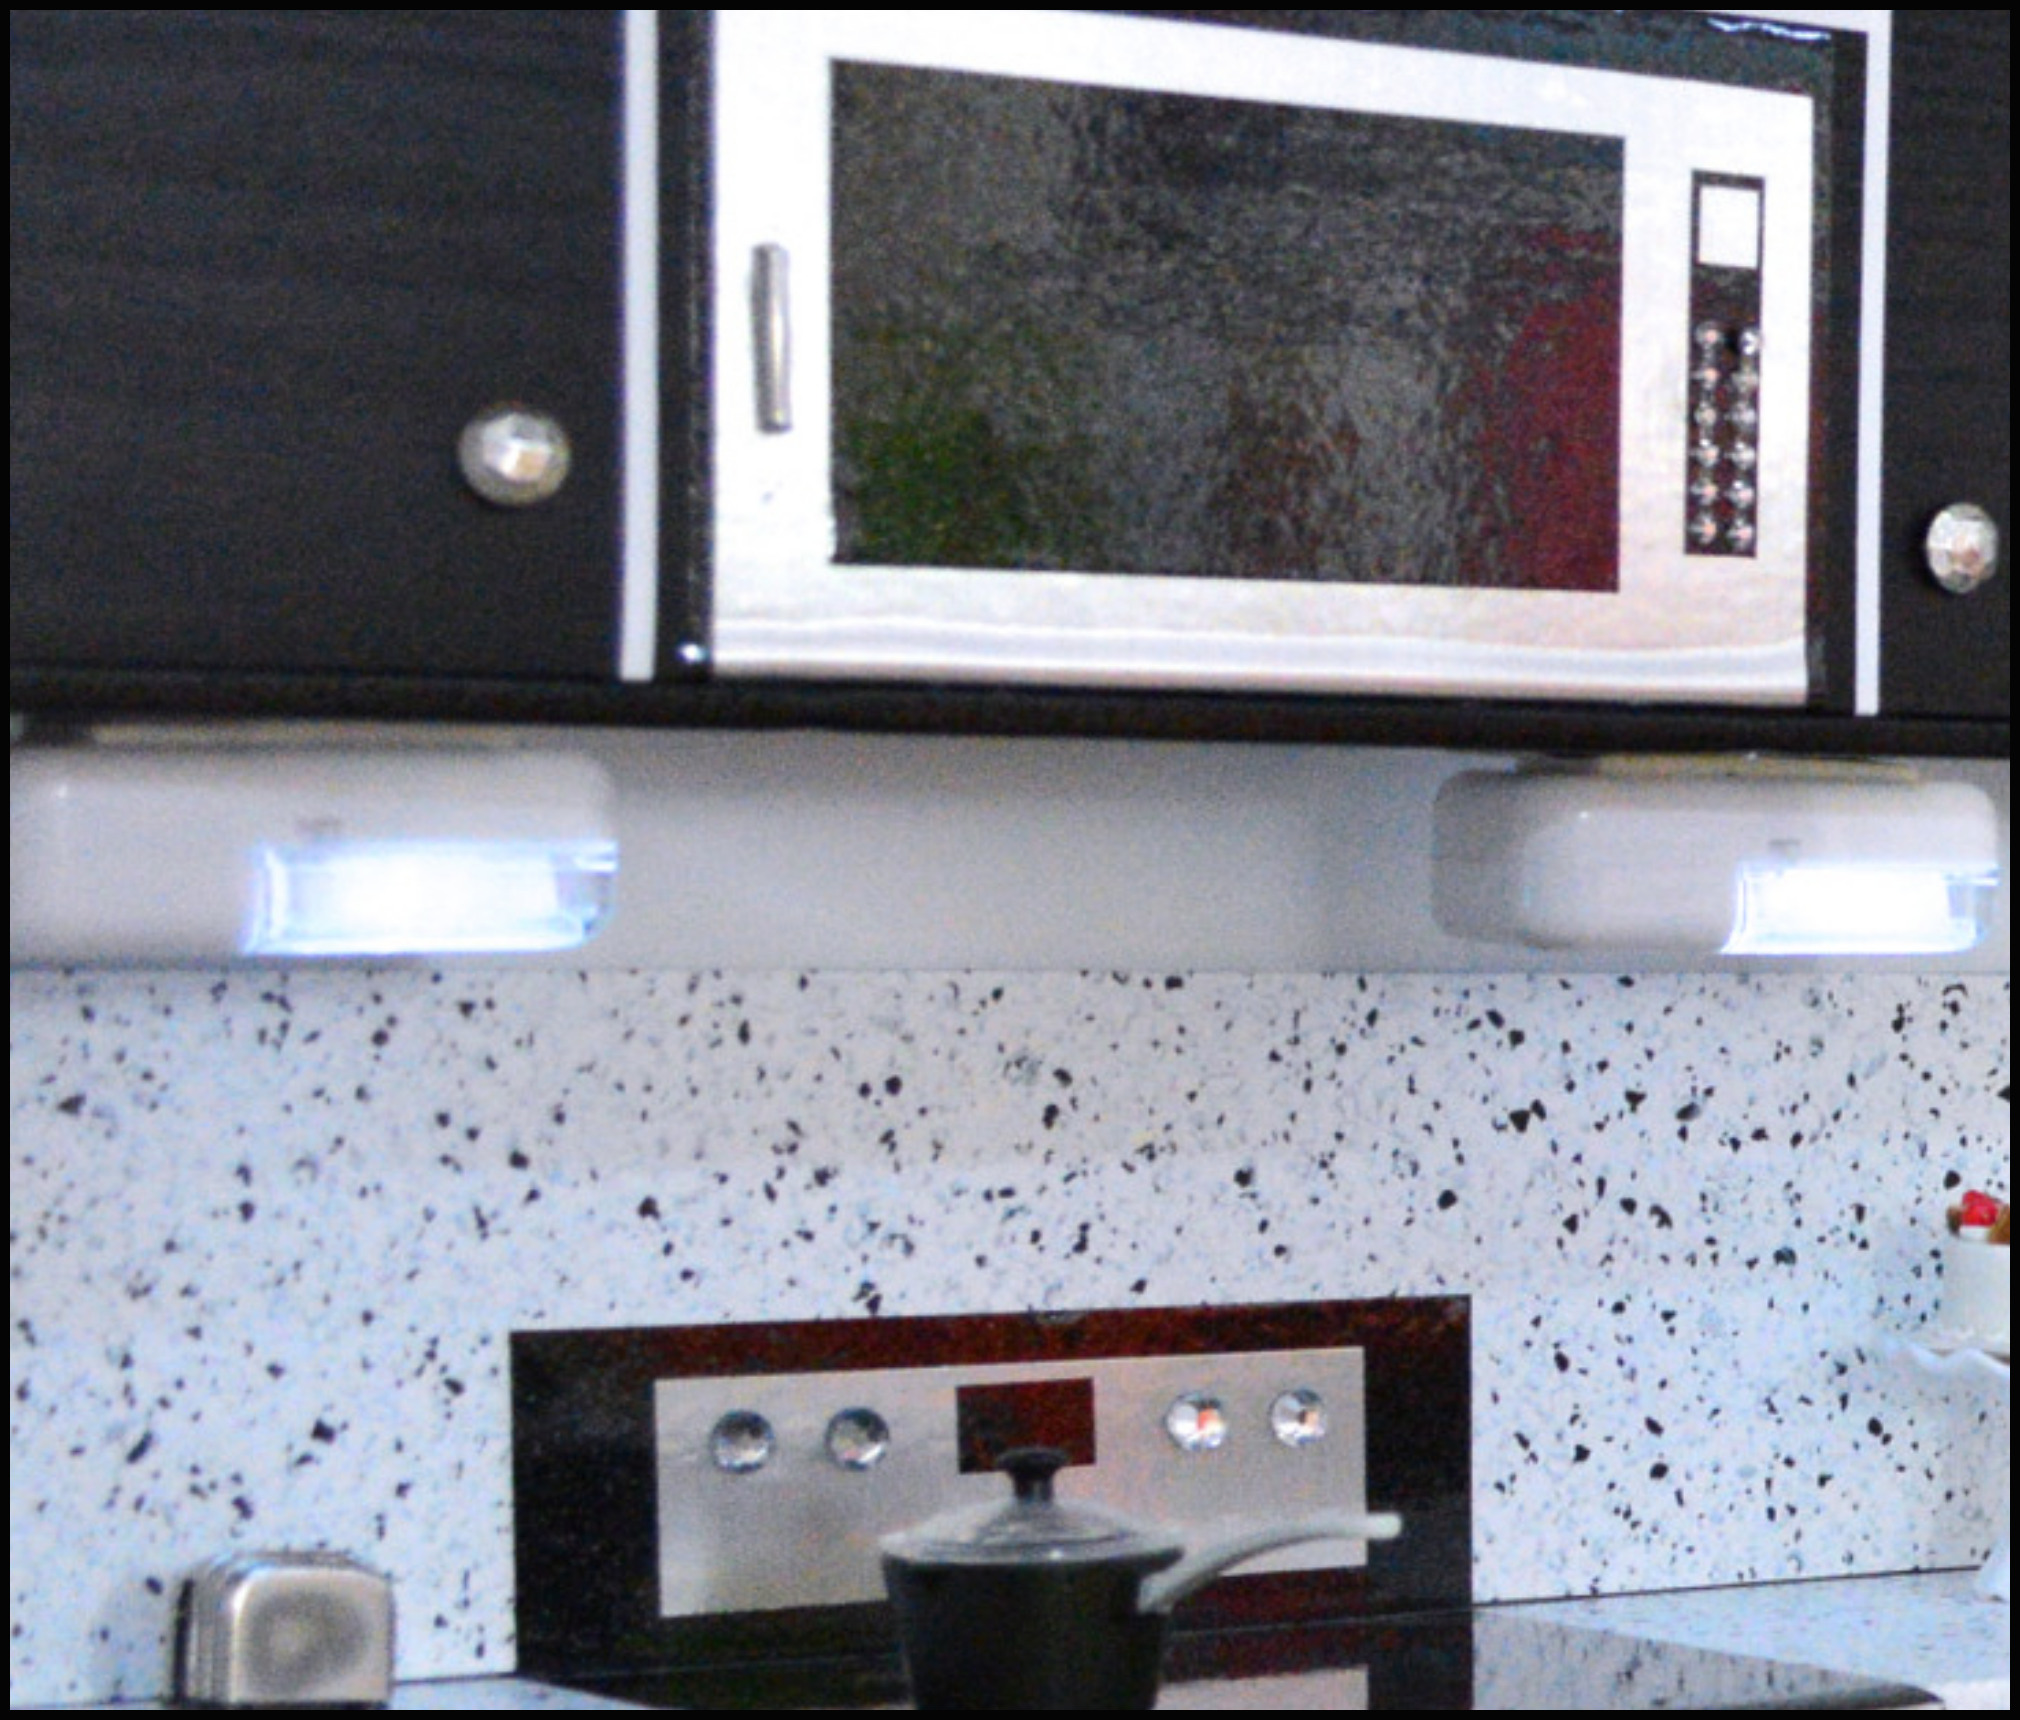
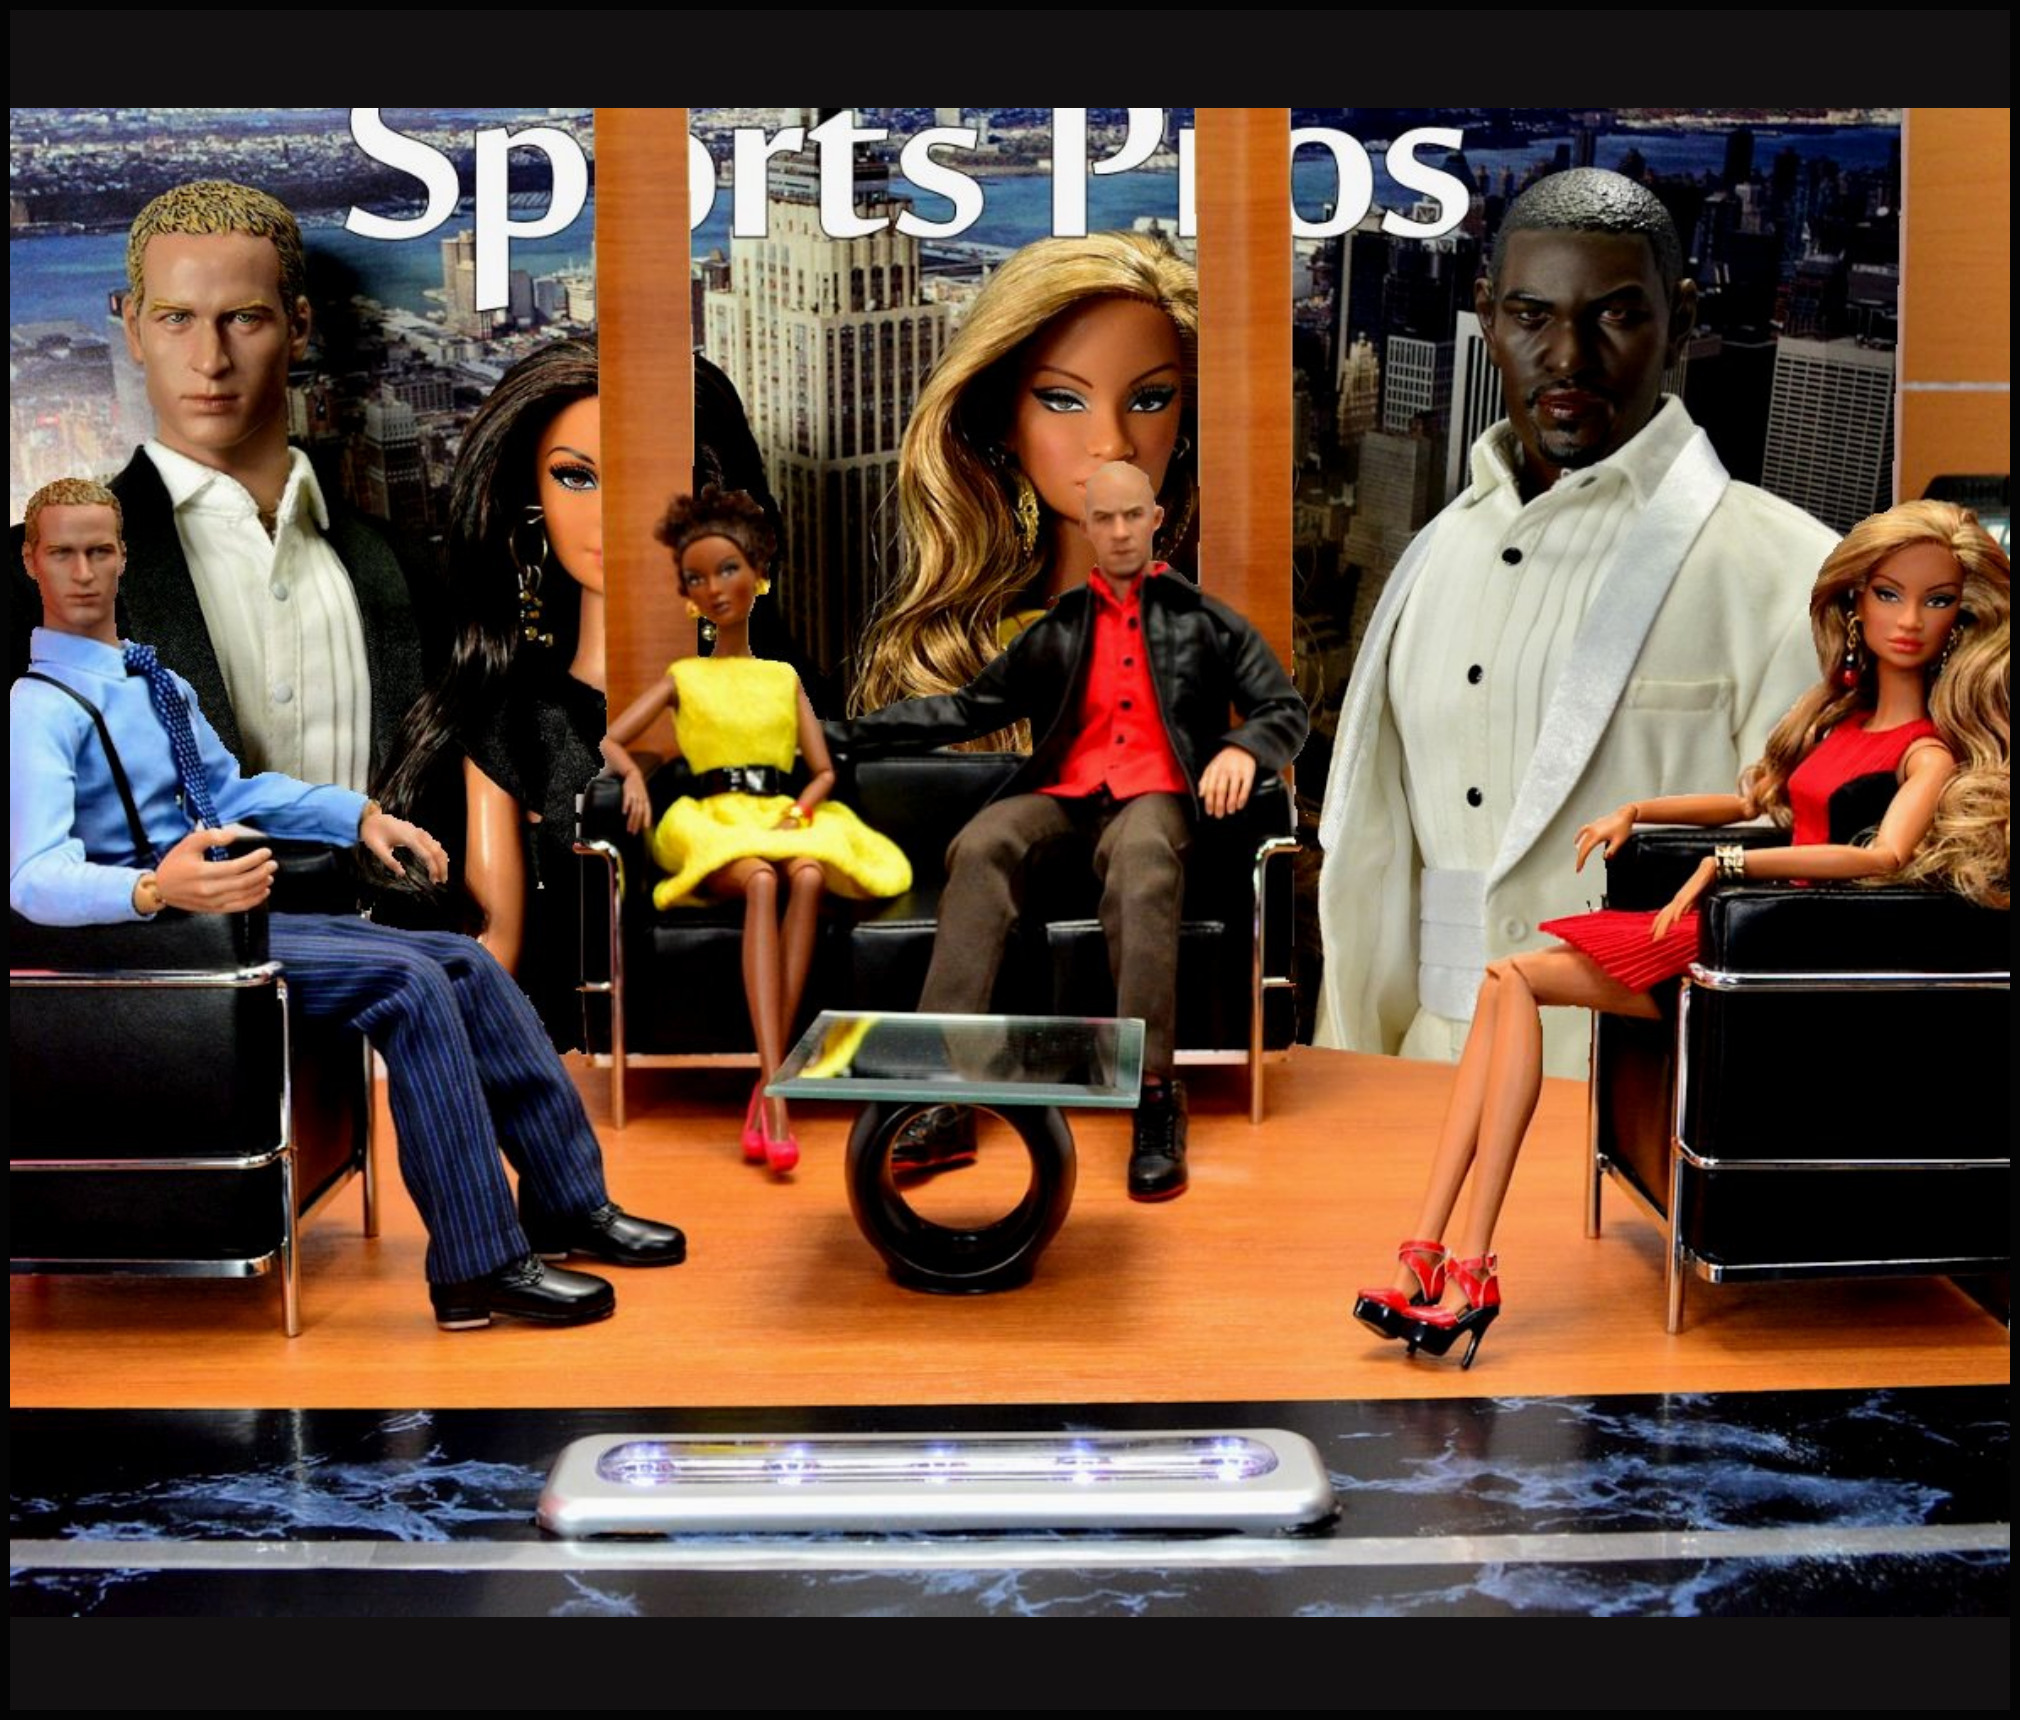
BATTERY OPERATED LIGHTS
When buying battery operated lighting make sure (1) the batteries that go in them are replaceable, OR (2) rechargeable batteries are the best, especially ones that charge with a USB on your laptop, sweet!
Also make sure that you can turn them On and Off, this is SUPER important. I purchased an LED light strip that only turned on with a motion sensor and kept turning off when I didn’t wave my hand across it. I was ready to toss it in the trash after ten minutes of filming a story scene, as the light kept going off over and over again. I had to remove the light from the diorama, wave it harshly through the air to get it to turn on again, then shove it back into the ceiling hole it came from, not fun. On and Off switch, don’t buy without one.
When they have good recharging and on/off switches they can be embedded in walls, placed in cubbies or anywhere you need extra light. They’re perfect for assisting in lighting 1st floor rooms when the 2nd floor is taking the ceiling lamp light away.
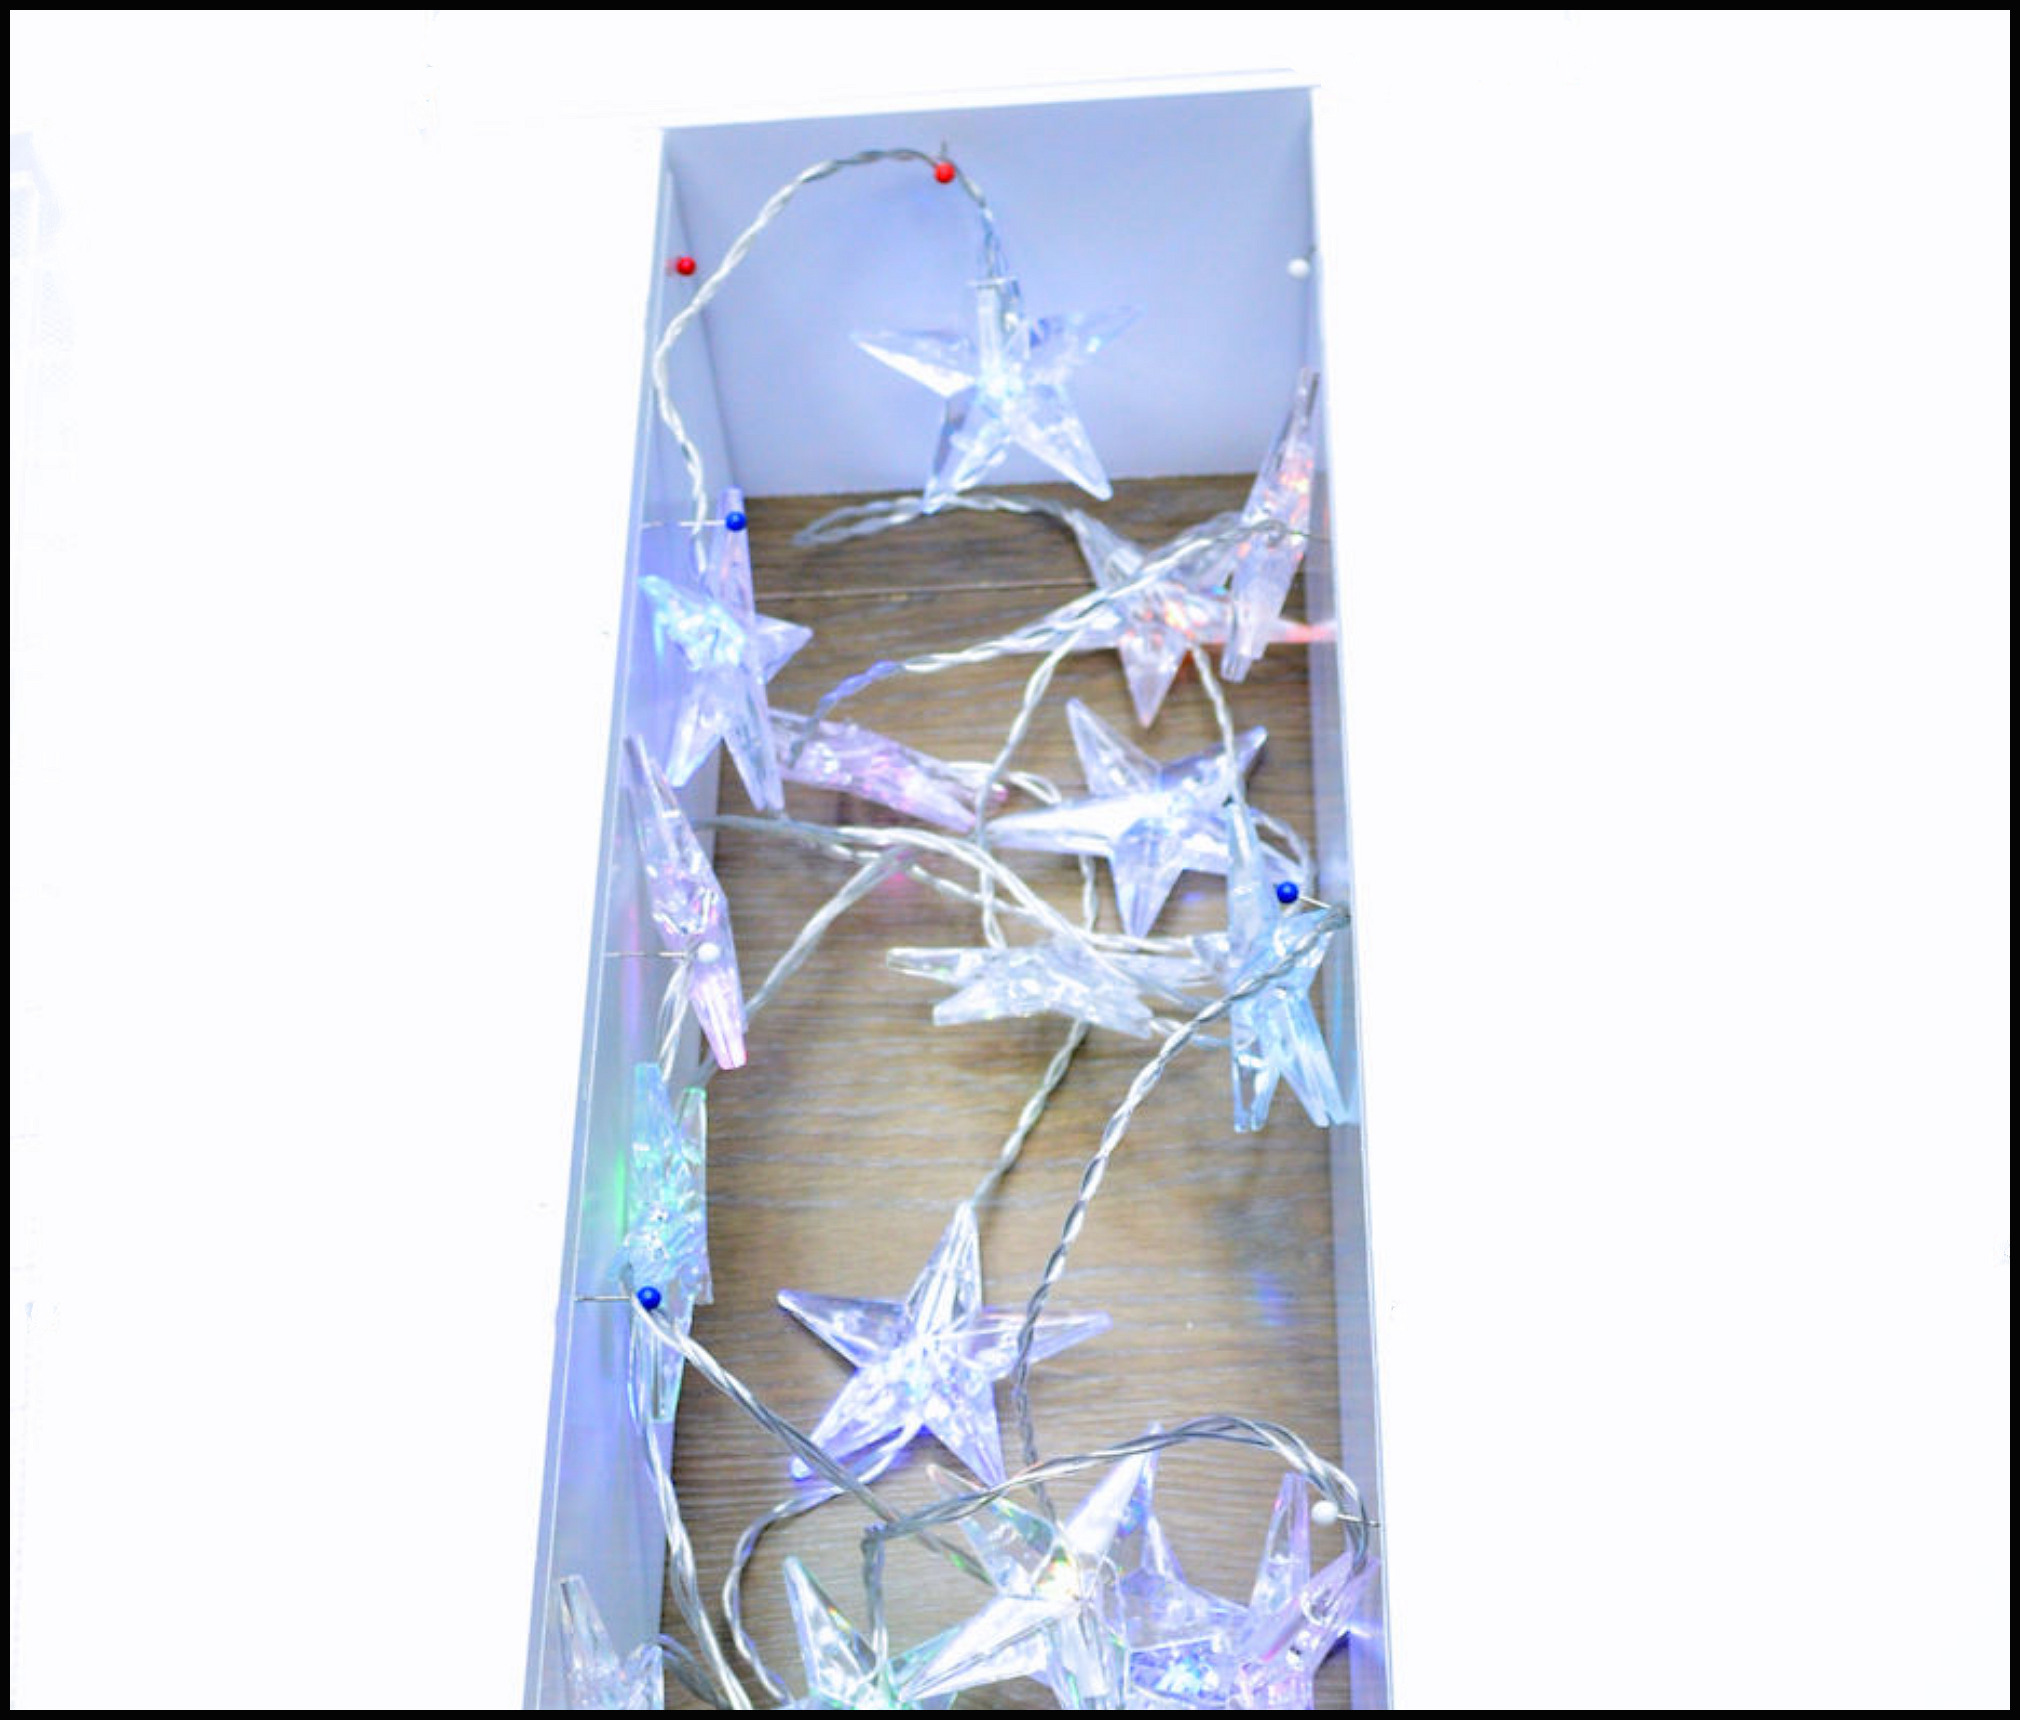
The super-thin string lights in the 3rd photo below are perfect for lighting Christmas trees, or running on the ceiling of rooms to give ambiance.
Shop for tiny battery operated string lighting during Halloween and Christmas. Home decorating lighting is everywhere then, and there are many choices that are perfect for 1:6 scale.
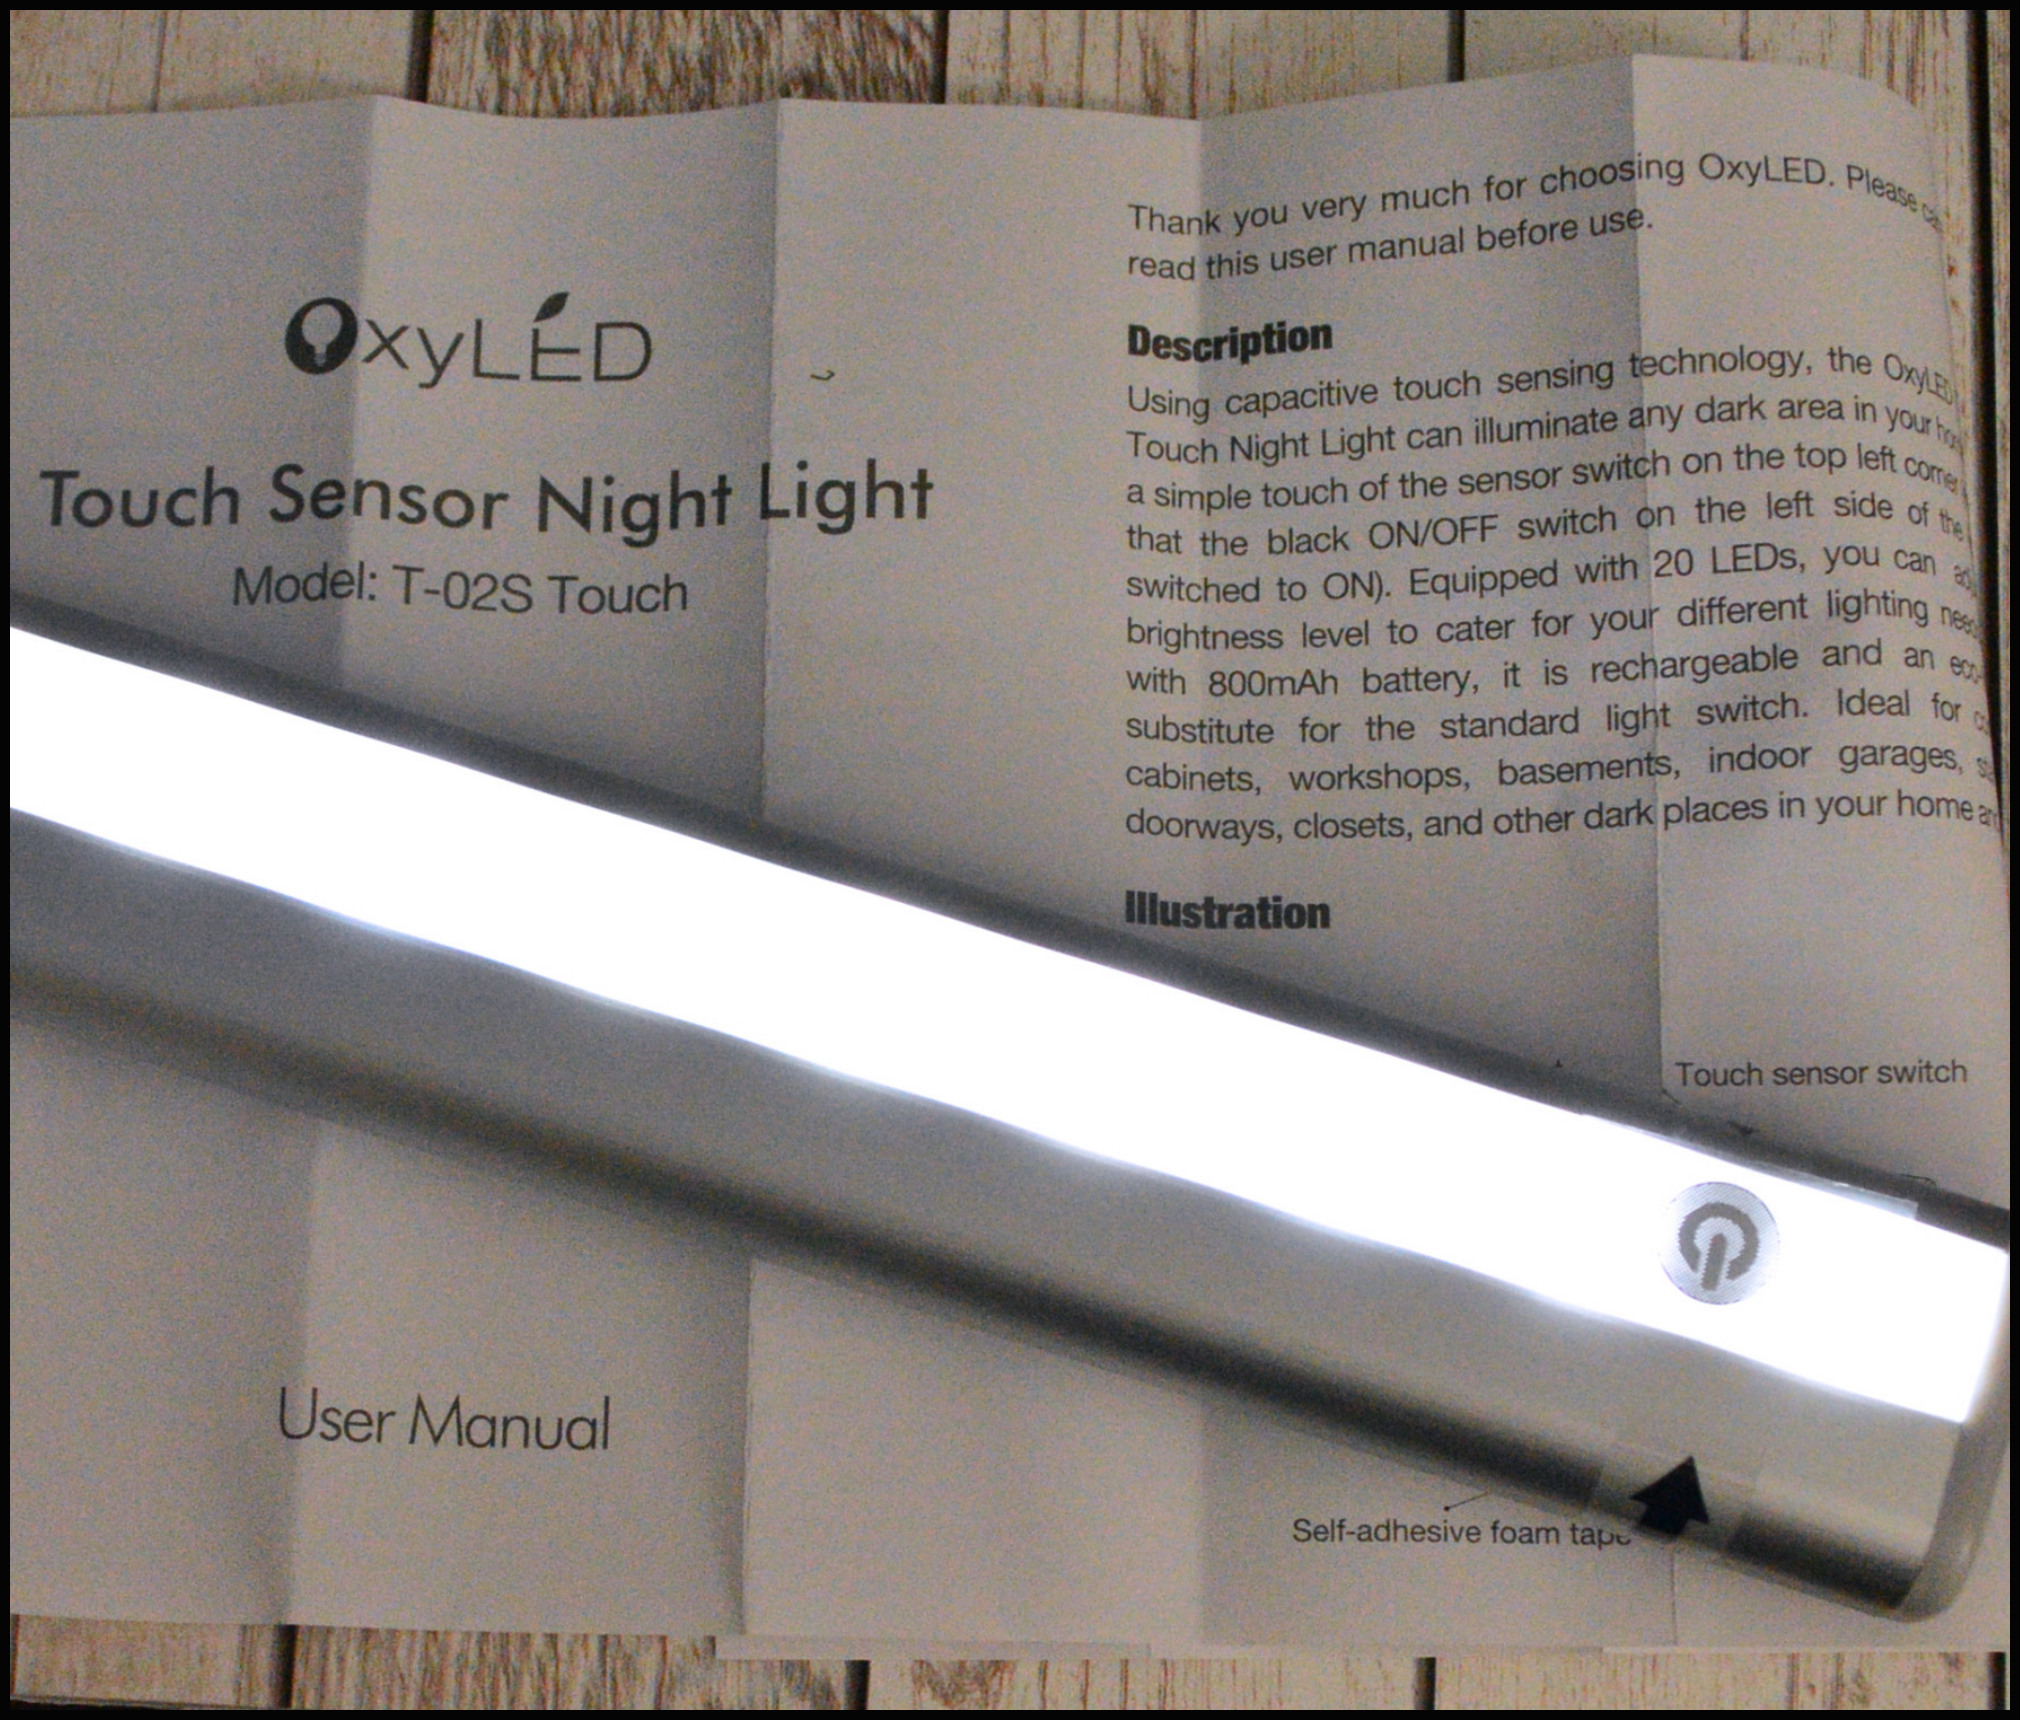
Touch Sensor LED night lights charge on USB ports and are the perfect size for 1:6 room ceilings. I got mine on Amazon. Also available in hardware stores.
BATTERY OPERATED LIGHTS

When photographing lighting is Everything. Lighting can make up for not having a quality camera. Be sure to provide good lighting and your photos from any source, including your phone will come out wonderfully.
All my lighting lessons have come from trial and error. As I learn more ways, or discover new lighting technologies, I’ll keep updating this page with what i find to help you make the most of your photos. Thanks so much for reading!
this is so great to know! thanks for sharing johanna 🙂
This is really helpful. Glad you posted this, thanks.
question: for the fully lit scenes (as opposed to the club scene and sleep scene) what watt bulbs do you use? I see that the lamps are capable of 150 watt, but do you use all 150 watt bulbs?
This page made my day… 🙂
Hi Jeff, half of my light cans take 75 watt bulbs and the rest take 150, I use the max depending on what the can takes. I’d say the top of my light rig has about 15 cans up there pointing down into my 5’x4′ table area. I hope that helps. JATMAN
Thanks so much for the great tutorial…lighting is all important. My doll room is in the basement, and when we remodeled we did overhead daylight LED fixtures (two) installed. My center table is perfectly placed for ‘daylight photos’. The permanent houses do need some spot lights and I often stage outdoor scenes with spots for late afternoon or morning. The best part is no eye fatigue when i’m down there all day working on projects.
Again, thanks for the tips, and now I have to purchase some large colored bulbs.